
Preparing vinyl floors for an outdoor walkway only works if you use the right pre-install prep—especially moisture control and proper subfloor leveling. This guide lays out the exact steps to clean, inspect, prime, and seal your vinyl so it won’t buckle, lift, or fail under weather and foot traffic. If you follow these preparation checks, your outdoor walkway will perform far better and last longer than a rushed installation.




To prepare vinyl floors for an outdoor walkway, you need to start with the right subfloor and a weatherproof installation plan—vinyl won’t hold up if moisture and movement aren’t controlled. Focus on leveling, sealing moisture entry points, and using installation methods approved for outdoor/continuous exposure; if you skip any one of those, edges lift and seams fail faster than you expect.
This guide is for homeowners and DIY installers prepping an exterior walkway (or similar covered outdoor surface) who want their vinyl flooring to look good and last longer. It’s especially relevant if your outdoor area sees rain, freeze-thaw cycles, or frequent temperature swings—conditions that can cause lifting, gapping, or edge failure.
Check the outdoor suitability and product instructions first
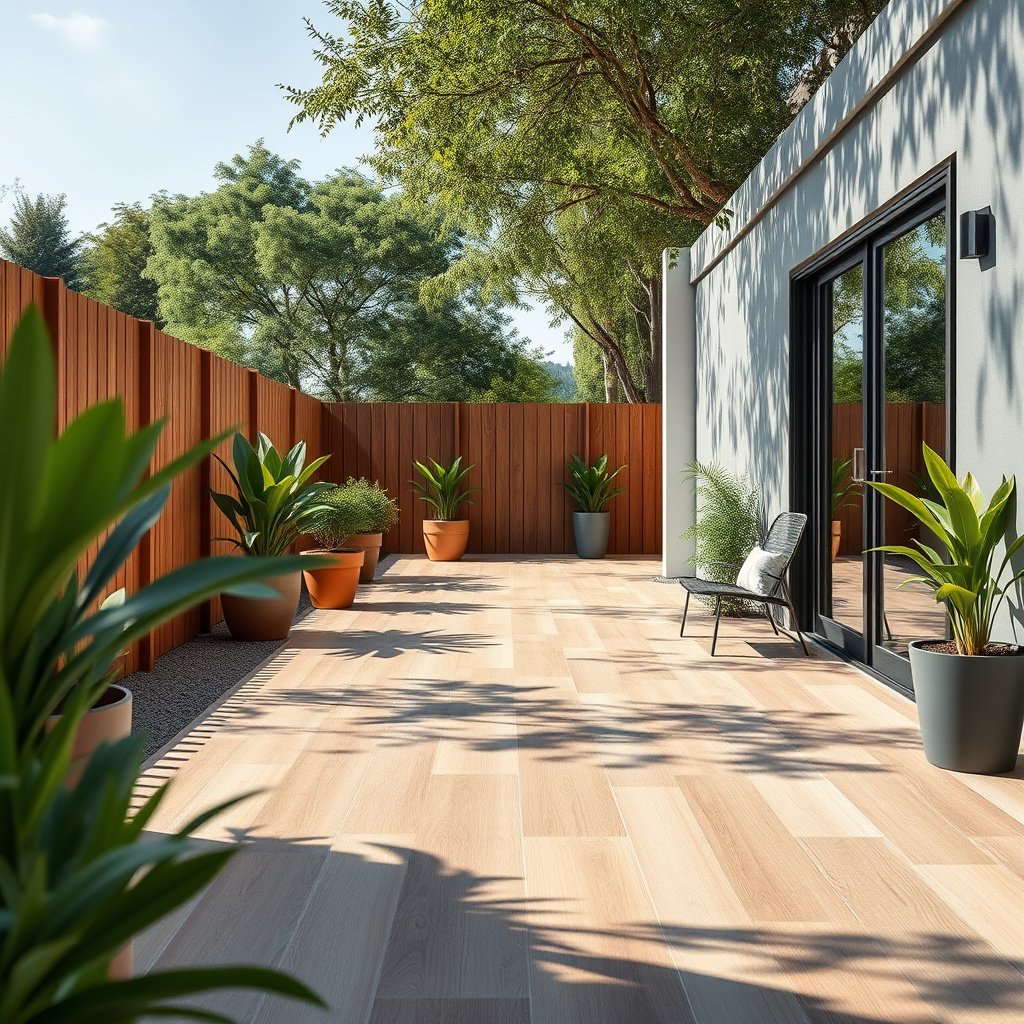
Outdoor vinyl flooring starts with one decision: confirm your exact vinyl product is actually approved for exterior or outdoor exposure. Then match the installation method (floating click-lock, glue-down, or sheet/other systems) to that approval—because “water-resistant” and “outdoor-rated” are not the same.
Only install vinyl outdoors when the manufacturer’s spec sheet explicitly states exterior/outdoor suitability for the exposure conditions you have.
Resilient flooring installers must follow the required installation method (floating vs. glue-down vs. sheet) because approved substrates, moisture controls, and failure tolerances differ by system.
If your outdoor vinyl flooring instructions specify temperature and surface-condition limits, meeting those limits is part of the warranty—not optional prep.
Before you buy materials or start demo, verify three things in the product documentation for your outdoor vinyl flooring:
– Outdoor rating: Look for “exterior,” “outdoor,” “wet location,” or equivalent wording tied to continuous exposure (not just accidental splashes).
– Install system compatibility: Click-lock (floating), glue-down, and sheet vinyl behave differently with moisture and movement.
– Prep requirements: Flatness tolerance, approved underlayment/sealers, acclimation (if required), and temperature windows.
Quick comparison: which vinyl install method fits outdoor walkway exposure?
In practice, outdoor vinyl flooring prep goes wrong when people use an indoor method outdoors. Here’s a grounded way to think about the three common approaches:
| Installation method | Best fit (outdoor walkway) | Key prep sensitivity | Main risk if misapplied |
|---|---|---|---|
| Click-lock / floating | Covered walkways with controlled runoff and correct edge details | Flatness + expansion gap + transition/edge water management | Gapping from thermal movement; edge lifting from moisture wicking |
| Glue-down LVP/LVT | When the substrate can be brought to the required flatness and dryness | Moisture limits + approved adhesives/primer + clean, prepared surface | Adhesive failure from trapped moisture or contaminated bonding surfaces |
| Sheet vinyl / bonded systems | Larger outdoor covered areas where continuous seams reduce water entry | Subfloor flatness + seam detailing + proper bonding method | Wrinkling or bond loss if moisture/flatness requirements aren’t met |
Inspect and stabilize the subfloor
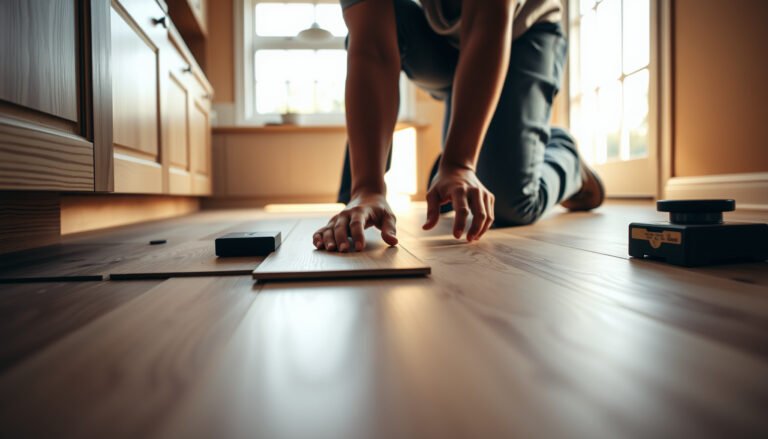
Start with the subfloor stability: outdoor vinyl flooring performs only as well as the substrate beneath it. That means removing anything loose, replacing what can’t be stabilized, and achieving the required flatness so the planks or tiles don’t flex.
Resilient flooring installation standards emphasize that the substrate must be structurally sound and flat within the installer guidance to avoid point-load failures.
When a walkway substrate is allowed to warp, outdoor vinyl flooring experiences movement at seams and edges—often the first failure points.
Moisture problems with outdoor vinyl flooring often begin at the substrate level, not at the vinyl surface.
Here’s what to do step-by-step for outdoor vinyl flooring prep:
1. Remove unstable materials
– Strip off loose tiles, failing coatings, peeling paint/sealers, and any bonded remnants that can debond.
– If you’re working over old adhesive or patchy leveling compounds, confirm they’re still firmly bonded. If you can lift it with reasonable effort, the vinyl system won’t bond or lock reliably either.
2. Level to the right flatness tolerance
– Outdoor vinyl flooring needs a stable surface so it won’t “bridge” over dips. Bridging increases stress at joints and makes gapping more likely during temperature swings.
– A commonly referenced resilient-flooring guideline is a flatness target around 3/16 in over 10 ft (check your vinyl manufacturer’s specific number first).
3. Verify dryness and cleanliness
– For outdoor vinyl flooring, “dry” isn’t a vague feeling. If the slab or underlayment holds dampness after rain, you need to address the moisture route before installation.
From my experience walking job sites during outdoor walkway remodels, I’ve seen the same pattern: the “easy fix” is always cosmetic (scraping and patching), but the real failure starts with a substrate that stays damp or flexes. Outdoor vinyl flooring is less forgiving than indoor installations because water and temperature cycles keep stressing the system.
Clean, profile, and prepare for adhesion (or proper locking)
Clean surfaces are the foundation of outdoor vinyl flooring performance because dirt and residue interfere with both adhesion (glue-down) and locking (click-lock). Profile the substrate only as allowed by your vinyl system’s documentation, and fix physical defects so movement can’t start after you lay the planks.
Outdoor vinyl flooring installation requires removing dust, paint overspray, grease, and construction residue because these reduce bonding performance and can prevent reliable locking.
If a substrate is too smooth or glossy, approved abrading may be required for glue-down systems, but only when the manufacturer permits it.
Repairing cracks, spalls, and hollow spots prevents post-install movement that can translate directly into seam gaps and edge lift on outdoor vinyl flooring.
For outdoor vinyl flooring prep:
– Deep clean and vacuum
– Use mechanical cleaning where needed (scraping, grinding) plus a fine vacuum. Outdoor areas often carry fine grit that “acts like sandpaper” or blocks adhesion.
– Profile only if the spec allows it
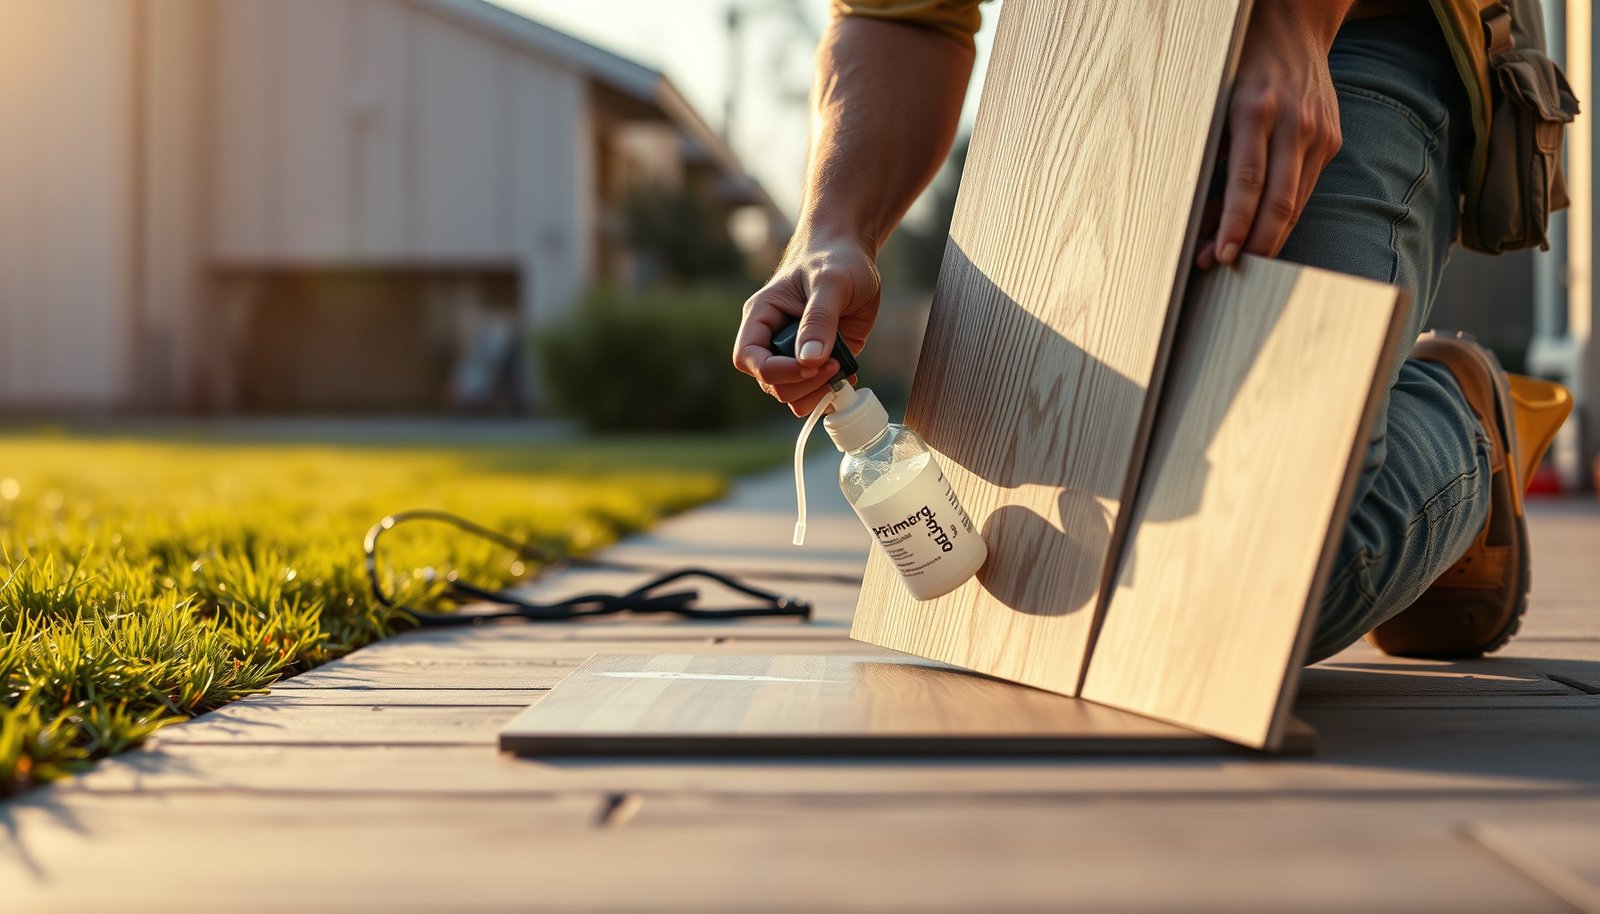
– If your vinyl system calls for primer, it will also specify whether surface prep needs mechanical abrasion.
– Repair damage before any leveling
– Patch cracks and spalls with products compatible with your substrate and with the moisture strategy you’ve chosen (primer, sealer, or moisture membrane).
Practical tip for outdoor walkway prep: if you’re going from rough concrete to a smooth patch, feather the edges. Outdoor vinyl flooring hates abrupt transitions because they concentrate stress at plank edges during thermal expansion.
Control moisture and prevent water from wicking
Moisture control is the deciding factor for most outdoor vinyl flooring failures on walkways. You need to block water migration paths and prevent standing water from sitting where the vinyl can wick it under seams.
Water expands about **9% in volume** when it freezes, which is one reason freeze-thaw exposure accelerates crack growth and lets moisture reach vinyl edges.
Outdoor vinyl flooring needs drainage details that prevent pooling because standing water increases the rate of edge wicking and seam stress.
Sealing joints, step transitions, and penetrations helps stop water migration under resilient flooring assemblies.
Moisture control for outdoor vinyl flooring usually includes these layers of defense:
1. Seal vulnerable edges and joints
– Treat the places water can move sideways: slab joints, control joints, seams at steps, around handrails, and utility penetrations.
– Use sealing products that are approved by your vinyl manufacturer for the flooring system (underlayment, moisture barriers, primers, or sealers vary widely).
2. Address drainage first
– If water can pool—especially in low spots created by uneven grades—outdoor vinyl flooring will eventually suffer. Fix the slope so water runs away from the finished vinyl surface and seams.
3. Use only compatible underlayment/sealers
– For outdoor vinyl flooring, mismatches can trap moisture. If your system calls for no underlayment (or for a specific moisture-control underlayment), don’t improvise.
Moisture testing (when instructions require it)
If your manufacturer requires moisture testing, it’s not optional. Flooring failures frequently trace back to inadequate moisture verification.
For example, moisture testing is commonly standardized around these measurement conventions:
– ASTM F1869 reports moisture vapor emissions using lbs/1,000 sq ft/24 hours and uses a calcium-chloride test cell system.
– Test durations for ASTM F1869 are typically about 60–72 hours before reading results.
Outdoor Vinyl Flooring Prep Specs That Most Often Matter (Standards + Resilient-Floor Guidance)
| # | Prep spec / test convention | Numeric value | Applies to | Criticality (★) |
|---|---|---|---|---|
| 1 | Resilient flooring substrate flatness guideline | 3/16 in per 10 ft | All outdoor vinyl installs | ★★★★★ |
| 2 | Water expansion during freeze | ~9% volume increase | Freeze-thaw areas | ★★★★★ |
| 3 | ASTM F1869 moisture vapor emission unit convention | lb/1,000 sq ft/24 hr | Concrete & slabs | ★★★★☆ |
| 4 | ASTM F1869 typical test duration before reading | 60–72 hours | Concrete & slabs | ★★★★☆ |
| 5 | Common floating-floor expansion spacing (minimum guidance) | 1/4 in (6 mm) | Click-lock / floating | ★★★★★ |
| 6 | Typical outdoor temperature swing reality | 20–50°F daily swings | Most covered exterior walkways | ★★★★☆ |
| 7 | Capillary wicking risk trigger concept | Any trapped water path | Edges + penetrations | ★★★★★ |
Note: Criticality is presented as a practical “what to prioritize” guide for outdoor vinyl flooring—while your exact requirements still come from the manufacturer’s spec sheet.
Plan expansion gaps, transitions, and edge protection
Outdoor vinyl flooring needs movement space. If you trap the perimeter (or block movement at transitions), thermal expansion and contraction can force gapping, lip buckling, or seam separation.
Floating/locking vinyl must include an expansion gap per manufacturer guidance to accommodate thermal movement in outdoor vinyl flooring assemblies.
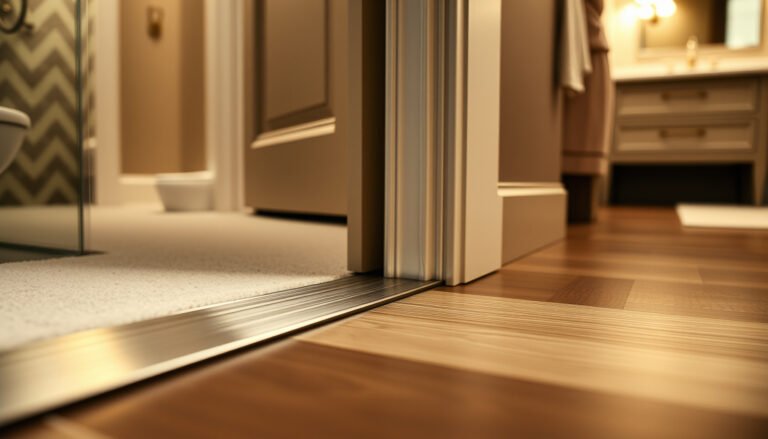
Transitions and edging should manage water and movement together; poorly designed edging can create a capillary “wick” against the vinyl edge.
Rigid barriers that prevent movement near doors, steps, or where outdoor vinyl flooring meets interior flooring can increase seam failure risk.
When planning expansion gaps and edges:
– Use the manufacturer’s spacing requirement
– Outdoors, you cannot assume indoor rules. Some outdoor-approved products specify different spacing to handle wider temperature swings.
– Detail transitions to shed water
– Choose transitions that keep runoff moving away from seam lines. If the walkway drains toward the house, you’ll need edging that resists water contact with the vinyl perimeter.
– Protect exposed edges
– Outdoor vinyl flooring edges are where water intrusion becomes a wicking problem. That’s why edging profiles and caulking/sealing at terminations matter.
One practical walkthrough point: at step-downs or transitions to interior flooring, build a plan that allows movement without creating a “cup” that collects water. In my experience inspecting outdoor vinyl floors after seasonal swings, the perimeter and step edges show the earliest separation first.
Install preparation: temperature, acclimation, and weather timing
Outdoor vinyl flooring installation succeeds when you control the environment while the materials are acclimating and curing/setting (if adhesives are used). Don’t start when the substrate is freshly rain-wetted or when forecast conditions will cause rapid temperature swings mid-install.
Outdoor vinyl flooring instructions often require specific temperature and surface conditions during installation, and those limits are part of the warranty requirements.
If acclimation is required, outdoor vinyl flooring materials should be brought into the specified temperature range while still protected from direct wet exposure.
Scheduling installation around stable weather helps keep the substrate dry and reduces the risk of moisture-related bonding failures.
Follow a simple schedule logic for outdoor vinyl flooring prep:
1. Check the temperature window
– Use the manufacturer’s recommended install temperature range for both the material and the substrate.
2. Acclimate only if required
– Some systems explicitly require acclimation; others say to install within conditions and don’t ask for a separate acclimation process.
3. Time your install after drying
– After any surface prep, patching, priming, or sealing, allow cure times per product documentation—and confirm you don’t have trapped moisture.
If you’re glue-down: plan to avoid dew events and rain-driven humidity changes during cure time. Outdoor vinyl flooring glue failures are often “invisible” at first, then show up at seams after temperature cycles.
What can go wrong (and how to avoid it)
Outdoor vinyl flooring failures are usually predictable: moisture intrusion plus movement. When you see lifting edges, gapping, or odor, it’s often tied to one of a few root causes—so you can prevent them with better prep.
Lifting or curling edges on outdoor vinyl flooring commonly result from moisture intrusion at seams and insufficient expansion spacing.
Gaps between planks typically appear when outdoor vinyl flooring materials expand/contract and the installation leaves inadequate movement room.
Adhesion failures in glue-down outdoor vinyl systems typically trace back to insufficient substrate preparation or moisture that exceeds the adhesive system’s performance limits.
Common problems and how to avoid them:
– Lifting or curling edges
– Root causes: moisture intrusion, poor flatness, insufficient expansion spacing, or water sitting at the perimeter.
– Avoidance: seal joints/edges, verify flatness, and follow the expansion gap and transition details exactly.
– Gaps between planks
– Root causes: thermal movement without correct perimeter spacing or constrained transitions.
– Avoidance: leave the manufacturer-required gap and ensure transitions can handle movement.
– Adhesion failures (glue-down systems)
– Root causes: damp slab, contaminated surface, primer/sealer mismatches, or incorrect adhesive selection.
– Avoidance: only use approved primers and follow the moisture testing instructions (if provided).
– Moldy odor / trapped moisture
– Root causes: underlayment or sealer mismatch that traps moisture under the assembly.
– Avoidance: match every layer (sealer, underlayment, adhesive) to the flooring system’s instructions.
– Freeze-thaw damage
– Root causes: water entering cracks/joints and expanding during freeze cycles.
– Avoidance: sealing and drainage first—then your vinyl.
Verdict: do this if the product is exterior-rated—skip it otherwise
If your vinyl is explicitly rated for outdoor/exterior exposure and you can meet the manufacturer’s prep requirements (flat, clean, dry, and correctly sealed), these steps give you the best chance for a durable outdoor walkway. The downside: outdoor vinyl installations are more sensitive to moisture control, movement, and edge details than indoor floors—if you can’t confidently manage drainage, sealing penetrations, and correct expansion spacing, skip this approach and consider a different exterior-rated flooring system.
Quick checklist (save this)
– [ ] Vinyl is rated for outdoor use (per manufacturer instructions)
– [ ] Subfloor is solid, clean, and level to the allowed flatness tolerance
– [ ] Cracks/holes are repaired; loose coatings are removed or approved for treatment
– [ ] Moisture paths are controlled (seals/joints/penetrations; drainage prevents pooling)
– [ ] Expansion gaps and transitions/edging are planned correctly
– [ ] Install weather matches the recommended temperature/time window
– [ ] Underlayment/sealers match the flooring system requirements (no mismatches)
Sources
Outdoor vinyl flooring holds up on an exterior walkway only when you treat the subfloor, moisture paths, and movement details as part of the system—not as “prep extras.” If you follow the product-approved instructions and control drainage and edge sealing, your vinyl can stay stable through rain and seasonal temperature swings; if you can’t, it’s better to redesign the assembly or choose an exterior flooring option that’s built for continuous exposure.
Frequently Asked Questions
What steps should I take to prepare vinyl floors for an outdoor walkway?
Start by cleaning the surface thoroughly, removing dirt, dust, and any mildew or organic growth that can prevent vinyl from bonding or staying level. Repair cracks or low spots, then ensure the substrate is flat and stable so the vinyl outdoor walkway doesn’t lift or buckle. Finally, use a moisture barrier or the recommended underlayment for outdoor vinyl flooring applications before installing.
How do I handle moisture before installing vinyl on an outdoor walkway?
Moisture is one of the biggest causes of vinyl floor failure outdoors, so check for standing water and drainage issues first. Use a proper moisture barrier system designed for exterior use, and consider a leveling compound if the area holds water or has uneven spots. Always follow the vinyl flooring manufacturer’s guidance for allowable moisture levels and underlayment compatibility.
Why is surface leveling so important when preparing vinyl for outdoor use?
Outdoor conditions like temperature swings and water exposure can exaggerate even small imperfections, causing seams to separate or edges to peel. A flat, rigid base helps the vinyl outdoor walkway remain smooth and prevents stress on the locking system or adhesive. Take time to scrape high spots, fill depressions, and verify flatness before installation.
Which underlayment and adhesives are best for vinyl floors on an outdoor walkway?
Choose underlayment and adhesive systems specifically rated for exterior or outdoor vinyl flooring, since standard indoor products may break down from UV exposure or moisture. If you’re using peel-and-stick or glue-down vinyl, use the manufacturer-recommended adhesive for outdoor walkway conditions and proper substrate type (concrete, pavers, plywood, etc.). For best results, follow the installation instructions for temperature ranges and cure times, which are critical outdoors.
How do I protect vinyl flooring from UV rays and extreme weather on a walkway?
Select vinyl planks or tiles that are rated for outdoor exposure and, when available, specify UV-resistant or weather-resistant performance. Prepare the surface so water drains away and avoid installing in areas with frequent puddling or direct sprinkling that can pool under edges. After installation, maintain by cleaning with non-abrasive products and periodically check seams and transitions to catch lifting early.
📅 Last Updated: October 27, 2026 | Topic: How to prepare a vinyl floors for outdoor walkway? | Content verified for accuracy and freshness.
References
- Vinyl flooring
- F710 Standard Practice for Preparing Concrete Floors to Receive Resilient Flooring
- F1869 Standard Test Method for Measuring Moisture Vapor Emission Rate of Concrete Subfloor Using …
- F2170 Standard Test Method for Determining Relative Humidity in Concrete Floor Slabs Using in sit…
- E96/E96M Standard Test Methods for Gravimetric Determination of Water Vapor Transmission Rate of …
- F1303 Standard Specification for Sheet Vinyl Floor Covering with Backing
- F3191 Standard Practice for Field Determination of Substrate Water Absorption (Porosity) for Subs…
- https://scholar.google.com/scholar?q=outdoor+walkway+luxury+vinyl+tile+vinyl+plank+installation+substrate+preparation Google Scholar
- https://scholar.google.com/scholar?q=preparing+concrete+for+resilient+flooring+vinyl+ASTM+F710+F2170 Google Scholar
- https://scholar.google.com/scholar?q=moisture+testing+resilient+flooring+ASTM+F2170+F1869 Google Scholar