Replacing vinyl floors in a commercial office is the most reliable way to restore a worn space quickly—if you follow a strict, step-by-step workflow. This guide answers exactly how to replace vinyl floors, from prepping the subfloor and removing old material to installing planks or sheet vinyl and sealing the seams for heavy foot traffic. You’ll leave with a practical plan that minimizes downtime and avoids the common failures that cause lifting, bubbles, and premature wear.



Replacing commercial vinyl flooring successfully comes down to three things: confirm the exact vinyl system you’re installing, control subfloor moisture/flatness before any material touches down, and follow the manufacturer’s installation method (glue-down vs floating vs attached underlayment). When those fundamentals are right, you avoid the most common failures—bubbles, lifting edges, and early wear—without extending downtime.
If you’re managing an office renovation, a facility team, or a contractor bidding a flooring job, this step-by-step process helps you organize the work and verify technical requirements (subfloor condition, moisture testing, and product compatibility). Start by identifying whether the existing floor is sheet vinyl or LVP/LVT, and what your building subfloor is, before ordering replacement material.
Plan the replacement (and confirm what you’re installing)
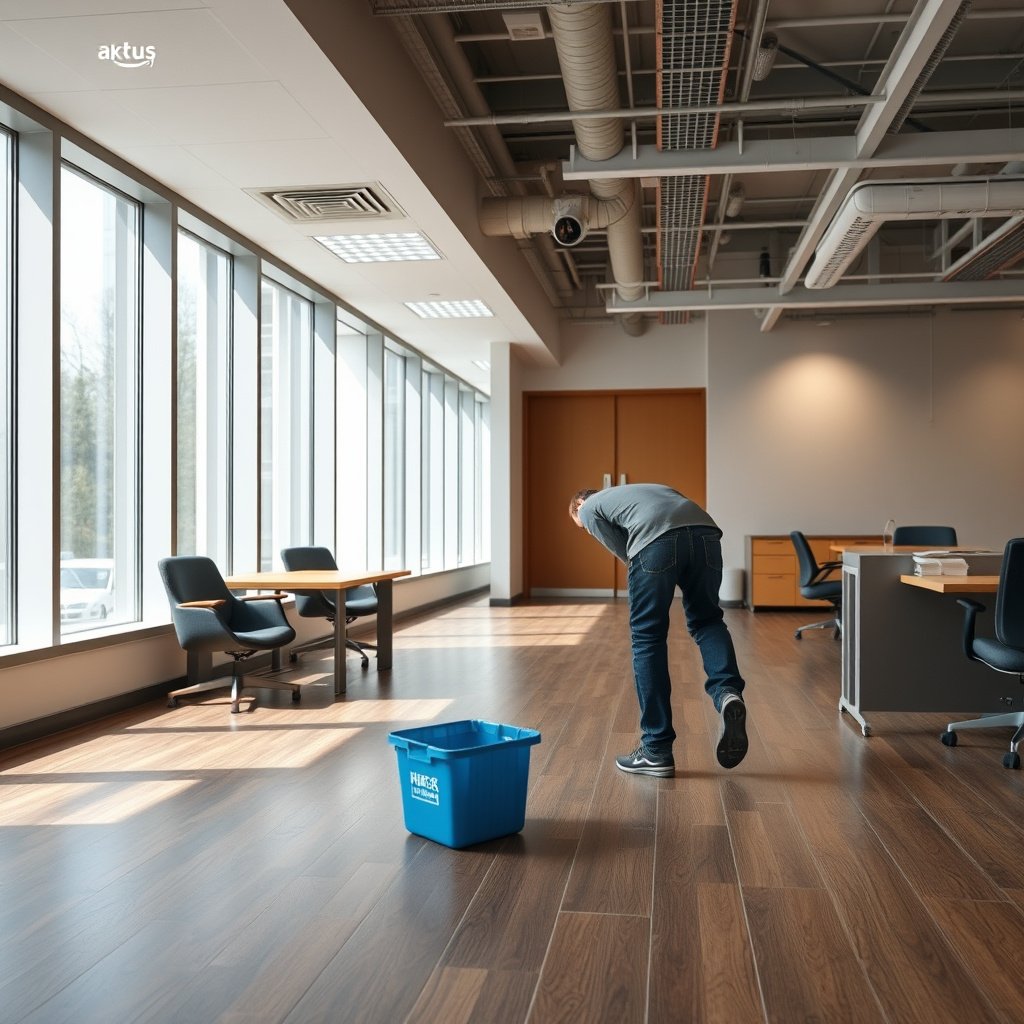
You’ll get the longest life out of commercial vinyl when you treat “planning” as a technical phase, not just a scheduling phase. The best plan maps the current floor build-up to the new product’s exact installation requirements, so your adhesive, underlayment, seams, and curing window all match the system.
Before you remove anything, confirm these items clearly—because vinyl products that look similar can behave very differently once they’re installed on concrete vs. wood, or glue-down vs. floating systems.
– Identify the existing floor type and construction (sheet vinyl, LVP/LVT, underlayment attached vs. separate, adhesive vs. floating).
In offices, it’s common to find “mixed histories” (an older sheet section bonded over a different substrate) after tenant turnover. That’s why identification should be more than visual inspection—use a small, controlled test removal in an inconspicuous area if allowed.
– Match the new product to the space: traffic level, rolling-load needs (chairs/carts), and whether the office needs a commercial wear layer/finish.
Rolling-load performance matters in conference rooms and shared work areas. Plan for caster wheels, pallet jacks, and maintenance carts to land on a surface spec’d for commercial resilience—not a residential wear-layer guess.
– Plan logistics: off-hours work window, path for removing debris, and a safe transition plan for doors, transitions, and elevators (if applicable).
Commercial downtime is expensive. Build the plan around dust control, waste staging, and the drying/curing requirements of adhesives (if your vinyl system is glue-down).
Resilient flooring moisture testing methods report results in different units, including calcium chloride’s “lbs per 1,000 sq. ft. per 24 hours” under ASTM F1869.
In-situ relative humidity testing for slabs is commonly referenced via ASTM F2170, which produces readings in %RH at specified depths.
To keep teams aligned, document your findings in a one-page “system sheet” you can hand to the GC, facility manager, and installer. Include: existing vinyl type, substrate type (concrete/wood), moisture test method selected (ASTM F1869 vs. ASTM F2170), and whether the new vinyl is glue-down or a floating/loose-lay system.
Remove the old vinyl flooring safely and cleanly
You reduce future failures most when removal protects the subfloor and controls damage during scraping and adhesive cleanup. In commercial offices, safe removal is also about occupant risk management—dust, fumes, and debris routing often drive how the work is phased.
Removal isn’t just “tear it out.” It’s the moment you can accidentally create a rough substrate, gouge concrete, or leave adhesive that prevents the new system from bonding.
– Protect the site: cover HVAC returns, isolate dust, and use appropriate PPE for cutting and scraping.
Even “small” cuts can aerosolize particulates. Containment and vacuum extraction are standard for resilient-flooring removal work in occupied or semi-occupied facilities.
– Remove in a way that preserves the subfloor: avoid gouging wood/concrete and keep scraping controlled, especially around edges and penetrations.
Edges and penetrations (toilet rooms, electrical chases, conduit penetrations) are where floor flatness and adhesion are most sensitive. Plan for detailed hand scraping rather than aggressive mechanical pounding.
– Handle adhesive residue correctly: remove enough to create a smooth, bondable surface, but don’t “over-clean” in a way that damages the base layer—follow the new flooring manufacturer’s requirements.
Over-cleaning can create a new problem: a weakened surface layer or inconsistent porosity, especially on concrete. Follow the new product’s stated “acceptable substrate condition” (often including whether shot-blasting, grinding, or specific adhesive removers are allowed).
RFCI removal guidance emphasizes containing dust and minimizing substrate damage during resilient floor covering removal to preserve the bonding surface.
Adhesive and resilient flooring failures are frequently linked to insufficient bond because the substrate surface is not properly prepared to meet the new system’s requirements.
Pros/cons comparison (planning removal method):
| Option | Pros | Cons | Best fit in an office |
|---|---|---|---|
| Hand scraping + controlled grind | Lower risk of gouging; better for edges and transitions | Slower; labor-dependent | Doorways, tight corridors, detailed perimeter work |
| Mechanical removal with dust control | Faster for large areas | Higher risk of substrate damage if technique is off | Open office floors with confirmed substrate durability |
| “Full removal only” approach | Maximizes warranty alignment and substrate consistency | Requires downtime and disposal logistics | When moisture/flatness is already in question |
Check and prep the subfloor before you install
You can prevent most commercial vinyl failures by treating subfloor prep (flatness + moisture + compatibility) as a go/no-go gate. If the slab or substrate isn’t within the resilient flooring system’s limits, the vinyl can’t “fix” the problem—it will only reveal it over time.
Moisture and flatness are the two recurring technical causes behind bubbles, adhesive breakdown, and seam edge lifting. In 2026, many spec teams are tightening documentation, so you’ll want records that align with your chosen testing method and your product’s installation instructions.
– Inspect for flatness and damage: fill divots, address loose areas, and remove ridges/high spots that can telegraph through resilient flooring.
Resilient flooring reflects substrate irregularities. That can show up as visible ridges now and accelerated wear later (especially in high-traffic chair zones).
– Do moisture and condition checks when required: resilient floors are sensitive to moisture—use the moisture testing method required/endorsed by your flooring system.
For slab-on-grade and concrete, moisture testing is commonly discussed through ASTM moisture procedures (e.g., ASTM F1869 and ASTM F2170), with the final acceptable limits defined by the flooring manufacturer.
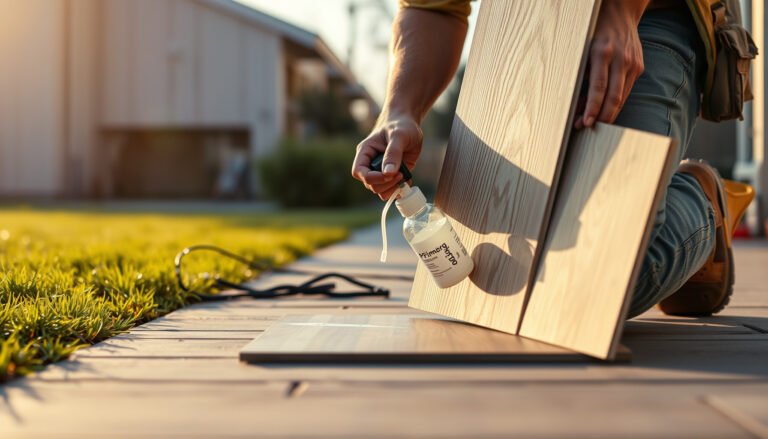
– Confirm compatible primers/levelers: only use products approved for your substrate and the vinyl installation system (especially if adhesives are involved).
If your vinyl system requires a specific primer to control substrate porosity, using the “wrong primer” can create bond failure even when the moisture test looks acceptable.
ASTM F1869 uses anhydrous calcium chloride to determine moisture vapor emission rate (MVTR), typically reported in lbs per 1,000 sq. ft. per 24 hours.
ASTM F2170 reports slab moisture in %RH using in-situ probes installed at defined locations and depths per the standard procedure.
Moisture & Flatness Checks Commonly Referenced for Commercial Resilient Vinyl
| # | Test / Check | Standard / Guide | What You Record | Reliability for Resilient Vinyl Decisions |
|---|---|---|---|---|
| 1 | Calcium chloride (MVTR) moisture test | ASTM F1869 | lbs/1,000 sq. ft./24 hrs | ★★★★☆ |
| 2 | In-situ probe relative humidity | ASTM F2170 | %RH at test depth(s) | ★★★★★ |
| 3 | Moisture testing locations | ASTM method-driven | Minimum mapped points per area | ★★★★☆ |
| 4 | Concrete surface porosity control (primer) | Manufacturer system requirement | Approved primer specified for vinyl | ★★★★☆ |
| 5 | Flatness verification | RFCI best-practice guidance | Straightedge measurement tolerance | ★★★★★ |
| 6 | Leveler patch plan | Compatible leveler + system | Patch feathering & cure time | ★★★★☆ |
| 7 | Substrate compatibility check | Flooring system documentation | Adhesive/primer/underlayment allowed | ★★★☆☆ |
> Note: The “reliability” stars above reflect how directly each check influences bond performance and resilient wear outcomes according to common industry installation frameworks. Your specific product’s required limits always govern the pass/fail decision.
From a project management standpoint, we typically treat these as documents you can audit: test method, results, test dates, and installer acceptance notes. If you can’t produce that file later, warranty claims become much harder.
Install the new vinyl correctly (sheet vs. tile vs. plank)
You’ll avoid bubbles and edge lifting by installing the vinyl using the correct method for its construction—glue-down, direct/attached underlayment, or floating/loose-lay. The “right technique” isn’t optional; vinyl systems are engineered as assemblies, not as standalone planks.
In 2026, many commercial teams standardize installation methods by product category because adhesive selection, seam work, and rolling/press requirements differ significantly between sheet vinyl and LVP/LVT.
– Choose the right installation method for your vinyl type: glue-down (adhesive), loose-lay/floating (with or without underlayment), or direct/attached underlayment systems.
Glue-down systems are sensitive to adhesive spread rate, substrate porosity, and dwell time. Floating systems are sensitive to subfloor flatness and perimeter detailing.
– Follow layout and acclimation guidance: establish reference lines, control expansion gaps where required, and follow the manufacturer’s installation + acclimation instructions for temperature/humidity.
Accurately placed layout lines reduce rework and seam misalignment—especially in offices where furniture arrays create strong visual patterns.
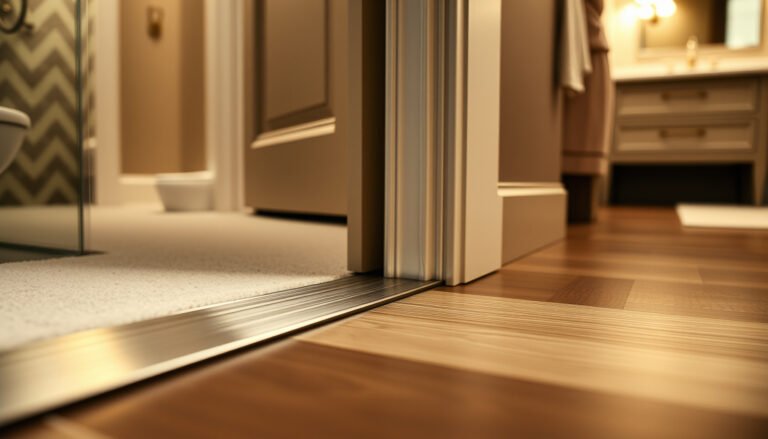
– Maintain transitions and details: undercut door jambs as directed, use appropriate transition strips, and avoid trapping moisture at edges.
Transitions are where resilient floors often see point loads and moisture migration paths.
Manufacturer installation instructions for resilient flooring systems define the required temperature/humidity conditions that affect adhesive performance and dimensional stability.
Floating resilient floors rely on correct perimeter detailing and subfloor flatness to reduce stress at seams and joints.
H3: Common install details that prevent future lifting
– Don’t stretch cuts to “make it fit”—plan around seams and avoid narrow slivers that weaken the install.
In offices, door swings and furniture legs create stress concentrations; narrow pieces fail sooner.
– Roll/press according to the system’s instructions (if your product requires it): inconsistent pressure can lead to edges lifting or visible seam issues.
For glue-down products, inconsistent pressure can create “micro-voids” that show up as seam haze or raised edges after rolling loads.
– Keep the job clean during installation: debris under planks/tiles can create hollow spots.
Those hollow spots often become the first wear lines around chair traffic.
Quick install method comparison (what to prioritize):
| Installation system | Primary risk if installed incorrectly | What to prioritize most |
|---|---|---|
| Glue-down sheet vinyl | Adhesive bond failure, edge bubbling | Substrate prep + adhesive compatibility + correct bond timing |
| Glue-down LVP/LVT | Edge lifting at seams | Flatness + pressure/rolling + seam plan |
| Floating LVP/LVT | Joint separation or joint stress | Flatness + underlayment plan + perimeter gaps/spacing |
Finish, protect, and set your maintenance expectations
You protect the investment by finishing seams/edges exactly as specified and managing how the office returns to normal traffic. In commercial environments, premature rolling loads are a common reason for seam issues—even when the floor looks fine at day one.
Your goal in the “finish and protect” phase is to align three timelines: adhesive cure/bond development, operational access (when people start walking), and heavy rolling loads (carts, chair traffic, cleaning equipment).
– Complete seams and edges as specified: use the correct seam treatments for sheet vinyl and the correct transitions for LVP/LVT.
Seam and transition products are part of the system. Using an unapproved filler or different transition profile can reduce longevity.
– Protect the floor during re-occupancy: use floor protection sheets and manage rolling loads (moving carts, chair legs, construction traffic) until the installation is fully cured/ready per the manufacturer.
If you allow early rolling loads, you can compromise the bond or stress joints while they’re still developing.
– Set a realistic maintenance plan: routine cleaning method, approved cleaners, and what to avoid (harsh chemicals, excessive water, abrasive pads) to prevent surface damage.
Commercial floors are often cleaned more aggressively than they should be. A short written maintenance protocol reduces “mystery” damage.
Resilient flooring manufacturers typically specify post-install protection and time-to-traffic requirements as part of the warranty conditions.
Approved cleaners and avoidance of harsh chemicals and abrasive pads help prevent surface dulling and premature wear on resilient vinyl finishes.
I recommend creating a two-page “handoff package” for facilities: (1) approved cleaning method, (2) what to avoid, and (3) a list of contact points if the floor shows early lifting or edge separation.
What can go wrong (and how to avoid it)
Most failures trace back to mismatch—between moisture/flatness and the installation system, or between the vinyl product and the adhesive/primer/seam plan. If you eliminate those mismatches early, you avoid the expensive cycle of rework.
Here are the highest-probability problems teams run into in commercial offices, along with practical prevention actions you can bake into your job plan.
– Subfloor moisture or poor prep: bubbling, adhesive failure, and premature wear often trace back to moisture imbalance or a rough/unclean base.
Always document your moisture testing method and results, and confirm they align with the manufacturer’s required limits.
– Wrong product/adhesive pairing: even “similar” resilient products can require specific adhesives, primers, or installation systems—mismatches can cause delamination or easy edge lifting.
Treat adhesive/primer compatibility as a spec requirement, not a convenience choice.
– Flatness issues: resilient flooring tends to reflect base irregularities. If the floor isn’t within the manufacturer’s flatness tolerance, seams and wear patterns can worsen quickly.
Flatness is measured and verified before installation—not after.
– Improper expansion/edge detailing: no expansion where required can cause buckling or tenting; too-large gaps can look bad and collect debris.
Edge details are part of system design and must match the product instructions.
– Skipping acclimation or installation-condition requirements: temperature and humidity outside the system’s limits can impact adhesive performance and dimensional stability.
Control conditions during installation, and don’t start when the building environment is outside the stated range.
Moisture testing results must be interpreted against the flooring manufacturer’s moisture limits to determine whether the installation is permitted.
Resilient flooring installation guidance consistently highlights that bond failures often originate from inadequate substrate preparation and incorrect system compatibility.
From experience managing office renovations, the most avoidable “schedule risk” is rushing subfloor verification.
Verdict + quick checklist (save this for your project)
If you follow the vinyl manufacturer’s instructions for the exact product system and don’t treat subfloor prep as “optional,” replacing commercial vinyl is very doable. It’s also not the right DIY task if the subfloor is in question or if you can’t control jobsite conditions during installation.
Here’s the honest tradeoff: commercial vinyl replacement is straightforward when the system is known and the substrate checks out. It becomes costly when moisture/flatness are uncertain, because resilient floors typically cannot “tolerate” bad substrates without consequences.
ASTM moisture tests (such as F1869 or F2170) are tools to quantify slab moisture exposure, but the decision to install is governed by the flooring system’s specified limits.
RFCI resilient installation practices emphasize subfloor preparation (flatness and cleanliness) as a core determinant of long-term performance for resilient coverings.
Quick checklist before you start
| Phase | What to confirm | Done? |
|---|---|---|
| Identify product type | Sheet vs. LVP/LVT, underlayment/adhesive method | [ ] |
| Substrate type | Concrete/wood and any existing layers | [ ] |
| Flatness | Meets manufacturer tolerance | [ ] |
| Moisture testing | Use the required method/criteria for your system | [ ] |
| Removal plan | Protect building, limit dust/gouging | [ ] |
| Adhesives/primers | Compatible with substrate + vinyl system | [ ] |
| Layout | Reference lines, seam planning, edge gaps (if required) | [ ] |
| Install conditions | Temp/humidity within required range | [ ] |
| Curing/protection | Protect until ready for traffic/rolling loads | [ ] |
| Maintenance plan | Approved cleaners and routine schedule | [ ] |
Frequently Asked Questions
What’s the best way to prepare a commercial office before replacing vinyl floors?
Start by clearing the area, protecting desks and electronics, and planning around office hours to minimize disruption. Remove furniture, baseboards (if needed), and any existing floor coverings, then inspect the subfloor for damage, loose material, and moisture issues. Thoroughly clean and level the subfloor, because vinyl replacement in a commercial office requires a flat, dry surface for proper adhesion and long-term performance. Finally, confirm you have the correct underlayment, transition strips, and finishing materials for doorways and edges.
How do you replace vinyl flooring in an office with minimal downtime?
Use a phased approach by working in sections—such as one wing or hallway at a time—so employees can continue working in unaffected areas. Choose installation methods that speed the process, like click-lock luxury vinyl planks or tiles, and schedule floor replacement during weekends or after hours when possible. Pre-measure the space, stage materials onsite, and coordinate delivery so crews can complete prep, installation, and floor curing within a tight window. Plan for temporary access paths and post-installation work hours for rolling, seam finishing, and settling time.
Why is subfloor leveling and moisture testing critical when replacing vinyl in commercial spaces?
Uneven or damaged subfloors can cause vinyl floor lifting, bubbling, seam separation, and premature wear, especially under high-traffic conditions common in offices. Moisture problems can also lead to adhesive failure, mold growth, and unpleasant odors beneath the vinyl replacement layers. Before installing, check flatness with a straightedge and address high/low spots using appropriate patching compounds. If you’re using glue-down vinyl flooring, perform moisture testing per manufacturer guidance to protect the warranty and ensure lasting results.
Which vinyl flooring type is best for a commercial office—glue-down, loose lay, or click-lock?
The best choice depends on traffic level, maintenance preferences, and the existing subfloor condition. Click-lock luxury vinyl plank (LVP) is often popular for office settings because it can be installed faster and is easier to replace in sections later. Glue-down vinyl sheet or tile can provide a more rigid feel and strong performance, but it requires precise surface prep and correct adhesive selection. Loose lay can work well in some commercial environments, but it still demands a very smooth, stable subfloor and the right locking/anchoring system to prevent movement.
How do you handle transitions, doorways, and baseboards when replacing vinyl floors in an office?
Measure carefully for doorway clearances and plan transition strips at thresholds, between different flooring types, and around columns or offices. If you’re removing baseboards, reinstall them after the vinyl floor replacement so edges are properly sealed and protected from scuffs. Use the manufacturer-recommended transitions and ensure expansion gaps where required, particularly in larger commercial office areas. Finish the job with proper seam rolling (for glued installations), caulking where appropriate, and a post-install cleaning method that avoids residue and protects the new vinyl.
📅 Last Updated: October 26, 2026 | Topic: How to replace vinyl floors in a commercial office? | Content verified for accuracy and freshness.
References
- Asbestos – Overview | Occupational Safety and Health Administration
- Lead – Overview | Occupational Safety and Health Administration
- Asbestos | US EPA
- Lead Renovation, Repair and Painting Program | US EPA
- https://www.cdc.gov/niosh/topics/asbestos/
- Lead in the Workplace | Lead | CDC
- Asbestos – HSE
- https://scholar.google.com/scholar?q=replace+vinyl+flooring+commercial+office+installation Google Scholar
- https://scholar.google.com/scholar?q=resilient+floor+covering+removal+work+practices+asbestos Google Scholar
- https://scholar.google.com/scholar?q=subfloor+preparation+for+vinyl+sheet+floor+ASTM+F710 Google Scholar