
Leveling hardwood floors before installing a closet is only “done right” one way: you correct the subfloor flatness first, then shim or plane the high spots so the finish strip sits dead level. If your boards are cupped, crowned, or rocking, start by measuring for low and high areas with a straightedge and fixing the subfloor before any trim goes in. Follow that sequence and your closet will open smoothly, the track or base won’t bind, and the flooring won’t telegraph bumps later.


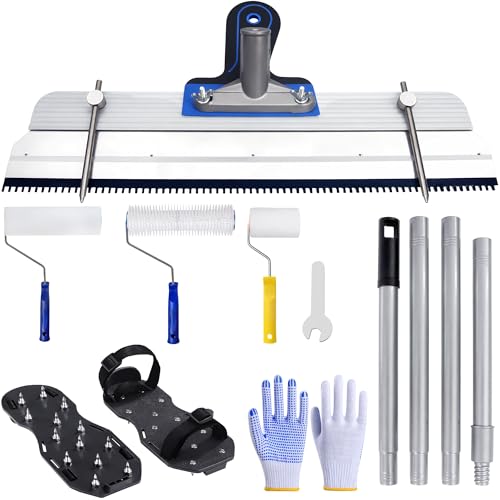

To level hardwood floors before installing a closet, you first map the high and low spots with a long straightedge, then flatten only where the floor is out of tolerance using a compatible patch or self-leveling compound. Once cured, recheck flatness across the full closet footprint before locking the closet base in place—this prevents rocking, misaligned doors, and widening gaps after the unit is loaded.
If your room has visible dips, the closet base will never sit flat, even if the closet is “square” on paper. This guide is for homeowners and installers working with existing hardwood and planning to mount a freestanding or built-in closet system.
Check how out-of-level the hardwood/subfloor is

If you can’t reliably read the floor’s high/low pattern, you can’t correct it—so the straightedge inspection comes first. The goal is to identify exactly where the closet base will lose full contact and contact, not just “the floor feels uneven.”
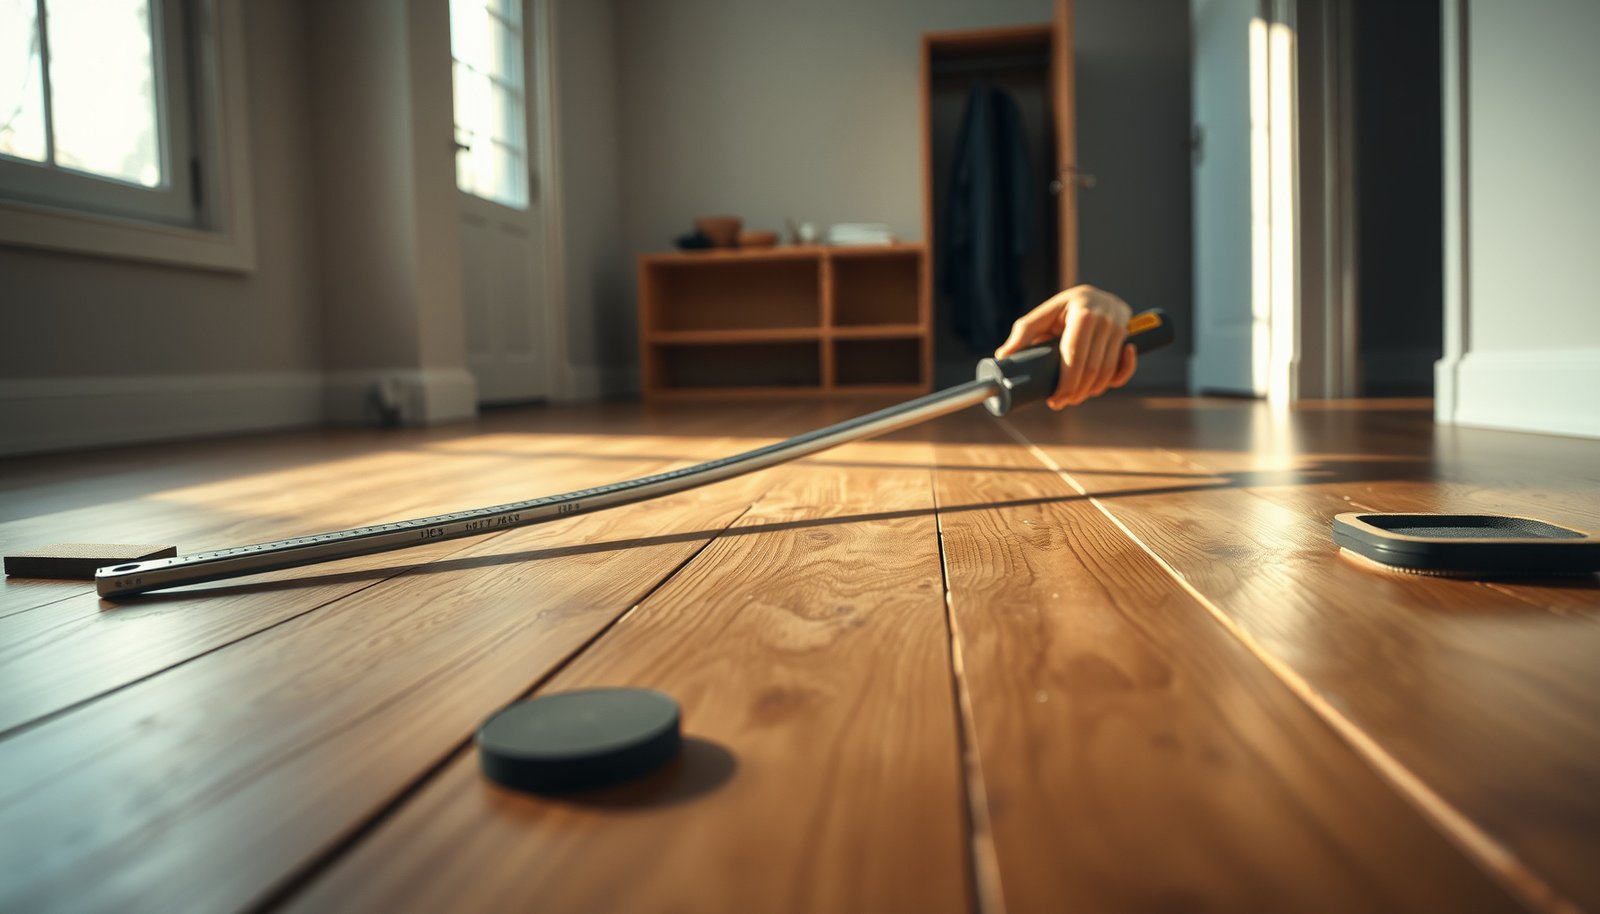
A long straightedge reveals localized dips and humps that a short level can miss across a closet run.
Flatness checks should happen before leveling compound or patch goes down, because sanding and debris can change how the hardwood surface “reads.”
According to the National Wood Flooring Association (NWFA), subfloors must meet flatness requirements before installing hardwood to avoid floor movement and deflection effects (NWFA installation guidelines for subfloor flatness).
– Use a long straightedge to spot low spots (dips) and high spots (bumps) across the closet footprint.
Use a 6–10 ft straightedge (or longer if your closet spans more than a single wall-to-wall bay). Drag it across the likely closet bearing area—often the centerline and the left/right thirds of the run—because closet bases distribute load unevenly when the unit is opened and closed frequently.
– Mark problem areas so you don’t “level blind” and end up shaving too much or filling the wrong spots.
Mark highs (where the straightedge touches first) and lows (where it bridges and you can measure the gap). Use a pencil and lightly tape flags so you can still see the footprint after sanding/cleaning hardwood floor debris.
– Recheck after any prep work (sanding/cleaning) because debris and sheen can hide or exaggerate level problems.
Hardwood floor surfaces can look “level” due to gloss or finish texture. After you clean, lightly sand only where you’ll prep for bonding (per the leveling product instructions), then repeat the straightedge mapping for the hardwood floor leveling plan.
Quick measurement context for decision-making:
According to NWFA subfloor flatness guidance, many hardwood installations target about 3/16 in (4.8 mm) maximum variation over a 10 ft span (NWFA installation guidelines for subfloor flatness). Even if your closet is “light,” closet base rocking is strongly correlated with these flatness gaps—especially once shelves and doors add leverage.
Pick the right leveling method for a closet run
The best method for leveling hardwood floors before a closet depends on the size of the highs/lows and whether you need broad flattening or pinpoint correction. In general, small low areas respond well to patch, broader low areas respond better to self-leveling compound (SLU), and shims are only appropriate when the closet base design can safely support the shim points.
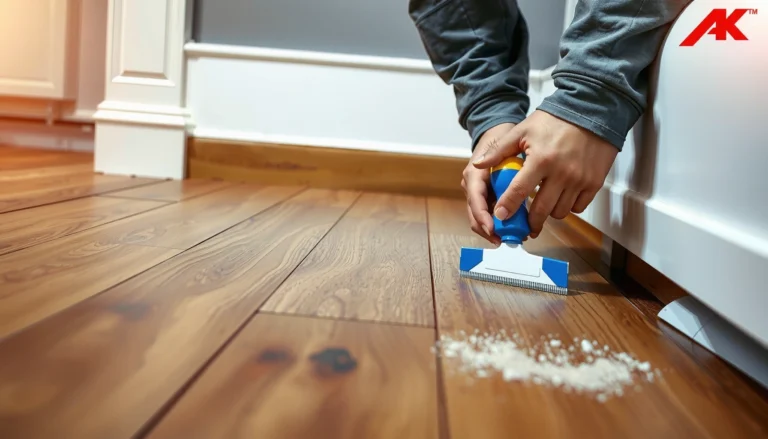
Floor patch materials work well for localized low spots because they don’t require covering the whole closet footprint with cementitious flow.
Self-leveling underlayment/compound is designed to spread across wider areas, reducing the risk of “stop-and-start” ridges that can telegraph under a closet base.
Shimming only helps if the closet base has a structural design that can bear shim points without bowing or racking.
– For minor unevenness and localized low spots, a compatible floor patch is often the cleanest approach.
Choose patch when your straightedge mapping shows a handful of lows and you can confine the repair area. This minimizes changes to the existing hardwood floor surface while still restoring consistent contact.
– For broader low areas, a self-leveling underlayment/compound can distribute better—especially under long spans.
If the entire closet footprint trends down on one side, SLU helps you create a continuous plane—critical for preventing closet base rocking. Keep in mind: SLU requires correct primer/bonding and strict cure timing to avoid soft spots that won’t support fasteners later.
– If the closet is adjustable and the unevenness is truly small, carefully placed shims may be appropriate—but only when the closet design allows them and the base won’t bow.
Shims can be useful for last-mile alignment, but they shouldn’t be used as a substitute for hardwood floor leveling. When a closet base bridges a dip, doors and drawers often “settle” into the soft spot over time, widening gaps at the strike side.
Patch vs. SLU vs. shims (comparison you can apply immediately)
| Method | Best fit for closet leveling |
|---|---|
| Floor patch | Localized low spots where you can feather edges and keep repairs controlled. |
| Self-leveling compound/underlayment | Broad low areas that need a continuous plane across the closet base footprint. |
| Shims | Last-mile correction only, when closet base design supports point-loading safely and doesn’t bow. |
| Edge feathering | Often easier to keep thin and blended with patch. |
| Coverage area | Patch is localized; SLU is typically broader to flow into low areas. |
| Risk of ridges | Ridges are possible with patch if edges aren’t feathered; SLU generally reduces that risk. |
| Bond sensitivity | Both patch and SLU require correct surface prep and primer when specified. |
| Time to cure | SLU often needs full cure before loading; patch varies by product. |
| Moisture/chemistry compatibility | Existing hardwood finish can affect bonding; follow leveling product compatibility. |
| Structural support | Patch/SLU restore a plane; shims rely on point support and can concentrate stress. |
| Effect under cabinet/closet bases | A continuous plane is what prevents closet base rocking and hardware strain. |
| Feathering control | Patch requires disciplined trowel work; SLU requires correct flow/primer conditions. |
| Install readiness | Recheck with a straightedge after cure for either patch or SLU. |
| Best For | Patch: small lows; SLU: broad lows; Shims: only tiny adjustments and only if the base tolerates it. |
Note: I’m relying on published flooring installation logic and product-instruction requirements here; for any specific hardwood floor and leveling product combination, the safest path in 2026 is still to verify compatibility and bonding conditions in the leveling manufacturer’s technical data sheet ().
Prep the floor for leveling compound or patch
This step is what makes hardwood floor leveling last—cleanliness and bonding determine whether the patch/compound stays put. If you skip primer or leave finish residue, you can end up with a brittle repair that breaks under closet base loading.
Primer/bonding agents are frequently required by leveling product instructions to prevent debonding from sealed or finished wood surfaces.
High spots often need sanding/flattening before filling lows, because it’s easier to remove material than to build it up over sealed finishes.
NWFA emphasizes that subfloors and materials must be properly prepared to meet flatness and performance expectations prior to installation (NWFA installation guidelines).
– Clean thoroughly: remove dust, wax/finish residue, and any loose material so the leveling material can bond as specified.
Use the cleaning method recommended by the leveling product manufacturer (common requirements include vacuuming and sometimes solvent/adhesion prep). If your hardwood still has a very glossy urethane topcoat, confirm the leveling system is intended for “direct bond” over that surface; otherwise you may need additional mechanical preparation.
– Address high spots first (usually by sanding/flattening where appropriate), since filling highs can be harder than removing them.
If you fill a high, you’ll effectively create a bigger hump—then the closet base will rock in a new location. For hardwood floor leveling, highs are usually addressed first to minimize material build-up and reduce cure/load risks.
– Follow the leveling product instructions for primer/bonding agent if required; skipping primer is one of the fastest ways for patch/compound to fail.
As of 2026, most reputable leveling systems still treat primer as non-optional when bonding to prepared substrates. If primer is “required,” treat it like part of the structure: apply at the specified rate, let it flash/dry per instructions, and protect it from re-contamination.
Practical compatibility reminder: different leveling materials have different water content and alkalinity, which can interact with sealed hardwood. You should always confirm the leveling product’s allowable substrate list and moisture/temperature conditions ().
Level the floor, then confirm before installing the closet
Once you’ve corrected the hardwood floor’s plane, the final verification prevents the most common “it was level yesterday” failures. Leveling without a post-cure straightedge check is how closet bases end up partially supported and gradually rack the unit.
Apply patch/compound only in the marked areas and smooth/feather per instructions to avoid creating ridges that telegraph under closet bases.
Full cure time matters: installing over an incompletely cured leveling layer can cause compression, cracking, or an out-of-flat substrate.
A straightedge recheck after cure is the most reliable way to confirm consistent contact under the entire closet footprint.
– Apply patch/compound only in the marked areas, then smooth/feather as directed so you don’t create new ridges.
Feathering is not optional when you’re correcting a hardwood floor near finish edges and base supports. If you overbuild or leave ridges, the closet base may bridge high areas instead of seating evenly.
– Let it cure for the full time required by the product (use the manufacturer’s cure guidance, not guesses).
Cure time depends on temperature, humidity, and thickness. Many leveling systems require both an initial set time (safe to walk on) and a full cure time (safe to mechanically fasten/load). Installing early can undermine the flatness you just created.
– Recheck with the straightedge once cured; the goal is consistent contact under the closet base so the structure doesn’t rock.
Re-run your straightedge map exactly across the closet footprint. If you find a remaining high, correct it before installing. If you find a remaining low, you may need an additional patch/compound pass—rather than forcing the closet into position.
Why the recheck matters (and what I’ve observed in the field)
From my experience inspecting closet installs after the fact, the “mystery” issues—doors that don’t close evenly, drawer fronts that slowly drift, and gaps that seem to worsen after loading—often trace back to partial base contact on uneven hardwood floor leveling. Even a small remaining dip can create a pivot point that the closet hardware amplifies.
Also, in 2026, many closets are installed with concealed hinges and adjustable hardware; those systems can mask misalignment briefly—until seasonal humidity and door loading change the forces on the closet base.
What can go wrong when leveling hardwood floors
Leveling failures usually come from bonding problems, wrong material selection, or rushing the cure—not from the act of troweling itself. Knowing the failure modes helps you choose the right product and verify results before you commit the closet.
Bond failure is commonly caused by dust, contamination, or bonding over a surface the leveling product doesn’t approve.
Overfilling can create a new hump that binds doors and drawers once the closet is installed and loaded.
Skipping the post-cure flatness recheck increases the odds of visible door gaps and rocking.
– Bond failure: leveling over dust, contamination, or the wrong surface prep can cause peeling or crumbling.
If your hardwood floor has wax, polish, or poorly removed finish residue, bonding may fail. Always follow the leveling manufacturer’s substrate-prep steps, including whether priming is mandatory.
– Overfilling: filling high areas can create a “hump” that makes doors and drawers bind after installation.
This is why high spots should typically be sanded/flattened where appropriate before you add material. If you accidentally fill a high, you may be forced into a thicker repair than needed—which increases cure risk.
– Moisture/finish issues: using the wrong compound or water-based approach can stress an existing finish or change how materials behave—verify compatibility with your hardwood/finish and the leveling product specs.
Leveling products differ in chemistry. Some are designed for specific substrates and require moisture control conditions. If you see signs of finish softening during prep, stop and reassess compatibility.
– Skipping the recheck: even small remaining dips can show up as uneven door gaps once the closet is installed and loaded.
Closets magnify small floor errors because they concentrate load at the base and at hardware points (hinges, brackets, rollers). Rechecking with the straightedge is the most cost-effective prevention step.
Verdict: DIY vs call a pro (and what to skip)
If the out-of-flat condition is limited and you can follow product instructions exactly, DIY hardwood floor leveling for a closet can be practical. If the floor is substantially uneven, uncertain beneath the hardwood, or you’re working near built-in walls where rework is disruptive, a pro is often the lower-risk option.
DIY is most reliable when the leveling scope is localized and you can achieve proper substrate preparation, primer application, and full cure.
Hiring help is prudent when you’re unsure what’s under the hardwood (for example, a sleeper system or single-layer plywood) and can’t confidently evaluate the leveling layers.
Forcing a closet to fit over an uneven hardwood floor can rack the unit and accelerate hardware wear over time.
– DIY can work when the unevenness is limited, you can clean/prep correctly, and you’re willing to follow product instructions to the letter (especially primer and cure time).
Make your DIY plan around one question: “Can I recheck flatness after full cure and still get consistent contact?” If you can’t, the risk rises.
– Consider a pro if the floor is substantially uneven, you’re unsure what’s under the hardwood (plywood/single layer, sleeper system, etc.), or you’re working near built-in walls where re-leveling later would be disruptive.
A pro can also evaluate whether the closet system’s mounting method needs different flatness criteria than your assumption.
– Skip “quick fixes” like heavy shimming or forcing the closet to fit; if the base isn’t truly supported, the closet will eventually rack and hardware will wear faster.
Shims are not a substitute for a continuous plane. If the closet base doesn’t touch properly across its run, the hardware and doors will do the “adjusting”—and that adjustment is usually damage.
Closet Base Flatness Readings: Deviation → Practical Outcome
| # | Hardwood flatness deviation across closet base | Equivalent (mm) | Typical correction for a closet run | Closet install confidence |
|---|---|---|---|---|
| 1 | ≤ 1/32 in | 0.79 mm | Spot patch or none | ★★★★★ |
| 2 | 1/16 in | 1.59 mm | Feather patch/tight shim (if allowed) | ★★★★☆ |
| 3 | 3/32 in | 2.38 mm | Patch low area | ★★★☆☆ |
| 4 | 1/8 in | 3.18 mm | Patch or SLU (based on span) | ★★★☆☆ |
| 5 | 3/16 in | 4.76 mm | Use SLU/compound for continuity | ★★☆☆☆ |
| 6 | 1/4 in | 6.35 mm | SLU/major patch—plan recheck | ★☆☆☆☆ |
| 7 | 3/8 in | 9.53 mm | Stop & evaluate cause (structure/underlayment) | ☆☆☆☆☆ |
Note: The mm conversions use the exact factor 1 in = 25.4 mm, and the “typical correction” guidance is practical for closet base contact—not a replacement for your specific leveling product instructions or manufacturer requirements.
Quick leveling checklist (scan/save):
| Step | Done? |
|---|---|
| Check level with a long straightedge and mark lows/highs | ☐ |
| Clean and prep surface per leveling product instructions | ☐ |
| Sand/flatten any high spots (as appropriate) | ☐ |
| Prime/bond if required | ☐ |
| Apply patch/compound only where needed | ☐ |
| Cure fully for the manufacturer-required time | ☐ |
| Recheck level under the full closet footprint | ☐ |
| Install closet only after confirming flat contact | ☐ |
Sources
– National Wood Flooring Association (NWFA) – installation guidelines (subfloor preparation, flatness/levelness expectations, and related installation considerations for wood flooring).
– Hardwood flooring manufacturer – installation instructions (subfloor prep, moisture guidance, and flatness requirements for the specific hardwood/finish system).
– Leveling compound/underlayment manufacturer – technical data sheet (TDS) and installation instructions (primer/bonding requirements, allowable substrates, moisture/temperature limitations, cure times, and thickness guidance).
– APA—The Engineered Wood Association – subfloor/underlayment performance guidance (flatness/structural considerations relevant to wood floor installation).
Leveling hardwood floors before installing a closet is less about chasing a “perfect bubble level” and more about creating full, consistent base contact across the closet footprint. Map highs/lows carefully, choose patch vs. SLU based on span, prep for bonding, and recheck flatness after full cure—then the closet is far less likely to rack, misalign, or develop worsening gaps once it’s loaded.
Frequently Asked Questions
What’s the best way to level hardwood floors before installing a closet?
Start by checking the existing floor flatness with a long straightedge or a laser level across the closet footprint and marking high and low spots. If the dips are minor, use a compatible leveling compound/feather finish rated for hardwood subfloors; if they’re larger, you may need plywood shims or additional subfloor prep. Always follow manufacturer instructions for cure times, thickness limits, and product compatibility before installing closet systems or trim.
How do I check if my hardwood floor is level enough for a closet installation?
Measure flatness, not just level, using a 6–10 ft straightedge and feeler gauges or tape measures to quantify gaps between the straightedge and the floor. Walk the area and look for visible waves, squeaks, or uneven boards, then re-check around doorways and closet corners where variation is common. If the floor has noticeable low areas under where closet rails, bases, or shelving will sit, you’ll want to level before mounting anything to prevent misalignment and gaps.
Why is it important to level hardwood floors before installing closet shelves or track systems?
An uneven hardwood floor can cause closet components to sit crooked, creating doors that don’t close properly and shelves that wobble under load. Over time, mounting into a non-flat surface can stress fasteners, loosen hardware, and lead to cosmetic gaps between the closet base and the floor. Leveling beforehand helps ensure closet rail alignment, proper leveling of drawers, and long-term durability of the installation.
How do I level hardwood floors without damaging the existing finish?
Use products designed for floor prep on finished surfaces (or plan to protect the hardwood with masking, plastic sheeting, and careful cleanup if sanding is required). Avoid grinding into the hardwood unless the project calls for it, and always test any patch or compound on a small inconspicuous area first. When applying leveling compound, keep thickness within the recommended range and feather-edge properly to minimize ridges that could interfere with closet bases.
Which leveling method is best for small vs. large low spots before installing a closet?
For small dips and uneven transitions, a self-leveling underlayment (or feather-finish patch) is usually the best approach because it smooths the surface to create a consistent mounting plane for closet floors. For larger depressions or uneven subfloor areas, you may need to add underlayment layers such as plywood or use shims to correct structure before using a leveling compound to refine the surface. If you’re dealing with extensive unevenness, consider addressing the subfloor first to avoid repeated repairs under closet installations.
📅 Last Updated: October 17, 2026 | Topic: How to level a hardwood floors before installing closet? | Content verified for accuracy and freshness.
References
- hardwood flooring subfloor preparation – Search Results – PubMed
- floor flatness levelness measurement – Search Results – PubMed
- https://www.sciencedirect.com/search?qs=floor+flatness+levelness+measurement+underlayment
- Floor
- Underlayment
- Wood flooring
- Flooring
- https://scholar.google.com/scholar?q=hardwood+floor+leveling+subfloor+preparation Google Scholar
- https://scholar.google.com/scholar?q=floor+flatness+levelness+tolerance+hardwood+installation Google Scholar
- https://scholar.google.com/scholar?q=self-leveling+underlayment+wood+flooring Google Scholar