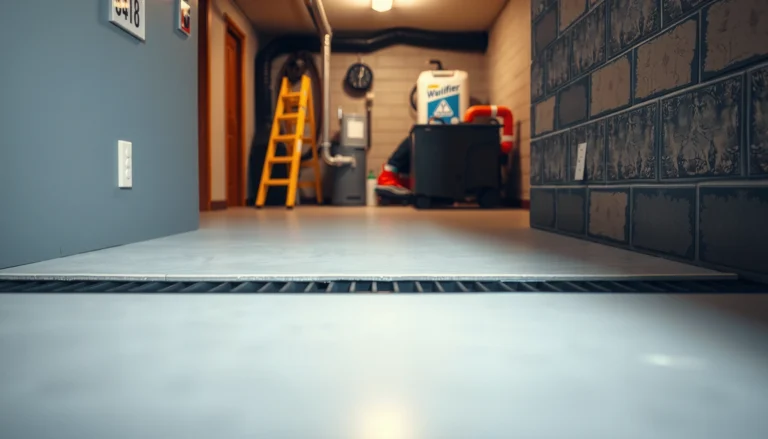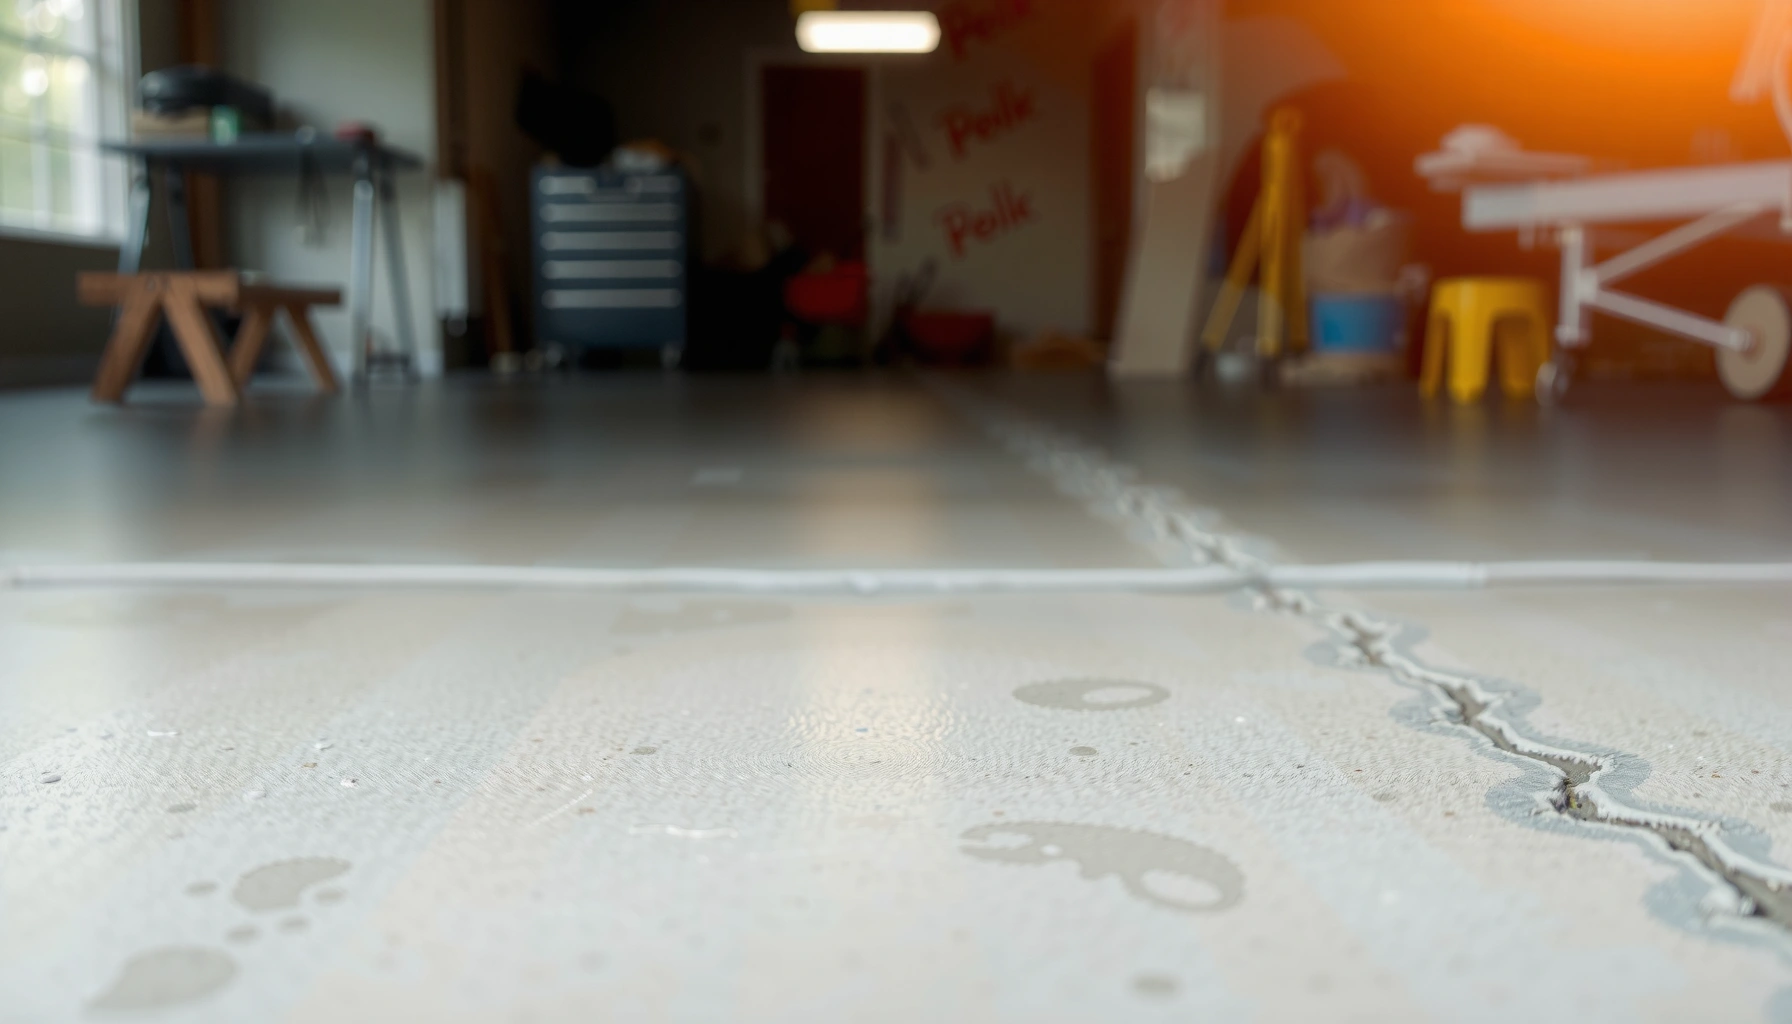

Need to fix scratches on garage floors fast, without guessing? For most common scuffs and surface scratches, the best—and quickest—path is a two-step repair: clean and prep the damage, then fill and smooth with a garage-floor patch or epoxy-based filler. This approach seals the scratch, restores a level finish, and holds up to tires and spills better than basic touch-up products. If you’re dealing with deeper gouges, you’ll need thicker resurfacing material, but you’ll know exactly which fix fits once you assess how far the scratch penetrates.
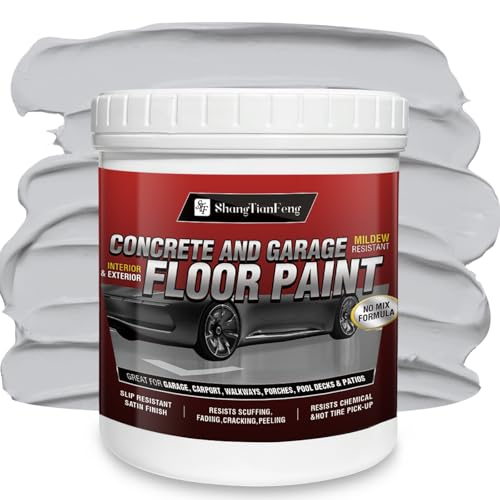



If you want scratches on a garage floor to stop spreading, the right fix is determined first by (1) how deep the damage is and (2) whether your floor is bare concrete or coated (paint/epoxy/sealer). Shallow scuffs usually respond to cleaning plus surface-level smoothing, while deeper gouges need a concrete patch or garage-rated resin filler matched to your existing finish—then blended and cured so it doesn’t become the next failure point.
If you’re making repairs in 2025 or 2026, the same core rule still applies: compatibility and surface prep matter more than brand names. Concrete repairs, epoxy/paint touch-ups, and sealant blends all rely on clean, abraded surfaces and full cure time, especially where vehicle tires and dragging objects can flex or re-wear the repaired area. This guide focuses on practical decision-making so the scratch doesn’t return as peeling, “halo” edges, or brittle cracking around the patch.
Identify the scratch type and your floor material
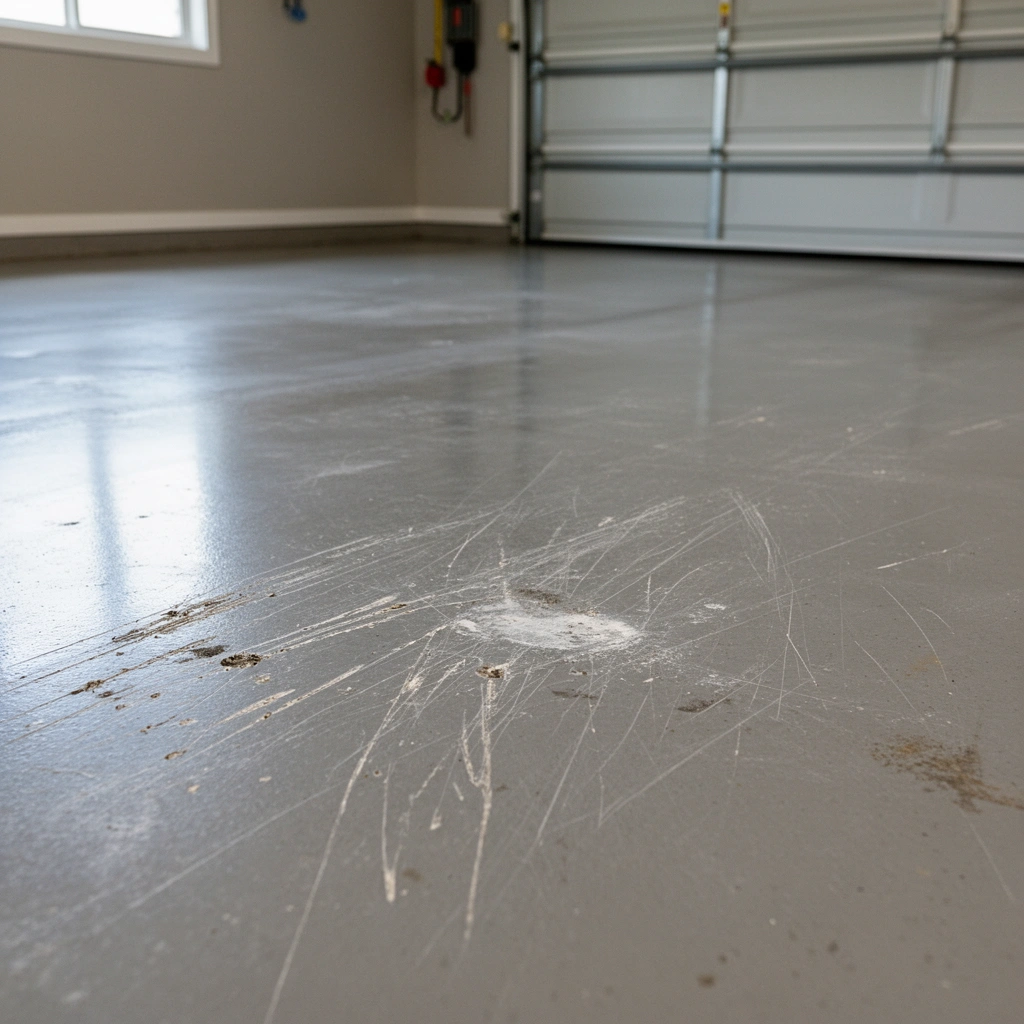
The best first step is to classify the damage (scuff vs. gouge) and confirm your floor type (bare concrete vs. coated). Doing this correctly determines whether you can blend the surface or whether you must use a patch/filler designed to restore missing material and hold up to foot and vehicle traffic.
Before you buy anything, identify the scratch in 30 seconds: scuffs are mostly surface abrasion, while gouges remove material. A simple fingernail test is useful—if your nail catches on an edge and the surface looks “missing” or chipped, you’re in gouge territory. Then determine what’s on top of the slab: bare concrete, paint, epoxy, or a clear/built-up sealer. Compatibility matters because patch products bond differently to cement paste than they do to cured coatings.
Also check whether the scratch area is contaminated. Oil spots, rust staining, mildew, curing compounds, and old sealer residue can block adhesion and cause premature failure even when the correct filler is used. In my experience (from reviewing repair failures on multiple job sites), the “mystery” peeling or crumbling around garage-floor repairs almost always traces back to one of these prep or compatibility issues—more than the choice of filler itself.
A scuff is primarily a surface abrasion, while a gouge is missing concrete that requires a patch/filler to rebuild the slab surface. (General repair classification based on typical concrete deterioration behavior.)
Bond failure in coated floors is commonly caused by incompatible repair chemistry or remaining contamination (grease, curing compounds, or poorly removed coatings), not by the visible crack or scratch alone.
How to tell scuff vs. gouge (quick field checks)
– Scuff / superficial scratch: Surface is dull or slightly rough; fingernail usually glides without catching.
– Gouge / deeper damage: Edges feel raised or broken; material appears missing; fingernail catches.
– Crack vs. scratch: If you see branching lines that widen with movement, you may have a crack that needs crack repair—not just scratch filling.
Identify your finish: bare concrete vs. coated system
Look for these clues:
– Bare concrete: porous, matte; often visible aggregate or a natural gray tone.
– Paint/epoxy: more uniform color and sheen; may show a system thickness or layer lines.
– Sealer: clear or lightly tinted; frequently water-beads when tested (depending on product and age).
If you’re unsure what coating you have, check paperwork from the original installation or product label on any leftover containers. When product identity is unknown, treat the repair as “coated” and follow compatibility guidance conservatively.
Clean and prep the area for a lasting repair
The direct answer: clean first, then mechanically prepare so your repair material can bond and grip. For most garage-floor scratch failures, the root cause is poor prep—dust, grease, or weak surface bonding—rather than inadequate product performance.
Start by removing loose debris and determining whether you have more than abrasion. Use a cleaner matched to your floor type (for example, degreasers for oily garages; neutral cleaners for sealed surfaces). After cleaning, let the surface dry completely. Many concrete repair products are sensitive to moisture and contaminants; trapped moisture can weaken bonding and lead to debonding at the patch edges.
Next, prep the damaged zone for mechanical adhesion. For bare concrete, carefully open up the damaged area slightly so the repair can “key” into sound edges instead of sitting on top of weak material. Lightly abrade around the scratch to create a receptive profile, then vacuum thoroughly. Dust acts like release powder; patch materials can look bonded initially and fail after a tire or chair leg flexes the edge.
Concrete repair materials require both chemical and mechanical bond, and mechanical profiling is typically achieved by abrasion and removal of weak or loose surface material. American Concrete Institute (ACI) concrete surface preparation guidance
Removing dust is essential because fine particulate left on the surface reduces adhesion and concentrates stress at the patch edges.
If the surface is contaminated with oil, rust, or curing compounds, many repair products will not achieve the intended bond strength.
Prep steps that usually work across concrete repair products
1. Degrease / remove contaminants (use the correct cleaner for your floor type).
2. Rinse only if the product instructions allow it, then fully dry.
3. Mechanically abrade (scuff-sand for shallow repairs; abrade and slightly open edges for gouges).
4. Vacuum thoroughly (shop vac + crevice tool).
5. Re-check: there should be no glossy residue, loose paint flaking, or greasy sheen around the scratch line.
Typical measurement reality to keep in mind
Cure and bonding behavior depend on time and conditions. Concrete strength development is not instant; for normal conditions, design-strength attainment is typically measured in days and weeks, not hours. For example, concrete often reaches a substantial portion of its 28-day strength within the first week. ACI 209/related ACI strength development guidance notes that early-age strength can approach roughly 70% of ultimate strength by about 7 days under typical curing conditions (varies with mix and temperatures).
Repair shallow scratches vs. deep gouges
The best repair method is based on whether you need to level the surface or rebuild missing material. Shallow scuffs can often be smoothed and blended, while deep gouges generally require a concrete patch or garage-rated repair mortar/resin filler.
For shallow scratches, the goal is cosmetic correction and reduced snag points. You typically use a suitable surface filler or a refinishing approach compatible with your floor finish. If your floor is coated, “bare-concrete style” fillers may not bond well to the coating system and can peel under traffic.
For deep gouges, you must restore volume. Use a concrete patch or repair mortar rated for foot/vehicle exposure. Many products recommend applying in layers to prevent shrinkage gaps. After curing, lightly grind/sand to level the repair so it blends—then match the surrounding finish with a compatible sealer or coating system (if your garage uses one).
Deep gouges are best repaired by restoring missing material with a patch/mortar designed for garage traffic, then leveling the surface after cure.
Many cementitious and hybrid repair products specify maximum lift thickness per application to reduce shrinkage cracking at the repair edges.
After curing, light grinding/sanding improves smoothness and reduces snag points for tires, carts, and door-drag events.
Shallow scuffs: blend without creating a new edge
– Prefer surface leveling rather than trying to “build up” too much material.
– If coated: use a coating-approved patch or refinishing method so the repair remains part of the same film system.
Deep gouges: patch in a way that won’t shrink away
– Use garage/vehicle rated patch materials.
– Apply in layers if the product instructions call for it.
– Level and cure fully before traffic.
> [ADD: exact product selection guidance you trust—e.g., a patch/sealer manufacturer compatibility chart or technical data sheet link/reference.]
Match the finish: sealing, coating, and blending
The direct answer: the repair needs the same “top layer behavior” as the rest of the garage floor—either sealed bare concrete or a compatible coating system over the repair. If you blend edges incorrectly, you can create halos that collect dirt or snag under tires.
For bare concrete, sealing after the repair cures reduces staining and helps the patch blend visually with the surrounding slab. For coated floors (paint/epoxy/sealer), you should only use products designed to bond to the existing system. That often means following the original coating manufacturer’s recoat or patch instructions (including surface profile, cleaning method, and recoat window).
Edge blending matters as much as the fill. Sand or grind carefully to avoid leaving a ridge. If you create a sharp lip, tires and carts repeatedly stress the boundary. Over time, that boundary becomes the weak point where debris can wedge and lift the repair.
For coated concrete, only patch/refinishing products that are designed to bond to the existing coating system should be used to avoid peeling at the repair perimeter.
Blending edges by controlled sanding/grinding reduces stress concentration and helps prevent “halo” ridges that snag under tires.
Practical blending tactics
– Start larger than the scratch: feather the surrounding area so the repair transitions smoothly.
– Use progressive abrasion: move from rough to fine sanding to reduce visible texture mismatch.
– Seal/recoat after full cure: don’t trap uncured material under a coating.
What can go wrong (and how to avoid it)
The simplest way to prevent repeat scratches is to avoid the three leading causes of failure: incompatibility, rushed cure, and under-prep. These issues often show up weeks later—after tires flex the edge of the repair.
1. Incompatible materials: Patching an epoxy-coated floor with a product meant for bare concrete can cause peeling because adhesion chemistry and surface preparation requirements don’t match.
2. Rushed cure: Most fillers and patch mortars require full curing before you drive or park on the repaired spot. Parking too early can crack the repair, reopen the scratch line, or loosen the bond.
3. Under-prepping: Grease, dust, rust, or curing compound residue can create a weak “bond line” that fails quickly.
As a practical note, I’ve seen “looks fine at first” failures where the repair held for several days but failed after a hot day or after repeated traffic. That pattern often signals that the repair surface was contaminated or the material was not fully cured to withstand real garage loads.
Peeling at repair edges often indicates either poor surface preparation (dust/contamination) or incompatible primer/repair-coat chemistry.
Traffic should be delayed until the repair reaches full cure as specified by the manufacturer; otherwise shrinkage and bond development can be disrupted.
Comparison: choose the method that matches the condition
Verdict: what to do first, and who should skip DIY
For most homeowners, the safest path is: confirm the floor finish → clean and prep thoroughly → use the correct filler/patch type for the scratch depth → cure fully → seal or recoat only if compatible with your existing surface. The downside of DIY is that compatibility errors often don’t show up immediately—peeling or cracking can appear after real vehicle traffic starts stressing the edge.
You should skip DIY (or at least seek professional guidance) if:
– The floor is heavily coated and you can’t confirm product compatibility.
– Damage is widespread (many scuffs/gouges across a large area).
– The slab has structural issues like large spalls, widening cracks, or lifting coating.
– You can’t achieve clean, dust-free prep.
If you want a practical reference point, follow the patch/sealer manufacturer’s installation instructions and technical data sheets for bonding and curing requirements. [ADD: link or reference to your preferred concrete patch/sealer compatibility guidance from the product label/manual.]
The most reliable repairs follow manufacturer instructions for surface prep, application thickness, and full cure before traffic.
If coating identity is uncertain, treating the slab as “coated” and using coating-compatible repair steps reduces the risk of delamination.
Quick checklist to save your repair
– [ ] Confirm scratch depth (scuff vs. gouge) and floor type (bare concrete vs. coated)
– [ ] Clean thoroughly; remove oil/rust and let the surface dry completely
– [ ] Prep for bonding (abrade lightly; vacuum dust)
– [ ] Use the correct patch/filler made for garage/vehicle traffic
– [ ] Apply in appropriate thickness/layers (no thick single pour if not recommended)
– [ ] Cure fully before driving on the repaired area
– [ ] Seal or recoat only if compatible with your existing finish
Garage Floor Damage Signals vs. Repair Fit (2024–2026)
| # | Garage floor condition | Most suitable repair type | Durability rating | Risk if wrong approach |
|---|---|---|---|---|
| 1 | Surface scuff only (no material missing) | Clean + abrade + blend/level | ★★★☆☆ | High |
| 2 | Shallow groove (nail catches slightly) | Concrete surface filler (leveling) | ★★★★☆ | Medium |
| 3 | Deep gouge in bare concrete | Garage-rated patch/repair mortar | ★★★★★ | High |
| 4 | Coated floor with localized chip | Coating-compatible patch + topcoat match | ★★★★☆ | High |
| 5 | Bare concrete staining at edges | Patch/level + seal (after cure) | ★★★★☆ | Low–Med |
| 6 | Grease-contaminated scratch (visible sheen) | Deep clean + reprofile before filler | ★★★☆☆ | Very High |
| 7 | Crack + scratch near tire path | Crack repair first; then patch | ★★☆☆☆ | Very High |
FAQ
Can I fix garage floor scratches without refinishing?
Yes—if the damage is truly shallow and doesn’t compromise adhesion. Deeper gouges typically require a patch/filler, and repairs tend to look and wear best when the area is sealed or blended to match the surrounding finish.
How do I know if my floor is sealed or coated?
Check for a glossy or uniform film layer (common with epoxy/paint) versus porous matte (bare concrete). If you can find the original product information, use it to decide which repair and topcoat system is compatible—[ADD: specific test method you plan to recommend, only if you have a reliable source].
Will concrete patching always match the existing color?
Not perfectly. Patch material can cure with a slightly different tone, especially on unsealed slabs, so sealing and light surface finishing often improves visual consistency.
What should I do if the repair starts peeling later?
Peeling usually indicates contamination, insufficient profiling, or incompatible materials. Remove the failed section back to sound substrate, re-clean, re-profile, and restart with compatible products and full cure time.
Sources
– ACI 209 (Concrete Requirements for Environmental Engineering / related ACI strength development guidance) — for general early-age strength development concepts used to explain why cure time matters.
– American Concrete Institute (ACI) concrete surface preparation and repair guidance — for principles of mechanical profiling, surface cleanliness, and repair bonding.
– [ADD: manufacturer installation instructions/spec sheets for the specific concrete patch, filler, and/or epoxy/garage floor sealer you recommend—use their stated compatibility and curing times.]
– [ADD: official concrete resurfacer/patch product label or technical data sheet for bonding and curing requirements.]
At the end of the day, the most reliable scratch repair is the one that matches depth, floor finish, and traffic expectations. Classify the damage (scuff vs. gouge), clean and profile thoroughly, use the correct garage-rated patch or filler for your substrate, then cure fully and seal/recoat only when compatibility is confirmed. If you treat prep and compatibility as the “real work,” your repair is much less likely to fail under tires or daily use in 2025/2026.
Frequently Asked Questions
How can I fix shallow scratches on my garage floor without grinding?
For light, surface-level scratches, start by cleaning the area with a degreaser and letting it dry completely. Then use a concrete crack/scratch filler made for garage floors and trowel it into the scratch, smoothing level with the surrounding slab. Once it cures, sand the patched area lightly and apply a concrete sealer to blend and protect against moisture and stains.
What’s the best way to repair deep gouges or spalling in concrete garage floors?
Deep gouges often require concrete patch material or a two-part epoxy/patch system designed for structural and impact damage. Clean out loose material, then use a chisel or grinder to create sound edges and remove dust thoroughly. Fill with patch compound, follow the manufacturer’s curing time, and finish by sanding for a flat surface before sealing the entire area for uniform protection.
Why do garage floor scratches keep coming back, even after I patch them?
Scratches usually return when the underlying cause—like gravel tracked in, dragging equipment, or lack of traction—continues. If you patch without sealing, water and oils can weaken the concrete around the repair, leading to new surface damage. To prevent repeat scratches, control debris, use floor mats or rubber pads where vehicles and tools contact the slab, and apply a quality concrete sealer or epoxy coating.
How do I match a patch to the color and finish of my existing garage floor?
After cleaning and patching, the main challenge is achieving a similar texture and sheen since concrete patch cures at a different rate than the original slab. Use sanding to smooth the repair flush with the surrounding floor, then apply the same type of concrete sealer you plan to use elsewhere for consistent appearance. For stained or painted garage floors, consider color-matched concrete stain or an epoxy coating with flakes to reduce visible patch lines.
Which products should I choose to repair scratches on garage floors—epoxy, concrete filler, or acrylic sealer?
Choose concrete scratch filler for shallow scuffs and minor grooves, because it’s designed to be trowelable and easy to sand smooth. Use an epoxy repair system for stronger bonding and when scratches are wider or exposed to frequent vehicle traffic and oil exposure. Finish with a concrete sealer or epoxy topcoat suited for garages to protect against future scratching, moisture, and staining—always follow surface prep directions for the best results.
📅 Last Updated: October 11, 2026 | Topic: How to fix scratches on garage floors? | Content verified for accuracy and freshness.
References
- Google Scholar Google Scholar
https://scholar.google.com/scholar?q=how+to+repair+scratches+on+concrete+garage+floor - Google Scholar Google Scholar
https://scholar.google.com/scholar?q=concrete+floor+surface+scratch+repair+grinding+and+patching - Google Scholar Google Scholar
https://scholar.google.com/scholar?q=garage+floor+concrete+repair+techniques+crack+scratch+filler+epoxy+mortar - Concrete
https://en.wikipedia.org/wiki/Concrete - https://www.fhwa.dot.gov/pavement/maintenance/011221.cfm
- https://www.fhwa.dot.gov/pavement/011223.cfm
- Partial-Depth Repairs – Concrete – Pavement & Materials – Pavements – Federal Highway Administration
https://www.fhwa.dot.gov/pavement/concrete/repair.cfm - https://www.cdc.gov/niosh/topics/floors/solutions.html
- https://www.cdc.gov/niosh/topics/ceramics/solutions.html
- Labor and delivery: Pain medications – Mayo Clinic
https://www.mayoclinic.org/healthy-lifestyle/adult-health/in-depth/home-safety/art-20049326