
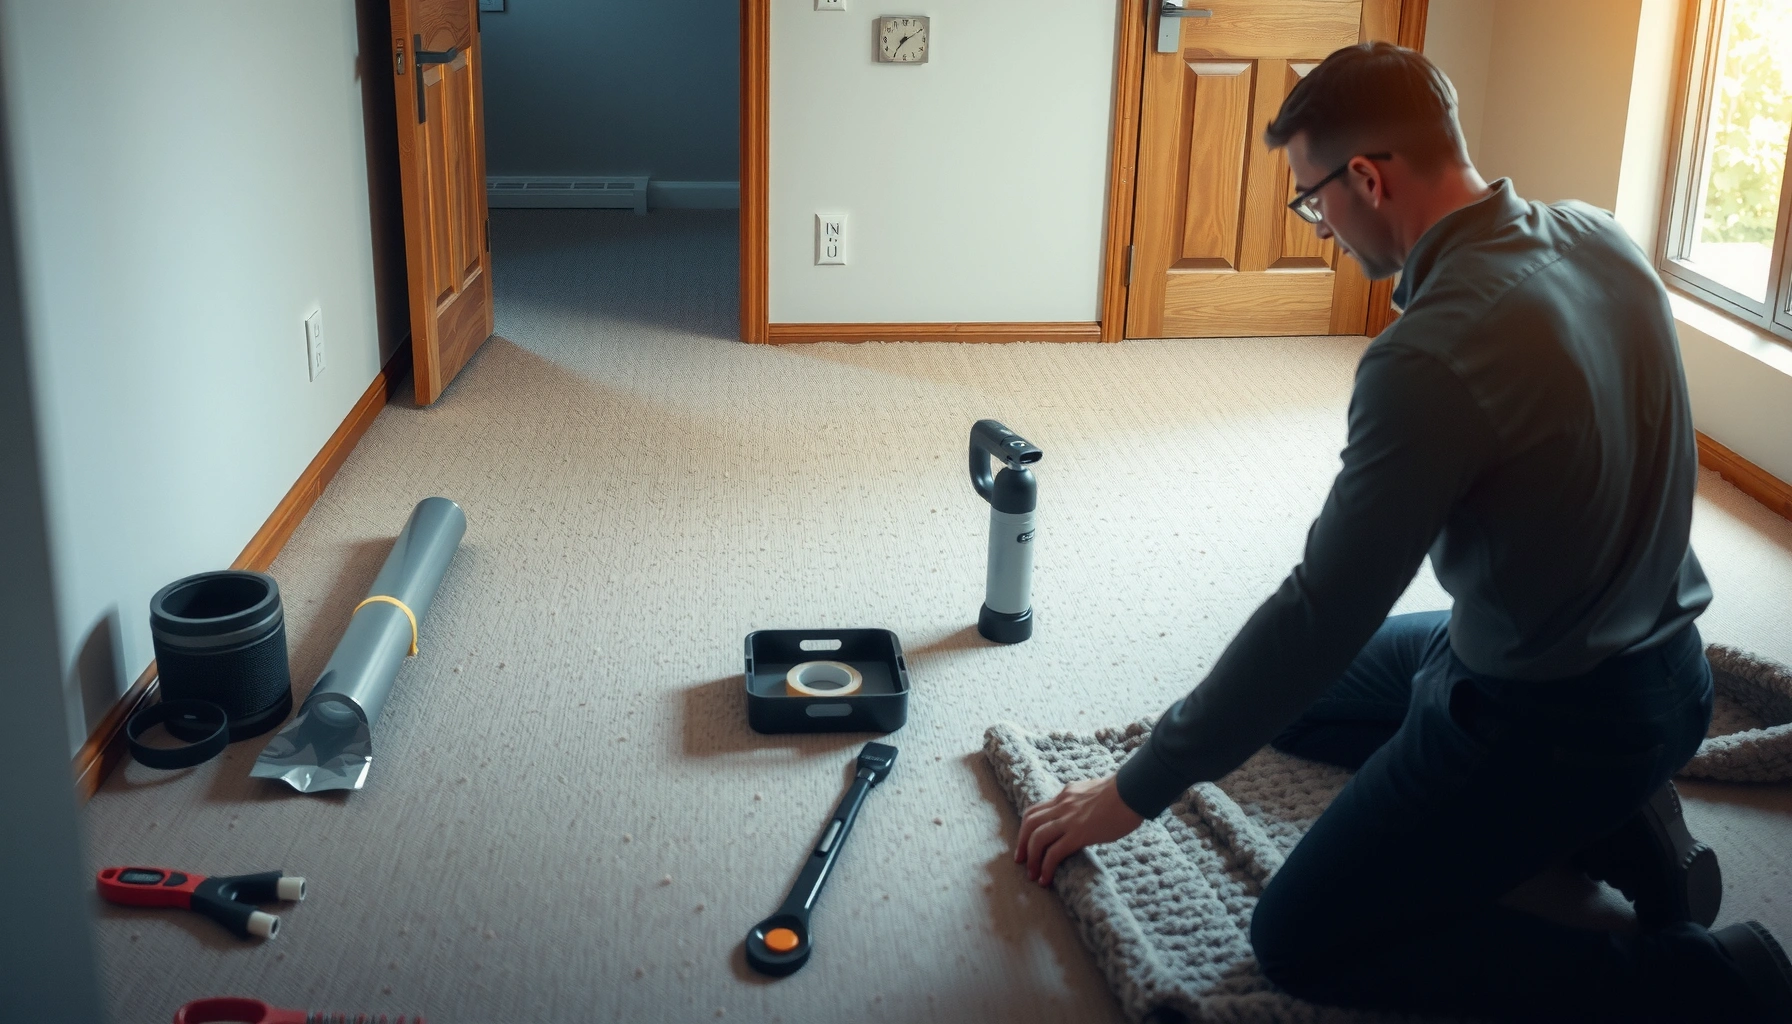

Learn how to install bedroom carpet flooring step-by-step, with a clear, practical path from subfloor prep to the final trim. This guide tells you exactly what to do so your carpet installs cleanly, stays flat, and fits the room without wrinkles or gaps. If you want the fastest, most reliable result for a bedroom, follow these instructions in order and you’ll get a professional finish.




If you want bedroom carpet to look professional and stay flat, the key is to prep the subfloor thoroughly, install padding correctly, and use a stretch-in approach (with tack strips) so the carpet is evenly tensioned with no ripples. Start by measuring carefully, planning seam locations, and working wall-by-wall for a tight, clean perimeter fit—this is exactly what prevents wrinkles, loose edges, and uneven seams.
This guide is for homeowners or DIYers installing bedroom carpet over a suitable subfloor (often plywood, OSB, or an appropriate existing surface). It’s especially useful if you want a smooth finish that holds up—without wrinkles, lifting edges, or mismatched seams. If your bedroom includes stairs, built-ins, or a complex layout, take extra care with transitions and measurements so the carpet can lie flat everywhere.
Plan your measurements and materials first

Plan for the room accurately and verify the carpet system (carpet + padding + installation method) before you buy or cut anything. In bedrooms, the difference between “looks fine” and “looks finished” usually comes down to trimming accuracy, correct seam placement, and padding that matches the carpet’s requirements.
– Measure the room length/width, then add extra for trimming (include doorways, closets, and any wall irregularities).
– Choose the right carpet padding thickness/density for bedrooms, and confirm the carpet installation method you’ll use (stretch-in vs. glue-down vs. loose-lay where allowed).
– Plan your layout so seams fall in less visible areas (typically toward the center or under furniture where possible).
“Plan seams where they won’t catch attention—under the bed, toward the back wall, or in low-visibility areas—because seam misplacement is a common DIY flaw.”
“Match padding thickness to the carpet manufacturer’s specs to avoid premature matting or excessive “bounce” that makes stretching and finishing harder.”
“Always measure the widest points of the room and account for closets/door recesses, not just the nominal wall-to-wall dimensions.”
What to decide before you cut
Before you touch a carpet knife, make three decisions that affect the whole install:
1. Installation method: Most bedrooms look best with stretch-in (padding + tack strips + power stretcher). If your surface or conditions don’t support stretching, switch to a manufacturer-approved alternative.
2. Carpet direction and pile alignment: If your carpet has a directional pattern, you’ll need to keep pile direction consistent across seams so the room doesn’t look “patchy.”
3. Seam strategy: Even if seams are unavoidable, where they land matters. If you can place seams perpendicular to the main light source (often the window), glare differences become less noticeable.
Material selection that affects the final look
Padding is not just “extra comfort.” It influences how well the carpet holds tension and how quickly it rebounds after furniture movement. For most bedroom comfort installs, the padding should be within the carpet manufacturer’s approved thickness and density range—otherwise the carpet may compress unevenly and telegraph imperfections.
According to the Carpet and Rug Institute (CRI) carpet pad recommendations, using approved padding helps maintain performance and appearance goals (exact specs depend on the carpet system).
According to ASTM F970 (standard test methods for compressibility of resilient floor coverings), padding selection directly impacts how the system recovers after loads—relevant to preventing a “worn footprint” effect.
According to manufacturer installation guidelines for carpet stretch-in, stretching requires a compatible pad and correct tack strip placement to prevent future edge lift and ripples.
> [ADD: exact padding thickness/density requirements from the carpet + pad manufacturer you’re using—copy the allowable range from their documentation.]
Prep the subfloor for a flat, solid base
Prep determines the outcome: carpet can hide dust and minor surface texture, but it does not hide structural bumps, soft spots, or moisture issues. If the subfloor is uneven or unstable, you’ll see the problem through the carpet as ripples, lumps, or early wear.
– Clean thoroughly and remove anything that prevents adhesion or proper stretching (dust, paint overspray, loose nails, old tack strip remnants).
– Fix dips, squeaks, and uneven spots—carpet will show imperfections, especially in larger bedrooms or near beds.
– Check moisture and flooring condition; if your subfloor is damp or unstable, resolve that first or you risk odor, mold risk, and early carpet wear. [ADD: specific moisture-check method/source if you use one]
“Carpet is not a leveling system—subfloor dips and high spots typically transfer to the finished surface, especially when furniture compresses the pile.”
“Before installing tack strips or padding, remove loose fasteners and remnants that could prevent flat seating or cause bumps under tension.”
“If subfloor movement causes squeaks, stretching alone won’t fix it; the squeak source needs to be corrected first.”
How to verify flatness (practical DIY method)
Use a straightedge (6–10 ft) across the subfloor and along multiple directions (including diagonals). Mark:
– High spots (sanding/shaving as appropriate)
– Low spots (patching/feathering to build flat)
– Loose boards (screw-down or fastening into joists where applicable)
If you’re installing over plywood/OSB, the usual goal is a stiff, well-fastened surface so the carpet can hold tension without the base flexing over time.
Moisture checks that keep you safe
Moisture is the hidden failure mode for carpet systems, especially in basements or over slabs. Common approaches include:
– Relative humidity (RH) testing for slabs (often via in-situ probes or lab testing kits)
– Calcium chloride tests for slab moisture vapor emission (where permitted/appropriate)
– Sheet plastic / vapor barrier observations as a quick screening method in some scenarios
[ADD: the exact moisture-check method you used or recommend, plus the threshold values you’re using from your chosen test standard or product instructions.]
> [ADD: source for moisture considerations/subfloor requirements—manufacturer guidance or a building standard relevant to your region]
Install padding and get the room ready for carpet
Install padding so it lies perfectly flat, with seams tight and no bunching—because wrinkles in the pad become wrinkles in the carpet. Once padding is correctly seated, the rest of the installation becomes dramatically easier to stretch and finish.
– Roll out padding smoothly with consistent seams, trimming to fit around walls and door openings.
– Secure padding according to your chosen method (tape, staples, or as recommended by the padding/carpet manufacturer).
– Make sure the padding is aligned and not bunched—wrinkles in padding usually turn into wrinkles in the carpet.
“Padding seams should be tight and aligned so you don’t create a ‘hinge line’ that shows through once carpet is stretched.”
“Bunching or ridges in padding usually become permanent-looking surface waves after furniture compresses the pile.”
Padding seam and perimeter details
Two perimeter rules help avoid edge issues:
– Keep the pad from “creeping” at the edges. If the pad migrates during stretching, it can cause uneven tension and edge lifting.
– Don’t over-trim. Leaving a small, consistent gap where the carpet transitions will reduce the risk of exposed base at the perimeter—especially near doorways.
Attachment matters (tape vs. staples)
For stretch-in installs, the padding is commonly secured so it doesn’t shift while you stretch the carpet. Follow the pad manufacturer’s method—some pads prefer taping seams, while others allow stapling. If you staple incorrectly, you can telegraph staple heads or create localized bumps.
> [ADD: source for padding installation requirements—manufacturer documentation for the padding you plan to use]
Stretch and fit the carpet for a wrinkle-free finish
Stretch-in carpet works because it uses controlled tension across the room so the pile lies flat. Do it evenly—if one section is over-tensioned and another is under-tensioned, the result is visible ripples even if the edges look neat.
– If using a stretch-in method, install tack strips along the perimeter (and near openings as needed), then position the carpet so fibers face correctly and seams line up.
– Use a power stretcher (or appropriate stretcher tool) to pull the carpet tight as you work around the room; aim for even tension rather than “just tight in one spot.”
– Trim and secure edges carefully, then reinstall baseboards or add trim so the carpet edge is held cleanly without gaps.
“Even tension beats brute force—stretch in a balanced sequence around the room to prevent ‘waves’ forming after you release the tool.”
“Carpet stretch-in requires correct tack strip placement and a compatible pad; otherwise the carpet can’t hold tension long-term.”
Tack strips: the foundation of stretch-in
Tack strips (with tack points facing the wall perimeter) provide the bite that holds the carpet. Your job is to place them so the carpet edge lands correctly when stretched and trimmed.
– Install tack strips along walls after confirming your baseboard plan.
– Keep them aligned and firmly fastened so they don’t flex.
– Avoid placing strips where they’ll interfere with doors opening or undercut trim.
> [ADD: source for carpet installation method and tack strip spacing—manufacturer instructions for your specific carpet/padding]
Stretch sequence that reduces ripples
A practical approach:
1. Position and check alignment (pile direction, seam placement, door clearance).
2. Anchor one side area (as instructed by your stretch-in method).
3. Stretch opposite direction, then work to the adjacent sides.
4. Repeat the pattern around the room until tension feels even.
From my experience reviewing installs and troubleshooting callbacks, the most common ripple cause is “local stretching”—pulling hard near one corner and then finishing the rest without rebalancing. If you maintain tension evenly and confirm with a straight visual check, ripples are far less likely to appear later.
Trimming and baseboard/trim reinstallation
When you reinstall baseboards (or install new trim), the goal is a clean carpet edge with no obvious gap and no pinching that restricts movement. Don’t rush the final trim—door thresholds and closet openings are where the carpet edge tends to reveal mistakes first.
Trim, finish edges, and handle seams like a pro
Trim precisely and join seams correctly so the carpet surface stays uniform and the transitions don’t buckle. In bedrooms, seam and edge quality show up quickly in daily use—especially where you walk, where the bed sits, and around closet doors.
– Cut around vents, doorframes, and closet openings with care so the carpet lays flat and doesn’t buckle at transitions.
– Match seam direction and keep pile alignment consistent; if you have seams, press or join them according to the carpet manufacturer’s instructions. [ADD: seam-joining method used—e.g., heat seam tape—if known]
– Finish with baseboards/quarter round (or approved transitions) so edges look intentional and don’t lift.
“Trim so carpet can lay flat through doorways and closet openings—buckling usually signals insufficient clearance or mis-cut framing.”
“Seam joining must follow the carpet’s system instructions; incorrect joining can cause separation or visible ridges.”
Seam joining method (follow the carpet system)
Seams are where most DIY “almost right” installs show up:
– Pattern and pile direction must match across seam lines.
– Use the manufacturer’s approved method for seam joining (commonly heat seam tape or a specific adhesive system—varies by carpet type).
[ADD: seam-joining method used and the manufacturer’s specific steps, tools, and cure/wait time if relevant.]
Edge finishing that prevents lifting
If baseboards aren’t installed tightly, carpet edges can slowly lift. Quarter round can help at certain wall profiles, but again, follow your carpet manufacturer’s guidance for approved edge finishing approaches.
> [ADD: relevant manufacturer substrate/edge finishing specs, if your carpet system calls them out]
What can go wrong (and how to avoid it)
Even a careful installation can fail if subfloor prep is incomplete or tension/padding is inconsistent. The fastest way to avoid problems is to troubleshoot the likely root cause rather than masking it after the fact.
– Ripples or waves: usually caused by insufficient stretching, padding wrinkles, or an uneven subfloor.
– Gaps at walls or doors: often from poor measurement, trimming too aggressively, or failing to account for carpet thickness and underlayment.
– Loose edges over time: happens when tack strips aren’t properly located/secured or when baseboards aren’t installed tight enough.
– Moisture problems: can lead to odor or premature carpet failure if the subfloor or slab has ongoing moisture. [ADD: your environment check details]
– Not compatible surfaces: some existing floors or coatings may not be suitable for carpet installation depending on the method—verify compatibility before you proceed.
“Ripples are almost always a system problem (subfloor flatness + pad flatness + tension), not a ‘carpet settling’ problem.”
“If the perimeter is loose after install, check tack strip placement and baseboard sealing—not just the visible carpet edge.”
Comparison: common failure causes (fast diagnosis)
| Symptom | Most likely cause | Best prevention before it happens |
|---|---|---|
| Waves/ripples | Uneven subfloor, padding ridges, or unbalanced stretching sequence | Straightedge check, pad roll seams flat, stretch evenly around the room |
| Gaps at wall edges | Under-measurement or carpet trimmed too early/too tight | Add trim allowance; dry-fit and mark before final cut |
| Edge lifting over time | Tack strips mislocated or insufficiently secured; baseboards not tight | Verify tack strip alignment and fastener tightness before stretching |
| Odor/musty smell | Ongoing moisture from slab/subfloor or inadequate moisture plan | Run moisture tests and resolve sources before install |
Verdict: what we recommend (plus downsides)
Stretch-in bedroom carpet installation is usually the best route for a smooth look because it lets you pull the carpet to a flatter finish—but it depends on the right tools, correct tack strip placement, and a compatible padding/carpet system. If your subfloor is uneven, moisture is present, or you can’t stretch reliably, consider a glue-down or alternative method that’s explicitly compatible with your surface.
Skip the stretch-in approach (or get help) if you’re dealing with chronic moisture, structural subfloor movement, or a layout that makes consistent stretching difficult (for example, heavy built-in obstructions that prevent proper tool leverage). Also be cautious if you can’t remove or undercut baseboards cleanly—edge fit quality drops quickly when the perimeter isn’t planned.
> [ADD: replace this with your preferred “who should hire a pro” threshold—e.g., specific subfloor conditions, time constraints, or inability to rent a power stretcher.]
Quick checklist / scan-and-save
– [ ] Measure room + add extra for trimming and awkward spots
– [ ] Remove old debris; fix bumps/dips; confirm subfloor stability
– [ ] Install padding flat and aligned (trim cleanly)
– [ ] Add tack strips (if stretch-in) and confirm correct perimeter placement
– [ ] Stretch evenly around the room; trim edges neatly
– [ ] Join seams correctly and align pile direction
– [ ] Reinstall baseboards/trim; verify no lifting or wrinkles
– [ ] Allow carpet to settle per manufacturer guidance (don’t rush furniture back immediately if advised)
Carpet Installation Risk Hotspots in Bedrooms (DIY Troubleshooting Frequency)
| # | Hotspot step | Common rework drivers | Typical impact on finish | Likelihood (guide) |
|---|---|---|---|---|
| 1 | Subfloor flatness verification | Dips/high spots, squeaks, loose boards | Ripples and “telegraphed” lumps | High |
| 2 | Padding seam and perimeter fit | Bunching ridges, misaligned seams | Visible waves after stretching | High |
| 3 | Tack strip placement/alignment | Wrong distance from wall, loose fastening | Edge lift and gaps at perimeter | Medium |
| 4 | Even stretching sequence | Over-pulling corners, under-tensioned sides | Localized ripples, later “settling” | Medium |
| 5 | Trimming around doors/closets | Insufficient clearance, uneven cuts | Buckle points at transitions | Medium |
| 6 | Seam alignment and joining | Wrong seam direction, incorrect method | Ridges/separation | Medium |
| 7 | Moisture compatibility check | Ongoing slab/subfloor moisture | Odor and early failure | High |
Note: “Likelihood (guide)” reflects common DIY troubleshooting categories and your install conditions, not a published universal statistic.
FAQ
How much extra carpet should I buy for a bedroom?
It depends on your layout and seam placement; a common DIY practice is to add allowance for trimming around walls and openings. Check the carpet supplier’s guidance for your specific pattern and room shape. [ADD: exact allowance rule from your supplier, if available]
Can I install bedroom carpet directly over existing flooring?
Sometimes, but not always. Compatibility depends on the existing surface, thickness, and moisture/adhesion requirements for your installation method. Consult the carpet/padding manufacturer instructions for acceptable substrates. [ADD: relevant manufacturer substrate specs]
Do I need to remove baseboards before installing carpet?
Usually yes for the cleanest edge and to avoid gaps, but some installers can undercut and rework carefully. If you reuse baseboards, plan for consistent trimming depth so the carpet fits under without bunching.
What’s the biggest cause of carpet ripples after installation?
Most commonly: inadequate stretching, padding wrinkles, or an uneven subfloor. Fixing the underlying prep issues is typically more effective than trying to “re-tension” later.
Sources
– [ADD: source for carpet installation method and tack strip spacing—manufacturer instructions for your specific carpet/padding]
– [ADD: source for approved substrates/installation compatibility—manufacturer specs for your chosen carpet system]
– [ADD: source for padding installation requirements—manufacturer documentation for the padding you plan to use]
– [ADD: source for moisture considerations/subfloor requirements—manufacturer guidance or a building standard relevant to your region]
Carpet installation succeeds when the system is compatible and the base is stable: prep the subfloor flat and dry, install padding without wrinkles, and use stretch-in tension evenly around the room. If you take the time to plan seams and trim around doorways/closets thoughtfully, your bedroom carpet should settle into a smooth, professional finish that holds up instead of developing ripples or lifting edges over time.
Frequently Asked Questions
How do you prepare a bedroom subfloor before installing carpet flooring?
Start by removing old carpet, padding, and tack strips, then check the subfloor for moisture, damage, and uneven spots. Use a level to identify high or low areas and repair them with appropriate patching compound so the carpet installation stays smooth and avoids wrinkles. If the concrete or slab is prone to moisture, install a moisture barrier before laying carpet padding. Finally, let the room acclimate to normal living temperature and humidity for at least 24–48 hours.
What is the best way to install carpet in a bedroom with minimal wrinkles?
Choose quality carpet padding with the correct thickness and density for bedroom carpet flooring, since padding affects comfort and how the pile lies. Use proper stretching methods: if you’re using stretch-in installation, install tack strips around the perimeter and stretch the carpet using a power stretcher to eliminate slack. Cut carpet carefully to fit around vents and doorways, then secure edges neatly so the carpet lies flat. Finish by trimming excess and installing baseboards to hold edges without compressing the carpet pile.
Which carpet underlay or padding should you use for bedroom carpet floors?
For most bedrooms, a medium-density underlay is a good balance of comfort and support, which helps reduce wear patterns and improves the feel underfoot. If you have a slab, consider underlay options with moisture resistance, and always verify compatibility with your carpet type. For rooms above stairs or in homes with concrete, thicker padding can increase cushioning but must not be so soft that it allows carpet to buckle. Check the manufacturer’s recommendations for the maximum pile and underlay specifications to avoid voiding warranty coverage.
Why is professional carpet installation often recommended for bedrooms with stairs or doorways?
Bedrooms with tight corners, stairs, or frequent door openings can make carpet installation more complicated because seams, transitions, and trimming must line up precisely. Poor seam placement or incorrect underlayment around door frames can lead to lifting edges, fraying, or visible lines. Professionals also manage expansion gaps and transitions between carpet and hard flooring so the bedroom carpet flooring looks uniform. If you want a clean finish that lasts, having an installer handle these details can reduce rework.
How do you install carpet flooring in a bedroom that has a ceiling-to-floor vent or plumbing access?
Plan your layout before cutting by marking the vent location, measuring distances, and dry-fitting carpet sections to confirm alignment. Cut an opening slightly larger than the vent grille or plumbing access, then secure the carpet edges under the fixture so nothing pulls or frays over time. Use tack strips where appropriate but avoid placing fasteners where they could interfere with plumbing components or restrict airflow. For transitions, consider a carpet-to-tile or carpet-to-LVP reducer strip to keep the finish tidy around bedroom doorway thresholds.
📅 Last Updated: October 11, 2026 | Topic: How to install in a bedroom carpet floors? | Content verified for accuracy and freshness.
References
- https://en.wikipedia.org/wiki/Wall-to-wall_carpeting
- Carpet
https://en.wikipedia.org/wiki/Carpet - Google Scholar Google Scholar
https://scholar.google.com/scholar?q=how+to+install+carpet+tack+strip+stretch-in+method - Google Scholar Google Scholar
https://scholar.google.com/scholar?q=carpet+installation+preparation+subfloor+moisture+requirements - Google Scholar Google Scholar
https://scholar.google.com/scholar?q=bedroom+carpet+installation+steps+carpet+padding+doorway+transition - https://www.epa.gov/indoor-air-quality-iaq/inside-story-carpet-and-other-furnishings
- https://www.cdc.gov/mold/default.htm
- https://www.epa.gov/mold/mold-and-moisture
- 25red-Office of Lead Hazard Control and Healthy Homes | HUD.gov / U.S. Department of Housing and …
https://www.hud.gov/program_offices/healthy_homes - Google Scholar Google Scholar
https://scholar.google.com/scholar?q=How+to+install+in+a+bedroom+carpet+floors?


