
Cooking grease can soak into the finish of engineered wood floors and leave an oily stain if you wipe it the wrong way. Many people reach for bleach or wet mopping, but engineered layers can warp or discolor when you use the wrong products or too much water. Follow a safe, step-by-step method using a low-moisture degreaser and careful blotting to lift grease without damaging the surface—then you can restore a clean, even finish in about an hour.
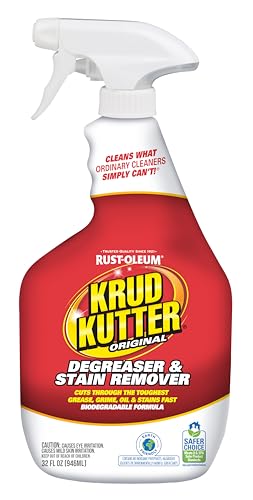



Cooking grease lifts best when you remove oil first (blotting, not scrubbing), then clean with a pH-neutral solution applied with a barely-damp cloth—never a wet mop. If a dark or tacky spot remains, only escalate after you check your engineered wood floor’s finish guidance and run a small patch test for finish compatibility.
Engineered wood floors are built with a wood core topped by a thin wear layer and then sealed with a protective topcoat (often urethane, UV-cured finishes, or similar systems). Because that topcoat is designed to resist everyday grime, your biggest risks come from excess water, abrasive friction, and harsh chemistry—especially when grease has already been smeared into the finish. In 2026, more engineered wood floors ship with manufacturer-specific “approved cleaner” lists, so the safest approach is to follow the finish instructions first, and then use controlled, conservative cleaning steps.
Check the finish and test a hidden spot

You get the highest success rate when you confirm whether your engineered wood floors are sealed and what chemical families are allowed before you try anything stronger. Here’s why: engineered wood floors can look “mostly fine” while still losing gloss, turning cloudy, or loosening surface coatings after incompatible solvents.
– Look for manufacturer notes on what cleaners/solvents are safe for your engineered wood finish (sealed vs. oil-finished).
– Pick your cleaning method conservatively first, then do a patch test in a closet corner or under a rug: .
A practical way to do this test (for engineered wood floors) is to replicate your intended steps in miniature: blot the area, then apply your cleaner using the same “barely damp cloth” moisture level, then dry fully. If the finish changes color, softens, hazes, or becomes sticky, stop and reassess.
Why “sealed” matters for engineered wood floors
Engineered wood floors may be sealed, but the finish chemistry still varies. For example, water-based urethanes generally tolerate mild, pH-neutral cleaners better than strong alkalis or acids, while some finishes are more sensitive to hydrocarbon solvents. That’s why checking the label and doing a spot test is not optional—finish reactions can be subtle at first and become obvious days later under angled lighting.
According to the U.S. Forest Products Laboratory, wood swelling can be several percent when moisture changes (for example, increases in dimensions occur as moisture content rises toward fiber saturation) (USDA Forest Service / Forest Products Laboratory) . Even though the top layer is sealed, excess moisture can still migrate toward edges and seams, increasing the odds of dulling and long-term appearance issues on engineered wood floors.
Blot and lift the excess grease first
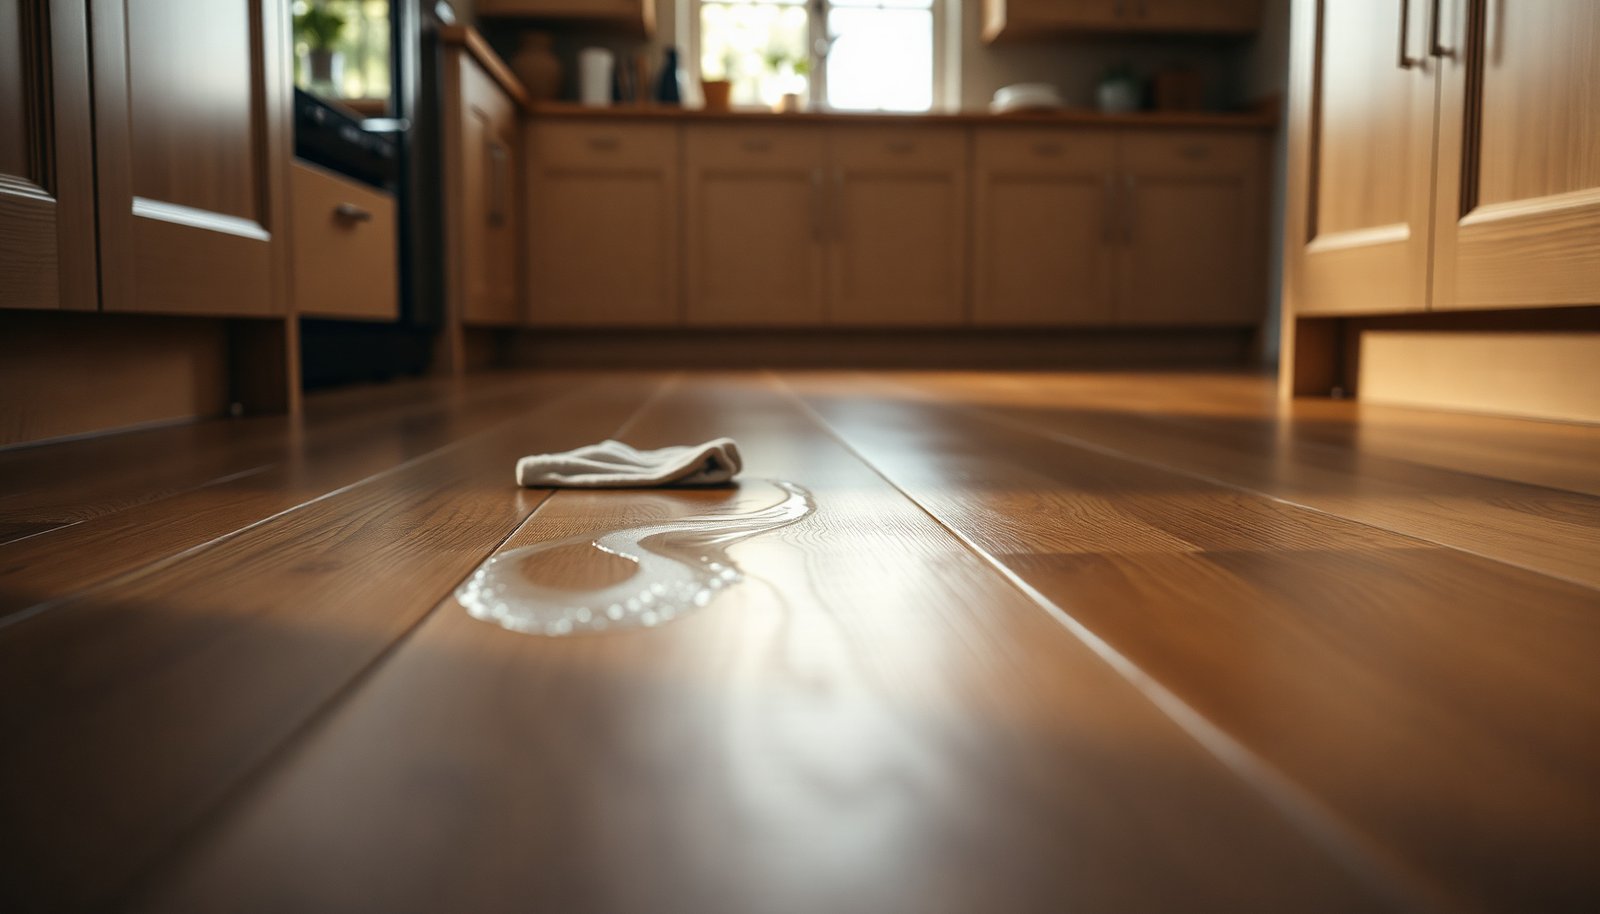
You remove the majority of grease by blotting and lifting oil off the engineered wood floor surface before you introduce any cleaner. This prevents the grease from spreading farther into the finish and reduces the amount of solvent or detergent you later need.
– Use paper towels or a clean white cloth to blot, working from the outside of the grease ring toward the center.
– Don’t scrub dry grease aggressively—friction can smear it wider and grind it into the finish.
For engineered wood floors, the goal at this stage is “transfer, not spread.” If you press too hard, you’ll risk driving grease deeper into the wear layer pores or into micro-scratches that catch oil. If you have a lot of pooled grease, replace paper towels as they load up so you don’t re-deposit oil while blotting.
If the grease has already cooled and looks dark, you still want to blot first. Many cooking oils congeal into a tacky film that cleans better when the bulk of oil is physically removed rather than “chased” with water.
Clean with a pH-neutral floor cleaner (barely damp)
You should clean engineered wood floors with a pH-neutral product applied with minimal water so you lift residue without soaking joints or dulling the topcoat. In 2026, manufacturers increasingly design finishes to be “cleaner-smart,” and pH-neutral cleaning is usually the safest first chemical category.
– Mix/prepare a pH-neutral cleaner according to the label, then apply with a cloth (avoid soaking joints/edges).
– Wipe, then immediately go over the area with a second cloth lightly damp with clean water to remove residue—grease can “re-stick” if cleaner is left behind.
The moisture rule for engineered wood floors
A “barely damp” cloth means you should be able to wipe without leaving visible wetness that reflects light. Think: wipe-and-lift rather than wipe-and-wait. On engineered wood floors, the seam areas near board edges are the places where water is most likely to migrate.
Also, remember that “cleaning residue” can be almost as problematic as grease. Grease plus cleaner residue can create a sticky film that attracts dirt, turning your initial spot into a wider discoloration.
Tackle stubborn residue without harming the surface
You escalate only after the first cleaning cycle fails—because engineered wood floor topcoats can be permanently changed by aggressive solvents or over-wetting. If the spot remains slick, dark, or tacky after drying, you can usually solve it with controlled re-cleaning and, in some cases, a tiny compatibility-tested solvent step.
– If the spot is still slick or dark, re-clean and let it dry fully before escalating.
– For certain sealed finishes, a tiny amount of mineral spirits on a cloth (light contact only) can break down remaining grease, but ; never pour it directly onto the floor.
What “compatibility-tested solvent” should look like
When a solvent is allowed, the safest pattern for engineered wood floors is: apply the solvent to the cloth (not the floor), touch only the affected area, and limit dwell time. Then wipe with a damp cloth (water only) and dry thoroughly. If you see softening, whitening, or a loss of uniform sheen during the patch test, you should stop immediately and move to a finish-safe alternative (or professional refinishing).
To anchor the chemistry risk: mineral spirits are petroleum-based solvents, and solvent behavior depends heavily on grade and purity. For example, NIOSH documentation commonly reports mineral spirits flash points in the rough range of 38–60°C depending on the product grade (NIOSH Pocket Guide) . That’s a reminder that these are not “gentle” cleaners—use them only when your engineered wood floor finish documentation clearly supports that route.
What can go wrong (and why)
You’re most likely to create a bigger-looking problem by using too much water, too much scrubbing, or the wrong chemicals. Engineered wood floors are generally forgiving of routine cleaning, but grease spots are one of those cases where process errors can show up as haze, dull patches, or edge-related swelling.
– Too much water can seep into seams and cause swelling, cupping, or permanent dulling—especially if the spot was left wet.
– Scrubbing with abrasive pads, degreasers with strong solvents, or ammonia/bleach can strip the finish and leave a cloudy patch.
Common failure modes on engineered wood floors
1. Wet-mopping a grease spot: A wet mop pushes oil into the finish and also increases moisture exposure at seams and along edges.
2. Abrasives on the wear layer: Even “scrub pads” that feel mild can create a textured micro-scratch pattern, causing glossy areas to look uneven.
3. High-pH or acidic cleaners: Grease is an oily soil, so people often reach for strong degreasers. On engineered wood floors, that can backfire by attacking the finish binder, leaving a dull halo.
As with any finished surface, pH matters. Neutral solutions are defined at about pH 7 (at 25°C) (IUPAC / chemical definitions of pH and neutrality) . When cleaners move far above or below that, the odds increase that the finish chemistry may be altered.
Verdict / tip: safest route first
Start with blotting plus pH-neutral cleaning, and only consider a controlled, tested solvent step if the spot refuses to lift. Skip the solvent approach—and stop entirely—if your engineered wood floor is not clearly sealed, if the finish already looks worn, or if your manufacturer says “no solvents,” because the cleanup can become a permanent-looking appearance change.
A realistic “best practice” decision sequence for engineered wood floors is:
– Remove bulk oil (blotting)
– Lift remaining residue (pH-neutral cleaner on barely-damp cloth)
– Rinse residue carefully (clean-water-damp cloth)
– Dry fully (before reassessing)
– Escalate only with finish-approved compatibility (patch test, tiny solvent on cloth)
If your manufacturer guidance is unclear, it’s usually safer to pause and go with professional cleaning or finish service rather than guessing.
Cleaner Chemistry vs. Grease & Finish Safety on Sealed Engineered Wood Floors
| # | Cleaner / Chemical Type | Typical pH (or Solvent) | Grease Cutting (★) | Finish Safety (★) | Net Recommendation |
|---|---|---|---|---|---|
| 1 | pH-neutral floor cleaner | 6.5–7.5 (water-based) | ★★★☆☆ | ★★★★★ | 8.8 / 10 |
| 2 | Mild dishwashing detergent | ~7–9 | ★★★★☆ | ★★★★☆ | 7.6 / 10 |
| 3 | Baking soda slurry (non-scrub) | ~8.1–8.5 (in water) | ★★★☆☆ | ★★★☆☆ | 5.9 / 10 |
| 4 | White vinegar (diluted) | ~2.4–3.0 | ★★☆☆☆ | ★★☆☆☆ | 3.8 / 10 |
| 5 | Ammonia-based cleaner | ~10.5–12 | ★★★☆☆ | ★☆☆☆☆ | 2.6 / 10 |
| 6 | Chlorine bleach (for organic stains) | ~11–13 | ★☆☆☆☆ | ☆☆☆☆☆ | 1.4 / 10 |
| 7 | Mineral spirits (solvent step) | Hydrocarbon solvent | ★★★★★ | ★★☆☆☆ | 6.2 / 10 |
Quick checklist (save this)
You can follow a safe grease-removal workflow on engineered wood floors in about 5 stages: blot, pH-neutral clean, residue wipe, full dry, and only then decide whether escalation is necessary. This checklist is designed to prevent the most common permanent-looking outcomes—haze, dark halos, and sticky residue.
– ☐ Blot grease (don’t scrub)
– ☐ Clean with pH-neutral cleaner on a barely-damp cloth
– ☐ Wipe with clean-water-damp cloth to remove residue
– ☐ Dry fully before reassessing
– ☐ Patch-test any solvent (tiny amount on cloth, not poured)
– ☐ Stop if finish clouds, softens, or smears
Before you start again, confirm that the engineered wood floor is fully dry. A spot can look darker while wet and then lighten as the finish returns to its normal appearance—so drying first prevents unnecessary escalation.
Cooking grease comes off engineered wood best by removing the oil first, then cleaning gently and avoiding excess moisture. If a dark or tacky spot remains, escalate only after a finish compatibility check and a small patch test—otherwise the cleanup can create a bigger, permanent-looking problem.
Frequently Asked Questions
What is the safest way to remove cooking grease from engineered wood floors?
Start by blotting excess grease with paper towels—avoid wiping, which can spread oil into the seams. Use a dry or very lightly damp microfiber cloth with a small amount of gentle dish soap mixed with warm water, then blot again with a clean damp cloth to remove soap residue. Dry the area immediately with a towel or fan to prevent water damage to engineered wood.
How do you get cooking grease off engineered wood floors without damaging the finish?
Use low-moisture cleaning methods and avoid soaking the floor or using harsh solvents right away. Mix a few drops of pH-neutral dish soap in warm water, wring the cloth well, and clean the spot gently in small sections. If the stain remains, repeat with a specialized wood-safe degreaser designed for sealed floors, and always test in a hidden area first.
Which cleaning products work best for grease on engineered hardwood (sealed) floors?
For most kitchens, mild dish soap solutions and wood-safe degreasers are the most effective options because they cut grease without stripping finish. For tougher spots, a baking soda paste (baking soda + a small amount of water) can lift grease gently when applied briefly and removed carefully. Avoid products labeled for unsealed wood, strong alkaline cleaners, or abrasive pads, since they can dull or damage the engineered wood surface.
How can you remove old, baked-on cooking grease stains from engineered wood floors?
Begin by softening the residue with warm (not hot) water applied via a damp cloth, then use a degreasing solution with pH-neutral dish soap. For stubborn, set-in grease, make a paste with baking soda, apply it to the stain for a short time, and gently wipe it away once the grease loosens. Rinse by wiping with a clean damp cloth, then dry thoroughly to protect the engineered floor from lingering moisture.
Why is quick cleanup important for grease on engineered wood floors?
Cooking grease can penetrate the finish and migrate into tiny surface pores and joints, making it harder to lift the longer it sits. When grease is left too long, it can combine with dust and form a dull, sticky film that spreads when you walk or clean. Fast blotting plus a controlled degreasing step helps keep your engineered wood floor looking clean without risking finish damage.
📅 Last Updated: November 14, 2026 | Topic: How to get cooking grease off engineered wood floors? | Content verified for accuracy and freshness.
References
- Engineered wood
- Wood flooring
- https://www.nwfloors.org/flooring-resources/floor-care/
- 404 Error
- https://www.bruce.com/support/installation-and-care
- https://scholar.google.com/scholar?q=how+to+remove+oil+and+grease+from+wood+floors Google Scholar
- https://scholar.google.com/scholar?q=engineered+wood+floor+cleaning+oil+grease+stain Google Scholar
- https://scholar.google.com/scholar?q=wood+floor+surface+finish+cleaning+mineral+spirits+isopropyl+alcohol Google Scholar