


Learn how to estimate the cost of concrete floors with a step-by-step method that turns your measurements into a reliable per-square-foot number. This guide shows what to price first—materials, labor, thickness, reinforcement, and finishing—then how to build in waste and site variables so your quote holds up. By the end, you’ll know exactly how much you should budget before the pour.




If you want a realistic concrete floor cost, start with square footage and then add thickness/type, prep work, reinforcement, finishes, and labor as line items—not one flat “per square foot” number. The most reliable approach is a scope-by-scope estimate that mirrors how contractors price materials, placement, curing, and surface work for your exact slab and site conditions.
If you’re comparing options (plain slab vs. reinforced; basic trowel vs. polished or epoxy) or collecting quotes, this step-by-step method helps you ask for the right inclusions and avoid surprise add-ons.
Who this is for / when it applies:
This is for homeowners, small commercial owners, and project managers planning concrete floors for garages, basements, warehouses, retail spaces, or industrial work. It’s especially useful when you’re comparing options or trying to make contractor bids “apples-to-apples” by confirming thickness, reinforcement, vapor control, and finish scope.
Break the project into cost line items first
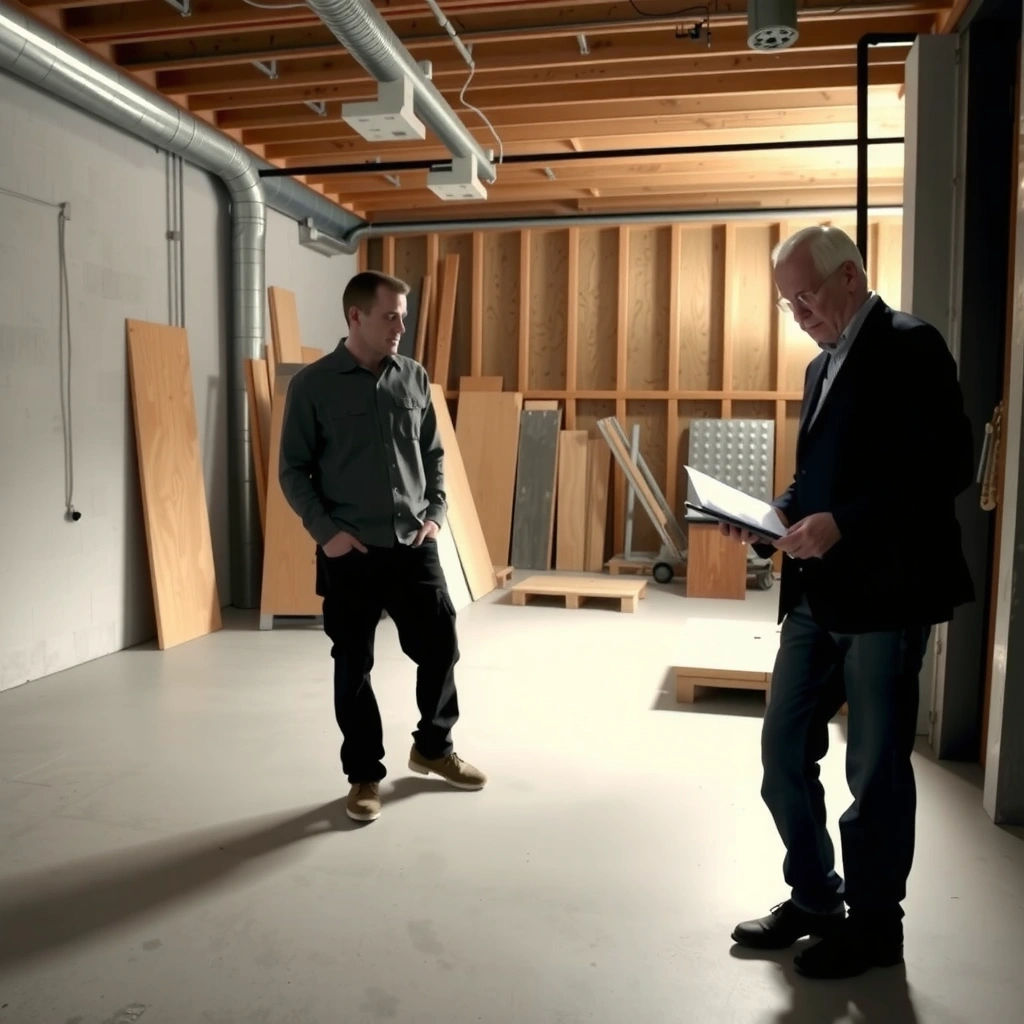
The quickest way to estimate cost without getting burned is to translate the slab into a line-item scope: area → volume (thickness) → base/vapor prep → reinforcement → placement/finishing → curing/protection → coatings/repairs (if any). Contractors typically price in those same buckets, and that’s why the method keeps your budget realistic.
A concrete slab cost estimate becomes more accurate when you calculate concrete volume (square feet × thickness) and then price placement and finishing as separate scopes.
Bid discrepancies often come from exclusions—commonly vapor barrier, reinforcement, saw cuts/control joints, or surface prep for coatings—rather than from the concrete “per yard” line itself.
– Start with the slab area: length × width, then confirm whether you need allowances for penetrations (columns, drains, stairs) and any waste factor.
– List the big cost drivers up front: concrete thickness, reinforcement (rebar/weld wire/fibers), subgrade/prep, vapor barrier, insulation (if needed), and the finish level.
– Decide whether you’re budgeting for demo/remove (existing slab) or a new pour on prepared base.
Line-item “budget buckets” you can reuse
1) Preconstruction & site: layout, forms/material mobilization, demo and haul-off (if replacing), base grading.
2) Base + moisture control: compacted subgrade, crushed stone/base course, vapor barrier/air gap details, insulation (if required).
3) Structure: slab thickness, reinforcement strategy, control joints.
4) Concrete supply & placement: ready-mix cost (by volume), pumping vs. trucking logistics, finishing labor.
5) Curing + surface work: curing compound, protection, grinding/leveling if coatings/polished finishes are planned.
6) Coatings/epoxy (optional): moisture testing, surface profile prep, application, topcoat, cure/return-to-use timeline.
Size, thickness, and reinforcement: where pricing changes fast
Thickness and reinforcement usually cause the biggest swing in concrete floor cost because they change concrete volume, labor intensity, and sometimes the design requirements. If you only estimate by area, you’re likely to understate the scope.
According to ACI guidance for concrete curing, strength and performance are achieved over time, which affects when the contractor can proceed with finishing and when the floor is ready for use.
Reinforcement (wire mesh, rebar, or fibers) changes both material quantity and the coordination required for placement and spacing.
– Use the slab thickness and strength requirements as the primary “quantity” input that affects material and labor; thicker slabs and higher specs generally raise cost.
– Choose reinforcement strategy: wire mesh vs. rebar vs. fibers (and note that structural/flooring needs may require engineering).
– Confirm whether your estimate includes control joints, saw cuts, and any patching/leveling—these often get missed when people only price “concrete per yard.”
Concrete volume check: stop the “per square foot” trap
A simple sanity check can prevent bad quotes:
– Concrete volume (cubic yards) = (Length × Width × Slab Thickness) ÷ 27
– Example math format to apply to your project:
– Area: L × W (sq ft)
– Thickness: T (inches)
– Volume: (L × W × T/12) ÷ 27 = cubic yards
Data anchors to guide expectations (use as a planning baseline, then verify specs with your design/contractor):
– According to ACI 308 (concrete curing recommendations), concrete strength development is typically referenced at 28 days as a standard maturity point for many mix/specs (ACI 308R (Concrete Curing, 2016/related editions), strength development referenced at 28 days).
– According to common ACI/ASTM practice used in slab work, 7 days curing is often treated as a minimum milestone for many scheduling decisions (but the exact timeline depends on mix, curing method, temperature, and final performance requirements) (ACI 308R (concrete curing guidance)).
– According to ASTM C39/C39M, compressive strength testing for concrete is standardized using cylinders or cores, with strength interpretation tied to the specified age and curing conditions (ASTM C39/C39M (Standard Test Method for Compressive Strength of Cylindrical Concrete Specimens)).
Reinforcement: choose what the slab needs (and what your bid includes)
Reinforcement affects pricing in three ways:
1) Material cost (wire mesh vs. rebar density vs. fiber content)
2) Labor and coordination (rebar chairs, tying, mesh placement, avoiding interference with vapor barriers)
3) Placement/finishing workflow (reinforcement can make finishing harder if not planned)
Also confirm inclusions:
– Control joints: spacing, saw-cut timing, and whether joints are included in labor.
– Leveling/patching: whether a contractor is expected to fix base irregularities before the pour.
Concrete placement, curing, and finishing options
Even when the concrete volume is correct, placement logistics and finishing requirements can swing cost materially. Access constraints and the finish level decide how many labor hours and what equipment (e.g., pumps, screeds, grinders) are needed.
Pumping versus direct discharge (trucking distance/access) is one of the most common placement-cost drivers because it can change equipment, labor, and schedule.
Finish level (trowel, broom, polished, or epoxy-ready) determines the surface prep and may require additional moisture testing and grinding/leveling.
– Placement costs can vary based on access, formwork needs, pumping vs. trucking distance, and how difficult it is to get concrete where it needs to go.
– Finishing level changes the budget: a basic trowel finish typically costs less than broom finish for slip resistance, and polished or decorative systems cost more.
– Include curing time and any protection requirements (especially if other trades need the space soon). If you need coatings/epoxy, plan for prep and bonding requirements.
What contractors should specify (so your estimate stays comparable)
Ask for these as part of the quote scope—not “assumed”:
– Curing method: curing compound vs. wet curing vs. blankets/plastic sheeting.
– Return-to-service expectations: when the floor can be walked on, driven on, or coated.
– Surface profile requirements: especially for epoxy, urethane, or polished systems (bonding depends on prep and moisture control).
– Joints: saw cut timing and whether joint fillers are included if required.
Prep work and site conditions that affect your quote
Base preparation and moisture control often determine whether your slab performs well—and they can be expensive if your site needs remediation. If the subgrade is soft or wet, the cost shifts from concrete supply into earthwork and correction.
Subgrade preparation (grading, compaction, and base material) directly affects slab support; insufficient support commonly forces extra remediation costs later.
Vapor barriers and insulation are not “optional extras” when the project calls for moisture and thermal control—they are part of the floor system’s performance.
– Subgrade/base condition matters: soil compaction, base material (gravel/crushed stone), grading, and moisture control can add significant cost.
– Vapor barriers and insulation (where required) can change both material and labor scope.
– If there’s groundwater, drainage issues, or prior damage (cracks/soft spots), costs can rise due to remediation beyond a standard pour.
A practical way to estimate prep without guessing
Use a “condition-to-scope” approach:
– If the base is known and documented (geotech reports, compaction tests): budget earthwork as normal.
– If the base is unknown (old fill, visible soft spots, ponding): budget for probing, rework, and potential under-slab drainage or stabilization—then require the contractor to inspect and document.
[ADD: source for typical compaction/field test standards used for slab-on-grade prep, if you want to cite local requirements.]
What can go wrong (and how to catch it early)
The fastest way to lose money on a slab project is to accept a cheap unit price that excludes the scopes that actually create the floor you want. Most “surprises” appear right after demo, during prep, or once a coating/polish system is specified.
When two bids look the same per square foot, the differences are usually in reinforcement, vapor barrier/insulation, base prep, joint cutting, or surface prep for coatings—not in the concrete itself.
Underestimating demo and disposal can erase savings because haul-off, disposal fees, and regrading are time-driven and site-driven.
– Using only a “per square foot” number: many quotes exclude reinforcement, floor prep, vapor barrier, saw cuts, or special finishes—leading to surprise add-ons.
– Underestimating prep: removing an old slab, hauling debris, regrading, or fixing poor base support can dwarf the concrete line item.
– Missing the finish scope: decorative/polished/coated floors often require additional surface prep (grinding, leveling compounds, moisture testing) that’s not included in basic slab pricing.
– Ignoring access constraints: tight access, distance from the truck, or limited power/hoses can increase placement costs.
– Not accounting for schedule: if you need a tight timeline, some contractors may price in expedite costs.
Compare scopes (so bids become comparable)
| Risk area | If it’s missing from a quote… | Common symptom at install | Best prevention question |
|---|---|---|---|
| Reinforcement | Slab durability varies; changes may require redesign | Mesh/rebar appears “extra” later | “What reinforcement type, quantity, and layer placement is included?” |
| Vapor barrier | Moisture issues later—especially for coatings | Coating failure or efflorescence | “Is a vapor barrier included, and what spec governs it?” |
| Joints | Random cracking patterns | Cracks that don’t align with planned joints | “Are control joints/saw cuts included, and when are they cut?” |
| Surface prep | Coating/polish doesn’t bond or looks uneven | Grinding/leveling is suddenly “extra” | “What surface prep and profiling method is included before coatings?” |
| Logistics | Slab pour becomes labor-intensive | Pumping/trucking fees appear | “What are the pump/truck distance limits and included equipment?” |
Verdict: a practical estimating approach (with downsides)
A solid estimate comes from building a line-item budget based on your slab thickness, reinforcement choice, finish level, and the condition of the base—not just square footage. This approach is more reliable for comparing bids, and it helps you ask the right questions so your quote reflects the real scope.
Downsides: it takes a bit more effort than grabbing a single unit price, and you may still need to adjust after a contractor inspects the site. If you’re not able to measure area accurately or confirm thickness/finish requirements, consider skipping a detailed DIY estimate and instead request a contractor site assessment first.
Visual reference: where estimates tend to diverge
Typical Reasons Concrete Slab Quotes Differ (By Estimate Method)
| # | Estimate method | Most likely missing scope | Quote variance impact* | Reliability |
|---|---|---|---|---|
| 1 | Per-square-foot only | Prep + reinforcement | ▲ 15–35% | ★ |
| 2 | Volume only (yardage) without finishes | Curing + surface work | ▲ 10–25% | ★★ |
| 3 | Concrete-only line items | Vapor barrier + joints | ▲ 8–20% | ★★ |
| 4 | Base + concrete + reinforcement | Finish prep for coatings | ▲ 6–15% | ★★★ |
| 5 | Line-item scope (materials + placement) | Cure schedule protection | ▲ 3–10% | ★★★★ |
| 6 | Full system scope (incl. joints + surface prep) | Access + logistics limits | ▼ 2–7% | ★★★★★ |
| 7 | System scope + site walk + allowance logic | Final moisture testing outcomes | ▼ 1–5% | ★★★★★ |
Variance impact shown as a planning range; actual outcomes depend on region, design requirements, and contractor inclusions.
> Note: those variance ranges are planning guidance, not a guarantee. Always reconcile your estimate with a written, itemized scope.
Quick scan checklist (copy/paste)
– ☐ Square footage confirmed (length × width)
– ☐ Slab thickness/spec (include any structural requirements)
– ☐ Reinforcement plan (wire mesh, rebar, fibers—what’s included)
– ☐ Subgrade/base prep requirements
– ☐ Vapor barrier/insulation included if needed
– ☐ Finish level (broom, trowel, smooth, polished/decorative, coating/epoxy)
– ☐ Control joints/saw cuts included
– ☐ Concrete access (pumping needed? distance? obstacles?)
– ☐ Demo/removal and disposal included (if applicable)
– ☐ Curing/protection and any additional floor prep for coatings
FAQ
Do I need to price concrete per yard or per square foot?
Start with square footage for an overall budget, then verify the concrete volume using thickness (so you’re not fooled by incomplete quotes). Many bids are expressed per square foot, but volume/thickness is what really determines concrete quantity.
Why do quotes for the same square footage differ so much?
Differences usually come from slab thickness, reinforcement, base/vapor barrier/insulation scope, finish level, and site access (pumping, difficult logistics). Also check whether demo, grading, and surface prep are included.
What finish upgrades cost the most?
Typically, upgrades that require significant surface prep (grinding/leveling) and specialized systems (polished concrete, decorative finishes, epoxy coatings) increase cost more than basic changes like broom vs. light trowel.
Should I include allowance for cracks and patching?
You should include a line item or allowance for finishing/punch-list work that’s part of achieving the required surface quality. If structural performance is critical, the contractor should address design and control joints rather than “patching after.”
How do I make sure my contractor’s quote is comparable?
Ask for a written scope breakdown: thickness, reinforcement type, vapor barrier/insulation, base prep, finish spec, joints/cuts, and what’s excluded. If you get only a total number, request line-item details before comparing.
Sources
– [ADD: ACI references for concrete curing, finishing, and slab-on-grade best practices (e.g., ACI 308R for curing)]
– [ADD: ASTM references for concrete testing and acceptance criteria (e.g., ASTM C39/C39M for compressive strength)]
– [ADD: manufacturer specification for any coating/epoxy system you plan to use, including required surface prep and moisture considerations]
– [ADD: local building code or department guidance for vapor barriers/insulation requirements and control joints]
– [ADD: ready-mix concrete placement guidance from a national/state concrete producer association, if applicable]
If you tell me your slab size (L×W), target thickness, location/type (garage/basement/warehouse), and desired finish (broom/smooth/polished/epoxy), I can turn this layout into a fill-in estimate worksheet that your contractor can actually match in a written scope.
Frequently Asked Questions
How do you estimate the cost of concrete floors per square foot?
Start by calculating the concrete floor area (length × width) and then break cost into concrete, subbase prep, reinforcement, formwork, finishing, and any specialized items. Multiply total square footage by your local per–square foot rate for ready-mix concrete, then add estimated labor and materials for prep and finishing. Don’t forget delivery/mobilization, vapor barrier/insulation (if required), and saw-cutting joints, which often swing the final concrete floor cost. Using a line-item estimate usually reduces surprises compared with relying on a single “all-in” number.
What factors most affect the price of a poured concrete slab?
The biggest drivers are slab thickness, site conditions, and whether you need ground prep like excavation, grading, compaction, and a gravel base. Reinforcement (rebar or welded wire mesh), fiber reinforcement, vapor barriers, and insulation for interior vs. exterior concrete floors can significantly increase material and labor costs. The finish level matters too—basic broom finish is cheaper than decorative overlays, polished concrete, or high-tolerance flatness. Finally, access constraints, weather considerations, and the schedule (rush work) can raise labor and equipment pricing.
How can you estimate labor and finishing costs for concrete floor installation?
Labor pricing depends on crew size, pour complexity, and how demanding the finish requirements are. To estimate labor, price the work by stages: site prep and formwork, placing and screeding the concrete, edging, joint layout and saw cutting, curing, and final finishing (broom, trowel, or polish). If you’re comparing contractors, request an itemized bid for each concrete floor step so you can see what’s included versus excluded. Also clarify whether sealing, curing compounds, or floor coatings are part of the quote, since those can change the total concrete floor budget.
Which thickness and reinforcement options give the best value for concrete floors?
The “best value” usually depends on expected loads (residential foot traffic vs. garages vs. warehouses), soil conditions, and local building requirements. A typical residential slab thickness may be lower, but thicker concrete may be more cost-effective than frequent cracking repairs when soil is unstable or loads are higher. Reinforcement strategy matters too: fiber can reduce labor for some applications, while rebar or mesh may be required for crack control or structural performance. Ask for a spec-based estimate that matches your use-case so you’re not paying for over-engineering or under-building.
Why should you add contingency when estimating concrete floor costs?
Concrete floor projects commonly encounter hidden variables like unexpected subgrade issues, additional grading, extra rebar, or changes to jointing and thickness during installation. Delivery changes (truck count, pump needs, or access restrictions) and curing or weather delays can also increase labor hours and equipment time. A practical rule is to add a contingency percentage to your concrete floor estimate—especially for new builds on unknown soil or renovations. Including contingency helps you plan a more realistic budget and avoid payment surprises during the final invoice.
📅 Last Updated: October 10, 2026 | Topic: How to estimate the cost of concrete floors? | Content verified for accuracy and freshness.
References
- Google Scholar Google Scholar
https://scholar.google.com/scholar?q=estimate+cost+concrete+slab+floor+per+square+foot - Google Scholar Google Scholar
https://scholar.google.com/scholar?q=reinforced+concrete+slab+cost+estimation+model - Google Scholar Google Scholar
https://scholar.google.com/scholar?q=construction+cost+estimation+concrete+floor+quantity+takeoff+labor+material - OES Home : U.S. Bureau of Labor Statistics
https://www.bls.gov/oes/ - CPI Home : U.S. Bureau of Labor Statistics
https://www.bls.gov/cpi/ - https://en.wikipedia.org/wiki/Concrete_slab
- https://en.wikipedia.org/wiki/Slab_foundation
- Federal Highway Administration
https://www.fhwa.dot.gov/ - https://www.usace.army.mil/Media/News/Features/Cost-Engineering/
- Google Scholar Google Scholar
https://scholar.google.com/scholar?q=How+to+estimate+the+cost+of+concrete+floors?


