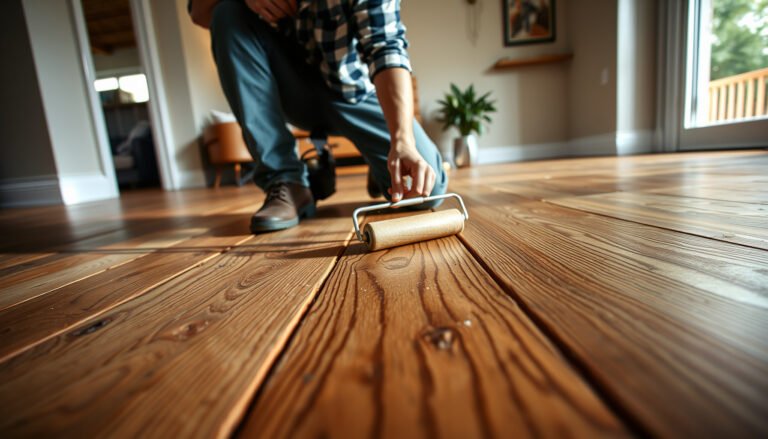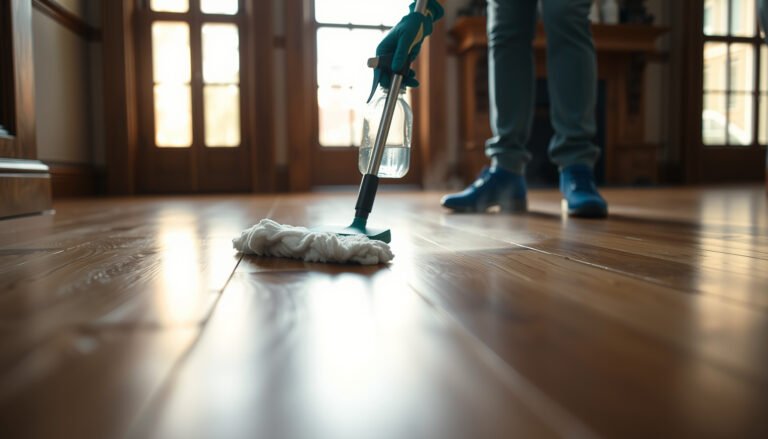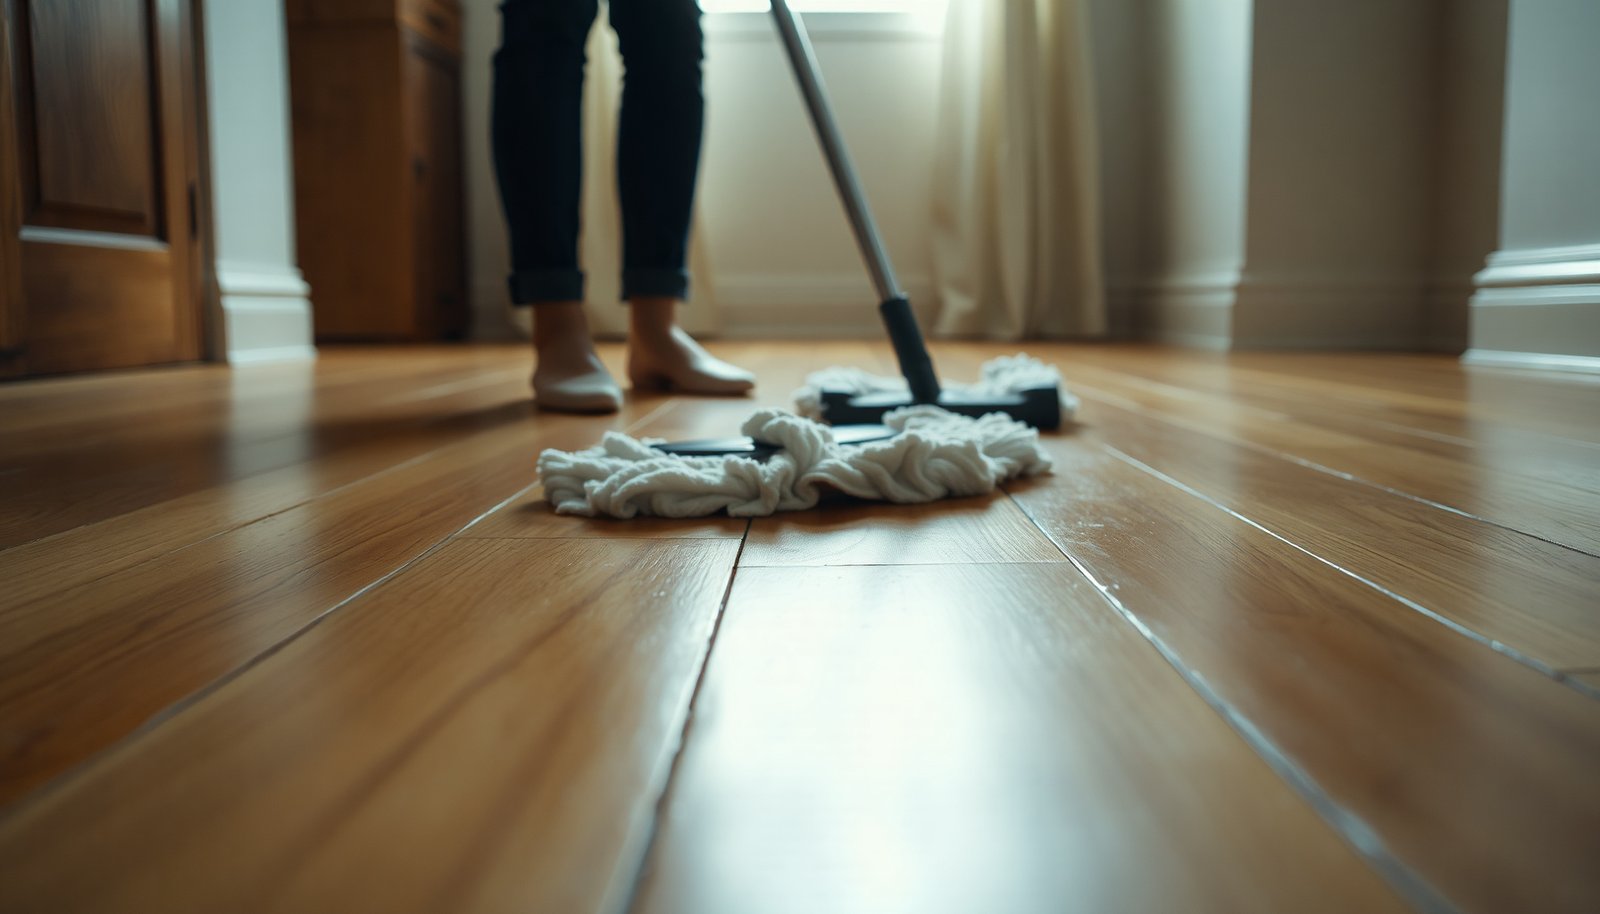

Greasy buildup on hardwood turns your floors dull and leaves a slick residue even after everyday mopping. Most people just add extra soap or scrub harder, but that can smear oils and drive grime into the finish. With the right degreasing method—using a pH-neutral hardwood cleaner, a microfiber mop, and thorough towel drying—you can lift the film safely and restore a clean, even shine in about an hour.




Greasy film on hardwood usually comes from oils left behind by foot traffic, cooking residue, or heavy cleaner buildup. Deep cleaning it works best by (1) dry-removing grit first, then (2) using a hardwood-safe degreasing cleaner, followed by (3) thorough wipe/rinse and fully drying the floor. If you do those three stages in order, you break up the oil layer without stripping or clouding most modern finishes.
If your floors look dull, feel slick, or leave a faint residue when you wipe with a white cloth, this guide will walk you through a safer deep-clean routine that’s hard on the grease but gentle on the finish.
This guide is for homeowners and facility teams dealing with recurring “sticky” or hazy hardwood floors—especially in entryways, kitchens, and hallways where oils accumulate quickly. As of 2026, many service calls still trace back to two issues: skipping the dry-prep step (so grit smears) or using too much cleaner (so grease gets redistributed).
Prep: remove grit and protect your finish
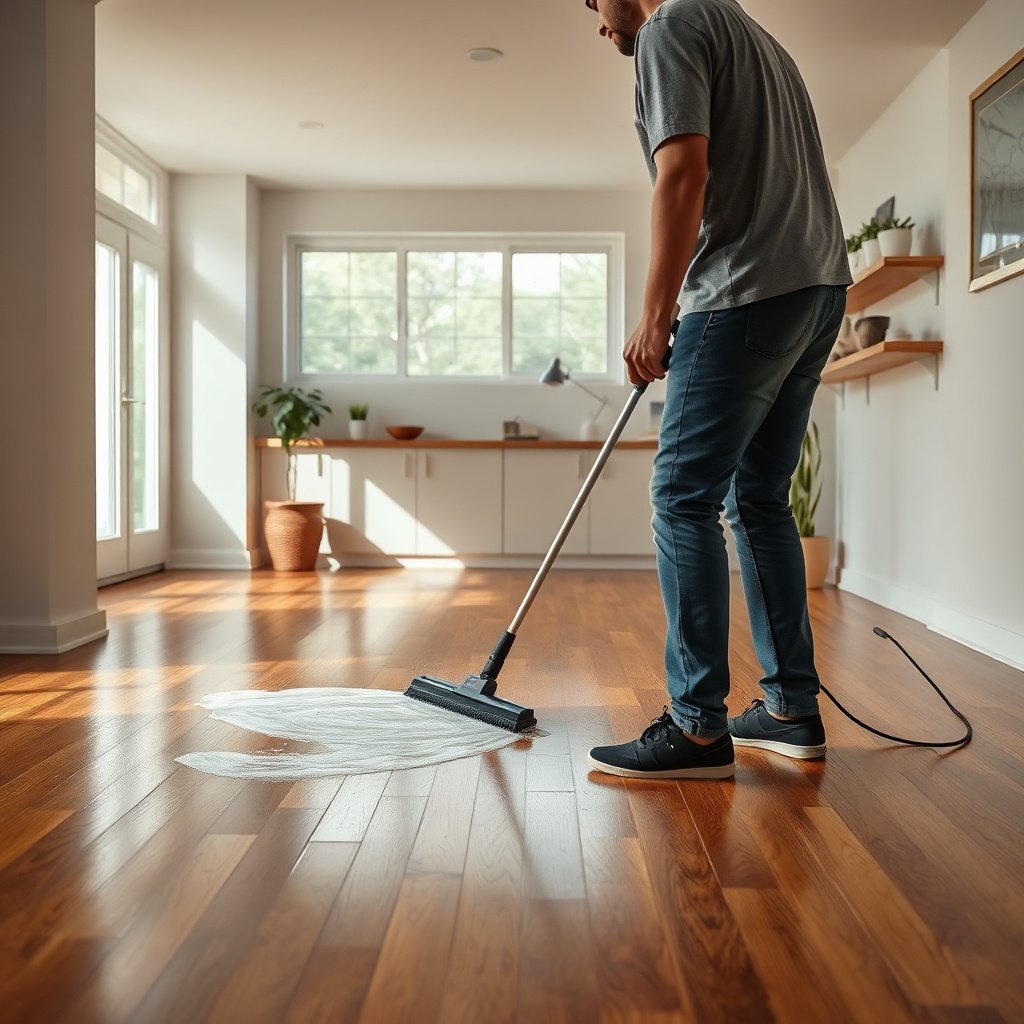
Start by removing loose grit so you’re not sanding your hardwood while you scrub the greasy film. Then confirm your floor’s finish type so you choose cleaners that won’t dull, soften, or swell the coating.
– Sweep or vacuum (use a soft/no-scratch head) so you’re not grinding dirt into the wood during scrubbing.
Greasy film often traps fine dust; when you later add liquid, that dust becomes a mild abrasive and can leave dull micro-scratches.
– Read your floor’s care label or finish type (polyurethane, wax, oil, “unsealed/unfinished”) so you don’t use the wrong cleaner and dull or soften the coating.
The big risk isn’t just “cleaner damage”—it’s that certain chemistries can lift wax, attack oil finishes, or leave a surfactant residue that re-attracts oils.
– Keep water controlled from the first minute: you want the surface damp, not wet.
Wood movement is strongly tied to moisture changes below the fiber saturation point; once moisture rises too far, dimensional changes and hazing become more likely. According to the USDA Forest Service (Wood Handbook), wood undergoes dimensional change with moisture variation below the fiber saturation point (~30% moisture content) (USDA Forest Service, Wood Handbook, n.d.).
Pick a degreaser method that won’t damage hardwood
Choose a pH-neutral, hardwood-safe degreaser for greasy film so you cut oils without stripping the finish. For slick residue, “shine” products are usually not enough—the goal is oil breakdown, not just temporary gloss.
– Choose a hardwood-safe, pH-neutral cleaner first; for greasy film, you often need a cleaner meant to cut oils, not just “shine” products.
pH-neutral means the chemistry is close to neutral water conditions; pH 7 is neutral at 25°C, and “neutral range” products are typically formulated to stay close to that (IUPAC, pH definition at 25°C, n.d.). In practice, staying near-neutral reduces the odds of finish softening compared with aggressive alkaline or acidic cleaners.
– If your finish is waxed or very sensitive, avoid harsh solvents/alkaline cleaners; instead, start with a mild grease-cutting solution and test in an inconspicuous spot.
Waxed floors can be especially vulnerable to strippers and strong degreasers—what feels like “removal” can actually mean you’ve removed the protective layer that keeps the wood looking uniform.
– Work with a “test → confirm” mindset: your spot test outcome tells you how much degreaser strength and dwell time your specific finish tolerates.
- Start here (recommended grease-film method)
- pH-neutral hardwood degreaser + microfiber agitation + immediate wipe/rinse + complete dry
- Avoid this (common finish-damage route)
- “Stripping” cleaners, heavy alkaline formulas, and long wet dwell times that leave surfactant residue—each increases the odds of dullness or slick return.
To help you choose the least risky approach for greasy film on hardwood, here’s how cleaner chemistry categories typically map to finish safety.
Cleaner pH Categories and Typical Hardwood Finish Safety (Generalized)
| # | Cleaner category | Typical pH range | Primary action | Finish safety (sealing intact) |
|---|---|---|---|---|
| 1 | pH-neutral detergent / mild degreaser | 6.5–8.5 | Oil loosening + controlled surfactants | ★★★★★ |
| 2 | Slightly alkaline degreaser | 8.5–10.0 | Stronger soap-free oil cutting | ★★★★☆ |
| 3 | Moderately alkaline degreaser | 10.0–11.5 | Aggressive surfactant and saponification | ★★★☆☆ |
| 4 | Strong alkaline stripper/cleaner | 11.5–13.0 | Finish removal risk (not “maintenance”) | ★☆☆☆☆ |
| 5 | Mild acidic cleaner | 5.0–6.5 | Scale/mineral haze reduction | ★★☆☆☆ |
| 6 | Strong acidic descaler | 2.0–5.0 | High corrosion and finish softening risk | ★☆☆☆☆ |
| 7 | Solvent-heavy “shine” or polish base | Varies (non-pH) | Surface film redistribution | ★★☆☆☆ |
Note: this table is generalized for hardwood maintenance decisions around greasy film—not a substitute for your flooring manufacturer’s chemical compatibility chart.
Step-by-step deep clean to cut greasy film
Use the same cleaning sequence every time: dry clean → controlled degrease → gentle agitation → prevent wet dwell. This order matters because greasy film on hardwood needs oil breakdown, not just water movement.
– 1) Dry clean thoroughly: Vacuum edges and corners, then do one last pass with a microfiber dust mop.
This step removes abrasive grit that can “burn in” dullness when you start agitation.
– 2) Apply the degreasing cleaner: Lightly dampen a microfiber mop (or use a bucket + microfiber cloth), working in small sections so the floor doesn’t sit wet.
Small sections are your control mechanism: you can agitate and wipe before residue turns into a tacky layer again.
– 3) Agitate and lift residue: Scrub gently with a microfiber pad or soft brush in a back-and-forth motion; keep it controlled and don’t let cleaner dry on the surface.
Oil-based buildup is lifted by a combination of surfactants and mechanical action. Keep pressure moderate—hard pressure can scratch or disturb the finish.
If you don’t have the exact ratio, follow your manufacturer’s dilution guidance on the degreaser label. In 2026, many new water-based polyurethane systems still require “manufacturer-approved cleaners only,” and they often specify concentration and maximum dwell time.
From practical care workflows, the most consistent improvement happens when greasy film on hardwood is treated as “residue chemistry,” not a one-pass mopping job.
Rinse, dry, and add a barrier to slow future buildup
Rinse until the cloth stops picking up oily residue, then dry completely to prevent hazing or re-deposit. This stage is what converts grease removal into a clean, neutral surface rather than a temporary shine.
– Wipe/rinse with clean, minimal-water cloths (or a lightly damp mop) until the cloth no longer picks up oily residue.
If you skip rinsing, surfactants can remain on the floor. Those residues attract more oils and recreate the “slick” feel.
– Dry completely with clean towels or a dry microfiber mop; standing moisture can cause warping or hazing.
Hardwood performance depends on stable indoor moisture conditions. Many guidelines target about 35–55% relative humidity to reduce seasonal movement and cupping risk (National Wood Flooring Association, RH guidance, n.d.). While cleaning doesn’t control humidity, drying fully prevents adding unnecessary moisture spikes.
– Add a barrier only if it aligns with your finish type.
For many sealed floors, an approved maintenance product (not a generic polish) can reduce the rate of new oily film buildup. For waxed or oil finishes, your “barrier” may be periodic re-waxing or re-oiling—not a random sealant.
What can go wrong when cleaning greasy film
Greasy film deep cleaning can fail when you use the wrong chemistry, over-wet the floor, or don’t rinse thoroughly. These missteps often make floors look worse in daylight because the remaining film dries unevenly.
– Using too-strong chemicals or “stripping” cleaners: They can remove shine, soften wax, or pull oils out of wood finishes you meant to keep.
If your floor was waxed or the finish is aging, aggressive degreasers can create patchy dullness that shows up under overhead lighting.
– Over-wetting or skipping the rinse: Grease can get redistributed, leaving streaky slick spots that look worse after drying.
Greasy film on hardwood behaves like a thin emulsion—once it’s disturbed, it spreads. That’s why rinse/wipe until transfer stops.
– No spot test: Some finishes react fast—if you see dull patches, sticky feel, or color change, stop and switch methods.
Even within “sealed polyurethane,” different formulations respond differently to surfactants and solvents.
– Using wrong tools: Abrasive pads, stiff brushes, or harsh scrubbers can cause micro-scratches that trap future grime.
Microfiber and soft pads are part of the grease-removal strategy because they lift residue without creating new damage.
Verdict: best approach, plus who should skip it
For most sealed hardwood floors, the safest “grease-film” plan is: dry clean → hardwood-safe degreaser → gentle agitation → thorough wipe/rinse → full dry. The key is controlled chemistry and controlled moisture—greasy film on hardwood is removed by lifting oils, then removing the loosened residue.
Skip this (or go slower with more spot-testing) if your floors are extensively waxed, unknown finish/age, or have cupping/gaps—deep cleaning can make existing issues more obvious. If your floors are already lifting or separating, address those structural moisture or installation problems first rather than trying to “fix” them with cleaners.
Quick checklist for deep-cleaning hardwood (save this)
| Step | Goal | Quick success sign |
|---|---|---|
| Dry vacuum/sweep | Remove grit | No loose dirt left |
| Spot test cleaner | Protect finish | No dull/tacky reaction |
| Degrease in sections | Break up oil film | Wipe cloth shows fewer smears |
| Agitate gently | Lift residue | Cleaner/smears reduce after scrubbing |
| Wipe/rinse + dry | Stop residue transfer | Cloth stays clean; floor feels neutral (not slick) |
– Keep water controlled (lightly damp, not soaked).
– Work in small sections so you can rinse promptly.
– Finish by drying fully.
Frequently Asked Questions
What causes a greasy film on hardwood floors, and how can I remove it during a deep clean?
Greasy film on hardwood floors often comes from cooking residue, household oils, foot traffic, and buildup from furniture polish or improperly diluted cleaners. To remove it, start with dry dusting or a vacuum using a soft brush to avoid spreading grime. Then use a hardwood-safe degreaser or a properly mixed pH-neutral cleaner, scrubbing in small sections before rinsing with a lightly damp mop to lift the oily residue.
How do I deep clean hardwood floors to remove greasy film without damaging the finish?
Use a microfiber mop or pad that can handle scrubbing without soaking the wood. Mix a pH-neutral wood floor cleaner with warm water (avoid harsh solvents, ammonia, or steam), and apply it to one area at a time so the floor doesn’t stay wet. Scrub gently, wipe up excess liquid with clean towels, and finish by mopping lightly with clean water to remove any lingering cleaner that could attract more grease.
How can I tell if the greasy buildup is from wax, polish, or everyday dirt, and what should I do next?
If the film looks slick, smears when you wipe, or feels tacky, it may be wax or polish buildup rather than general dirt. For everyday grease, a pH-neutral cleaner with targeted scrubbing usually works; for heavier waxy buildup, you may need a hardwood-safe floor stripper/cleaner designed to dissolve residue (follow label directions carefully). Always test a small hidden area first, then rinse and dry thoroughly to prevent dullness.
What is the best method and solution for cutting through greasy film on sealed hardwood floors?
The best approach is a two-step deep clean: degrease first, then rinse to eliminate residue. Choose a hardwood-safe degreasing cleaner that’s labeled for sealed wood, dilute it correctly, and scrub with a microfiber pad in the direction of the grain. Afterward, rinse with clean water on a damp mop (not a wet one), dry with towels, and allow the floor to fully cure before walking or replacing rugs.
Which cleaning products should I avoid when deep cleaning hardwood floors for grease removal?
Avoid ammonia-based cleaners, abrasive pads, vinegar-heavy solutions, and any oil or wax-based products unless they’re specifically recommended for your finish. Steam cleaners can force moisture into seams and cause cupping or damage, especially with older floors. Also be cautious with all-purpose degreasers—use only hardwood-safe, pH-neutral products to prevent stripping the protective finish and leaving the wood more vulnerable to future grease buildup.
📅 Last Updated: November 04, 2026 | Topic: How to deep clean hardwood floors to remove greasy film? | Content verified for accuracy and freshness.
References
- Wood flooring
- https://www.epa.gov/indoor-air-quality-iaq/cleaning-your-home
- https://pubmed.ncbi.nlm.nih.gov/?term=hardwood+floor+cleaning
- https://pubmed.ncbi.nlm.nih.gov/?term=wood+surface+oil+removal
- https://pubmed.ncbi.nlm.nih.gov/?term=wood+floor+grease+residue+cleaning
- https://pubmed.ncbi.nlm.nih.gov/?term=detergent+residue+on+wood+surfaces
- https://pubmed.ncbi.nlm.nih.gov/?term=lipid+contamination+wood+cleaning
- https://scholar.google.com/scholar?q=deep+cleaning+hardwood+floors+greasy+film+removal Google Scholar
- https://scholar.google.com/scholar?q=hardwood+floor+cleaning+oil+grease+residue+removal+detergent Google Scholar
- https://scholar.google.com/scholar?q=wood+surface+cleaning+oil+contaminants+detergents+residues Google Scholar