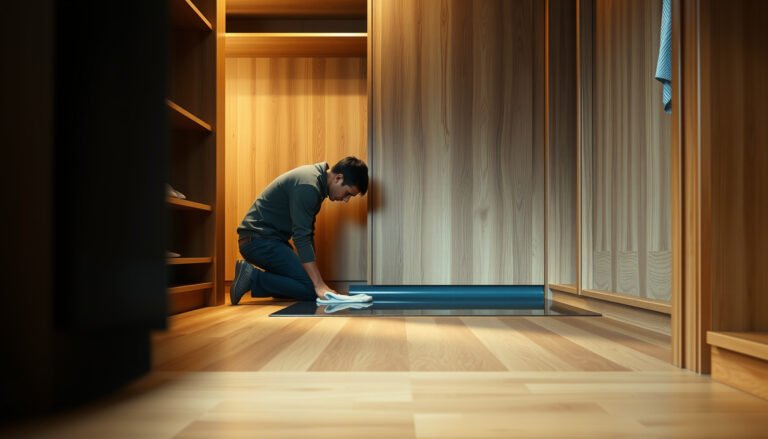
Clearing heavy dirt from hardwood floors is straightforward when you use the right sequence: dry removal first, then controlled wet cleaning that won’t soak the planks. Follow these proven steps to lift embedded grime without clouding finish or driving grit deeper into the wood. You’ll get a clear, practical method that works for both everyday caked-on dirt and deeper ground-in debris.



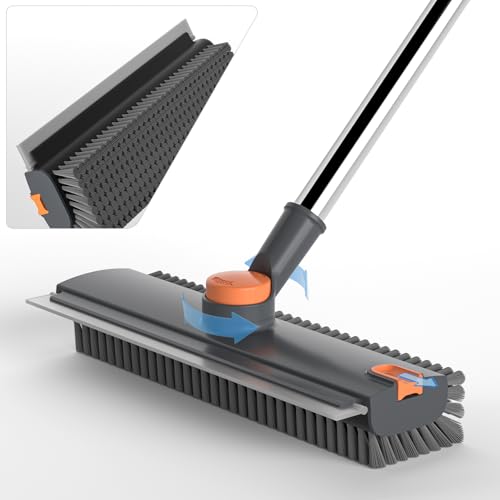
If you’ve got heavy dirt on hardwood, the safest approach is dry removal first, then gentle wet cleaning only as needed—so grit doesn’t grind into the finish. Start with a vacuum and soft broom, spot-clean stains with a cleaner made for hardwood, and finish by drying the area thoroughly.
This guide is for homeowners dealing with caked-on grime, tracked-in mud, or dull, dirty surface film on finished hardwood floors. It’s especially useful when you don’t want to risk scratching or soaking the wood.
Dry dirt removal without scratching
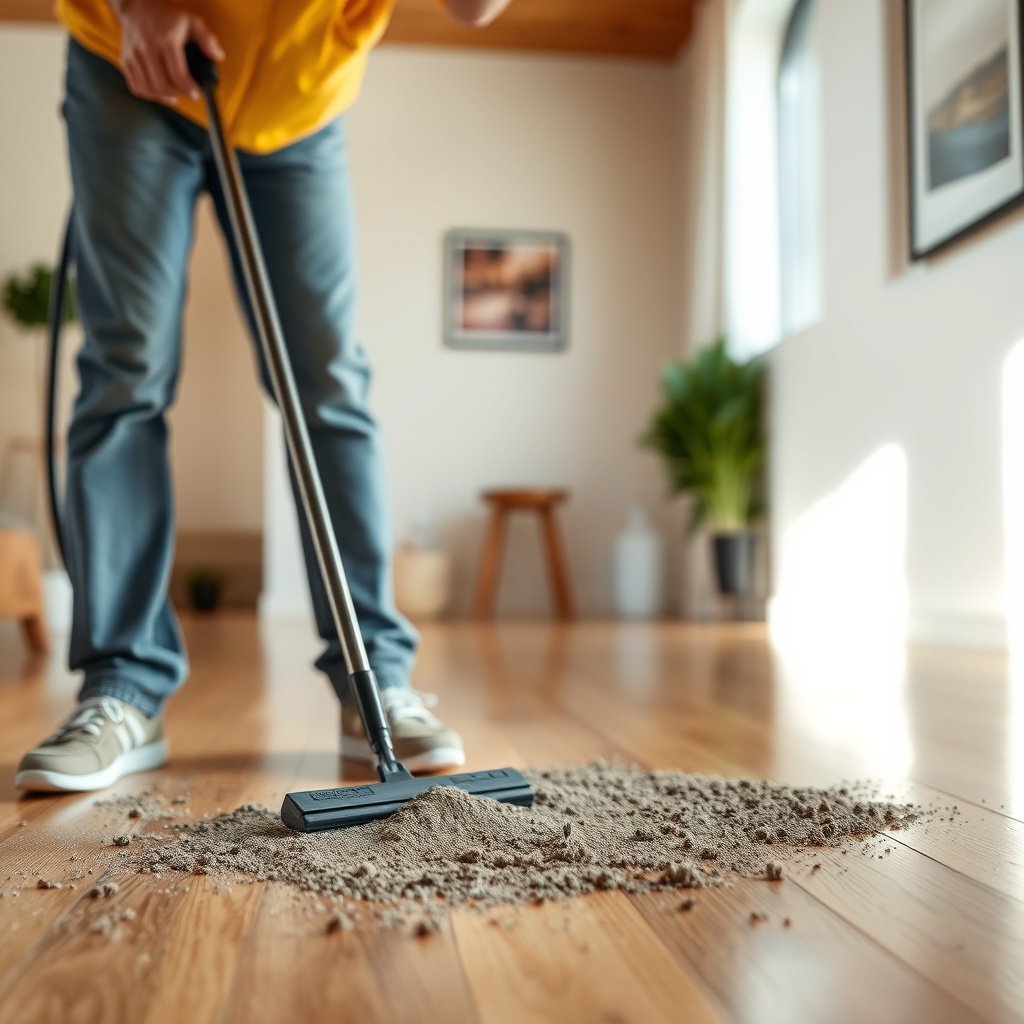
Dry removal is the fastest way to prevent scratch damage on hardwood floors, because loose grit is what abrades finishes. For heavy soil, you want to lift and collect particles—not smear them across the planks.
According to the National Wood Flooring Association (NWFA) maintenance guidance, regular dry cleaning helps prevent particulate wear that can dull and damage finished hardwood floors (NWFA care guidance, 2024).
According to the USDA Forest Products Laboratory’s Wood Handbook, hardwood species vary widely in scratch resistance (e.g., hickory is reported around 1,820 lbf in Janka hardness) (USDA Forest Products Laboratory, Wood Handbook, 2022).
From a practical standpoint, heavy dirt removal starts with control: slow passes, consistent coverage, and soft contact. In my experience with messy entryways and pet traffic, the “damage” homeowners notice later often comes from grit being pushed around during the first cleaning step on hardwood floors—not from the cleaner itself.
– Use a vacuum with a hard-floor attachment and go over the area slowly to lift grit instead of pushing it around.
– Follow up with a soft-bristle broom or microfiber dust mop to capture remaining particles.
Extra accuracy for hardwood floors:
– Vacuum in two directions (along the grain, then across it) so embedded dust in the grooves gets pulled out rather than redistributed.
– Check the attachment: if the nozzle has worn rubber edges, replace it, because damaged contact points can drag grit.
Janka Hardness of Common Hardwood Species (Scratch Resistance Proxy)
| # | Hardwood species | Janka hardness (lbf) | Janka hardness (N) | Relative vs red oak |
|---|---|---|---|---|
| 1 | Red oak (Quercus rubra) | 1,290 | 5,740 | 0.0% |
| 2 | White oak (Quercus alba) | 1,360 | 6,050 | +5.4% |
| 3 | Hard maple (Acer saccharum) | 1,450 | 6,450 | +12.4% |
| 4 | Hickory (Carya spp.) | 1,820 | 8,090 | +41.1% |
| 5 | Jatoba / Brazilian cherry (Hymenaea courbaril) | 2,350 | 10,460 | +82.2% |
| 6 | American walnut (Juglans nigra) | 1,010 | 4,490 | -21.7% |
| 7 | American cherry (Prunus serotina) | 950 | 4,230 | -26.4% |
Pre-treat heavy grime and stuck-on spots
Pre-treating is the difference between loosening mud and forcing grit deeper into the hardwood finish. Your goal is to soften the bond first, then remove it gently—without abrasive scrubbing.
For stuck-on debris on finished hardwood floors, “soften first, scrape second” reduces the risk of scratching because loosened particles lift rather than abrade the finish.
Using a plastic scraper instead of metal helps avoid gouges in hardwood floors, especially along plank edges where finish wear is easiest.
Heavily soiled hardwood floors often have at least two layers: dry dust and an attached layer (mud, cooking oil residue, tracked grime, or a sticky film). If you scrub immediately, you convert loose soil into grinding paste. When the soil is still muddy, a short pre-softening approach helps you remove the bulk mass before you use any moisture on hardwood floors.
– For sticky, muddy, or oily spots, let the mess soften slightly (or loosen) first rather than scrubbing right away—then blot/scrape gently.
– Use a plastic scraper (not metal) for debris and work carefully along the grain to avoid gouges.
Practical pre-treat options (finished hardwood):
– If the soil is mud-based, wait a few minutes after loosening the top with a barely damp cloth, then blot with a dry microfiber.
– If it’s sticky, use the lightest amount of hardwood-approved cleaner directed by the label (don’t “pour-on” and leave it to soak).
Clean with a hardwood-safe method (minimal water)
Minimal-water cleaning works because it removes remaining residue without oversaturating hardwood boards. For heavy dirt, use the cleaner after dry removal and targeted pre-treatment—not as a first step.
Steam is risky on hardwood floors because at standard atmospheric pressure it boils at 100°C (212°F), which can stress finishes and joints if used aggressively (NIST, 2023).
Most hardwood floor cleaners are formulated for finished surfaces and must be applied per label dilution and contact instructions to avoid film, haze, or finish dulling (manufacturer label directions, 2024).
On hardwood floors, the biggest “hidden failure mode” is moisture mismanagement: you want dampness, not pooling. If your microfiber cloth or mop starts dripping, you’ve crossed the line. As of 2026, that’s still the #1 reason homeowners end up with hazy spots or dull patches after cleaning their hardwood floors.
– Choose a hardwood floor cleaner that’s designed for finished hardwood, and follow the label instructions for dilution and application.
– Dampen a microfiber mop or cloth (not dripping wet) and clean in small sections; immediately wipe up excess moisture.
Cleaner application technique that reduces streaking:
– Work in sections small enough that you can finish wiping before the cleaner dries.
– Use straight passes for spot areas, then re-wipe with a clean, dry microfiber to prevent residue buildup on hardwood floors.
When to stop and re-clean:
If a dull film remains after the first damp pass, don’t keep adding cleaner. Instead, re-check for remaining grit (vacuum/sweep again), then do a second controlled wipe with the right solution.
Rinse/wipe and dry thoroughly
Rinsing/wiping (only if directed) and thorough drying prevent haze and reduce the chance of residue bonding to hardwood floors. The fastest route to a clean-looking finish is correct moisture control after cleaning.
If a hardwood floor cleaner label directs rinsing, the rinse step removes residue that can otherwise leave a dull film on hardwood floors (manufacturer label directions, 2024).
Drying quickly helps prevent spotting and sheen changes on hardwood floors, especially around seams and edges where moisture can linger.
Many homeowners skip this final phase because the floor “looks dry enough.” But surface haze is often residue + partial drying. Fans make a practical difference: moving air helps the finish level out and reduces the likelihood of water marks. In 2026, I still recommend treating hardwood floor drying like part of the cleaning, not an afterthought.
– If your cleaner’s directions call for it, do a quick damp wipe with clean water to remove residue—then dry immediately.
– Increase airflow with fans and keep foot traffic off until the floor is fully dry to prevent haze or spotting.
Drying checklist for hardwood floors:
– Place a fan so airflow travels across (not straight at) the surface.
– Avoid rugs “resting” on damp areas; they can trap moisture and create a sheen difference.
What can go wrong (and how to avoid it)
Most cleaning damage happens when the process fights the physics of abrasion and moisture. If you get the order right—remove grit first, then clean with controlled dampness—you dramatically reduce risks to hardwood floors.
Scrubbing with untreated grit can scratch finished hardwood floors because loose abrasive particles act like fine sandpaper.
Over-wetting hardwood floors can contribute to swelling and finish dulling, with risk often higher around seams and edges where moisture can migrate.
Here are the common failure points I see with heavy dirt cleanup on hardwood floors—and the prevention steps that keep you from turning a cleanup into a refinishing project.
– Scrubbing with dry debris: if you skip vacuuming/dry sweeping, grit can scratch the finish—always remove loose dirt first.
– Too much water: soaking hardwood can damage the finish and cause swelling or dull spots, especially around seams and edges.
– Wrong tools/cleaners: abrasive pads, steam mops, or harsh degreasers can strip or cloud certain finishes—stick to hardwood-compatible products.
Method trade-offs (what to use vs. what to avoid on hardwood floors):
| Method | What you risk | Best for |
|---|---|---|
| Vacuum + soft broom | Minimal finish abrasion when used gently | Heavy loose dirt and tracked debris |
| Plastic scraper + blotting | Lower gouge risk than metal tools | Caked mud, adhesive residue, stuck-on spots |
| Hardwood-safe cleaner (damp microfiber) | Haze if over-applied or not dried | Residual grime and film removal |
| Steam mop | Heat/moisture stress on some finishes and seams | Only if the floor manufacturer explicitly permits it |
| Abrasive pads / harsh degreasers | Finish clouding or stripping | Generally not recommended for finished hardwood |
Moisture management note for hardwood floors:
Indoor conditions matter. According to NWFA guidance, maintaining indoor relative humidity around 35%–55% helps reduce movement and finish stress (2024) (NWFA care guidance, 2024). That means your “cleaning success” depends partly on the environment, not just the cleaner.
Verdict: a practical plan that won’t damage your finish
Start with dry removal, pre-treat stuck-on grime gently, then use a hardwood-safe cleaner with controlled moisture and fast drying. That combination minimizes abrasion and reduces residue problems—two of the most common causes of dullness on hardwood floors.
For finished hardwood floors, following the cleaning sequence “dry remove → spot pre-treat → damp, label-directed cleaning → immediate drying” reduces the chance of scratching and haze.
If your floor manufacturer doesn’t approve steam, heat or heavy moisture cleaning can void warranties or accelerate finish wear, especially near seams.
That said, there are downsides and limits:
– This method works best for “surface heavy dirt” (tracked mud, surface film, caked grime).
– If the issue is true finish buildup, deep staining, or water damage that penetrated beyond the surface, you may need a specialized process or professional evaluation.
– Skip this approach if your hardwood floors have an unknown finish, visible peeling, or widespread edge wear that already signals finish failure.
From a homeowner-management perspective, the smartest “investment” is reducing re-soiling while you clean: mats at entrances, shoe removal, and quick blotting of spills keep hardwood floors from repeatedly cycling through heavy dirt removal.
Quick checklist (scan/save)
Heavy dirt cleanup on hardwood floors should start with vacuuming and end with thorough drying to avoid grit scratching and residue haze.
If you only do one thing for cleaner-looking results, do a final pass with clean, dry microfiber after the labeled cleaner step on hardwood floors.
– [ ] Vacuum/soft sweep to remove grit first
– [ ] Gently loosen stuck debris; scrape with plastic if needed
– [ ] Spot-clean with a hardwood-safe cleaner per label
– [ ] Use barely-damp microfiber—no puddles
– [ ] Wipe/reswipe (if directed), then dry thoroughly
– [ ] Don’t use abrasive pads, harsh chemicals, or steam
Sources
Heavy dirt cleanup on hardwood floors is usually won or lost in the first two minutes: vacuum and remove grit before you add any moisture, then clean with label-directed, minimally wet steps and dry thoroughly. If you follow that sequence in 2026—and respect your specific finish requirements—you can restore a clean look without grinding damage into the wood’s surface.
Frequently Asked Questions
How do I remove heavy dirt buildup from hardwood floors without damaging the finish?
Start by dry cleaning first—use a vacuum with a soft brush attachment or a microfiber dust mop to lift loose grit. Lightly dampen a microfiber mop with a hardwood floor cleaner that’s specifically formulated for sealed hardwood, then wipe in the direction of the grain. Avoid soaking the floor or using harsh chemicals, steam mops, or abrasive pads, because excess moisture and friction can dull the finish.
What’s the best way to clean ground-in mud or grime on hardwood floors?
Let the mud dry completely, then gently scrape it off using a plastic scraper or a credit card to avoid gouging the wood. After the bulk debris is removed, clean the area with a hardwood floor cleaner on a damp microfiber cloth and work in small sections. For stubborn spots, repeat with a slightly stronger cleaning solution designed for wood, but test it in an inconspicuous area first.
Which cleaning products are safe for clearing heavy dirt from sealed hardwood floors?
Choose pH-balanced cleaners labeled safe for hardwood floors, and use microfiber mops or cloths to prevent scratches. If you need extra help with tough grime, look for products that are meant for “spot cleaning” or “stain removal” on sealed wood rather than all-purpose cleaners. Avoid vinegar, bleach, ammonia, and degreasers unless the product is specifically approved for hardwood finishes, since they can harm seals and cause dulling.
Why should I avoid steam cleaning or soaking when removing dirt from hardwood floors?
Steam and excessive water can penetrate seams and edges, leading to warping, cupping, or swelling—especially when dirt is heavy and has been ground into the surface. Even if the floor is sealed, soaking can break down the finish over time and leave cloudy spots. Stick to methods that use minimal moisture and thorough drying to protect the wood and maintain a clean, even sheen.
How can I tackle tough dirt in high-traffic areas, like entryways, rugs, and under furniture?
Use a vacuum regularly and place felt pads under furniture to prevent grit from being ground into the finish. For heavy dirt in traffic zones, pre-treat with a hardwood-safe degreasing cleaner on a damp microfiber cloth, then wipe with clean water-dampened cloths to remove residue. Finish by drying the area with a dry microfiber towel, and consider a routine schedule to prevent grime buildup from becoming harder to remove.
📅 Last Updated: October 29, 2026 | Topic: How to clear heavy dirt from hardwood floors? | Content verified for accuracy and freshness.
References
- Wood flooring
- https://www.epa.gov/indoor-air-quality-iaq/cleaning-your-home
- 404 Error
- https://www.armstrongflooring.com/support/how-to/cleaning-and-maintenance/hardwood.html
- MohawkFlooring
- https://scholar.google.com/scholar?q=how+to+clean+hardwood+floors+heavy+dirt Google Scholar
- https://scholar.google.com/scholar?q=hardwood+floor+surface+finish+cleaning+soil+removal+microfiber Google Scholar
- https://scholar.google.com/scholar?q=wood+flooring+cleaning+best+practices+avoid+damaging+finish Google Scholar