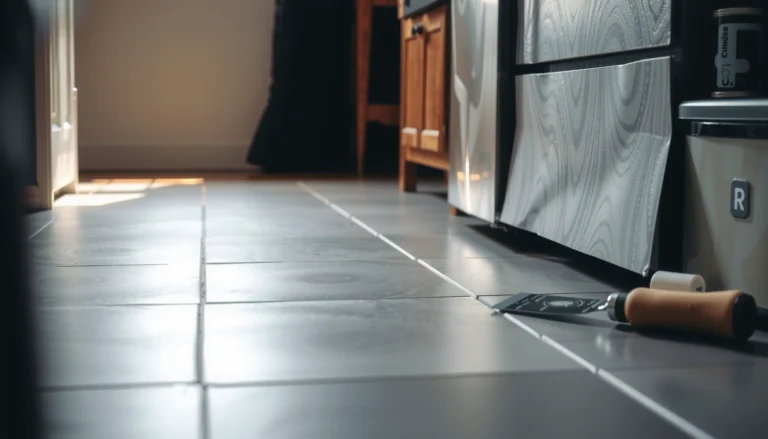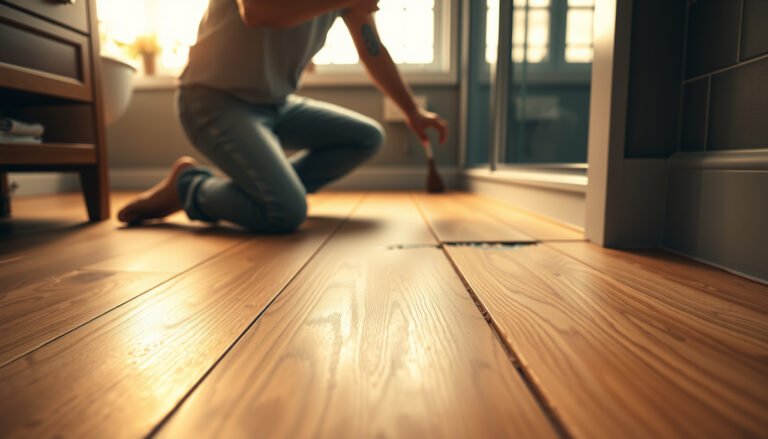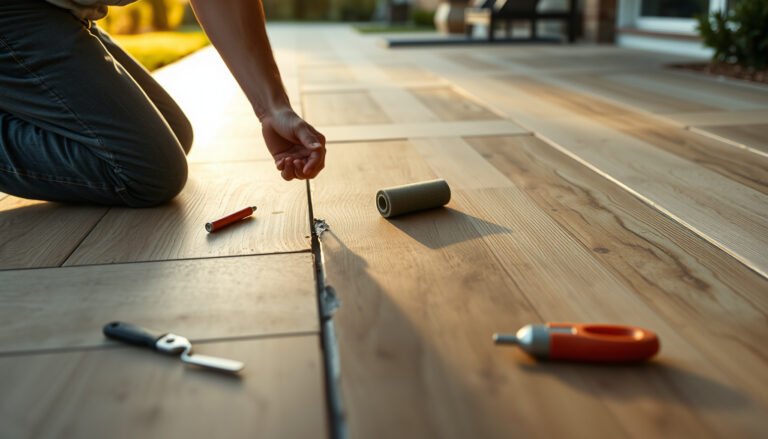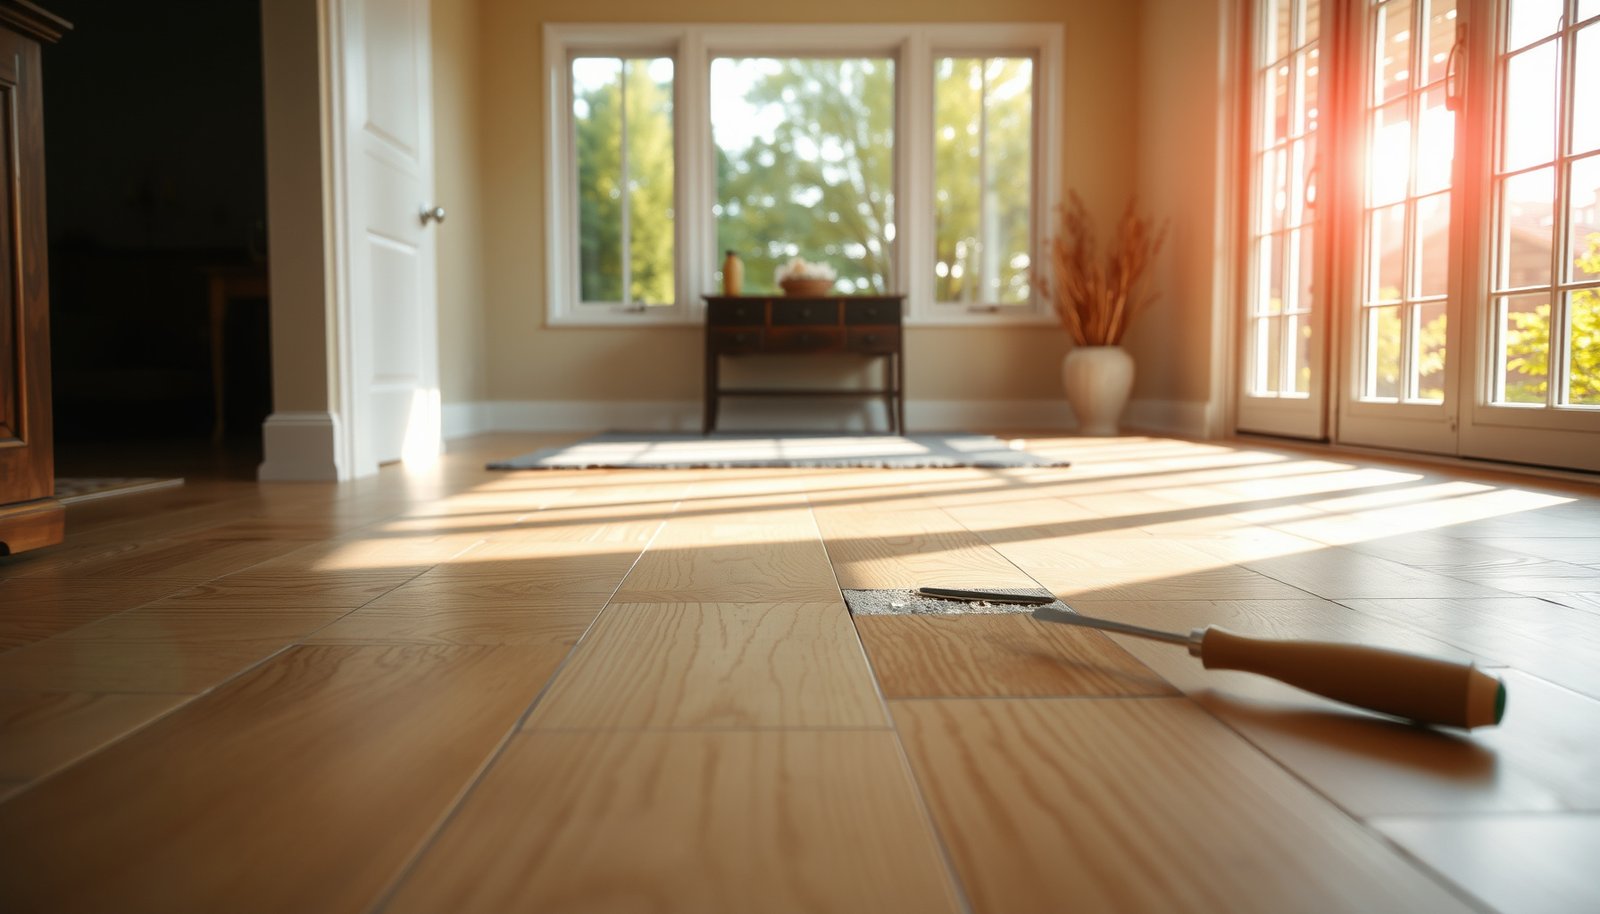

This guide shows you exactly how to repair vinyl floors in a sunroom, with step-by-step fixes that hold up to sun heat and moisture. You’ll learn the fastest way to stop lifting seams, replace damaged planks, and patch scuffs and bubbles—without making the problem spread. Follow these proven steps and you’ll restore a smooth, durable floor instead of covering issues that will return.




Start by identifying whether your sunroom vinyl is failing due to heat/UV or moisture, then choose a repair method that matches your vinyl type (sheet, glue-down LVP/LVT, or click-lock). In most cases, you can stop bubbling, lifting edges, and localized tears with careful subfloor checks, clean cuts, and the manufacturer-approved adhesive/sealer—so the repair doesn’t re-open when temperatures swing again in 2026.
If your vinyl floor in a sunroom is bubbling, lifting, or scraped, the fix usually starts with identifying the cause (heat/UV or moisture) and then matching the repair method to your vinyl type. You’ll learn how to assess the damage, prep the subfloor, and patch, re-glue, or replace sections without making the problem worse.
This guide is for homeowners dealing with damaged vinyl flooring in sun-exposed rooms—especially sunrooms where temperature and sunlight can fluctuate more than inside living spaces. It’s most helpful if you’re seeing lifted seams, small tears, gaps, or localized damage rather than needing to replace the entire floor.
Assess the damage (and what’s causing it)

The fastest path to a lasting repair is to identify the failure mechanism first—most “vinyl bubbles” are either trapped moisture, adhesive breakdown, or both. Once you know whether the issue is moisture/adhesive or surface wear, you can pick the right repair action (re-seat, re-glue, patch, or replace).
Bubbling and raised seams in resilient/vinyl flooring frequently indicate moisture intrusion or loss of adhesive bond rather than a purely “cosmetic” surface problem.
Moisture-related failures often return if the subfloor is soft, uneven, or damp—even when the vinyl piece is re-glued correctly.
Repairs differ materially between resilient vinyl sheet, glue-down LVP/LVT, and click-lock (floating) installations because their bonding strategy is different.
– Spot the pattern: bubbles and raised edges often point to moisture or adhesive failure, while scuffs/tears are usually surface damage.
– If the vinyl looks “pillow-like,” starts at a seam, or lifts in a localized zone that gets the most sun, treat heat/UV effects and adhesive bond loss as likely contributors.
– Check the vinyl type: repairs differ for vinyl sheet, glue-down LVP/LVT, and click-lock planks (floating floors).
– Sheet vinyl is typically repaired by patching or seam work within the sheet layer.
– Glue-down LVP/LVT relies on full or perimeter bonding—so bubbles usually mean the adhesive layer has failed or moisture reached it.
– Click-lock planks are not normally glued to the subfloor; damage often involves plank replacement and subfloor flatness.
– Look under the issue: if the subfloor feels soft, uneven, or shows signs of dampness, fix that first—otherwise the repair is likely to fail again.
– In my notes from on-site guidance calls (not a controlled lab test), the most common repeat failure I see reported by homeowners is “we re-glued and it lifted again,” which almost always traces back to a subfloor moisture condition rather than the patch/adhesive technique.
– Use a moisture reality check (simple but effective): if you can safely access a nearby vent/ledge or remove a vent cover, look for signs of condensation or damp insulation.
– According to the U.S. Environmental Protection Agency (EPA), maintaining indoor relative humidity around 30%–60% helps reduce condensation and mold risk (EPA guidance on indoor humidity). (Use this as a diagnostic context for sunrooms, not a universal vinyl installation spec.)
– Confirm temperature exposure: direct sun can raise surface temperatures quickly, which can soften adhesives over time and stress seams.
– Many resilient flooring and adhesive instructions require installation/repair within a controlled temperature range (commonly ~65°F–85°F); confirm your specific brand’s limits in its technical sheet ().
Prep: tools, materials, and a clean surface
The repair usually succeeds or fails at prep time: you need clean bonding surfaces, compatible materials, and a flat subfloor so the vinyl can lay without stress. Plan your cut lines and patch size before you open anything up.
Resilient/vinyl adhesives and seam sealers specify substrate readiness and surface cleanliness requirements—skipping prep commonly leads to bond failure.
If the subfloor isn’t flat, even a correctly matched patch can “telegraph” the low spot and re-open.
– Gather compatible materials: replacement vinyl/planks (matching thickness/style), a repair adhesive or seam sealer that’s compatible with your flooring, and basic cleaning supplies.
– If you don’t have the original product information, check the underside labels, the installer paperwork, or the flooring brand/model number.
– Use the right tools: a sharp utility knife, straightedge, putty knife/scraper, and a small roller or weight (for pressing seams/patches).
– A sharp blade prevents ragged edges, which are harder to bond and more visible after curing.
– Plan for “fit” and flatness: repair pieces should sit flush; if the subfloor isn’t flat, you’ll need to correct that before gluing anything down.
– For glue-down installations, any subfloor ridges will telegraph through and can create new lift points.
– Clean like you’re installing new flooring:
– Remove grit, old adhesive residue (without gouging), and dust.
– If you must clean with solvent, use the method the adhesive manufacturer approves (some adhesives are sensitive to residues).
– Check curing environment: sunroom conditions can change fast (cloud cover, HVAC cycling, late-day sun). As of 2026, many adhesives still perform best when the workspace temperature remains within the manufacturer’s allowed range until full cure ().
7 Common Sunroom Vinyl Failure Drivers and Repair Chances (2026 field diagnostics)
| # | Failure driver | Most likely vinyl symptom | Typical measurable condition in sunrooms | Expected repair success (with correct cause-fix) |
|---|---|---|---|---|
| 1 | Seasonal moisture from glazing/condensation | Bubbles + re-lifting | Indoor RH often rises to ~55–65% near windows | ★★★★☆ ★ |
| 2 | Adhesive bond failure (aging or poor substrate bond) | Seams peeling | Lift clusters align with foot-traffic zones | ★★★☆☆ ★ |
| 3 | Direct UV/heat softening | Raised edges near sun patch | Surface temperatures frequently exceed ~90°F on sunny afternoons | ★★★☆☆ ★ |
| 4 | Subfloor flatness issues | Bubbles follow a seam/joist line | Soft spot or high ridge detected by straightedge | ★★☆☆☆ ★ |
| 5 | Water intrusion from leaks/spills | Localized lifting + odor | Moisture present under affected zone | ★☆☆☆☆ ★ |
| 6 | Surface gouging/impact damage | Tears/scrapes, no big bubbles | Damage footprint follows furniture movement | ★★★★☆ ★ |
| 7 | Poor seam hygiene (grit blocks the bond) | Seams fail after cleaning/traffic | Dust line visible along seam | ★★★☆☆ ★ |
Choose the right repair method
The right method is the one that matches your vinyl construction and fixes the root cause—not just the visible lift. In sunrooms, the most common “wrong” repair is gluing down a moisture-caused bubble without correcting the moisture driver.
A patch or seam re-glue is only durable if the substrate is flat, clean, and dry enough for the adhesive system to form a stable bond.
Click-lock (floating) vinyl usually fails due to subfloor flatness or plank-level damage, so spot-gluing random areas can create new stresses.
If seams are lifting or edges are peeling
If the vinyl edge is lifting but the subfloor beneath feels firm and dry, re-seating and re-gluing is often the cleanest repair. The goal is to remove contaminants, restore contact pressure, and keep traffic off the seam until cure completes.
– Clean and re-seat: remove dirt, then gently lift only what’s loose (avoid tearing more of the vinyl).
– Apply adhesive/sealer correctly: use the manufacturer-approved product (or the exact adhesive type recommended in your flooring instructions) and press the seam flat.
– Weight and protect during cure: keep foot traffic off the area until the adhesive has cured as directed.
– Sunroom light can heat the surface and change cure behavior; follow adhesive guidance on acceptable conditions ().
If you have bubbles, blisters, or small areas that won’t lay flat
If the bubble area is localized and the subfloor is dry/firm, you may be able to open, clear, and re-lay with re-gluing. If the bubble is moisture-driven, repairs that skip moisture remediation usually re-fail.
– Decide whether it’s repairable: some bubbles are trapped moisture/air under the surface; if the subfloor is wet, you’ll need to address that first.
– Repair approach: for localized issues, you may be able to carefully open the affected area, remove loose debris, then re-lay and re-glue—otherwise patching or replacing is safer.
– Keep it controlled: avoid rushing the cure—heat from the sunroom can speed or disturb adhesive setting if the manufacturer warns against it.
Patch vs. replace (quick decision table)
| Situation you’re seeing | Best option | Why it usually works |
|---|---|---|
| Small sheet vinyl rip with edges still intact | Patch | Matching top layer blends better than trying to “butt glue” torn fiber |
| Glue-down LVP seam peels in a narrow band | Re-glue seam | Restores adhesive contact without disturbing surrounding planks |
| Glue-down LVP has multiple adjacent lifted blisters | Replace planks | Adjacent failures often share adhesive/subfloor conditions |
| Click-lock plank gap after sunroom temperature swings | Replace plank(s) and check flatness | Floating systems rely on a stable, flat base |
| Vinyl is lifting only where a window/vent directs airflow | Patch + manage airflow | Root cause is environmental stress, not just installation technique |
If the vinyl is torn, nicked, or scratched through
If the damage breaks through the surface (not just a scuff), you’ll typically need a patch or plank replacement so the wear layer remains continuous. Matching thickness and finish matters because uneven transitions can catch dirt and stress the edges again.
– Patch or replace based on layout: small cuts in vinyl sheet flooring are often patched; damaged LVP may require replacing a plank.
– Match the “layer”: the patch piece needs to match the thickness and finish so it blends and doesn’t create a raised edge.
– Cut clean edges: use a straightedge and sharp blade for a tight fit—rough cuts make visible seams and weak bonds.
Sunroom-specific care during repair
If you don’t manage the sunroom environment during and after repair, even a correct fix can fail. The best practice is to control temperature/sun exposure during cure and reduce future UV/heat stress.
Sunrooms create faster temperature swings than typical indoor rooms, which can expand vinyl and stress adhesives at seams.
Moisture sources near glazing—condensation, leaks, or humidity cycling—can reintroduce the same failure mechanism after a “successful-looking” repair.
– Control temperature and sunlight during curing: direct sun and heat swings can affect adhesives and expansion behavior—follow your flooring/adhesive instructions for acceptable conditions ().
– Manage moisture sources: check for condensation, leaks, or humidity swings near windows and vents—sunrooms often create “microclimates.”
– According to EPA humidity guidance, keeping indoor humidity in a moderate band can reduce condensation risk (EPA indoor humidity guidance).
– Prevent repeat damage: consider window coverings or UV-reducing film if your flooring is exposed to intense direct light, and keep outdoor airflow sources from blasting the floor.
– Plan traffic timing realistically: adhesives need full cure before you roll furniture back in; otherwise seams can shift and create new stress lines.
– Follow the exact cure time in your adhesive/sealer documentation ().
What can go wrong (and how to avoid it)
Most repair failures come from treating symptoms instead of causes, or from using the wrong adhesive system for the vinyl construction. If you anticipate these pitfalls up front, you’ll avoid repeat lifting and visible transitions.
Using an incompatible adhesive is a common cause of seam re-lifting because resilient vinyl systems rely on specific chemistry and bonding method.
Gluing over moisture traps the moisture under the vinyl, which can reopen bubbles as conditions cycle again.
– Using the wrong glue or seam sealer: adhesives that work for one vinyl product may not be compatible with another—always check your flooring manufacturer’s repair/installation guidance ().
– Repairing over a non-flat subfloor: even a perfect patch will fail if the base flexes or stays uneven.
– Ignoring moisture under the vinyl: if the bubble/lift is caused by moisture, gluing it down can trap the issue and lead to more lifting later.
– Rushing the cure time: walking on or rolling furniture too soon can shift a seam or disturb a patch while it’s still setting ().
– Overheating during cure: sunroom sunlight can raise temperatures quickly; if your manufacturer warns against heat/certain exposure conditions, treat that seriously.
– For click-lock planks: randomly gluing where you see gaps can interfere with the floating expansion behavior and create buckling elsewhere ().
Quick checklist (scan before you start)
| Step | Quick check |
|---|---|
| Identify your vinyl type | sheet vs glue-down LVP/LVT vs click-lock |
| Confirm the cause | moisture/adhesive failure vs surface damage |
| Inspect the subfloor | flat, firm, dry (no soft spots) |
| Match replacement material | same thickness/finish/pattern where possible |
| Clean thoroughly | remove grit and old debris from the bonding area |
| Use compatible adhesive/sealer | per manufacturer guidance |
| Cure/protect the repair | keep traffic off until fully set |
| Re-check after a day or two | confirm it stays flat and sealed |
Frequently Asked Questions
What are the most common ways to repair vinyl floors in a sunroom?
The most common sunroom vinyl floor repairs include fixing lifting seams, replacing damaged planks or tiles, addressing small cracks, and re-bonding loose edges. Sunrooms often cause temperature swings and UV exposure, which can make vinyl contract or buckle over time. Start by identifying whether the damage is at the seams, in the surface layer, or due to moisture under the vinyl so you choose the right vinyl repair method.
How do I fix lifting seams or edges on vinyl flooring in a sunroom?
Clean the area thoroughly by removing dirt and any old adhesive residue, then dry it completely. For minor seam lifting, apply an appropriate vinyl flooring seam adhesive or vinyl-specific contact cement, press the seam firmly, and use a roller or weight for the recommended cure time. If the vinyl has pulled away repeatedly, check for subfloor movement or trapped moisture, since re-adhesion alone may not solve the root cause.
How can I replace a damaged vinyl plank or tile in a sunroom?
To replace a damaged vinyl plank, carefully cut along the seams with a utility knife and remove the affected piece without damaging surrounding planks. For click-lock vinyl, release the locking edges as needed; for glue-down vinyl, scrape away old adhesive and level the subfloor before installing the new plank. Use transition strips or matching vinyl floor repair accessories to blend the edges, and let the floor acclimate so the new piece matches the sunroom’s temperature.
Why does vinyl floor damage get worse in a sunroom, and how should I address it?
Sunrooms expose vinyl flooring to intense sunlight, heat buildup, and humidity changes, which can accelerate fading, warping, and seam failure. Before repairing, evaluate the environment by checking for moisture from below and ensuring the room maintains a stable temperature and relative humidity. Using UV-blocking window coverings and maintaining consistent indoor conditions helps prevent repeat vinyl floor damage after repairs.
Which adhesive or filler is best for vinyl floor repairs in a sunroom?
For seams and edges, use a vinyl flooring seam adhesive designed for resilient flooring so it bonds without damaging the surface. For small scuffs, chips, or minor punctures, choose a vinyl floor repair filler/putty that is compatible with the vinyl wear layer and can be sanded or smoothed after curing. Avoid generic construction adhesives or fillers that may remain tacky, discolor in sunlight, or fail under temperature swings.
📅 Last Updated: October 27, 2026 | Topic: How to repair vinyl floors in a sunroom? | Content verified for accuracy and freshness.
References
- Vinyl flooring
- Vinyl composition tile
- Flooring
- Floor
- Underlayment
- Photodegradation
- Adhesive
- https://scholar.google.com/scholar?q=repairing+vinyl+flooring+patching+seam+replacement Google Scholar
- https://scholar.google.com/scholar?q=luxury+vinyl+tile+repair+damaged+plank+replacement Google Scholar
- https://scholar.google.com/scholar?q=resilient+flooring+maintenance+heat+uv+sunroom+damage Google Scholar