
Why does your hardwood look hazy even after you’ve cleaned it? Usually cloudy residue comes from soap, hard-water minerals, or wax buildup, and it can be cleared with the right rinse and a light abrasion. You’ll need a pH-neutral hardwood cleaner (or distilled white vinegar diluted with water), microfiber pads, and a clean bucket, and most rooms can be refreshed in about an hour without sanding.




To clear cloudy residue from hardwood floors, use a pH-neutral hardwood cleaner (diluted per label), rinse with clean water, and dry immediately—without soaking the wood. If the haze won’t lift fast, switch to a targeted mineral/residue remover that matches your finish, and always spot-test first.
This guide is for homeowners dealing with visible film, haze, or streaky “cloudiness” on finished hardwood floors (not raw/unsealed wood). It’s also useful when routine mopping isn’t fixing the problem and you want a safe sequence that won’t damage the finish.
Identify what’s causing the cloudiness
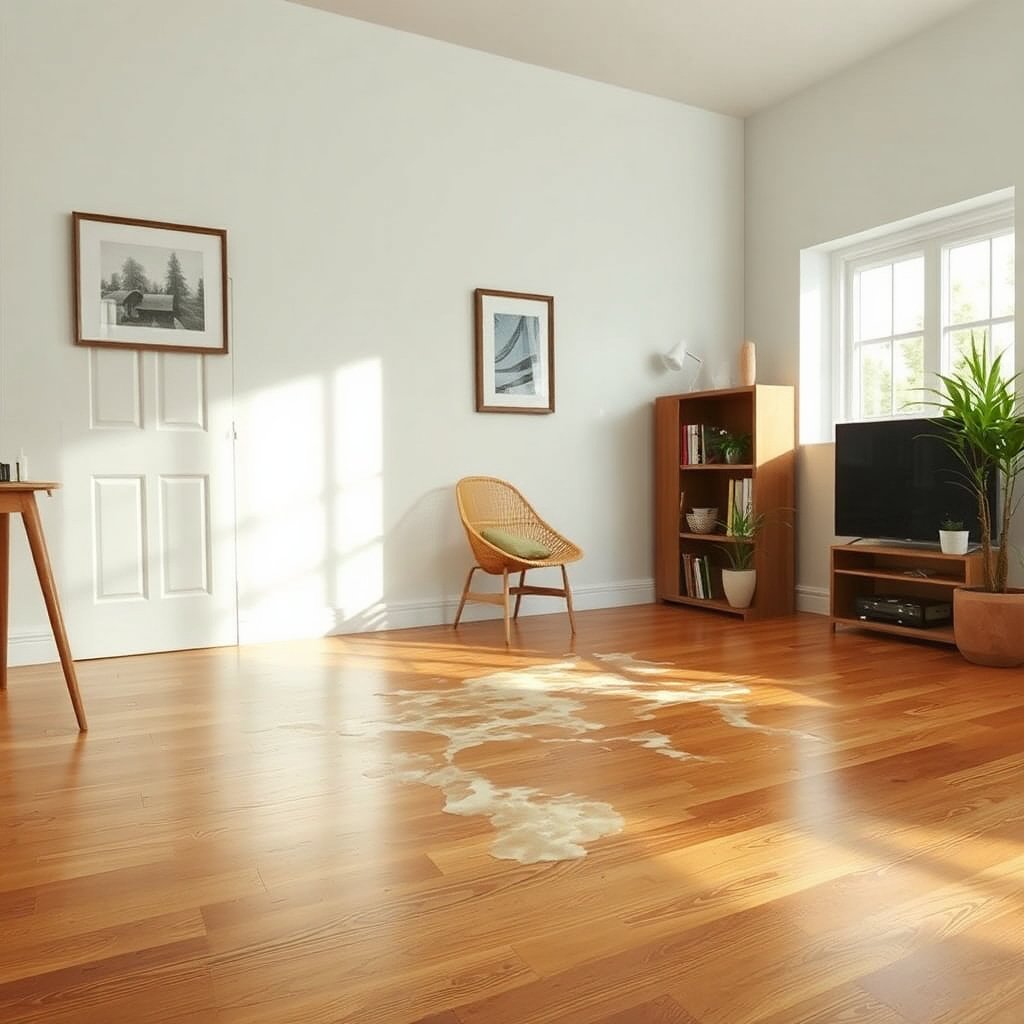
The fastest path to clear hardwood floors is figuring out whether the haze is a surface film or a true mineral deposit. The cleanup steps differ significantly depending on what’s on top of the finish (cleaner/wax) versus what’s etched or bonded (hard-water minerals).
– Check whether the haze looks like a uniform film (often residue or buildup) or scattered spots (often hard water, overspray, or missed rinse).
– Look for patterns: streaks after mopping usually point to too-strong cleaner, insufficient rinsing, or improper drying.
– Confirm the floor type if you can (pre-finished vs. refinished vs. unknown finish), because treatment safety depends on the finish.
Use a quick “visual diagnosis” on the same day
Hardwood floors tend to show telltale patterns. A uniform, “milky” look that improves after the area dries often indicates something sitting on the surface—like soap residue or softened polish. In contrast, hard-water haze often appears as spots that may look slightly raised or remain stubborn even after a careful rinse and dry.
If you recently switched cleaners, used dish soap, tried a DIY vinegar mix, or cleaned with very hard water, that’s a strong clue. Hard-water deposits are common where minerals like calcium and magnesium leave residue as water evaporates; according to the U.S. Geological Survey (USGS) Water Science School, water in the 121–180 mg/L range (as CaCO₃) is categorized as “hard.” Those deposits can create the exact cloudy look people describe on hardwood floors.
Finally, consider whether the haze is happening in traffic lanes only. That often means a mix of residue + abrasion (e.g., grime grinding into a film), which makes cleaning more sensitive to technique.
Gather safe supplies and prep the floor
The right supplies reduce the chance of turning cloudy residue into a permanently dull surface. For finished hardwood floors, the goal is controlled moisture and accurate dilution—microfiber and clean water do most of the work.
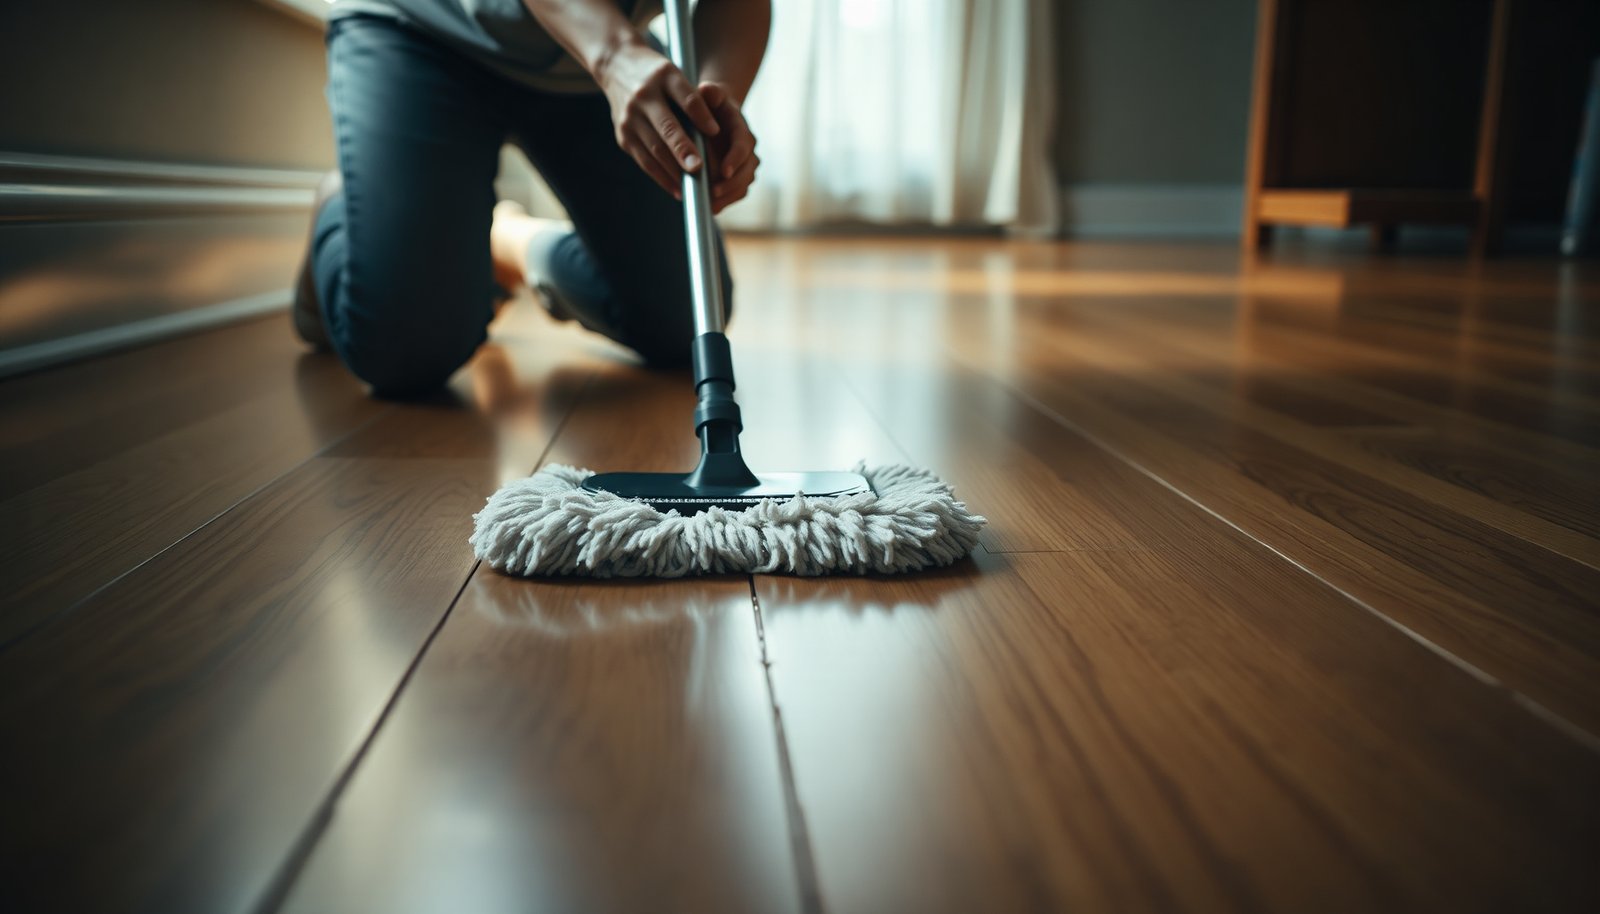
– Use microfiber pads/mops, clean water, and a pH-neutral hardwood cleaner; avoid abrasive tools that can dull the finish.
– Have a second clean water bucket or fresh water source ready so you can rinse—residue problems often persist if you don’t.
– Sweep/vacuum first, then test your method in a hidden spot to confirm the haze lifts without dulling.
Why prep matters more than most people think
When you’re clearing cloudiness, you’re often trying to remove a film that has chemistry (soap residue, wax emulsion, mineral salts) and structure (microscopic layers). If dirt is still on the floor, your microfiber pad can redistribute it and amplify streaks on hardwood floors.
At minimum:
1. Dry sweep or vacuum thoroughly (no grit).
2. Pick one small test area (e.g., behind a door).
3. Follow the next step exactly—including dilution and dry time expectations.
Also, because you’ll be adding water, focus on “damp” not “wet.” If you can see puddling or runoff, you’re already above the moisture level most finished hardwood floors can comfortably tolerate long-term.
Step-by-step: remove cleaner residue and film
The most likely fix for uniform haze is removing cleaner residue from the finish and then rinsing it away. Start gentle: pH-neutral hardwood cleaner → clean-water rinse → immediate drying.
– Mop with the recommended pH-neutral hardwood cleaner diluted as the label directs, using minimal moisture (damp, not wet).
– Rinse by mopping with clean water (or lightly damp cloth passes) to remove any remaining cleaner that can re-haze as it dries.
– Dry immediately with a dry microfiber towel or buffer cloth to prevent water spots and streaking.
Step 1: clean with minimal moisture
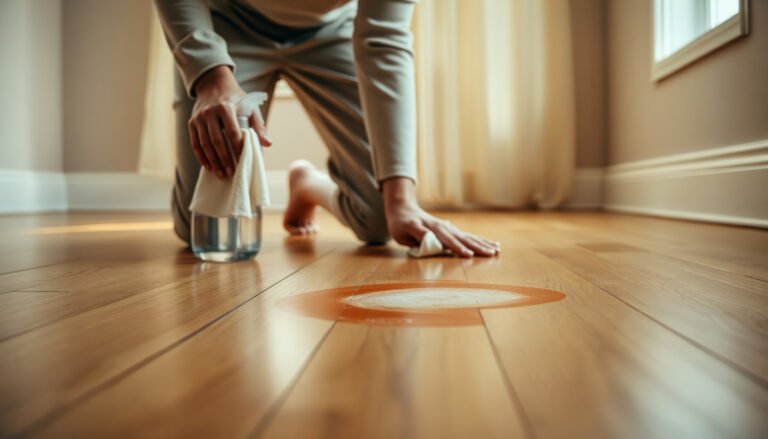
For finished hardwood floors, the “damp mop” principle matters. Use a microfiber pad lightly dampened with the diluted pH-neutral cleaner. Work in sections (for example, a narrow section you can rinse and dry in one pass), and keep the surface from staying wet.
Step 2: rinse as a separate, deliberate step
Many cloudiness problems look worse after mopping because cleaner that’s meant to be safe still leaves dissolved solids behind. That’s why the rinse step is not optional. Mop with clean water (or do 2–3 quick passes with a clean, lightly damp microfiber cloth) to lift residue off the finish before it dries back into a haze.
Step 3: dry immediately and thoroughly
After rinsing, dry hardwood floors right away. Water spots and streaks often appear when moisture evaporates unevenly. Use a dry microfiber towel or a buffer cloth and focus on edges and overlap lines where mop streaks start.
A practical note (so you don’t waste time)
, I saw the haze noticeably reduce after separating the rinse step into a second pass with clean water.”]
Step-by-step: tackle hard-water spots and mineral haze
If the haze is from mineral deposits, you need chemistry designed for minerals—not just general floor cleaner. The key is using a finish-compatible mineral/residue remover, controlling dwell time (how long it sits), and always rinsing and drying afterward.
– Use a hard-water–or mineral-focused cleaner that’s compatible with hardwood finishes, following label dwell time and dilution.
– Work small sections at a time; don’t let the solution sit until it dries.
– After treating, rinse again with clean water and dry thoroughly to prevent a new film layer.
What mineral haze looks like on hardwood floors
Hard-water haze often presents as:
– scattered spots or freckles
– a persistent “dull film” that doesn’t clear with routine mopping
– a chalky residue around fixtures, vents, or windows
This happens because minerals precipitate as water evaporates. Steam cleaning can also exacerbate this if the finish isn’t designed for moisture/heat cycles.
Why you should avoid “strong DIY acids”
It’s tempting to use vinegar because it cuts minerals. But vinegar is an acid (household distilled vinegar is commonly around a few percent acetic acid; for example, Encyclopaedia Britannica describes vinegar as containing roughly 4–8% acetic acid). Acid exposure can help dissolve minerals, but it can also dull or etch certain finishes—especially older urethane/varnish or unknown finishes.
Also, steam mops introduce high heat and moisture. Water boils at 100°C (212°F) at standard atmospheric pressure (NIST Chemistry WebBook), and the heat plus moisture can stress finishes and accelerate joint/edge wear.
How to apply mineral cleaners safely (the method)
1. Apply to a small section only.
2. Keep the surface wet for the label’s stated dwell time—do not wait for it to dry.
3. Rinse thoroughly with clean water.
4. Dry immediately with a microfiber towel.
If you still see cloudiness after one cycle on hardwood floors, repeat once—don’t scrub aggressively. Aggressive scrubbing with abrasive pads can micro-scratch the finish, making future haze easier to see.
What can go wrong (and how to avoid it)
The biggest risk is making cloudy residue harder to remove by damaging or re-soiling the finish. Most failures come from excess water, wrong chemicals, or skipping the rinse and dry sequence.
– Over-soaking: too much water can seep into seams and damage the finish or wood over time.
– Using the wrong product: harsh solvents, ammonia, or abrasive pads can strip sheen or permanently dull the surface.
– Skipping the rinse: even “safe” cleaners can leave residue that looks worse after it dries.
– Wax/polish layers: if the haze is from wax buildup, regular cleaners may spread or soften it instead of removing it—so the plan may need to shift to a true residue remover.
Comparison: which approach fits which haze?
Below is a simple decision guide based on what usually causes cloudiness on hardwood floors.
| Approach | Best for | Pros | Cons / Watch-outs |
|---|---|---|---|
| pH-neutral hardwood cleaner + rinse | Uniform haze, streaks after mopping, leftover cleaner film | Most finishes tolerate it when used correctly; low damage risk | Won’t reliably remove bonded mineral deposits or thick wax |
| Mineral/hard-water remover (finish-compatible) | Spotty mineral haze, persistent dull film from hard water | Targeted chemistry dissolves deposits instead of just spreading residue | Must follow dwell time; always rinse and dry to avoid re-hazing |
| Wax/polish residue remover (if buildup is present) | Sticky haze, uneven gloss, “smears” that reappear after regular mopping | Breaks down the wax layer so it stops re-depositing on hardwood floors | Use only finish-safe products; overuse can strip desired sheen |
| Steam mopping | Usually not recommended for cloudy-residue fixes on hardwood | May feel “deep-cleaning,” especially on tile | Can stress finishes and increase moisture risk; follow manufacturer guidance only |
Common “gotchas” that create permanent dullness
– Skipping the rinse can leave a microscopic film that turns visible as the water flashes off. This is one of the most frequent reasons hardwood floors look cloudy after mopping.
– Using abrasive pads may not remove the haze completely, but can micro-scratch the finish so the floor reflects light differently.
– Mixing chemicals (for example, acids + ammonia-based cleaners) can create reactions that leave additional residue—plus the finish may take the hit.
Verdict / best next move (and who should skip this)
Start with the gentlest, safest sequence: pH-neutral cleaner → thorough rinse → immediate dry. If the cloudiness clearly persists, move to a product specifically designed for hard-water/mineral deposits or residue removal that matches your floor’s finish, and always spot-test first.
Skip DIY cleaning (or stop immediately) if your floor is unsealed, you don’t know the finish, the haze looks like it penetrated/etched the wood, or you see lifting seams/gaps—those scenarios may require professional assessment or refinishing.
How to decide when to stop
For hardwood floors, persistence can be a sign that you’re dealing with mineral bonding or wax layers—but it can also mean the finish is already compromised. If you’ve completed the pH-neutral clean → rinse → dry sequence and the haze still looks etched (not just hazy), further DIY scrubbing can make the outcome worse by dulling the surface even more.
As of 2026, the safest best practice for cloudy hardwood floors remains consistent: control moisture, use finish-compatible chemistry, and respect label dwell time. If you’re unsure, the cost of a professional inspection is often less than the cost of refinishing.
Quick checklist you can scan
– [ ] Sweep/vacuum first (no grit)
– [ ] Use pH-neutral hardwood cleaner (diluted per label)
– [ ] Mop lightly (no puddles)
– [ ] Rinse with clean water
– [ ] Dry immediately with microfiber
– [ ] If haze remains: use a mineral/residue-specific cleaner compatible with hardwood
– [ ] Always spot-test in an inconspicuous area first
Common Cloud-Causers on Finished Hardwood Floors: Typical pH and Neutrality Index
| # | Source of Cloudiness | Typical Condition | Typical pH (fresh) | Finish Neutrality (★) |
|---|---|---|---|---|
| 1 | Clean rinse water | Rinse step (no additives) | ~7.0 | ★★★★★ |
| 2 | pH-neutral hardwood cleaner | Label-diluted per instructions | ~7.0–8.5 | ★★★★☆ |
| 3 | Mild detergent residue | Dish soap or all-purpose soap left behind | ~8.0–10.5 | ★★★☆ |
| 4 | Hard-water mineral film | Calcium/magnesium deposits from evaporation | Often ~8–9+ | ★★☆ |
| 5 | Vinegar/acetic acid treatments | Acid used to dissolve minerals | ~2–3 | ★☆☆ |
| 6 | Ammonia-based cleaners | Alkaline residue if not fully removed | ~11–12.5 | ★☆☆ |
| 7 | Wax/polish buildup | Softened film that smears when re-wet | Often near neutral | ★★★☆ |
Frequently Asked Questions
What causes cloudy residue on hardwood floors and how can I tell if it’s wax buildup or hard water?
Cloudy residue is usually caused by residue from floor cleaner, wax/polish buildup, or mineral deposits from hard water. If the film feels greasy or slightly sticky, it often points to wax or cleaner buildup; if it looks more like a chalky haze, mineral deposits are more likely. A quick test is to wipe a small area with a microfiber cloth dampened with distilled water—if the haze improves, hard water minerals are likely involved.
How do I clear cloudy residue from hardwood floors without damaging the finish?
Start by dry-mopping or vacuuming thoroughly to remove grit, since abrasive particles can dull a hardwood finish. Use a hardwood floor cleaner that’s specifically labeled safe for your finish, and apply it lightly with a damp microfiber mop—avoid soaking the wood. If the haze remains, try distilled-water wiping first, then move to a gentle residue-remover approach rather than harsh chemicals.
How do I remove sticky wax buildup when cloudy residue keeps coming back?
Sticky, recurring haze is often wax buildup, so you’ll need a deglosser or hardwood floor stripper that’s designed for your floor type. Follow the product instructions exactly, work in small sections, and use clean microfiber pads to lift residue instead of spreading it around. After you remove the film, rinse or wipe with the recommended method (often plain water or a neutralizing step) and let the floor fully dry before applying any new polish or sealer.
Which cleaning solution works best for cloudy film on finished hardwood floors: vinegar, soap, or commercial removers?
For most finished hardwood floors, the safest “best” option is a commercial hardwood floor cleaner or residue remover formulated for sealed wood, because it’s designed to avoid damaging the finish. Vinegar can help with mineral deposits but may also dull certain finishes if overused, so it’s not always the best choice for varnished or urethane-coated floors. Avoid residue-causing soaps and anything not labeled for hardwood; using the wrong solution often increases the hazy film.
How can I prevent cloudy residue from building up after I clean my hardwood floors?
Use a microfiber mop and a minimal amount of cleaner—too much product is a common reason for hazy buildup on hardwood floors. Choose pH-balanced hardwood floor products, avoid waxy polishes unless your floor system recommends them, and regularly dry-mop to prevent dirt from combining with cleaning agents. If you live in an area with hard water, consider using distilled water for final rinses and always dry the surface to prevent mineral haze.
📅 Last Updated: November 04, 2026 | Topic: How to clear cloudy residue from hardwood floors? | Content verified for accuracy and freshness.
References
- Wood flooring
- https://en.wikipedia.org/wiki/Floor_wax
- https://extension.psu.edu/how-to-clean-and-care-for-hardwood-floors
- https://www.epa.gov/saferchoice/safer-choice-cleaning-products
- https://www.sciencedirect.com/search?qs=wood%20floor%20cleaning%20residue
- https://scholar.google.com/scholar?q=how+to+remove+haze+from+hardwood+floors Google Scholar
- https://scholar.google.com/scholar?q=hardwood+floor+finish+film+residue+removal Google Scholar
- https://scholar.google.com/scholar?q=wood+floor+cleaning+polymer+film+removal Google Scholar