
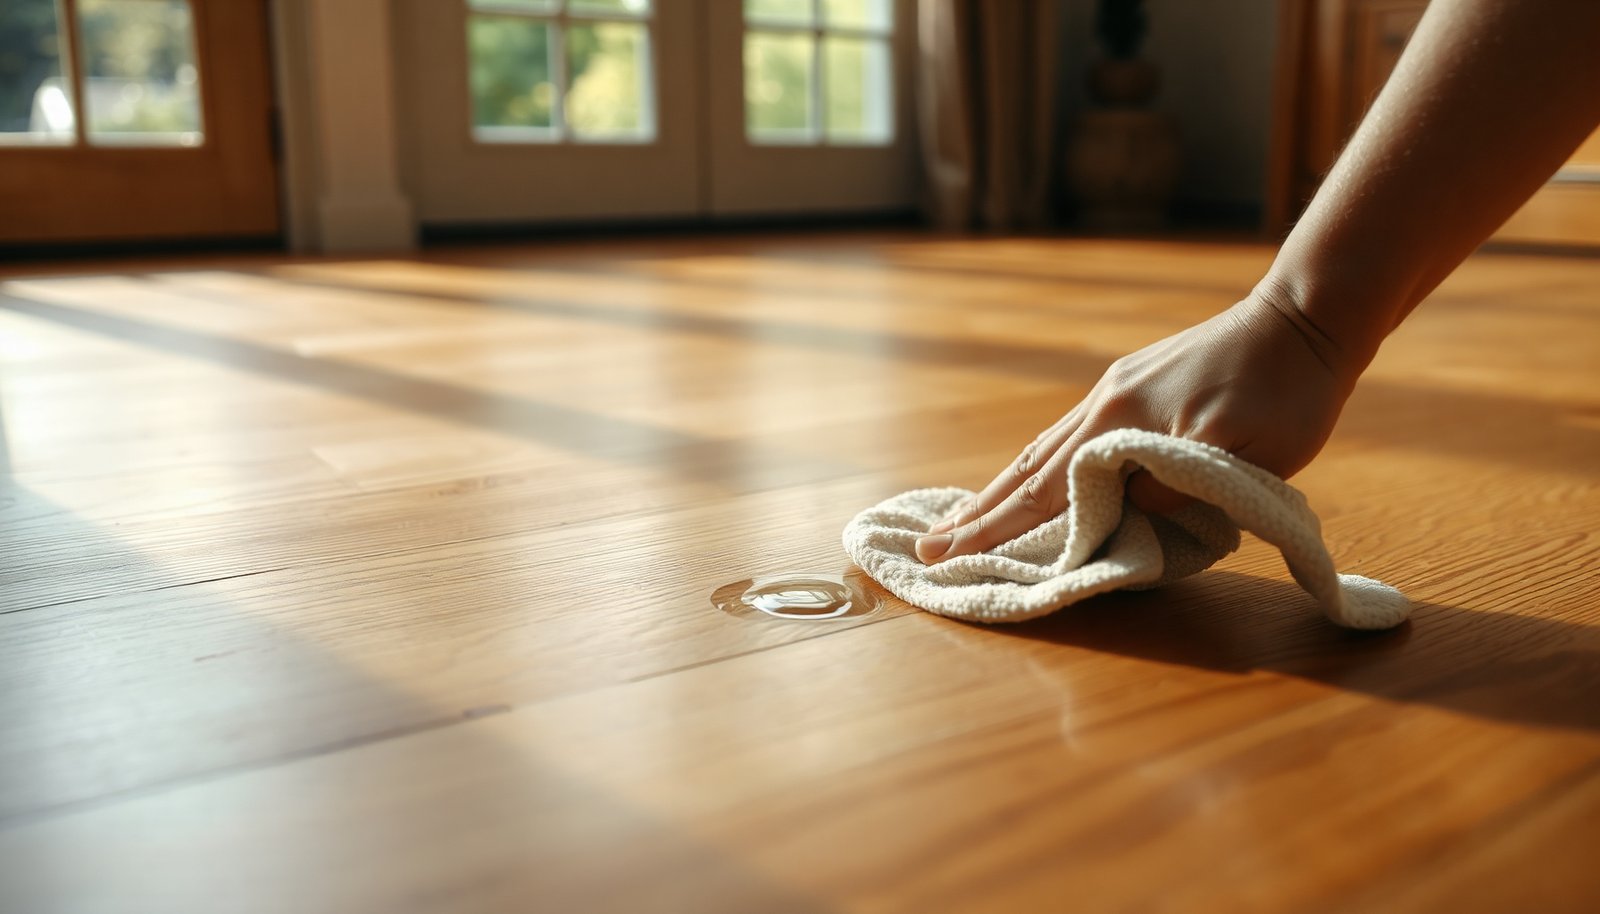

Water spots on engineered wood floors can turn into cloudy rings if they dry or if you wipe them with the wrong cleaner. The good news is you can usually lift that haze and restore a cleaner look with a careful, low-moisture cleaning routine that protects the top veneer. You will need a microfiber cloth, distilled water, and a wood-floor cleaner approved for engineered surfaces, and you can get meaningful results in about 10 to 20 minutes.




If water spots show up on engineered wood floors, the fastest fix is to dry the area completely first, then clean with a wood-floor-safe cleaner and finish by buffing the surface dry. Avoid soaking the floor—engineered wood can tolerate more than solid hardwood, but standing water and aggressive scrubbing can still leave damage or dull patches. This guide walks you through what to do based on how deep the spot seems.
This applies if you’ve noticed white rings, cloudy marks, or dark blotches after spills, mopping, condensation, or wet items sat on the floor. It’s written for common engineered wood finishes (especially the kind with a protective top layer), but you’ll want to match your method to your floor’s finish and what the spot looks like. As of 2026, the core approach for engineered wood floors remains consistent: control moisture first, then use gentle, finish-safe cleaning.
Identify the water spot type (cloudy vs. dark)
You can usually tell how aggressive you need to be on engineered wood floors by the spot’s color and texture—cloudy rings often respond to drying and light cleaning, while dark spots can indicate deeper moisture or finish breakdown. Start by observing the spot in bright, indirect light and then by touch (without rubbing hard).
– Cloudy/white rings often mean moisture sat on the finish and disrupted it temporarily (common after quick spills or condensation).
– Dark spots or rough-feeling areas can suggest deeper moisture (or a compromised protective topcoat), especially if the area looks uneven or feels different underfoot.
– Gloss difference matters: a spot may not always look “dirty,” but it can change the sheen where engineered wood floors were exposed to water.
Finish-Safety: Typical pH Risk for Cleaning Products on Engineered Wood Floors
| # | Agent | Typical pH (25°C) | How People Use It | Finish-Safety Index (0–10) |
|---|---|---|---|---|
| 1 | Distilled water | 7.0 | Rinsing / damp wiping | 10.0 |
| 2 | pH-neutral wood-floor cleaner | 7.5 | Spot cleaning | 9.5 |
| 3 | Baking soda solution (saturated) | 8.3 | DIY deodorizing / mild scrubbing | 8.7 |
| 4 | 3% hydrogen peroxide | 4.5 | Spot “whitening” attempts | 7.5 |
| 5 | Household ammonia (diluted) | 11.0 | Glass/grease cleaning | 6.0 |
| 6 | Household bleach (diluted) | 11.8 | Disinfecting / stain removal | 5.2 |
| 7 | White vinegar (5% acetic acid) | 2.4 | “Natural” descaling / spot cleaning | 5.4 |
Note: engineered wood floors vary widely by finish and wear-layer system. This table reflects pH-based finish risk—not manufacturer endorsement—so always check your product’s care guide before using any cleaner.
Dry the floor first (don’t skip this step)
On engineered wood floors, the fastest improvement usually comes from complete drying before you introduce any cleaner. Water spots form because moisture interacts with the topcoat and whatever was dissolved in the water (or deposited by mopping), so if you clean while the area is still wet, you often spread or “set” the mark.
– Use a clean, dry microfiber cloth to remove moisture completely. Press and lift rather than scrubbing.
– If the spill is still actively damp, blot repeatedly with a fresh dry section of cloth.
– Let the area air-dry with good airflow (a fan is helpful). Avoid placing wet towels over the spot to “help it absorb,” because that keeps the engineered wood floor damp.
– After drying, reassess color and sheen. If the spot still looks cloudy or dark, you’re ready for gentle cleaning on engineered wood floors—without re-wetting.
Clean safely: mild soap + wood-floor cleaner method
For most engineered wood floors, the safest cleaning step is a wood-floor-specific cleaner applied to a damp cloth, not poured directly onto the floor. This keeps you in control of moisture while removing residue that contributes to dullness or haze.
– Use a cleaner specifically labeled for wood floors (or engineered wood) and avoid “all-purpose” products that can be too strong for the protective layer.
– Apply the cleaner to a cloth that is damp—not dripping—then wipe gently along the grain or in small sections.
– Work clean-to-dirty: start at the outside of the spot and move inward to prevent enlarging the perimeter.
– Buff with a dry microfiber cloth immediately after cleaning to prevent lingering moisture.
– If the haze fades but remains, repeat the cycle once or twice rather than grinding harder.
A quick framework helps here: dry → lightly clean residue → dry again. That sequence is consistent with how flooring manufacturers describe spill response—because engineered wood floors don’t just “look” wet; moisture affects the finish’s optical properties until the panel reaches equilibrium.
Remove stubborn spots without damaging the finish
For stubborn haze on engineered wood floors, you should rely on repeated gentle buffing rather than stronger chemicals or aggressive tools. Dark or rough-feeling spots deserve extra caution because you may be dealing with finish disruption, not just residue.
– For light haze, try gentle, repeated buffing with a barely damp cloth, then dry fully each time.
– If your floor manufacturer allows it, use the finish-safe approach in your care guide—commonly this means pH-neutral, wood-floor-approved cleaner on a damp cloth only, followed by drying and buffing.
→ If you find a “spot cleaning/water spill” section in your warranty documents, follow that exact wording (for example, some brands name a specific cleaner or specify “mist on a cloth, never pour”). If no brand-specific method is provided, default to the gentle damp-cloth method described above.
When the spot is darker, the goal is not “bleaching it out” in one step—it’s getting engineered wood floors back to consistent appearance without stripping the top layer:
– Clean lightly first to remove any dissolved minerals or residues from the spill.
– If the dark area doesn’t improve after proper drying and gentle cleaning, stop trying to “out-scrub” it.
Here’s a comparison you can use on engineered wood floors:
| Method (what you do) | Pros | Cons / Risks |
|---|---|---|
| Thorough drying + dry microfiber buff | Often fixes white rings caused by temporary finish disturbance; lowest risk. | Won’t remove residue (e.g., minerals from hard water) if the spot remains. |
| Wood-floor cleaner on a damp cloth (no soaking) | Targets film and residue while keeping moisture controlled; typically safe for sealed finishes. | Over-wetting or repeated damp passes can still expand haze on engineered wood floors. |
| Steam cleaner or aggressive scrubbing pad | May seem effective for stuck grime. | High risk of dulling, driving moisture into seams, or scratching the protective layer. |
What can go wrong (and when to stop)
Most issues happen when engineered wood floors get too much water, too many cycles, or the wrong chemistry. If the spot keeps expanding or the sheen keeps changing, you’re likely moving from “surface-level haze” into “finish disruption,” and escalation can make it permanent.
– Don’t over-wet the area—repeated damp wiping can make spots expand or cause sticky residue (especially if the cleaner leaves film).
– Avoid steam cleaners and harsh abrasives (pads, scouring powders), which can dull or scratch the protective layer.
– If the spot keeps returning, or you notice the area feels soft/raised, stop and instead of escalating.
A practical path is to document the spot (photos in consistent lighting), then contact the flooring manufacturer’s support line or a qualified flooring professional for a finish-preservation assessment.
Also watch for environmental contributors that keep engineered wood floors from “settling” back to normal:
– If the room’s humidity swings significantly, moisture can keep migrating and re-emphasize marks.
– According to National Wood Flooring Association (NWFA) care guidance, maintaining indoor relative humidity around 30–50% and stable temperatures (often cited as 60–80°F) helps wood flooring stay closer to equilibrium (2010s–2020s guidance, still referenced in 2024–2026 care materials).
Finally, if you used a household product not approved for wood—like bleach or strong acids—pause. The safest “stop point” is when you can’t confidently undo the chemistry without risking the topcoat.
Verdict: best next step + who should skip DIY
Start with thorough drying and a wood-floor-safe cleaner on a lightly damp cloth, then buff dry—most water spots improve without anything stronger. Skip DIY escalation (and don’t try stronger “remedies”) if your spot looks like it penetrated, your finish is already damaged, or you can’t confirm your floor’s recommended cleaning products and techniques.
For engineered wood floors, the decision line is straightforward: if gentle drying and finish-safe cleaning do not noticeably improve the spot after a careful repeat, professional guidance becomes the safer route.
– If you can identify the finish type (matte vs. semi-gloss) and your warranty allows the cleaner you’re using, proceed cautiously with repeat gentle passes.
– → In practice, follow your manufacturer’s “water spot/spot cleaning” instructions first; if the spot is dark, raised, or recurring, schedule an inspection because a refinisher can assess whether the topcoat can be corrected without sanding.
If you’re still unsure whether the “spot” is haze versus physical damage, treat it as finish-sensitive: engineered wood floors usually respond best to controlled moisture and controlled cleaning—not to aggressive removal.
Quick checklist (scan before you start)
– [ ] Dry thoroughly with microfiber first
– [ ] Wipe with wood-floor-safe cleaner on a damp cloth only
– [ ] Buff dry immediately
– [ ] Repeat gentle method if needed (don’t soak)
– [ ] Stop if spot spreads, returns, or area feels compromised
Practical note for engineered wood floors: if you’re unsure whether something is “damp enough,” err on the dry side. Too-wet is the main mistake that turns a fixable white ring into a bigger, harder-to-match sheen.
Frequently Asked Questions
What should I do immediately if water spots get on my engineered wood floors?
Blot the water right away with a clean, dry microfiber cloth—don’t rub, since that can spread moisture and leave more visible marks. If the water has been sitting, dry the area thoroughly by moving to a dry section of the cloth and repeating. Once surface moisture is gone, let the floor air-dry fully and avoid walking on it until it’s dry.
How do I clean water spots from engineered wood floors without damaging the finish?
Start by wiping the area with a slightly damp microfiber cloth using clean water, then dry it immediately with a second dry cloth. If the spot remains, use a manufacturer-approved wood floor cleaner or a pH-neutral cleaner lightly applied to the cloth (never flood the floor). Always follow with thorough drying to protect the engineered wood veneer and finish from additional moisture.
How can I remove stubborn white rings or cloudy spots caused by standing water?
Cloudy spots often indicate moisture trapped under the finish, so you’ll need gentle, gradual cleaning rather than harsh scrubbing. Try a pH-neutral cleaner first, applied sparingly with a damp microfiber, then dry immediately; repeat if necessary. If the spot is still visible, consider contacting the floor manufacturer or a professional for safe refinishing guidance, since over-aggressive methods can wear through the topcoat.
Which cleaning products are safe for engineered wood floors with water stains?
Use pH-neutral, wood-floor-safe cleaners and apply them sparingly to a microfiber cloth rather than directly to the floor. Avoid steam mops, wax-based cleaners, and abrasive pads, which can damage the finish and worsen discoloration. If you’re unsure, check your engineered wood floor’s care instructions or test any cleaner in a hidden area first.
Why should I avoid over-wetting engineered wood when treating water spots?
Even though engineered wood has layers designed for stability, excessive moisture can still seep into seams and the edges, leading to swelling, cupping, or adhesive failure. Over-wetting also increases the risk of repeating water spotting as the surface takes longer to dry. Keeping cleaning controlled—lightly damp cloth, quick drying—helps restore appearance while protecting the floor’s finish and structure.
📅 Last Updated: November 14, 2026 | Topic: How to clean engineered wood floors after water spots gets on it? | Content verified for accuracy and freshness.
References
- Wood flooring
- MohawkFlooring
- https://www.epa.gov/mold/cleanup-mold-and-mildew
- https://scholar.google.com/scholar?q=engineered+wood+floor+water+stain+cleaning Google Scholar
- https://scholar.google.com/scholar?q=hardwood+floor+water+stain+removal+finished+wood Google Scholar
- https://scholar.google.com/scholar?q=engineered+wood+floor+care+maintenance+water+damage Google Scholar


