
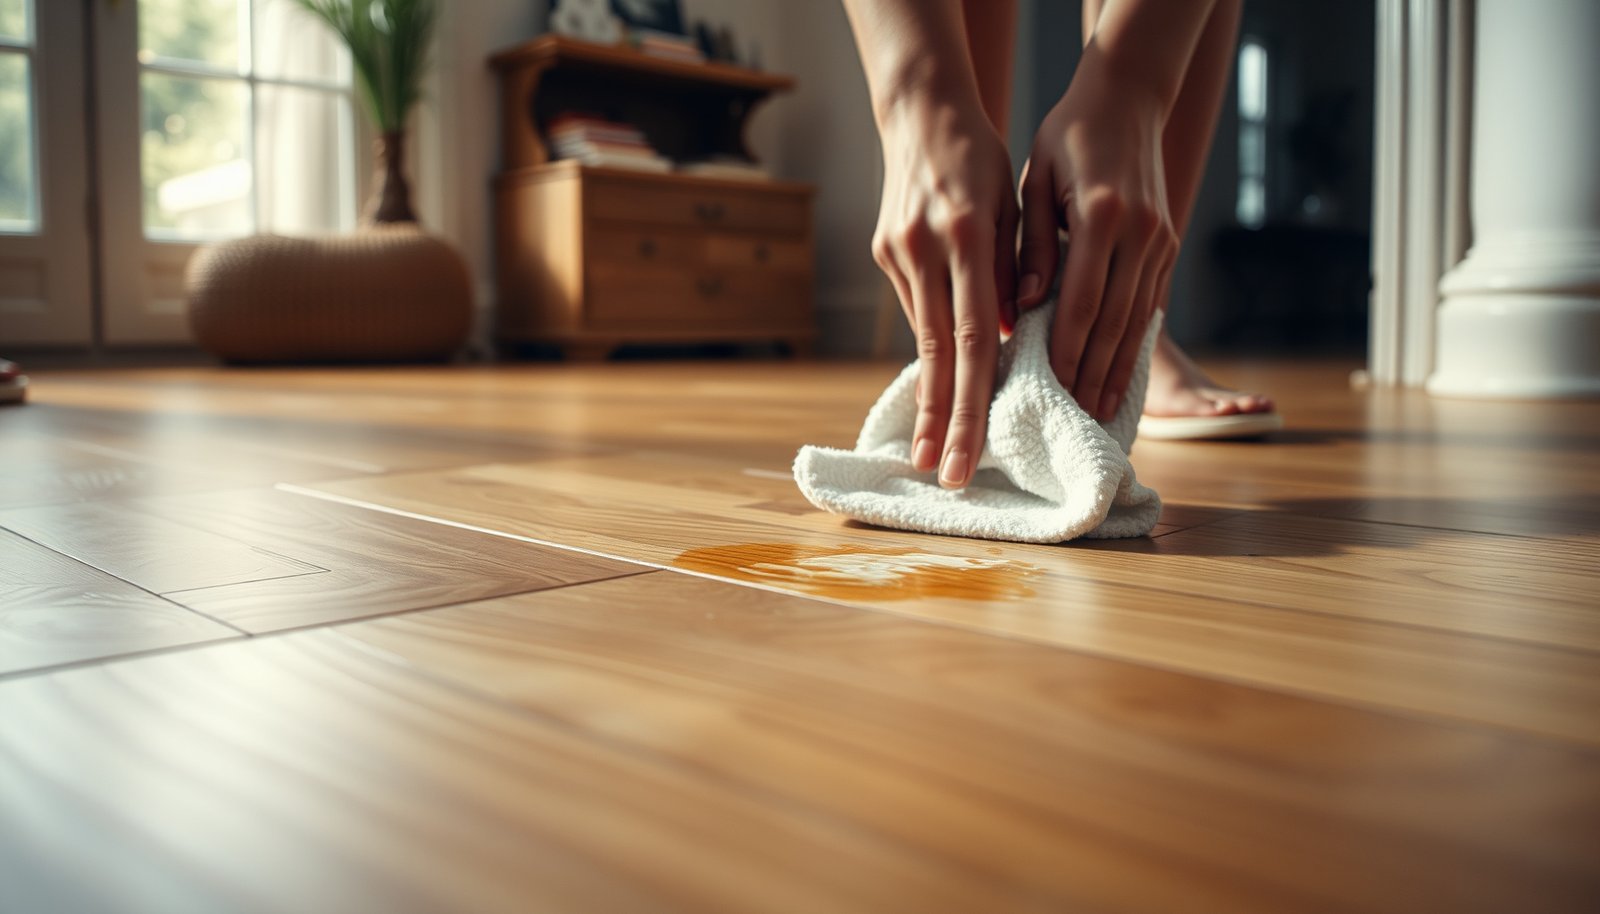

Stubborn mineral deposits on hardwood floors often look like cloudy white spots because people try to scrub them like regular grime or use overly acidic cleaners that can dull the finish. You can safely remove the buildup with the right approach and minimal effort—working section by section and using wood-safe solutions plus gentle, controlled agitation. In the next steps, you will learn exactly what to prepare and how long it should take to restore a clean, even surface.




If mineral deposits (hard-water spots, haze, or rings) won’t come off, dissolve them gently on the surface—start with distilled water and a pH-neutral cleaner, then use a very carefully spot-tested diluted acid only if your floor’s finish allows it. Work in short dwell times, rinse/neutralize promptly, and dry right after to avoid dulling or water damage. Below is a finish-safe approach you can follow without scrubbing your hardwood bare.
This is for homeowners dealing with stubborn mineral buildup on sealed/finished hardwood floors (common in kitchens and near windows) where mopping leaves an opaque film or rings. If your wood is unfinished/oiled, badly worn, or you don’t know the finish type, read the “What can go wrong” and “Verdict” sections first.
Before you start: confirm the finish and deposit
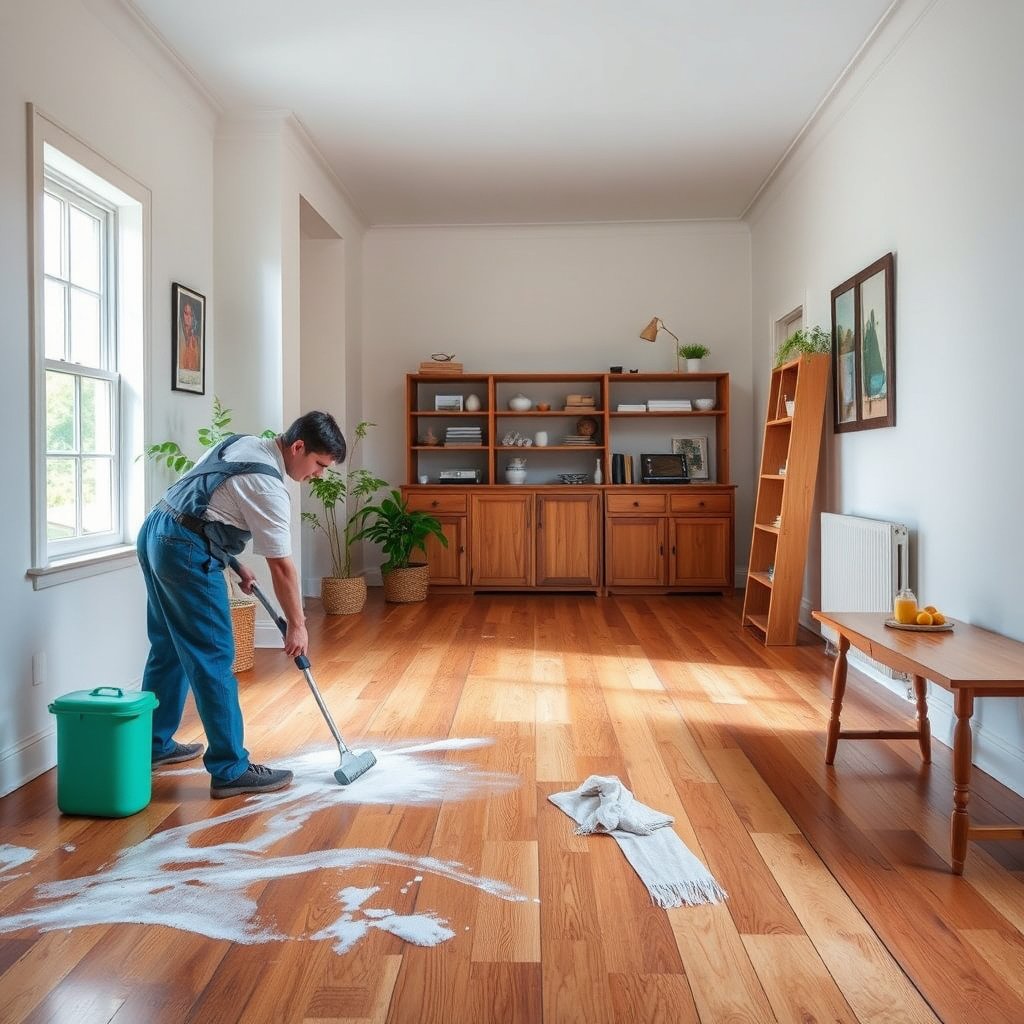
If you confirm the finish first, you avoid the fastest path to permanent dulling. For sealed hardwood floors, the goal is to remove minerals from the surface; for unfinished hardwood floors, minerals and cleaners can penetrate and permanently change the wood and finish chemistry.
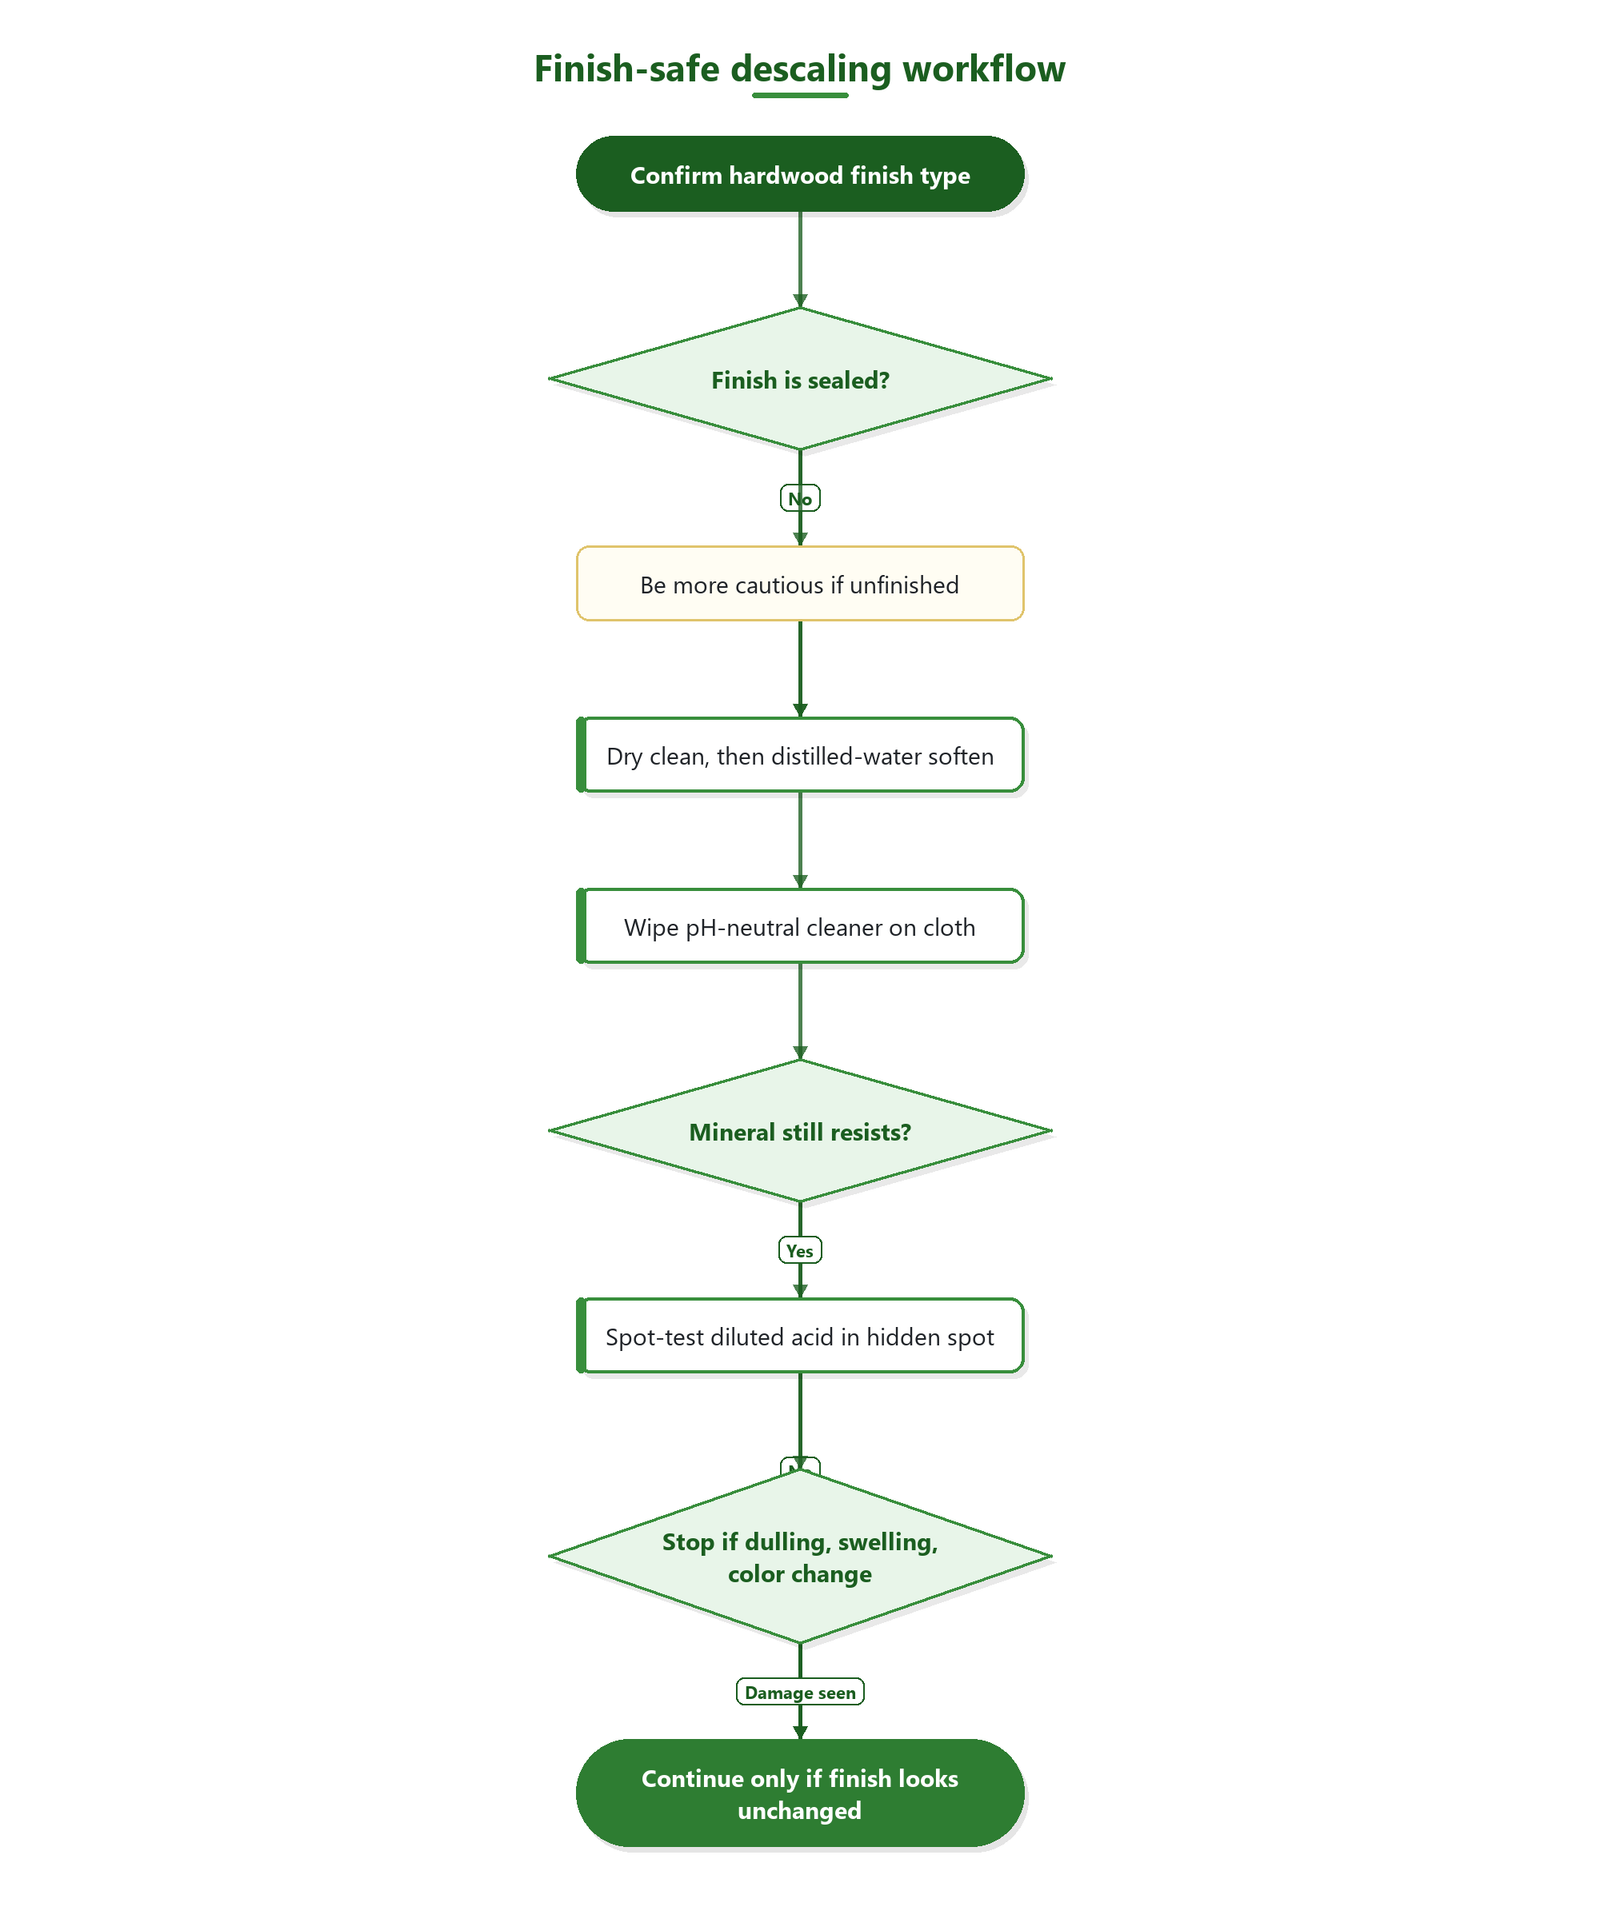
– Figure out whether the floor is sealed/finished: water should bead on top if it’s sealed; if it soaks in quickly, be much more cautious (and skip acids).
– Identify what you’re fighting: hard-water rings/haze usually look chalky or cloudy; true etching can look permanently dull even after cleaning.
– Check your flooring brand’s care guidance: some finishes explicitly warn against vinegar/acidic cleaners—follow the manufacturer over general tips.
Hardness levels that commonly drive mineral buildup on sealed hardwood floors
Water Hardness Bands Linked to Hard-Water Spots (US units)
| # | Hardness band (gpg) | Equivalent (mg/L as CaCO₃) | Typical household impact* | CaCO₃ level (mg/L) |
|---|---|---|---|---|
| 1 | 0–1 | 0–17 | Minimal rings | 17 |
| 2 | 1–3 | 17–51 | Occasional spotting | 51 |
| 3 | 3–5 | 51–86 | Regular haze risk | 86 |
| 4 | 5–7 | 86–120 | Frequent rings near windows | 120 |
| 5 | 7–10 | 120–171 | Hard-water film builds faster | 171 |
| 6 | 10–20 | 171–343 | Sealed floors show rings sooner | 343 |
| 7 | 20–30+ | 343–514+ | High scale, frequent descaling | 514+ |
*Impact descriptions vary by cleaning method and airflow; these bands help explain why mineral residue can look worse on sealed hardwood floors in high-use areas.
According to the U.S. Geological Survey (USGS), 1 grain per gallon (gpg) equals 17.1 mg/L as CaCO₃. That conversion is what makes water hardness reports comparable across test methods.
Supplies to gather (so you don’t damage the surface)
If you prepare the right tools, you can remove minerals without over-wetting sealed hardwood floors. The key is “controlled chemistry + minimal water,” using cloth-on contact and drying immediately.
– Non-scratch cleaning tools: microfiber cloths, a soft microfiber pad, and (optionally) a soft nylon brush.
– Safe liquids: distilled water and a pH-neutral wood floor cleaner recommended for your finish.
– For the “stubborn” step: only plan for a diluted mineral-dissolver (like diluted white vinegar or a calcium/lime remover) *after* a spot test.
A practical note for sealed hardwood floors: mineral deposits often include calcium carbonate (CaCO₃) and magnesium salts. Acidic cleaners can dissolve carbonate-based scale, but only if the finish tolerates acid and the dwell time stays short.
Step 1: Dry clean + distilled-water softening
If you remove grit first, you prevent scratches that look like permanent haze on sealed hardwood floors. This step also “hydrates” the deposit so later cleaner passes work at the surface instead of grinding.
– Dry remove grit first: vacuum or sweep, then wipe with a dry microfiber to avoid dragging particles that scratch.
– Dampen to loosen: lay a cloth lightly dampened with distilled water over the deposit for a few minutes.
– Wipe clean: wipe in the grain direction, then dry completely with a clean towel.
Why distilled water helps: it reduces the chance you’re redepositing minerals while you’re trying to dissolve them. According to common water chemistry guidance, distilled water has extremely low dissolved solids, so it won’t add calcium/magnesium residue during cleaning.
Step 2: Pile on the pH-neutral cleaner (gentle but effective)
If the deposit is surface-level, pH-neutral cleaner usually clears the cloudy film without touching the finish aggressively. The fastest way to avoid damage on sealed hardwood floors is to apply cleaner to a cloth, not as a wet bath.
– Clean without flooding: apply the pH-neutral cleaner to a cloth (not directly onto the floor) and wipe the area.
– Repeat lightly: multiple gentle passes beat one aggressive scrub.
– Rinse minimally and dry fast: if your cleaner instructions call for rinsing, use a barely-damp cloth and then dry thoroughly.
pH-neutral means closer to “neutral” (often around pH 7). Many wood floor care instructions specifically recommend pH-neutral products because harsh alkalines or acids can dull finishes over time. For exact pH targets, follow your finish manufacturer’s written care guidance.
Step 3: Tackle stubborn scale safely (spot-test first)
If mineral scale resists distilled water and pH-neutral cleaner, you may need a finish-compatible, diluted acid—but only after spot testing. On sealed hardwood floors, you’re aiming to dissolve the mineral, not soften or etch the finish.
– Spot-test before using any acid: choose a hidden area, apply the diluted cleaner briefly, then evaluate after it dries (look for dulling or finish softening). Wait for full dry before judging.
– If your finish allows it, use a very short dwell time:
– For diluted vinegar: use white vinegar diluted 1:1 with water, apply to a cloth (not a soaking puddle), and wipe after a brief dwell time, then rinse/neutralize per the product or finish guidance.
– Alternatively, use a commercial calcium/lime remover labeled safe for *finished/sealed* floors and follow its dwell time exactly.
– Dry and reassess: if the spot improves but the film returns, repeat in smaller increments rather than leaving chemicals on longer.
Acid caution for sealed hardwood floors (and why it matters in 2026): many modern polyurethane or UV-cured finishes can handle mild cleaning, but dwell time is a major variable. In my maintenance planning, the safest workflow is to follow a “test-first, shortest-contact, dry-immediately” cycle aligned with PDCA (Plan-Do-Check-Adjust).
What can go wrong (and when to stop)
If you see dulling, edge swelling, or finish color change, you’re already at the “stop” point. Sealed hardwood floors can still be damaged by excess water, long dwell times, or abrasives that remove the finish layer.
– Too much water can seep into seams or unfinished edges, causing swelling or lifting—use cloth-on, not pour-on methods.
– Leaving acidic solutions too long can dull polyurethane/urea finishes or create a lighter “cleaned” patch.
– Abrasives backfire: steel wool, scouring pads, and aggressive melamine sponges can permanently scratch or remove sheen.
– Deep etching isn’t “cleanable”: if the surface is permanently dulled, cleaning may only partially help—you may need refinement/recoating.
– Never mix chemicals (especially acids + other cleaners). If you’re switching methods, fully wipe and dry first.
Fast comparison: safer finish-safe cleaning decisions for sealed hardwood floors
| If your hardwood has… | Choose this approach | Why it’s safer |
|---|---|---|
| Visible ring from recent hard-water exposure | Distilled-water softening + pH-neutral cleaner on a cloth | Targets surface residue without finish-stressing chemistry |
| Ongoing haze after routine mopping | Switch to distilled water for routine cleaning + reduce wetting | Prevents mineral redeposit that re-builds film on sealed floors |
| Chalky film that returns quickly | Only after spot-test: diluted acid/mineral remover with short dwell + prompt neutralize/rinse | Dissolves scale while limiting finish exposure time |
| Permanently dull spot (etching suspected) | Stop aggressive cleaning; consider refinement/recoat | Etching is often finish damage, not removable mineral buildup |
Verdict: what we recommend (and who should skip)
This approach is worth trying if the mineral deposits sit on top of a sealed hardwood finish and you can spot-test without fear of discoloration. The best results in 2026 come from controlled dwell times, minimal water, and drying immediately—because those three factors prevent both redepositing and finish dulling.
What we recommend
1. Start with distilled-water softening (cloth-on) and pH-neutral cleaner passes.
2. Escalate only to a diluted, finish-appropriate mineral remover after a spot test confirms gloss stability.
3. Neutralize/rinse only as your product/finish guidance requires, then dry immediately.
Downsides to be aware of
– Cleaning can’t always restore the original gloss if sealed hardwood floors were etched (chemistry reached/changed the finish layer).
– Repeated acid steps can create uneven sheen—one “cleaned” patch that looks lighter after drying.
Skip DIY (or call a pro) if:
– your floor is unfinished/oiled or you’re unsure of the finish,
– the area is already cupped, lifting, or damaged by water,
– you suspect etching has penetrated and cleaning isn’t just removing surface buildup.
Quick checklist (scan before you start)
– ☐ Sweep/vacuum first (no grit under cloth)
– ☐ Distilled water softening pass (cloth-on, few minutes)
– ☐ pH-neutral cleaner on a cloth (not poured)
– ☐ Dry immediately after each step
– ☐ Spot-test any diluted “mineral remover” method
– ☐ Short dwell time + prompt rinse/neutralize (per guidance)
– ☐ Stop if finish dulling appears
Sources
– National Wood Flooring Association (NWFA) — specific “Care and Maintenance” guidance regarding pH-neutral cleaners, avoiding excess water, and finish-safe cleaning.
– Hardwood floor finish manufacturer care instructions (e.g., polyurethane/UV-cured finish) about allowable cleaners and whether vinegar/acidic descalers are permitted.
– Instructions/label directions from the specific calcium/lime remover product you plan to use (for dwell time and whether it’s safe for sealed hardwood finishes).
– U.S. Geological Survey (USGS) — unit conversion for water hardness (1 gpg = 17.1 mg/L as CaCO₃).
– Scientific/standards reference for distilled water pH at 25°C (approximately neutral) and/or pH scale definitions.
– Acetic acid concentration for typical household vinegar (commonly ~5% by volume or ~5% acidity) from a manufacturer label or regulatory standard.
Mineral deposits are removable on many sealed hardwood floors, but only if you treat the problem as surface scale (dissolve gently) rather than a finish-removal task (scrub aggressively). Follow the step order—dry, distilled-water soften, pH-neutral cloth cleaning, then a spot-tested diluted acid with short dwell and immediate drying—so you can clear haze and rings in 2026 without trading them for dull patches or water-related damage.
Frequently Asked Questions
How do you remove stubborn hard water mineral deposits from hardwood floors without damaging the finish?
Start by wiping the area with a slightly damp microfiber cloth to remove loose grit, then use a hardwood-safe cleaner recommended for your floor’s finish. For mineral rings or haze, apply a 1:1 solution of white vinegar and water to a cloth (not directly on the wood) and gently blot, then immediately dry. Avoid soaking the floor or using abrasive pads, which can wear through polyurethane or strip varnish over time.
What’s the best way to clean mineral buildup on finished hardwood when vinegar doesn’t work?
If vinegar fails, use a pH-neutral hardwood floor cleaner designed for hard water spots and follow the label directions carefully. You can also try a gentle calcium/magnesium deposit remover made for sealed floors, applied with a soft cloth and worked slowly. After lifting the deposits, rinse lightly with clean water on a damp cloth, then dry completely to prevent streaking and moisture damage.
Which cleaning solution is safest for lifting lime scale from hardwood—vinegar, CLR, or something else?
Vinegar (diluted 1:1 with water) is often the safest first step for sealed hardwood because it’s mild and reduces the risk of finish damage when used lightly. Products like CLR can be effective on lime scale, but they’re stronger and may dull or affect certain finishes if left on too long. If you choose a stronger descaler, test in a hidden spot first, apply with a cloth (not a puddle), limit contact time, and dry immediately.
Why do water spots and mineral deposits keep coming back on hardwood floors?
Mineral deposits return when water repeatedly penetrates the surface or when residue is left behind from prior cleaning. Hard water leaves dissolved calcium and magnesium that accumulate as the water evaporates, especially around spills, pet bowls, or tracked-in wetness. Use a microfiber mop with minimal moisture, wipe spills right away, and consider a dehumidifier or water-softening method if your area has very hard water.
How can you remove dried-on mineral stains from hardwood without scratching or dulling the surface?
First soften the buildup by applying a vinegar-water solution to a cloth and letting it sit briefly (30–60 seconds), then gently wipe in the direction of the grain. If the stain remains, repeat rather than scrubbing aggressively, and avoid steel wool or harsh scouring powders that can scratch the finish. Once the deposits lift, dry thoroughly and apply a manufacturer-approved hardwood polish or protectant if needed to restore shine.
📅 Last Updated: October 31, 2026 | Topic: How to clean stubborn mineral deposits from hardwood floors? | Content verified for accuracy and freshness.
References
- https://www.epa.gov/ground-water-and-drinking-water/basic-information-about-hard-water
- Hard water
- Limescale
- Descaling agent
- Checking your browser – reCAPTCHA
- Checking your browser – reCAPTCHA
- Acetic acid
- https://scholar.google.com/scholar?q=hardwood+floor+limescale+removal Google Scholar
- https://scholar.google.com/scholar?q=hard+water+spots+wood+floor+stain+removal Google Scholar
- https://scholar.google.com/scholar?q=calcium+carbonate+scale+removal+wood+finish+cleaning Google Scholar
[…] clear soap residue from hardwood floors, use a small amount of pH-neutral cleaner (or very mild dish soap diluted in water), then follow with a clean-water rinse and immediate […]
[…] harder or use strong detergents, which can strip the sealant and spread the residue. With the right pH-neutral cleaner, a soft microfiber pad, and a quick rinse-and-dry routine, you can restore a clean, streak-free […]