
Choosing engineered wood floors for a garage comes down to one clear rule: prioritize moisture resistance and a construction that can handle temperature swings and heavy wear. If you want the most reliable pick, look for a fully waterproof or water-resistant core (typically HDF with a sealed face and backed by a robust finish) and a wear layer thick enough for traffic and grit. Get these factors right and you’ll avoid warping, cupping, and premature failure—so your garage floor stays stable and looks good for years.




Choosing engineered wood floors for a garage comes down to one thing: moisture and warranty compatibility. Pick a product whose specs explicitly allow garage/basement use over concrete (and tell you what moisture limits, underlayment, and installation method to use). Then focus on wear layer/finish durability and proper subfloor prep so the boards don’t cup, gap, or fail early.
If your garage is unheated or gets seasonal swings, you’ll be extra sensitive to humidity, concrete moisture, and how the floor is installed. This guide is for homeowners comparing options (click-lock vs glue-down, different cores/finishes) and trying to avoid costly mistakes.
Assess your garage conditions first (moisture + temperature)
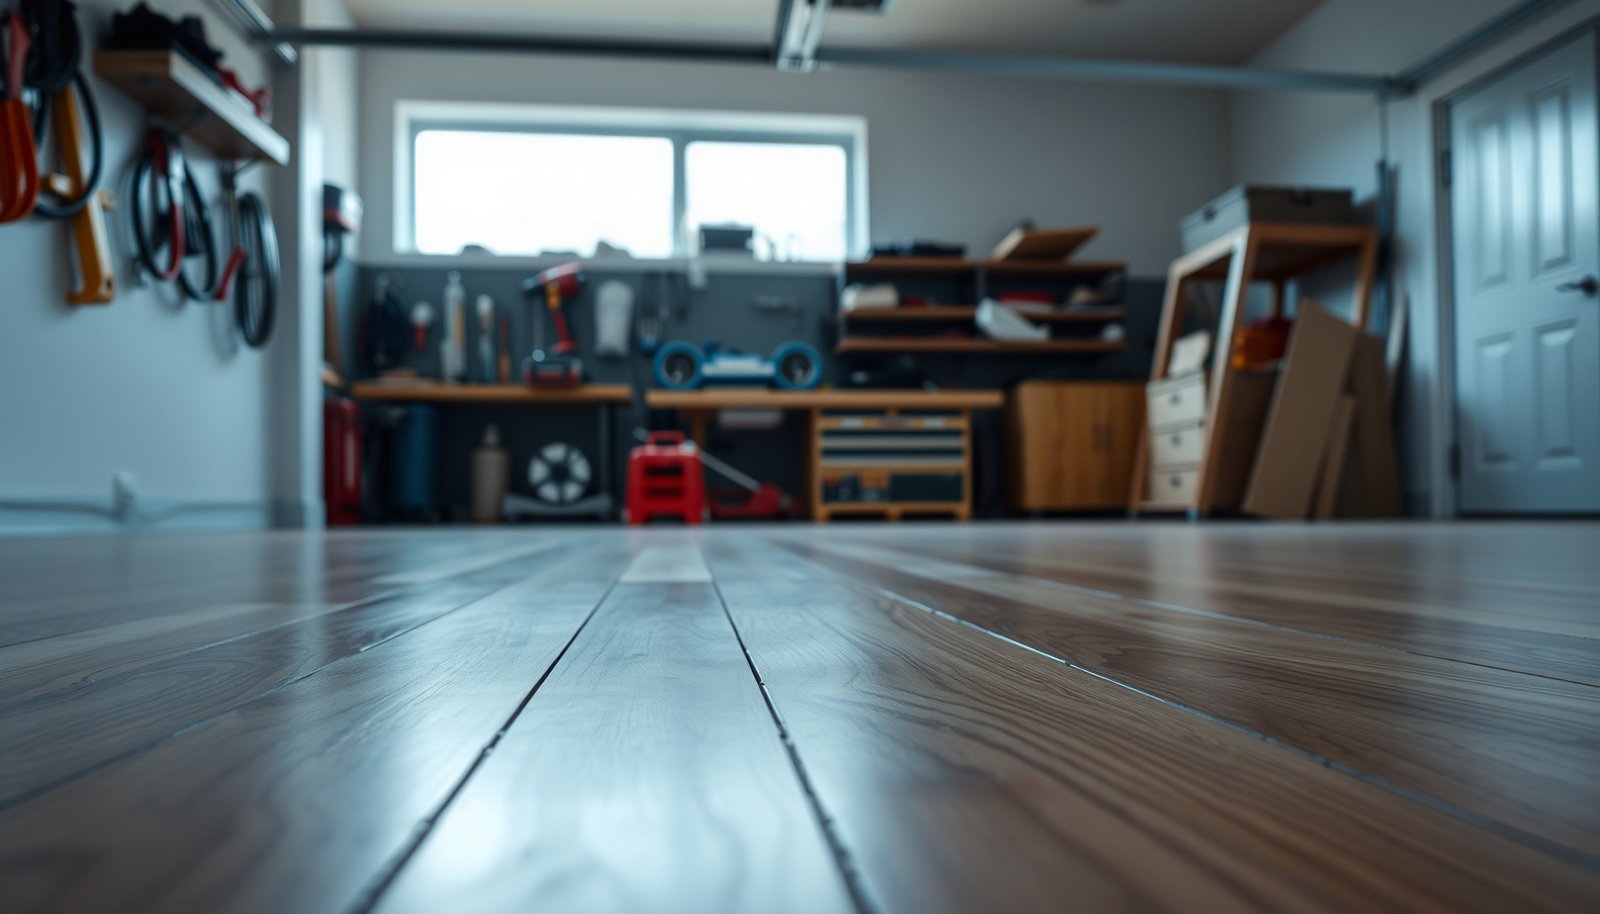
The best engineered wood for a garage is the one that matches your building’s real moisture and temperature behavior, not the marketing. Start by classifying your garage and then align your flooring’s moisture testing method and limits with the manufacturer’s instructions.
Concrete moisture isn’t just “wetness”—installation requirements are usually based on test results from ASTM moisture methods, not how the slab looks.
If your engineered wood warranty restricts installations to “dry, interior-only” spaces, seasonal garage humidity can still trigger moisture-related failure even when the floor feels dry.
Engineered wood still expands and contracts with indoor relative humidity, so temperature swings in garages increase the need for correct gaps and transitions.
Identify the temperature swing profile
You’re trying to answer one question: does the garage behave like a conditioned interior room or a semi-exterior space? Practically, that means identifying whether the garage is:
– Heated year-round (stable temperature, lower RH swings)
– Partially insulated (moderate seasonal swings)
– Fully exposed to cold/hot seasons (high seasonal RH and temperature cycling)
In garages with large swings, the floor’s movement accelerates: joints can become noisy, gaps can open, and—if moisture is also elevated—cupping risk rises. As of 2026, most manufacturer instructions still treat garage/basement conditions as “higher risk,” which is why warranty language matters as much as construction.
Treat concrete moisture as a decision factor (not an afterthought)
A slab can show no visible dampness yet still exceed a flooring system’s moisture tolerance. According to ASTM F2170, in-situ probes determine relative humidity (RH) in concrete slabs using measurements taken in the field rather than estimating from surface conditions. According to ASTM F1869, the calcium chloride test measures moisture vapor emission rate (MVER).
Key data points you’ll see in real-world specs:
– According to ASTM F1869, results are reported as vapor emission rate in lb per 1,000 ft² per 24 hours (lb/1000 ft²/24h).
– According to ASTM E1745, vapor retarder classifications use permeance (“perm”); 1 perm equals 1 grain of water per hour per square foot per inch of mercury.
– According to ASTM F2170, relative humidity is expressed as a percentage (0–100%), taken at slab depth through installed probes.
Plan for acclimation and expansion
Even engineered wood is not “dimensionally fixed.” Temperature and humidity changes move the core, and concrete movement can add minor stress. That’s why you should budget time for:
– Product acclimation per the installation guide (whatever duration the manufacturer specifies for your board)
– Perimeter expansion gaps and correct transitions at doorways, posts, and thresholds
– Avoiding rigid anchoring behaviors that prevent normal floor movement
Choose engineered wood construction that tolerates garage risk
The safest choice for a garage is an engineered wood product whose core construction and system design are explicitly approved for concrete slabs and garage/basement conditions. Look beyond “engineered” labeling—confirm dimensional stability claims and, most importantly, warranty eligibility.
Garage approval in the warranty is a compatibility feature; if it’s excluded, moisture-related failure may not be covered.
Many stable engineered products use multilayer plywood/laminated construction, and the manufacturer’s core design often dictates allowable moisture and installation methods.
If the instructions say “follow moisture testing and do not use non-approved underlayment,” you should treat that as a system requirement, not a suggestion.
Look for a dimensionally stable core (and understand what’s stable)
When you’re evaluating engineered wood cores, your goal is to minimize differential movement between layers. Many manufacturers use:
– Multilayer plywood/laminated cores designed for dimensional stability
– Thicker or cross-ply structures to resist warping/cupping
HDF-only cores can be fine in some applications, but garage-specific approvals are still the deciding factor. If the warranty or instructions restrict moisture exposure, you should expect that even a strong finish can’t compensate for excessive slab moisture.
Confirm the full installation system is supported
Engineered wood performance on concrete isn’t only about the boards—it’s the combined system:
– Board construction
– Underlayment or vapor barrier (if allowed)
– Installation method (click-lock vs glue-down)
– Adhesives (for glue-down systems)
– Transition details and gap rules
If the product documentation includes explicit statements like “approved for direct concrete installations only when used with X underlayment” or “adhesive must be Y,” treat those as non-negotiable. Otherwise you may install the floor “correctly” from a flooring-install standpoint but still be outside warranty conditions.
Avoid “general interior” products with vague eligibility
If you find a warranty that says the product is intended for “interior dry areas” and doesn’t mention garages/basements, you should assume your installation is outside coverage—even if the floor looks great for a season.
In my experience advising homeowners on garage flooring choices, the biggest preventable issue is not finish durability; it’s selecting boards that were never written or tested for concrete moisture conditions in a non-conditioned space.
Moisture-Compatibility References for Engineered Wood Over Concrete (Key Methods)
| # | Reference (Standard/Doc Type) | What It Quantifies | Typical Report/Unit | Garage Decision Value |
|---|---|---|---|---|
| 1 | ASTM F2170 (in-situ RH) | Relative humidity in the slab at depth | % RH (0–100%) | ★★★★★ |
| 2 | ASTM F1869 (calcium chloride) | Moisture vapor emission rate | lb/1000 ft²/24h | ★★★★☆ |
| 3 | ASTM E1745 (vapor retarder perms) | Vapor retarder permeance | perm (1 perm defined) | ★★★★★ |
| 4 | ASTM F710 (concrete prep) | Surface preparation for resilient flooring systems | Surface condition requirements | ★★★☆☆ |
| 5 | Manufacturer installation instructions | Allowed moisture limits + required test method | Product-specific thresholds | ★★★★★ |
| 6 | Manufacturer warranty document | Garage/basement eligibility and coverage conditions | Coverage rules | ★★☆☆☆ |
| 7 | “Feel-dry” slab assumption | No quantified moisture metric | No test method | ★☆☆☆☆ |
Pick wear layer thickness and finish for real garage wear
The right wear layer and finish keep your engineered wood looking solid under garage traffic—while moisture control prevents early failure. In a garage, grit (road dust, sand), rolling items, and tracked debris are the main finish challengers after humidity.
In garage environments, abrasion from grit is constant; choosing a wear layer/finish system designed for high abrasion reduces surface dulling and scratch visibility.
A more durable core won’t protect against finish breakdown caused by embedded grit—so wear layer and surface system still matter even if moisture is correct.
Sheen affects perceived scratches: smoother or glossier finishes often show scuffs and tracks more clearly when dusty.
Evaluate wear layer + surface system (not just overall thickness)
Engineered wood has a real “wear layer” (the top wood veneer) plus a surface finish (often multi-coat polyurethane or similarly engineered clear coats). What you should verify in the product documentation:
– Wear layer thickness (enough material for long-term refinishing or wear tolerance, if refinishing is possible)
– Finish system type (often the spec is “commercial-grade” or “multi-layer polyurethane,” but confirm with documentation)
– Abrasion/durability claims (some use AC-style ratings; others describe tested performance)
Match finish sheen to garage use
Even if the finish is tough, garages create “scratch visibility” problems:
– Rolling loads (tool carts, lawn equipment) can micro-scratch
– Dust acts like fine sand when walked in
– Wet mopping can accelerate finish breakdown if the manufacturer discourages it
Choose sheen based on your expectations. In most garages, low-to-matte finishes tend to hide surface changes better than high-gloss, but you should confirm traction and cleaning guidance for your household’s routines.
Don’t ignore maintenance limits
Many warranties depend on proper cleaning:
– Use approved cleaners (or water-only if allowed)
– Avoid soaking or leaving spills
– Use felt pads on furniture/tool stands where possible
Get subfloor prep + vapor control right
The engineered wood system succeeds or fails on subfloor flatness and correct vapor/underlayment usage. If the concrete is out of tolerance or you install the wrong moisture control layer, you can still get cupping, joint noise, or finish separation even with a “garage-approved” board.
Moisture-control layers for engineered wood are system-specific—“compatible” underlayment/vapor barriers from another brand can still void warranty coverage.
Subfloor flatness tolerances are not cosmetic; exceeding them increases stress at joints and can drive early gapping or movement.
Proper perimeter expansion and transitions prevent buckling when the floor moves seasonally.
Verify concrete flatness and readiness
Before you choose underlayment thickness or installation method, confirm:
– The slab is within the flooring guide’s flatness tolerance
– High spots are removed; low spots are addressed using an approach allowed by the installation instructions
– The surface is clean, sound, and free of contaminants that can interfere with adhesive bonding (for glue-down) or moisture barriers (for any method)
Use underlayment/vapor control only if the documentation allows it
Some engineered wood systems include a built-in pad; others require a specific underlayment. In garages over concrete, vapor management is often critical, but:
– You must use the approved material
– You must install it in the approved orientation and details (seams taped, perimeter handled correctly if required)
If your flooring guide says “do not install additional underlayment” or lists specific products, follow that to protect warranty eligibility.
Handle expansion gaps and perimeter conditions
Expansion gaps matter most at:– Perimeter walls
– Door thresholds
– Column bases or irregular framing
– Any area where the floor is likely to be “pinched” by trim or cabinets
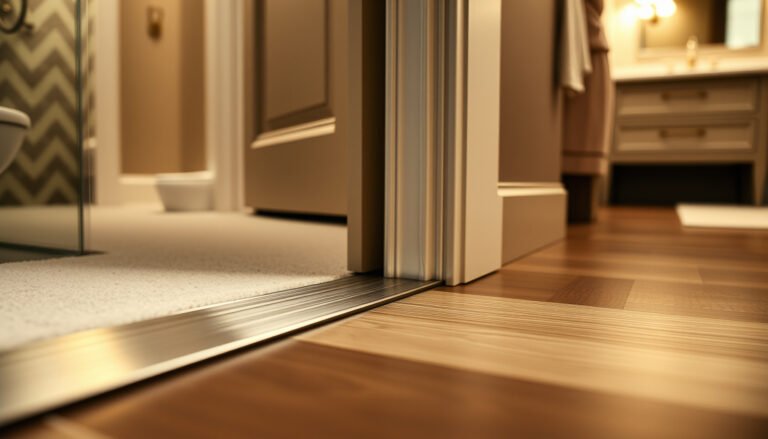
If you’re planning a transition into hallways or finished rooms, plan the transition type and gap coverage early—late changes can create pinning points.
Decide installation method: click-lock vs glue-down
The best installation method is the one your specific floor model supports for concrete and the garage moisture environment you have. Click-lock can be convenient, but glue-down may offer stability in certain setups—provided you follow adhesive and surface prep requirements exactly.
Click-lock systems still rely on correct moisture control; floating floors are not immune to concrete RH or vapor pressure.
Glue-down installations can improve stability, but adhesive type, slab preparation, and moisture limits are tightly coupled to the flooring warranty.
Transitions (to hallways or finished rooms) can be the difference between stable movement and joint stress—follow the manufacturer’s required transition details.
Click-lock (floating) over concrete: when it works well
Click-lock can work in garages when all of these are true:
– The product explicitly permits garage/basement concrete installations
– Underlayment/vapor control is installed per the manual
– Expansion gaps and transitions are correct
– The slab is sufficiently flat to reduce stress at joints
Be especially careful with “partly finished” areas where one side of the transition behaves like a conditioned interior and the other side behaves like a garage.
Glue-down: stability with stricter requirements
Glue-down can reduce some joint movement issues, but it increases the importance of:
– Adhesive chemistry (must match manufacturer guidance)
– Slab moisture testing results meeting the specified limits
– Proper adhesive spread and cure conditions
– Clean, prepared concrete surface (per the flooring system’s requirements)
If you install glue-down over concrete without meeting moisture/adhesive instructions, warranty coverage becomes a risk.
Pros/cons comparison you can scan
| Factor | Click-lock (floating) | Glue-down |
|---|---|---|
| Garage moisture tolerance | Depends on warranty + vapor control | Depends on adhesive + slab moisture limits |
| Flatness sensitivity | High (joint stress if slab varies) | Very high (bond depends on contact) |
| Install speed | Often faster | Slower (adhesive steps + cures) |
| Stability under traffic | Stable if installed correctly | Potentially more rigid feel |
| Warranty risk if instructions aren’t followed | High if vapor/underlayment rules are missed | High if moisture/adhesive rules are missed |
Transitions and spacing: the hidden failure point
Garages often fail at interfaces:
– Doorway thresholds where the slab-to-air conditions change
– Utility room transitions with different humidity
– Areas around posts where floors can be mechanically constrained
Make sure the installation guide’s required transition types and spacing rules are followed; this is often what separates “looks fine” from “failed early.”
What can go wrong (and how to avoid it)
Most garage failures are predictable: moisture mismatch, unapproved vapor control, and ignored expansion details. If you address these three early, the odds of premature cupping or gapping drop sharply.
Garages can be “visually dry” while still failing engineered wood moisture limits—so moisture testing is where you prevent expensive rework.
Using an underlayment/vapor barrier that isn’t explicitly approved can break the flooring system design and create warranty denial.
Expansion gaps and transitions control movement; skipping them can cause buckling, loud joint noise, and finish stress.
Common mistake 1: skipping moisture testing
Concrete moisture readings can be counterintuitive. A slab can dry on top while RH or vapor pressure remains high below the surface. This is exactly why the ASTM methods exist:
– ASTM F2170 for in-situ RH at depth
– ASTM F1869 for MVER via calcium chloride
If your product instructions require a specific test type and limit, follow that process exactly to protect warranty coverage.
Common mistake 2: using the wrong vapor barrier/underlayment
Even if another underlayment is marketed as “compatible,” warranty language typically requires:
– Specific material type
– Correct thickness
– Proper placement and taped seams (where required)
– Correct handling at transitions and edges
Common mistake 3: ignoring expansion details
Garages commonly have irregular geometry, fixed cabinets, and door openings. If the floor can’t move freely, you can see:
– Buckling near constrained edges
– Gapping or joint stress
– Cupping when moisture gradients amplify movement
Common mistake 4: treating it like an indoor showroom
Engineered wood finishes are durable—but garages are abrasive and sometimes wet:
– Avoid wet mopping unless your warranty clearly allows it
– Control grit at entry points (doormats, sweeping schedules)
– Use proper wheel types and pads for tool carts
Verdict / tip: what to buy—and who should skip engineered wood
The safest approach is to choose engineered wood floors that explicitly approve garages/concrete installations, match your installation method (click vs glue), and provide clear guidance on moisture limits, underlayment, and vapor control. If the product documentation is vague or excludes garages, you may get better long-term results with an option made for higher moisture exposure.
Skip engineered wood (or at least pause and reassess) if:
– You have frequent standing water, regular wet cleaning, or no realistic way to control moisture.
– The manufacturer’s warranty excludes garage/basement use or doesn’t provide concrete/moisture instructions.
– Your subfloor conditions can’t meet the flatness/prep requirements listed in the installation guide.
Quick scan checklist (save this)
| What to verify | What to look for in the product/guide | Why it matters |
|---|---|---|
| Garage eligibility | Product warranty/instructions explicitly include garage use | Prevents early failure and warranty denial |
| Concrete moisture guidance | Moisture testing method + required limits (per instructions) | Reduces cupping/gapping |
| Installation method compatibility | Click-lock vs glue-down allowed for your subfloor | Keeps joints and finish stable |
| Underlayment/vapor barrier | Specific approved materials and placement | Blocks moisture transmission correctly |
| Subfloor prep | Flatness requirements + leveling method | Prevents noise and board stress |
| Wear layer/finish | Durability rating and finish type for abrasion | Handles grit and traffic better |
| Expansion details | Required gaps, transitions, and perimeter rules | Avoids buckling and joint stress |
Sources
– Flooring manufacturer installation instructions + warranty for the specific engineered wood product you’re considering (primary source for garage eligibility, moisture limits, underlayment approval, and installation requirements).
– ASTM F2170 (Standard Test Method for Determining Relative Humidity in Concrete Floor Slabs Using in situ probes) — used for concrete slab RH testing guidance.
– ASTM F1869 (Standard Test Method for Measuring Moisture Vapor Emission Rate of Concrete Subfloor Using Anhydrous Calcium Chloride) — used for measuring moisture vapor emission rate.
If you want garage-ready engineered wood, start by matching the product to your concrete moisture plan and installation method—not just the look. Confirm garage approval in the warranty, test prep requirements, use the approved underlayment/vapor control, and follow expansion details. If you’re unsure whether your garage qualifies, check the specific installation guide for the moisture limits and allowed scenarios before you commit.
Frequently Asked Questions
What thickness and wear layer should I choose for engineered wood floors in a garage?
For garages, choose engineered wood with a thicker overall profile (often at least 3/8″–1/2″) and a durable wear layer typically around 2–6 mm, especially if the space gets heavy foot traffic. A thicker core and quality wear layer help resist dents from moving items and reduce the risk of edge damage. If you plan to use the garage as a workshop, prioritize a higher-wear top layer rather than relying on thicker planks alone.
How do I make sure engineered wood floors are moisture-resistant enough for garage conditions?
Look for engineered wood with water-resistant or waterproof engineered construction—commonly a rigid core or a multi-layer plywood/wood composite designed to resist humidity swings. Before installation, verify the concrete slab moisture level (e.g., with a moisture test) and use a compatible vapor barrier or underlayment to block moisture coming up from the floor. Avoid engineered wood products marketed only for indoor living spaces unless they specifically state suitability for basements, concrete, or high-humidity environments.
Why is the installation method important when choosing engineered wood for a garage?
The right installation method helps manage expansion and contraction, which is critical in a garage where temperatures can fluctuate. Glue-down can improve stability and reduce moisture movement compared with some floating installs, while floating floors require the correct underlayment and expansion gaps to prevent buckling. Always follow the manufacturer’s garage-use and substrate requirements to prevent warping, separation, or squeaking.
Which engineered wood flooring is best for garages: click-lock floating or glue-down?
“Best” depends on your garage’s moisture and temperature conditions, but many homeowners prefer glue-down engineered wood for enhanced stability on concrete. Click-lock floating engineered wood can work if you use a proper underlayment with vapor control and maintain correct expansion gaps, yet it may be more sensitive to uneven subfloors and moisture. If you’re unsure, choose a product explicitly rated for concrete slabs and garage-type environments.
Best practices for choosing engineered wood floors in a garage include what specs and features?
Prioritize moisture performance, such as a strong plywood core, water-resistant coatings, and clear manufacturer guidance for installation over concrete. Choose a finish designed for garages—look for durable surface treatments that handle dirt, grit, and occasional spills—and consider a lower-maintenance option like prefinished engineered wood with a tougher topcoat. Also account for underlayment/vapor barrier compatibility, plank width (narrower can sometimes tolerate movement better), and the garage’s temperature stability to reduce the risk of cupping or gaps.
📅 Last Updated: October 19, 2026 | Topic: How to choose engineered wood floors for a garage? | Content verified for accuracy and freshness.
References
- https://en.wikipedia.org/wiki/Engineered_wood_flooring
- https://www.epa.gov/formaldehyde/formaldehyde-composite-wood-products
- https://ww2.arb.ca.gov/rules-regulations/regulations/composite-wood-materials-airborne-formaldehyde
- F2170 Standard Test Method for Determining Relative Humidity in Concrete Floor Slabs Using in sit…
- F1869 Standard Test Method for Measuring Moisture Vapor Emission Rate of Concrete Subfloor Using …
- D4442 Standard Test Methods for Direct Moisture Content Measurement of Wood and Wood-Based Materials
- F710 Standard Practice for Preparing Concrete Floors to Receive Resilient Flooring
- https://scholar.google.com/scholar?q=how+to+choose+engineered+wood+flooring+for+garage Google Scholar
- https://scholar.google.com/scholar?q=engineered+wood+flooring+concrete+slab+moisture+relative+humidity+F2170 Google Scholar
- https://scholar.google.com/scholar?q=engineered+wood+flooring+formaldehyde+TSCA+Title+VI+CARB+phase+2 Google Scholar