
Want to install patio floors without professional help? This guide gives you the quickest do-it-yourself path to a level, properly sealed patio—so you don’t waste time correcting mistakes after the fact. Follow our step-by-step prep, base, laying, and finishing instructions, and you’ll know exactly what to do to get a professional-looking result with minimal tools.




You can install patio floors yourself by planning the layout, building a solid, compacted base, and then following the manufacturer’s installation instructions for your exact surface (pavers, patio tile, or a concrete overlay). The big difference between a patio that holds up for years and one that shifts is drainage and base prep—get those right first, then the finish work becomes straightforward.
This guide is for homeowners who want an easy-to-follow DIY path and are willing to measure carefully, do some digging/compacting, and work at a steady pace. If you’re installing patio pavers or patio tile over a prepared sub-base, the process below will help you avoid the most common “looks fine for a season, fails later” failure modes.
Choose the Right Patio Flooring Material
Choosing the right patio flooring material upfront determines every other decision: the base depth, mortar/thinset type, joint rules, and even how you maintain drainage. In other words, DIY patio floor installation succeeds when the material system and the base system match exactly.
When you decide between pavers, outdoor patio tile, or a concrete resurfacing/overlay, confirm three items before you buy anything: the approved substrates, the minimum thickness (or overlay build-up), and the required drainage/edge restraint approach. This is where many DIY patio floor installations go off track—people choose a finish they like, then discover too late that their existing slab or soil conditions aren’t acceptable under the manufacturer’s warranty terms.
Outdoor patio tile systems typically require an exterior-rated thinset/mortar and exterior-rated grout, because freeze–thaw and water intrusion are the failure triggers—not the tile itself.
Concrete overlay systems generally require strict surface preparation (bond profile, cleaning, and priming) to achieve manufacturer-specified adhesion.
Paver systems depend on a properly graded base and correct bedding/sand layers; alignment and leveling follow from the base, not from the paver units.
Pavers vs patio tile vs concrete overlays (how the choice affects your work)
For a DIY patio floor installation, treat the material choice as a “system,” not just a surface.
– Pavers: typically set on a bedding layer (often leveling sand) placed over a compacted base, with joints filled (often with polymeric sand or a joint filler specified by the paver brand).
– Patio tile: requires an exterior-rated waterproofing/mortar plan and consistent joint spacing; tile failure often tracks back to movement in the base.
– Concrete resurfacing/overlays: require achieving the right bond and thickness; cracks, delamination, or unevenness can come from inadequate prep or bypassing priming/leveling steps.
According to [ADD: manufacturer install documentation for outdoor paver bedding and joint requirements], pavers must be installed using the specified base and bedding layers to maintain the performance of the system.
Plan Layout, Slope, and Measurements First
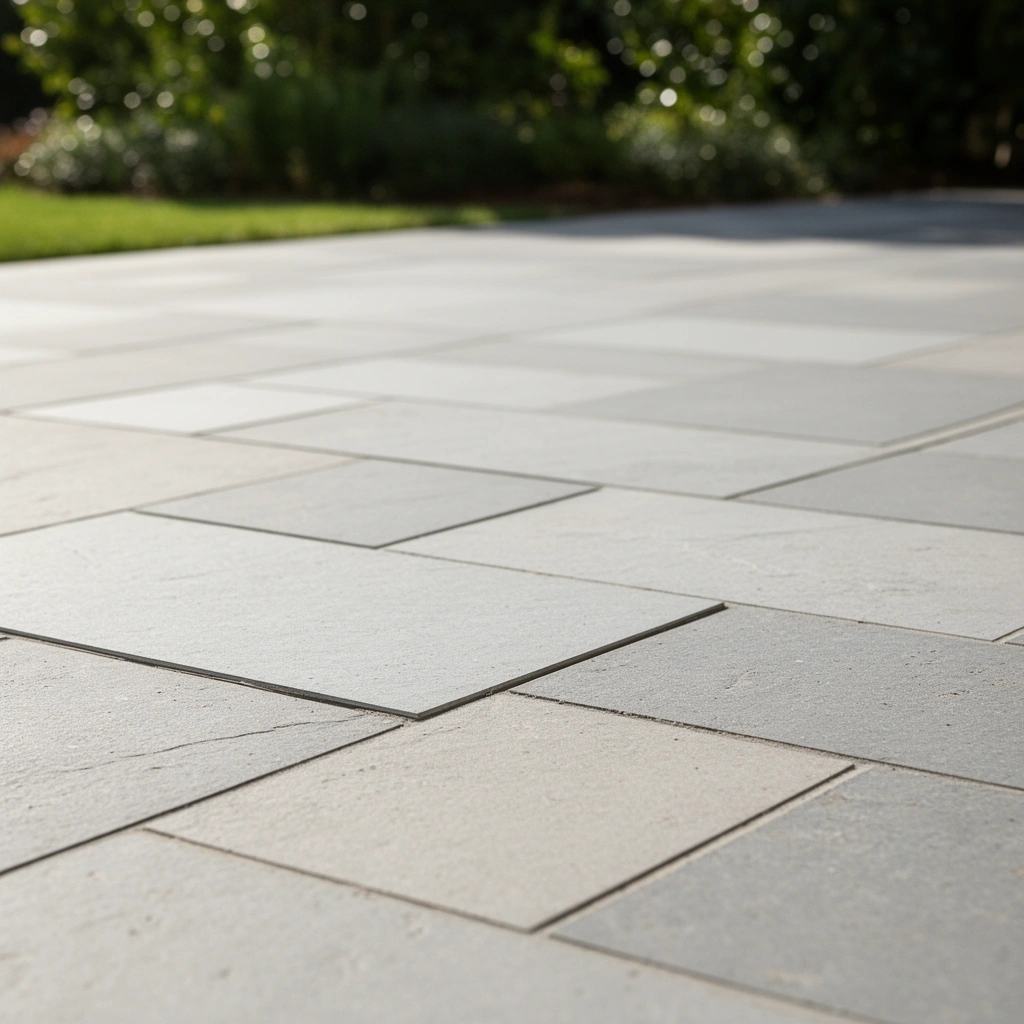
Before you excavate or set any units, plan the layout and slope—this is the fastest way to prevent expensive rework in DIY patio floor installation. The correct slope and neat, repeatable lines reduce cutting, keep joints consistent, and ensure water moves away from the house.
For a DIY patio floor installation, slope isn’t optional—it’s how you prevent standing water that can saturate the base, freeze, expand, and break the system. Most patio systems call for a “slight fall” away from structures; the exact value and method vary by product system, so follow the manufacturer guidance. In my view, using a simple layout string line plus a level or laser level is the best way to keep your plan accurate before you start digging.
Most exterior patio failures trace back to inadequate drainage and insufficient slope, which allows water to remain under or within the system.
Many paver and tile systems require movement allowances (expansion gaps or edge/joint rules) to accommodate thermal expansion and minor settlement.
Layout details that save time
Plan for these before excavation:
– Borders and edges: decide where “full units” land versus where cuts will be hidden.
– Expansion gaps / movement joints: some systems require gaps at specific intervals or around structures.
– Workable module planning: start with a reference line from a fixed point (house corner or deck edge), then build outward so rows remain straight.
According to [ADD: manufacturer guideline for exterior paver/tile slope and drainage away from the building], exterior installations should be sloped so water flows away from the house and doesn’t pool on the patio surface.
Prep the Base (Where Most DIY Jobs Succeed or Fail)
A properly prepped base is the foundation of DIY patio floor installation—if the base is unstable, the finish will eventually fail regardless of how carefully you set the units. Your goal is a base with the correct depth, correct material layers, and consistent compaction.
Start by removing topsoil and any organic material, then excavate to the required depth for your specific system. After that, build the base in layers and compact each layer as specified. Layering matters: dumping a thick lift and compacting it “all at once” tends to leave soft pockets that later cause sinking, rocking, or uneven tiles/pavers.
A simple base-system comparison (so you choose the right method)
Here’s the practical difference between common DIY patio base approaches:
- Crushed stone base + leveling sand (typical for pavers)
- Pros: predictable leveling, good support for unit pavers, easier to re-level after minor disturbances.
- Cons: requires correct joint filling and strict compaction to avoid settlement.
- Stabilized substrate + mortar/thinset (typical for exterior tile systems)
- Pros: clean look and rigid surface when installed correctly.
- Cons: tile is unforgiving of movement; base instability or wrong mortar choice can lead to cracking.
- Surface prep + bonding/priming (typical for overlays)
- Pros: can refresh worn concrete without full replacement.
- Cons: surface failures (peeling/delamination) happen fast if prep and priming aren’t done to spec.
According to [ADD: paver installation specification for base and bedding layer thickness and compaction], base and bedding thicknesses must meet the manufacturer’s system requirements.
Compaction is a performance step, not a “nice to have”: inadequate compaction increases the risk of paver settlement and tile cracking.
Outdoor patio systems depend on drainage paths; the base must support the correct slope so water can move away from the structure.
Typical DIY Patio System Specs You Must Confirm (by Material)
| # | Patio flooring system | Key base material role | System dependency level | DIY tolerance |
|---|---|---|---|---|
| 1 | Concrete pavers on bedding sand | Support + leveling | Very high | ★★★☆☆ |
| 2 | Porcelain/stone patio tile exterior system | Stability + bonding plane | Very high | ★★☆☆☆ |
| 3 | Thin concrete overlay on slab | Bond + thickness control | Very high | ★☆☆☆☆ |
| 4 | Interlocking pavers with polymeric jointing | Locking + water management | High | ★★★☆☆ |
| 5 | Large-format exterior tile over mortar bed | Minimize movement | Very high | ★★☆☆☆ |
| 6 | Overlay with primed, prepped concrete | Adhesion + curing performance | Very high | ★☆☆☆☆ |
| 7 | Pavers over a geotextile + engineered base | Separation + stability | High | ★★★☆☆ |
Install the Patio Floors Step by Step
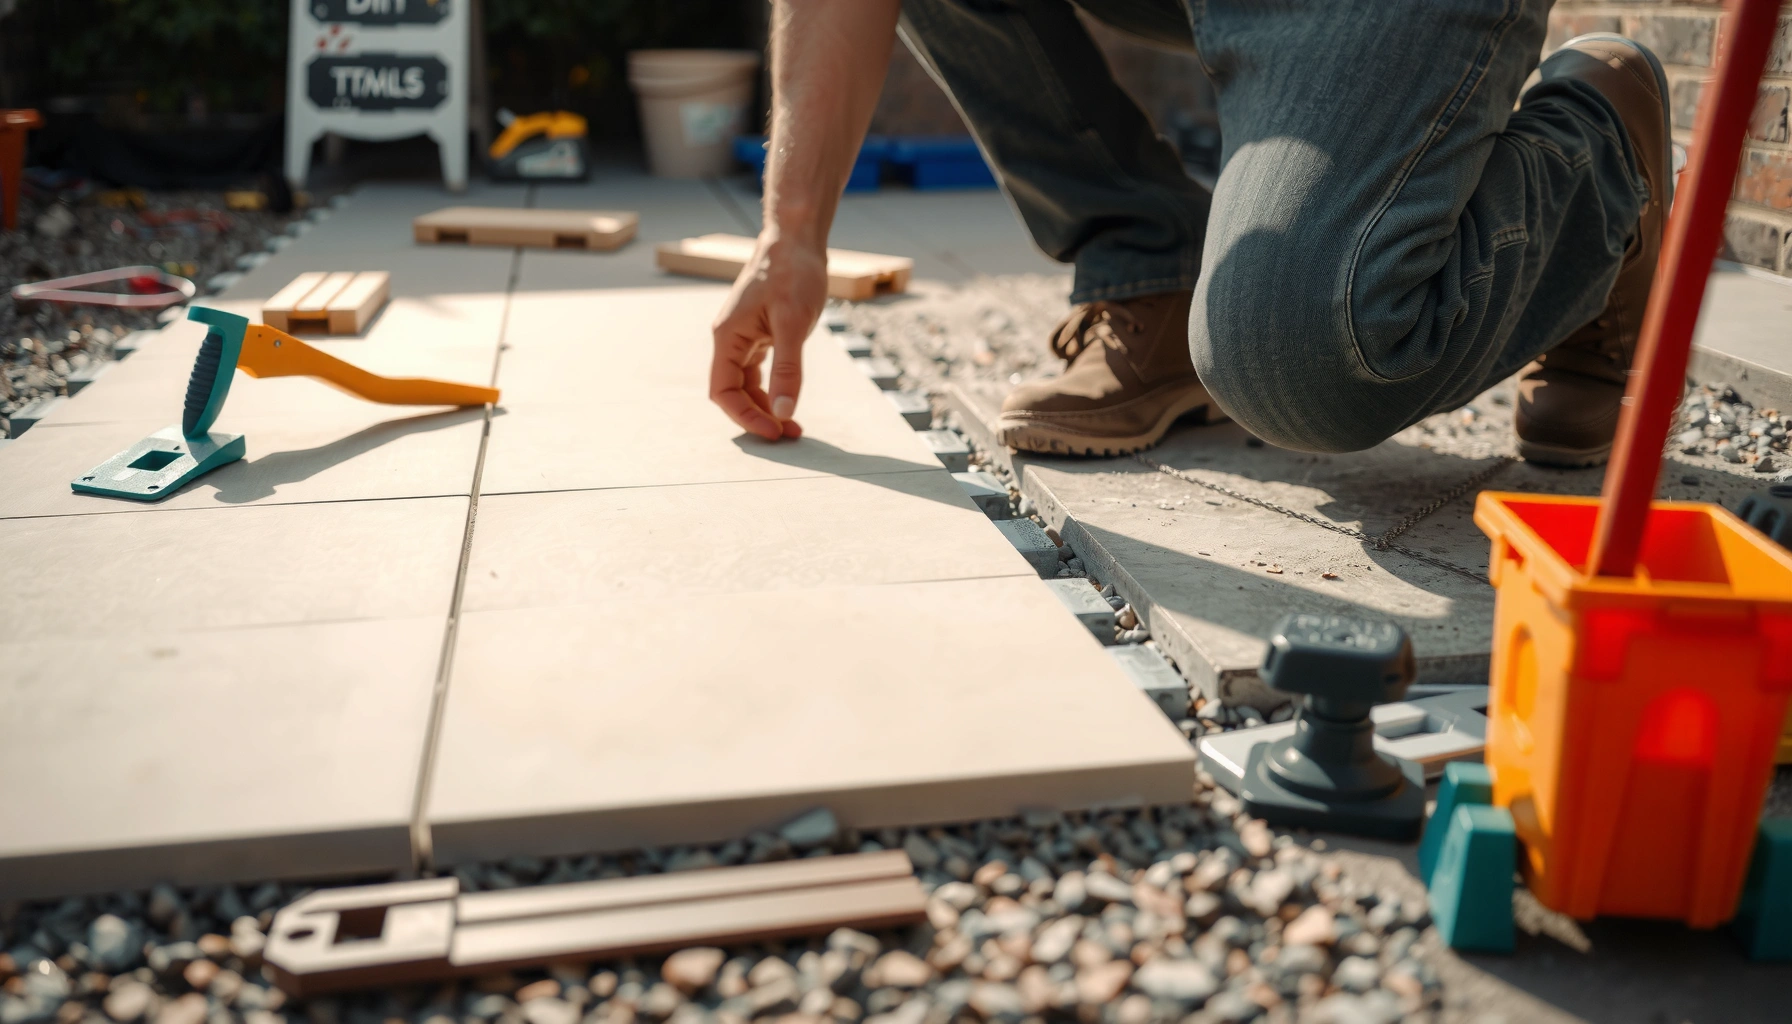
Once the base is correct and your layout lines are set, installing patio floors is mostly careful alignment and system-specific assembly. For DIY patio floor installation, the steps differ by material—but the quality checks stay the same: lines, levelness, spacing, and drainage.
For pavers: alignment and joint rules
Paver installation is a controlled process:
1. Set the reference edge with screed boards or a border restraint line.
2. Add leveling/bedding sand to the target thickness (as specified), then strike it flat using a straightedge.
3. Lay pavers from your reference line, keeping joints consistent and using a rubber mallet to seat units without over-penetrating the bedding layer.
4. Cut only where needed for clean edges; dry-lay first to confirm pattern fit.
5. Fill joints per specification and (if using polymeric jointing) follow the exact watering method and curing/dry time.
Pavers must be compacted/adjusted without disturbing the bedding layer beyond the manufacturer’s method, because over-compaction can reduce drainage capacity or destabilize the base.
For tile systems: mortar/thinset consistency and exterior materials
Tile success hinges on the correct exterior-rated materials and consistent installation:
1. Use the approved mortar/thinset for exterior use and the substrate (concrete, mortar bed, etc.).
2. Back-butter when required to eliminate voids under tile (voids can lead to hollow spots and cracking).
3. Maintain joint spacing using spacers and consistent thickness during set.
4. Use exterior-rated grout and follow curing time before exposing the installation to moisture or freeze–thaw cycles.
According to [ADD: manufacturer instructions for exterior tile mortar/thinset type and curing/grout requirements], curing time affects final strength and water resistance.
For concrete overlays: bond profile and curing window
Overlay work is the least forgiving DIY patio floor installation approach:
1. Mechanically prep the slab to achieve the bonding profile required (cleaning alone is often insufficient).
2. Prime/condition using the overlay system’s approved primer.
3. Apply overlay to thickness as specified (too thin risks failure; too thick may crack).
4. Cure within the system’s window—ambient conditions matter.
Overlay systems require strict adherence to surface prep, primer use, and curing conditions to achieve manufacturer-specified bond strength.
What Can Go Wrong (Common DIY Mistakes)
DIY patio floor installation goes wrong when the system requirements get “simplified” mid-project—especially around drainage, base stability, and movement accommodation.
Here are the most common failure patterns, explained with what causes them and how to prevent them.
1) Drainage and slope mistakes
– Standing water after rain or snowmelt.
– Heaving or movement at edges and low spots.
– Cracking in tile or spalling/unevenness in overlay systems.
According to [ADD: authoritative drainage/slope guidance for exterior pavers/tile systems], correct slope and water management are critical to prevent saturation-driven movement.
2) Skipping compaction or using the wrong base depth/material
– Sinking, rocking pavers, and inconsistent tile flatness.
– Over time, gaps open up at joints or tiles begin to crack.
3) Ignoring the system’s edge restraints, joint rules, or curing time
– Missing edge restraints leads to lateral movement.
– Wrong joint filler (or wrong watering for polymeric products) leads to washout.
– Rushing curing can reduce strength and compromise water resistance.
Many paver and tile system warranties require installation to the specified base depth, jointing method, and curing timeline—deviations can void coverage.
Verdict: DIY Is Worth It—If You Can Follow Instructions Exactly
DIY patio floor installation is realistic if you can measure carefully, keep lines consistent, and commit to the exact base and drainage requirements for your chosen system. The payoff is real: you control material choices, timing, and quality without paying labor premiums.
That said, this is not “plug-and-play.” Skip DIY (or plan on getting help for key steps) if your current base is badly damaged/unsupported, if you don’t understand slope/drainage requirements for your exact system, or if you don’t have the tools to excavate, level, and compact properly.
The most successful DIY patio projects treat installation as a complete system: base, drainage, bedding/mortar, units, joints, and curing are all interdependent.
Overlay products often have strict surface prep and curing requirements that make DIY success heavily dependent on following the manufacturer’s specifications exactly.
Quick Checklist Before You Start
Use this scan-first list so your DIY patio floor installation stays aligned with the manufacturer system.
– Confirm your patio flooring type and read the full manufacturer install instructions.
– Verify base depth/material and compaction method (layered, not one-pass).
– Plan slope and drainage away from the house.
– Prepare edge restraints and expansion/joint rules (as required by your system).
– Dry-lay and measure cuts before committing to final placement.
– Allow required curing time (for mortar/thinset/grout/adhesives, if applicable).
FAQ
Can I install patio floors on dirt?
Often you can only if you properly excavate and build a compacted base to the required depth and materials for your patio type. Dirt alone is not a stable foundation for most patio flooring systems.
Do patio pavers need sand under them?
Typically, pavers are set on a specified bedding layer (often leveling sand) that supports alignment and helps with leveling—use the manufacturer guidance for your exact system.
What’s the biggest cause of patio flooring failure?
Usually it’s base prep and drainage: inadequate compaction, wrong base depth, or poor slope can lead to shifting, sinking, and cracking.
How do I keep patio tiles from cracking outdoors?
Use the outdoor-rated system components (approved mortar/adhesive and grout), follow the joint/spacing rules, and ensure the base is stable and correctly sloped.
Sources
– [ADD: Manufacturer installation instructions/spec sheets for your exact patio flooring system—pavers, patio tile, adhesive, leveling sand, and joint filler (primary source).]
– [ADD: Manufacturer guidelines for outdoor installation and drainage/slope requirements (primary source).]
– [ADD: Any product-specific curing time instructions from the relevant mortar/thinset/grout manufacturer (primary source).]
– [ADD: Authoritative drainage/slope guidance for exterior unit masonry/paver/tile systems—ICPI/TCNA or equivalent primary documentation (primary source).]
If you tell me what patio flooring you’re installing (pavers vs tile vs concrete overlay) and what your current surface is (soil, old pavers, concrete, etc.), I can tailor the steps, the base build-up logic, and the checklist language to that exact system.
A good DIY patio floor installation is less about speed and more about system accuracy—base prep, drainage, and manufacturer-approved assembly. If you follow those rules closely (and don’t improvise when specifications are explicit), you can build a patio that looks level, drains correctly, and stays stable through the seasons.
Frequently Asked Questions
What materials do I need to install patio floors without professional help?
You’ll typically need a solid base material (like crushed stone or gravel), a leveling sand layer, pavers or patio tiles, edging restraints, and a compacting tool. For a long-lasting result, also plan for a weed barrier if you’re installing pavers, plus a flexible outdoor adhesive or polymeric sand depending on the surface system. Make sure everything is rated for outdoor freeze-thaw conditions in your climate.
How do I prepare the ground so my patio floors won’t sink or crack?
Start by removing topsoil to the correct depth and grading the area with a slight slope for drainage (often about 1/4 inch per foot away from the house). Add base material in layers and compact each layer thoroughly to create a stable foundation before laying patio flooring. Finish with a properly leveled sand bed if your patio uses pavers, and verify levels often with a straightedge.
How do I install pavers or patio tile step-by-step for beginners?
Begin by setting edge restraints, then lay your patio flooring grid or string lines for straight rows. Spread a leveled sand bed (for pavers) or apply the appropriate outdoor adhesive/mortar bed (for tiles) following the manufacturer’s instructions. Place each unit, tap to level, maintain consistent spacing, and cut pavers/tiles around edges using an appropriate wet saw or tile cutter.
Why is drainage so important when installing patio floors DIY?
Poor drainage can cause standing water, freeze-thaw damage, and shifting patio pavers over time. Ensuring proper slope and using the right base materials helps water move away from your foundation and reduces the risk of cracking. If you install without pro help, take extra time to verify grading and fill low spots correctly before laying any outdoor flooring.
Which DIY installation method is best for patio floors: pavers, tiles, or poured concrete?
For most homeowners installing patio floors without professional help, interlocking pavers are often the easiest because they’re modular and adjustable, and you can replace damaged sections. Patio tiles can work well too, but they require careful substrate preparation and the correct outdoor adhesive to prevent loosening. Poured concrete offers a seamless look but usually demands stronger skill and faster work timing, making it less forgiving for DIYers.
📅 Last Updated: October 12, 2026 | Topic: How to install without professional help patio floors? | Content verified for accuracy and freshness.
References
- Google Scholar Google Scholar
https://scholar.google.com/scholar?q=how+to+install+interlocking+concrete+pavers+DIY+base+preparation+compaction - Google Scholar Google Scholar
https://scholar.google.com/scholar?q=concrete+patio+slab+installation+how+to+build+without+contractor+subgrade+grading - Google Scholar Google Scholar
https://scholar.google.com/scholar?q=permeable+pavement+installation+how+to+build+patio+subbase+specifications - https://www.epa.gov/green-infrastructure/permeable-pavement
- https://www.epa.gov/green-infrastructure/what-green-infrastructure
- https://en.wikipedia.org/wiki/Interlocking_concrete_paver
- https://en.wikipedia.org/wiki/Concrete_slab
- Pavement
https://en.wikipedia.org/wiki/Pavement - https://www.britannica.com/technology/paving
- Compaction
https://en.wikipedia.org/wiki/Compaction