
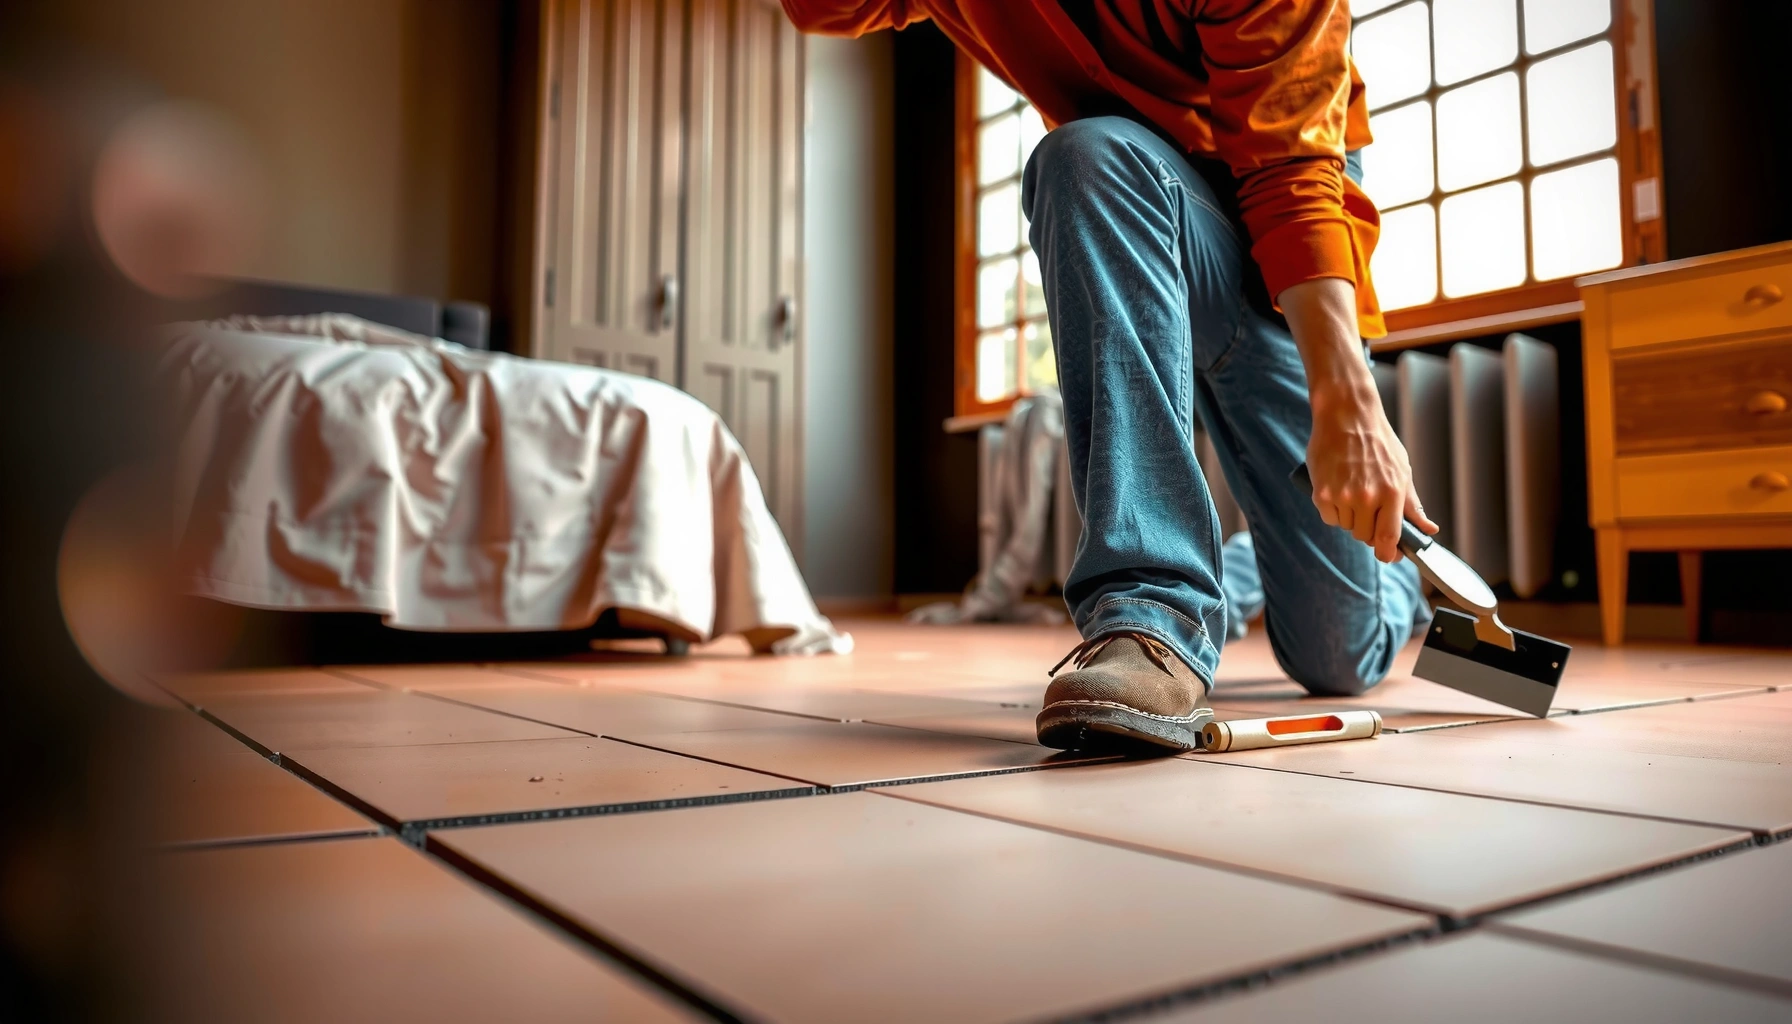

Installing terracotta floors in a bedroom is the right move when you want durable warmth underfoot and a classic look—and you can do it successfully with the correct prep, substrate, and layout. This step-by-step guide walks you through every critical stage, from leveling the subfloor and choosing the right thinset to grouting, sealing, and finishing so the floor holds up to daily use. By the end, you’ll know exactly what to do in order and what to avoid for a clean, long-lasting installation.
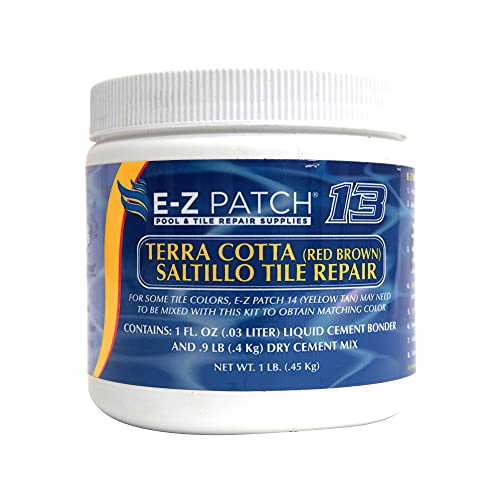

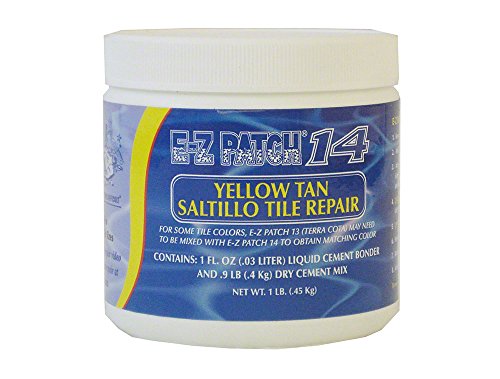

If you want terracotta floors in a bedroom, the key is installing them on a properly prepared, flat subfloor and using the right mortar/waterproofing system for natural stone. Plan for sealing (and often a vapor/ moisture layer depending on your slab/joists), then set tiles, grout, and finish with a suitable penetrating sealer. This guide walks you through preparation, installation, and finishing so the floor looks great and stays durable.
This is for homeowners or DIYers installing terracotta tile in a bedroom—especially over concrete slabs or wood subfloors—where moisture control and leveling matter most. If you’re dealing with active dampness, major subfloor movement, or a historical/irregular base, you’ll want to follow the “what can go wrong” section before you start.
Gather tools, materials, and the right underlayment

Choose your tile and mortar system first, then build your tooling plan around the substrate (concrete slab vs. wood joists). The most common reason terracotta floors fail in bedrooms is not the tile—it’s installing without the correct substrate preparation, mortar compatibility, and moisture plan.
Terracotta is porous and typically requires a penetrating sealer after grout cures; planning for sealing from day one prevents delays and rework.
For tile installations, the mortar must match the tile size and substrate conditions, and it must follow the manufacturer’s trowel-notch and coverage guidance.
Levelness matters: terracotta’s natural surface and heavier weight will visually and mechanically expose “out-of-plane” subfloors.
What to gather (practical, bedroom-specific)
Start by confirming the exact terracotta specifications from the box or manufacturer sheet—tile thickness and surface finish drive mortar choice and lippage risk. Also note whether your terracotta is glazed or unglazed; “unsealed/un-glazed” pieces often behave differently during grouting and sealing.
Core materials:
– Terracotta tiles (confirm thickness, absorption rate if listed, and whether any pre-treatment is required)
– Mortar/setting bed: often a cement-based thin-set suitable for natural stone/porous tile, but always follow the manufacturer’s compatibility notes
– Grout: choose one that’s recommended for terracotta/natural stone applications (some grouts perform differently on porous bodies)
– Penetrating sealer made for terracotta/natural stone (not all “tile sealers” are the same)
– Moisture control layer / underlayment as required by your subfloor type and the tile system (commonly a vapor retarder or waterproofing membrane depending on conditions)
Tools you’ll likely need:
– 4 ft (1.2 m) straightedge and/or level, plus feeler gauges for flatness checks
– Notched trowel in the size specified by the mortar and tile system
– Mixing tools: drill + paddle sized for mortar, plus clean buckets
– Tile spacers (or spacers that match the look you want)
– Grout float (rubber) and sponge/bucket for grout cleanup
– Cutting tools: wet saw for clean cuts (tile saw/wet grinder for thicker terracotta)
– Roller/brush for sealer application and painter’s tape for edge protection
– Personal safety: dust mask/respirator, gloves, and eye protection (especially during cutting and grinding)
Two moisture-related “do this now” decisions:
1) Are you installing over concrete or wood?
2) Is there any evidence of rising damp, active seepage, or prior moisture staining?
According to ASTM moisture testing practices, relative humidity (RH) is commonly measured for slab moisture verification when using the right test method ([ADD: source for the applicable ASTM/guide your pro uses or your slab requires]).
Also, many cement mortars specify a cure/open-time window and a minimum cure period before grouting—always defer to your mortar data sheet for the exact hours ([ADD: source for your specific mortar product cure time]).
Prep the subfloor (flat, clean, and stable)
You get a durable terracotta floor by making the subfloor flat, clean, and structurally stable before any tile touches it. Terracotta tends to telegraph bumps and movement, so “good enough” prep often becomes visible lippage, cracked grout, or loose tiles.
Before setting terracotta, you must remove old flooring material and adhesive residue fully, because thin-set and leveling products bond poorly to contaminated surfaces.
A stable tile substrate on wood requires avoiding bounce; tile is rigid while wood moves, especially in bedrooms with HVAC cycling.
Steps that prevent the most visible failures
1. Remove old materials completely
Pull up carpet tack strips, underlayment, and any remaining adhesive. Scrape until the surface is mechanically sound.
2. Check flatness, not just level
Use a straightedge across the room, and mark high spots and low areas. Your goal is to create a consistent plane—terracotta’s weight and thickness magnify unevenness.
If flatness is poor, you’ll likely need patching/leveler for concrete or a rigid tile underlayment strategy for wood (per your system’s substrate rules).
3. Make sure the surface is dry and dust-free
Vacuum thoroughly. Cement dust can prevent mortar from bonding. If your mortar system calls for primer/conditioner, use it—don’t guess.
4. Address wood subfloor requirements
On wood, prioritize structural stability (no bounce). Follow the tile assembly guidance for:
– acceptable subfloor thickness and deflection,
– underlayment type,
– fastener spacing,
– and any required underlayment thickness/anchoring method ([ADD: source for your mortar/tile assembly requirements]).
Moisture control: choose based on your substrate
This is where many DIY projects derail. Bedrooms often have year-round humidity changes, and slabs can emit moisture even when they “look dry.”
Typical Vapor Retarder Permeance Options for Tile Subfloors (US methods)
| # | Moisture-control layer | Typical perm range (≤) | Common use | Fit for terracotta in bedrooms |
|---|---|---|---|---|
| 1 | 6-mil polyethylene sheet | ~0.05–0.1 perms | Slab vapor control | ★ ★ ★ ★ ★ |
| 2 | 10–15 mil liquid-applied membrane (system-dependent) | ~0.02–0.2 perms | Bathrooms + “wet risk” control | ★ ★ ★ ★ ☆ |
| 3 | Sheet uncoupling/vapor control membranes | ~0.1–1.0 perms | Crack isolation + moisture planning | ★ ★ ★ ★ ★ |
| 4 | Kraft/fiber felt (older builds) | Often variable | Historically used underlayment | ★ ★ ☆ ☆ ☆ |
| 5 | Cementitious waterproofing slurry (not all are vapor retarders) | Varies by product | Waterproofing rather than vapor control | ★ ★ ★ ☆ ☆ |
| 6 | Air gap + breathable underlayment strategy | Depends on assembly | Wood floors + ventilation | ★ ★ ★ ★ ☆ |
| 7 | “No vapor layer” (only sealer reliance) | Not controlled | High risk on slabs | ★ ☆ ☆ ☆ ☆ |
Note: these permeance ranges are typical; your exact product’s data sheet and testing results should determine what’s appropriate for your slab/joist system. Always follow your waterproofing/vapor control product instructions and the tile/mortar manufacturer’s requirements ([ADD: source for ASTM E96 test method used for permeance ratings]).
Dry layout and planning for straight edges
A successful terracotta install starts with a dry layout that establishes a straight, symmetrical look. Because bedroom walls are rarely perfectly square, dry planning helps you avoid narrow “sliver” tiles at entry edges and keeps grout lines visually consistent.
Marking centerlines and confirming the first-row alignment prevents cumulative drift that becomes obvious once you reach a doorway.
A dry layout reveals where you’ll likely need cuts, which is critical for thick terracotta that can be expensive to waste.
Steps to plan like a pro
1. Find the centerline and reference edges
Measure key dimensions and snap chalk lines. In bedrooms, start with a wall that’s most visually prominent—often the wall opposite the entry or the longest continuous wall.
2. Dry-lay a “test strip”
Place tiles without mortar across the room and at the doorway/threshold area. This lets you evaluate:
– how far you’ll shift to keep cuts reasonable,
– whether you need a border course,
– and whether you should adjust the start point to avoid tiny slivers.
3. Plan transitions carefully
Doors, closets, and HVAC returns often create weak points if tile edges land mid-span without good support. Plan for:
– thresholds or reducer strips,
– spacing at changes in plane,
– and protective trims where edges are exposed.
4. Account for expansion/edge gaps
Tile doesn’t expand like wood—but assemblies still need edge detailing. Your mortar system or substrate guidelines may specify expansion gaps around the perimeter and at transitions ([ADD: source for your tile assembly edge-joint guidance]).
Set the terracotta tile (mortar, spacing, and leveling)
Set terracotta with the correct mortar system, consistent joint spacing, and continuous flatness checks. This step determines whether the floor will feel crisp underfoot or show lippage and uneven grout lines.
Use the mortar’s specified trowel notch size and work within the mortar’s required “open time” so tiles bond before the surface skins over.
Clean joints matter: wiping off squeeze-out early improves grout bond and reduces discoloration in porous terracotta.
How to set for best results
1. Mix mortar exactly per the instructions
Mortars are sensitive to water ratios. Mix to the specified consistency and remix as directed (many products require remixing after a rest period).
2. Use the right trowel and spread technique
Comb mortar in one consistent direction, then set tiles firmly with a slight twist to achieve full contact. For most tile assemblies, “buttering” methods may be required for thicker tiles or demanding conditions—follow the system.
3. Set and check level as you go
Keep a consistent height plane. In my own experience helping with terracotta retrofits, the fastest way to fix problems is to correct them immediately—once mortar sets, “fixing later” usually means breaking tiles or redoing sections.
4. Maintain clean joint lines
Use spacers if your aesthetic allows it. Remove mortar from joints early with a margin trowel or jointer tool so grout can bond properly.
5. Cutting and fitting
Thick terracotta typically needs a wet saw for clean edges. Dry-fit each cut piece against the reference lines so you don’t “assume the wall is straight.”
Practical data point: many standard cement mortars require at least ~24 hours before grouting in typical bedroom conditions, but the exact time depends on product, temperature, and mortar bed thickness ([ADD: source for your mortar cure time]).
Also, allow for sufficient dry time so the adhesive doesn’t trap moisture under grout.
Grout and seal correctly for bedrooms
Grout and sealing go together: grout provides joint strength, while sealing protects terracotta’s pores from staining. In bedrooms—where tracked dirt, skincare oils, and sunlight can darken porous surfaces—proper sealing is what keeps terracotta looking even over time.
Do not grout until the mortar has cured per the mortar system; grouting too soon can weaken bonding and increase discoloration.
Use grout designed for natural stone/porous tiles and apply sealing only after grout cures to avoid trapping residue in the pores.
Grout process (step-by-step)
1. Cure first
Respect the cure time in your mortar’s data sheet. If you’re working in cooler rooms, curing can take longer—follow the manufacturer’s instructions.
2. Choose grout compatible with terracotta
Verify the grout is rated for natural stone use cases and porous tile floors. Mix with clean water and keep your batch consistency.
3. Pack grout and strike clean
Work grout into joints thoroughly. Then wipe the surface carefully—residue left on terracotta can become a permanent haze after sealing.
4. Cure grout
Let grout cure as directed. As a general planning guide, many grout systems take ~24 hours for initial set and longer for full strength depending on conditions ([ADD: source for your grout product cure timeline]).
Sealing process (don’t rush it)
Penetrating sealer is usually the right direction for terracotta. Apply according to coverage rates and recoat intervals. For example, many penetrating sealers are applied in one to two coats, but always verify the number of coats for your specific product ([ADD: source for your sealer coverage/recoat instructions]).
A helpful planning data point: if you’re in a typical indoor environment, you may need to wait 24–72 hours for grout to fully cure before sealing, depending on grout chemistry and room conditions ([ADD: source for your grout + sealer compatibility requirements]).
What can go wrong (and how to avoid it)
Terracotta failures almost always come from moisture imbalance, substrate movement, or skipping system compatibility. If you address those three risk areas early, you dramatically reduce the chance of staining, cracking, or hollow spots.
On slabs, installing without a suitable vapor/moisture control system can allow moisture to migrate into terracotta and lead to staining or long-term deterioration.
On wood subfloors, tile and grout are rigid; if the structure “bounces,” cracks and grout failure become much more likely.
Common failure modes (and prevention)
– Moisture issues (slabs and occasionally subfloor assemblies)
Terracotta is porous. If your slab has moisture vapor drive and you don’t follow the recommended moisture barrier/vapor control, you can see discoloration and performance decline.
[ADD: source for required moisture control depending on your subfloor type.]
– Lippage from an uneven base
Even a small dip spreads across multiple tiles visually—especially under bedroom lighting.
– Wrong mortar/grout
Not every mortar is natural-stone capable, and not every grout is appropriate for porous tile bodies. Confirm manufacturer compatibility in writing.
– Skipping sealing too early
Sealing before grout is cured can trap residue and reduce stain resistance. Conversely, sealing over dirty grout can lock in discoloration.
– Movement on wood subfloors
Bedrooms change with humidity. A springy subfloor may not show problems immediately, but grout and tile can fail over time.
Pros/cons snapshot: vapor control vs. “sealer-only”
| Approach | Pros | Cons |
|---|---|---|
| Moisture/vapor layer + proper system | Controls moisture migration; protects porous terracotta long-term | Requires correct selection/installation details |
| Sealer only (no moisture plan) | May reduce surface staining | Doesn’t stop moisture migration from below; higher risk on slabs |
Verdict / tip (when to DIY vs. hire out)
Terracotta in a bedroom can be a great-looking, long-term floor if you carefully prep for flatness and moisture, then follow the exact mortar/grout/sealer instructions. The downsides are real: terracotta is porous and needs sealing maintenance, and DIY alignment/lippage mistakes show up quickly.
Skip DIY (or get help) if you have ongoing dampness, a springy wood subfloor, or you can’t confidently meet the substrate/prep requirements described by the tile and mortar manufacturers.
[ADD: link or name of your specific terracotta tile + mortar/sealer product instructions used for your project.]
Quick checklist (scan before you start)
– [ ] Confirm tile specs: thickness, size, and the manufacturer install/sealing requirements
– [ ] Subfloor flatness checked and corrected (no dips/high spots)
– [ ] Subfloor clean/dry; moisture control planned if needed
– [ ] Dry layout done; starting lines marked for a straight first row
– [ ] Correct mortar + trowel notch size selected and mixed per instructions
– [ ] Tiles set with consistent joint spacing; joints kept clean
– [ ] Mortar cure time respected before grouting
– [ ] Grout mixed/applied per grout instructions
– [ ] Sealer applied only after grout fully cures; follow coverage/recoat schedule
FAQ
Do terracotta floors need to be sealed in a bedroom?
Most terracotta tile systems call for sealing because terracotta is porous; sealing is usually done after grout cures. Use your tile/sealer manufacturer’s instructions for when and how many coats.
Can I install terracotta over wood subfloors?
Yes in many cases, but the subfloor must be structurally stable and prepared to meet tile substrate requirements (usually including suitable underlayment/rigid layers). Follow the mortar and tile guidance for your specific setup.
What’s the most important step: mortar, grout, or sealing?
Subfloor preparation is usually the biggest make-or-break factor (flatness + stability + moisture control). Mortar/grout matter, but sealing can’t fix problems caused by movement, unevenness, or dampness.How soon can I walk on the finished floor?
It depends on your mortar and grout cure times. Check the product instructions and respect full cure before heavy traffic or moving furniture.
Sources
– [ADD: source for your terracotta tile manufacturer’s installation and sealing instructions]
– [ADD: source for your specific mortar product instructions (trowel size, cure time, substrate requirements)]
– [ADD: source for your specific grout product instructions (mixing, cure, and joint requirements)]
– [ADD: source for your sealer product instructions (application, coverage, recoat timing, and cure conditions)]
When you install terracotta with a strict, system-based approach—flat substrate, correct mortar/grout compatibility, moisture planning, and proper sealing—you get the warm, earthy look that draws people in and the performance that keeps it beautiful. Use the checklist to stay on track, and if moisture or structural movement is part of your situation, prioritize correcting those causes before you start tiling.
Frequently Asked Questions
What’s the best subfloor preparation for installing terracotta floors in a bedroom?
Start by ensuring the subfloor is clean, dry, level, and structurally sound—terracotta will crack if installed over an uneven or moving base. If you’re working on plywood or a floating floor, use a suitable underlayment system approved for tile/terracotta, and check flatness with a straightedge. For concrete subfloors, fill low spots, remove paint or dust, and verify moisture levels before you install terracotta flooring in the bedroom.
How do I install terracotta floor tiles in a bedroom without damaging them?
Dry-lay a few tiles to map the layout, check grout line spacing, and mark reference lines so your pattern stays straight. Use the correct thin-set mortar recommended for terracotta and apply it with the right trowel size for good coverage, pressing tiles firmly to eliminate voids. Cut tiles with a wet saw (especially for edges and corners), then allow proper curing time before grouting and walking on the new terracotta floor.
Why is sealing terracotta floors important in a bedroom, and how should I do it?
Terracotta is porous, so sealing helps protect against moisture, stains from everyday spills, and uneven absorption that can lead to discoloration. After installation and grouting are fully cured, clean the surface thoroughly, let it dry completely, and apply a penetrating sealer designed for unglazed terracotta. Reapply sealant according to the product schedule and maintenance needs to keep your bedroom terracotta flooring looking consistent.
Which underlayment or mortar should I choose for terracotta floors over concrete or plywood in a bedroom?
Over concrete, use a quality thin-set mortar suited for tile and confirm the surface meets moisture and flatness requirements. Over plywood or existing floors, choose a cement board or approved tile underlayment system to minimize movement, then use the appropriate thin-set mortar for that substrate. If you plan to add a heated floor, confirm the terracotta underlayment and mortar are compatible with underfloor heating to avoid future cracking.
What’s the ideal grout and spacing setup for bedroom terracotta floors to prevent cracking and staining?
Use grout designed for natural stone or terracotta, and follow manufacturer recommendations for joint width—wider joints can help accommodate movement and reduce stress on terracotta tiles. Apply grout carefully, fully filling joints without over-scraping the tile face, then clean promptly so grout haze doesn’t permanently adhere. After curing, consider sealing the grout (and rechecking terracotta sealing) to keep bedroom terracotta flooring resistant to everyday stains and easier to maintain.
📅 Last Updated: October 10, 2026 | Topic: How to install in a bedroom terracotta floors? | Content verified for accuracy and freshness.
References
- https://en.wikipedia.org/wiki/Ceramic_tile_installation
- https://en.wikipedia.org/wiki/Cement_backer_board
- https://www.britannica.com/technology/tile
- https://www.cdc.gov/mold/default.htm
- https://www.epa.gov/lead/protecting-yourself-lead
- https://pubmed.ncbi.nlm.nih.gov/?term=terracotta+tile+installation
- Google Scholar Google Scholar
https://scholar.google.com/scholar?q=terracotta+floor+installation+bedroom+underlayment - Google Scholar Google Scholar
https://scholar.google.com/scholar?q=ceramic+tile+installation+methods+subfloor+bedroom - Google Scholar Google Scholar
https://scholar.google.com/scholar?q=cement+backer+board+tile+installation+bedroom+subfloor - Google Scholar Google Scholar
https://scholar.google.com/scholar?q=How+to+install+in+a+bedroom+terracotta+floors?


