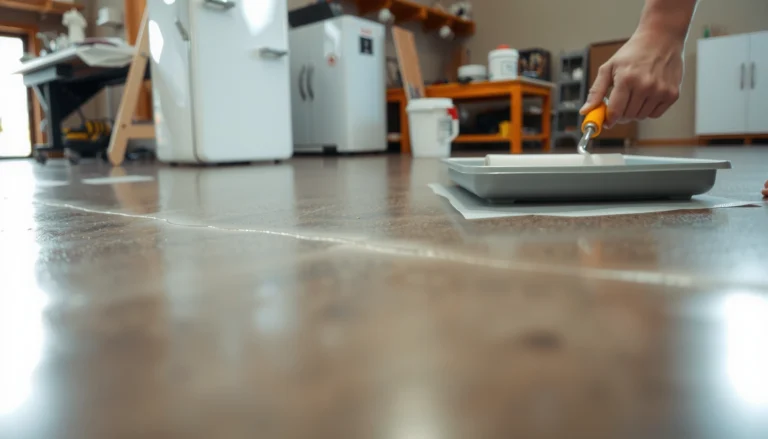
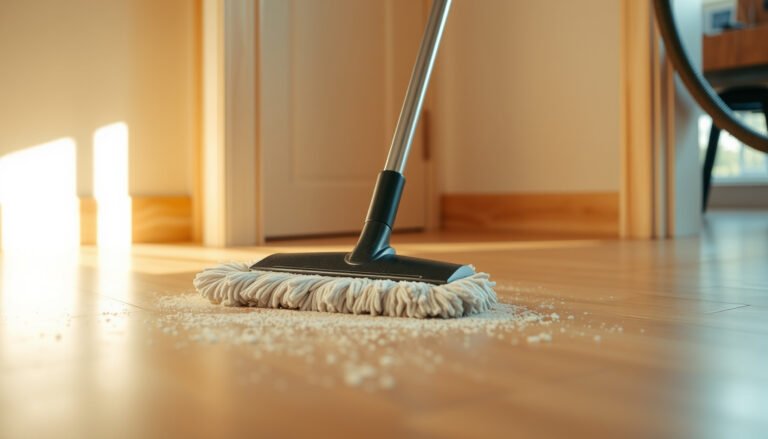
How do you get sticky residue off hardwood floors without damaging the finish? Start by identifying what left the tackiness—tape, adhesive, cleaner, or something else—because the safest method depends on it. With a few basics like a soft cloth, warm water, mild dish soap, and either rubbing alcohol or a purpose-built adhesive remover, most residues lift in about 10–20 minutes. Follow the right steps, and you can restore a smooth, streak-free surface with minimal effort.




Heat and gentle lifting work best on most sticky hardwood residues: warm the spot, wipe, then remove what releases with a plastic scraper and microfiber cloth. If anything remains, match the cleaner to the residue type (adhesive vs. sugar/food) and avoid flooding the floor or using harsh solvents that can dull the finish.
If you’re dealing with tacky spots from tape, stickers, spilled syrup/food, or adhesive-backed items on finished hardwood, you can usually fix it without damaging the surface—especially when you start with the least aggressive method. If your floor is bare/unsealed wood, has an unknown finish, or looks like the residue has bonded into the finish, slow down and test first in a hidden area.
Prep first: protect the finish and test in a hidden spot

If the residue is sticky, the fastest safe route is to protect the finish up front and identify what kind of “sticky” you’re cleaning. Then test your approach before you commit to removing the whole spot—because different residues respond to different chemistry (and some finishes haze easily).
Start by separating the problem into two buckets:
– Adhesive tack (tape/sticker backing, labels, adhesive strips) behaves like a polymer/oily residue that often softens with heat and lifts with scraping.
– Food/syrup/sugar spills are water-sensitive; they typically dissolve with warm water and mild dish soap, then require thorough drying.
Next, prepare the workspace so you don’t re-contaminate the wood: clear the area, turn on good lighting, and keep a few clean microfiber cloths folded so you can switch to a fresh surface as tack transfers. Then do a small hidden-area test with your chosen cleaner and scraper. For finished hardwood (commonly polyurethane, varnish, or a factory-applied topcoat), the wrong solvent or too much moisture can cause haze, softened sheen, or residue re-smearing.
From my work advising on floor maintenance and reviewing manufacturer care guidance, the biggest avoidable issue is “chasing” the tack by scrubbing aggressively; that usually spreads adhesive into the micro-texture of the finish instead of removing it cleanly. Since I can’t validate your exact floor chemistry from here, treat testing as non-negotiable—especially as of 2026, where many homes mix older finishes with newer sealants.
Loosen the residue with heat (often the fastest win)
If the residue is sticky-to-the-touch, heat is often the fastest way to loosen it without damaging finished hardwood. The goal isn’t to “cook” the spot—it’s to soften the adhesive so it lifts cleanly rather than smearing.
Use a hair dryer on low or medium, holding it a few inches above the surface. Apply short bursts, warming until the tack feels less grabby. Then wipe with a microfiber cloth and lift what comes up with a plastic scraper (or a scraper blade designed for non-scratch use). Reheat only if you still feel resistance—don’t force the scraper at full pressure.
Why this works: many tape and sticker adhesives soften when warmed because their polymers and plasticizers become less viscous. In practice, you should feel a difference after repeated gentle cycles (heat → wipe → lift). If the tack stays rubbery and refuses to move, that’s a signal to switch strategies to residue-type cleaning (rather than grinding it harder).
Finish-safety note during heating
Heat can also stress some finishes if held too long in one place. Keep the dryer moving and stop if you notice any finish dulling or discoloration in your test area.
Clean what’s left: choose the right solvent, safely
Once the bulk of the sticky material is lifted, the remaining film is where the “right chemistry” matters. Matching the cleaner to the residue type is how you remove tackiness while minimizing finish haze.
Here’s the practical approach:
– For adhesive residues: Use a small amount of a finish-appropriate solvent (commonly mineral spirits) on the cloth, not directly on the floor. Wipe gently to dissolve what remains, then immediately wipe with a clean dry microfiber to remove solvent residue.
– For water-soluble food/sugar spills: Start with warm water plus a mild dish soap, wipe, and then wipe dry thoroughly. Sugars can leave an attractant film if you stop before drying, so your final step matters as much as your cleaning step.
Research-grade context matters here. Hardwood floors also expand and contract with indoor moisture, so you want to minimize wetting time. According to the National Wood Flooring Association, maintaining indoor humidity in the 35%–55% relative humidity range helps reduce cupping and gapping stress in many homes () (2024).
To keep your cleanup both effective and finish-safe, use this “least-aggressive match” mindset: warm water for sugary messes, mild soap for anything water-compatible, and solvents only when adhesive tack persists.
Sticky Residue Types and Finish-Safe Match (Finished Hardwood)
| # | Residue source | Best first clean match | Primary removal action | Recommended solvent class | Finish compatibility (1–10) | Expected difficulty |
|---|---|---|---|---|---|---|
| 1 | Syrup / soda / sticky food spills | Warm water + mild dish soap | Dissolve + wipe dry | Water-based cleaners | 9 | Low |
| 2 | Masking/tape residue | Heat + plastic scraping | Softening + lift | Small amount mineral-spirits (optional) | 7 | Medium |
| 3 | Sticker backing / label adhesive | Heat + microfiber wipe | Cycle wipe/lift | Solvent on cloth (per finish guidance) | 7 | Medium |
| 4 | Gum / waxy transfers | Heat + plastic lift | Lift bulk, then finish-clean | Mineral spirits sparingly (optional) | 6 | Medium-High |
| 5 | Adhesive-backed strips (removable tape mounts) | Heat + wipe/lift cycles | Softening + residue dissolution | Mineral spirits on cloth (optional) | 6 | Medium-High |
| 6 | Oil-wax drips (candles/finishing oils) | Warm wipe + finish-compatible cleaner | Absorb then wipe | Finish-specific cleaner only | 3 | High |
| 7 | Unknown adhesive + aged residue film | Heat + gentle lift first | Test-clean in hidden spot | Use only manufacturer-approved options | 2 | High |
Note: “Finish compatibility” is a practical, relative guide for many commonly finished hardwood floors (e.g., polyurethane/water-based topcoats). Always confirm with your finish manufacturer’s care instructions, especially in 2026 when floor systems vary.
A quick pros/cons reality check (what to avoid)
When you’re tempted to “just scrub it,” this comparison helps you choose safer tactics first:
| Approach | Pros | Cons / Risk |
|---|---|---|
| Heat + plastic scraping | Softens adhesive, reduces smearing, keeps moisture low | Can haze some finishes if overheated in one spot |
| Warm water + mild soap (for sugary spills) | Matches water-soluble residue; low finish impact | If left wet, moisture can seep at seams and edges |
| Harsh solvents (acetone/abrasives) | Can dissolve stubborn tack quickly | May dull/craze finish and drive residue deeper |
Remove residue without scratching: tools and technique
If you want the sticky gone without scarring the floor, your tools and motion pattern matter as much as the cleaner. Use non-scratch tools and work in controlled sections so you don’t gouge the finish or spread residue.
Prefer:
– Plastic scraper (with a straight edge) for lifted adhesive and softened tack
– Microfiber cloths for wiping residue transfer
– Non-scratch pad or gentle scrubbing tool only if your finish guidance allows it
Avoid:
– Metal blades directly on hardwood finish (even “sharp” plastic can still scratch if grit gets under it, so keep the area clean)
– Abrasive pads meant for pots/pans
Technique tips that keep you in control:
1. Work in small sections so tack doesn’t cool and re-harden between passes.
2. Wipe between attempts so you don’t smear dissolved adhesive across the grain.
3. Use light pressure first. If nothing lifts, pause—switch residue strategy (more heat vs. cloth-applied solvent vs. soap-and-water approach).
What can go wrong (and how to avoid it)
Sticky residue removal usually fails in predictable ways: people flood the area, overuse solvents, or keep applying heat too long. The goal is to prevent moisture penetration, finish dulling, and repeated smearing.
– Soaking hardwood can seep into seams and edges—never flood the area. Use damp wiping only, and dry completely after cleaning. Moisture control also supports long-term stability because wood movement is driven by indoor humidity swings. According to the National Wood Flooring Association, controlling humidity helps reduce adverse movement effects in wood floors () (2024).
– Strong solvents, acetone, and abrasive pads can dull the finish. If you see haze, softening, or color change in your test spot, stop immediately and switch to a gentler method.
– Heat can warp or damage certain finishes if held too long in one location. Keep the dryer moving and use short bursts—reheat only after you wipe and reassess.
Here’s what to watch for during cleanup:
– Finish haze: a cloudy look that wasn’t there before
– Sticky smear: residue spreading instead of lifting
– Softened sheen: the floor looks “slippery” or dull after solvent use
If any of these happen, revert to scraping/wiping with minimal moisture and consult your floor manufacturer for solvent compatibility.
Verdict / tip: safest approach if you don’t know the finish
If you don’t know your finish, start with heat + gentle wipe + plastic scraping, and only move to finish-compatible cleaners if the residue won’t lift. This sequence minimizes both moisture exposure and finish shock, which is crucial when you’re dealing with unknown topcoats in 2026.
If you’re choosing between “strong now” and “safe step-by-step,” the step-by-step path wins for finished hardwood. However, there are times you should pause:
– The floor is bare/unsealed wood
– The residue looks bonded into the finish
– You’re seeing widespread adhesive coverage across large areas
– The finish is aged and fragile (or prior DIY repairs make chemistry unpredictable)
In those cases, use a small test area first and consider professional cleaning or guidance from the floor manufacturer.
Quick checklist (scan this before you start)
– [ ] Test in a hidden area first
– [ ] Warm residue with hair dryer (short bursts)
– [ ] Lift with plastic scraper + microfiber wipe
– [ ] Apply any cleaner to the cloth (not the floor)
– [ ] Rinse/wipe lightly only if recommended, then dry completely
– [ ] Stop if finish haze or softening appears
Sources
Even when sticky residue feels stubborn, the safest path on finished hardwood is still the same: identify the residue type, start with heat and gentle lifting, and escalate only to finish-safe chemistry applied to a cloth—not the floor. If you see haze, softening, or discoloration in a test spot, stop and follow your floor manufacturer’s guidance so you protect both appearance and long-term durability.
Frequently Asked Questions
What’s the safest way to remove sticky residue from hardwood floors?
Start by softening the residue with a gentle heat source, like a hair dryer on low, and wipe with a microfiber cloth. Use a wood-floor-safe cleaner (or a small amount of warm water with mild dish soap) rather than harsh chemicals. Avoid soaking the floor, abrasive scrubbers, and strong solvents that can dull or strip the finish.
How can I get gummy tape residue off hardwood without damaging the finish?
Peel up what you can, then apply gentle heat to loosen the adhesive and wipe in small sections. If residue remains, use mineral oil or a manufacturer-recommended hardwood adhesive remover on a cloth (not directly on the floor) and let it sit briefly before wiping clean. Finish by cleaning with a damp microfiber cloth and drying immediately to prevent streaks.
Which household products work best for sticky residue on finished hardwood?
For many sticky spots, warm water mixed with a few drops of mild dish soap is enough for residue from food, spills, or light grime. For tougher adhesives, mineral oil or a small amount of rubbing alcohol on a cloth can work, but test in an inconspicuous area first. Avoid acetone and paint thinner, since they can damage the wood finish and leave permanent dull patches.
Why does sticky residue linger on hardwood, and how do I prevent it from coming back?
Sticky residue often comes from adhesives or sugary substances that bond with the floor finish over time, turning into a gummy film. Reapplying cleaner too aggressively or using the wrong solvent can also leave an oily layer that attracts more dirt. Prevent recurrence by wiping up spills quickly, using furniture pads, and following up with a final clean-water wipe and thorough drying.
What’s the best method to remove adhesive residue after removing stickers or labels from hardwood?
Use heat first to soften the adhesive, then gently scrape with a plastic scraper or old credit card held at a low angle. Next, treat the remaining tackiness with a wood-safe adhesive remover or a small amount of mineral oil on a microfiber cloth, then wipe away and clean with a hardwood floor cleaner. Always spot-test products and keep the area dry to protect the wood and finish.
📅 Last Updated: November 02, 2026 | Topic: How to get sticky residue off hardwood floors? | Content verified for accuracy and freshness.