
Need to remove adhesive from engineered wood floors? For most common glue-on residues, the fastest, safest route is a targeted heat-and-scrape approach followed by the correct adhesive remover that won’t damage the top wear layer. This guide gives you the best method for your situation—whether the adhesive is fresh, cured, or plasticized—so you can clean the surface cleanly without warping, lifting, or finish haze.




If you need to remove adhesive from engineered wood floors, start by identifying whether the glue is water-based or solvent-based, then use the gentlest remover that will work. In most cases, scraping + careful heat or a wood-safe adhesive remover (followed by thorough cleaning) protects the finish and prevents damage to the planks. You’ll learn a step-by-step way to soften, lift, and clean residue without warping or stripping the flooring layer.
This guide is for homeowners and renovators dealing with leftover glue from installation, underlayment, or temporary flooring adhesives on engineered wood. It’s especially useful when you’re trying to avoid scratching the surface, lifting edges, or leaving a sticky film that will interfere with new flooring or finishes.
Assess the adhesive type before you start
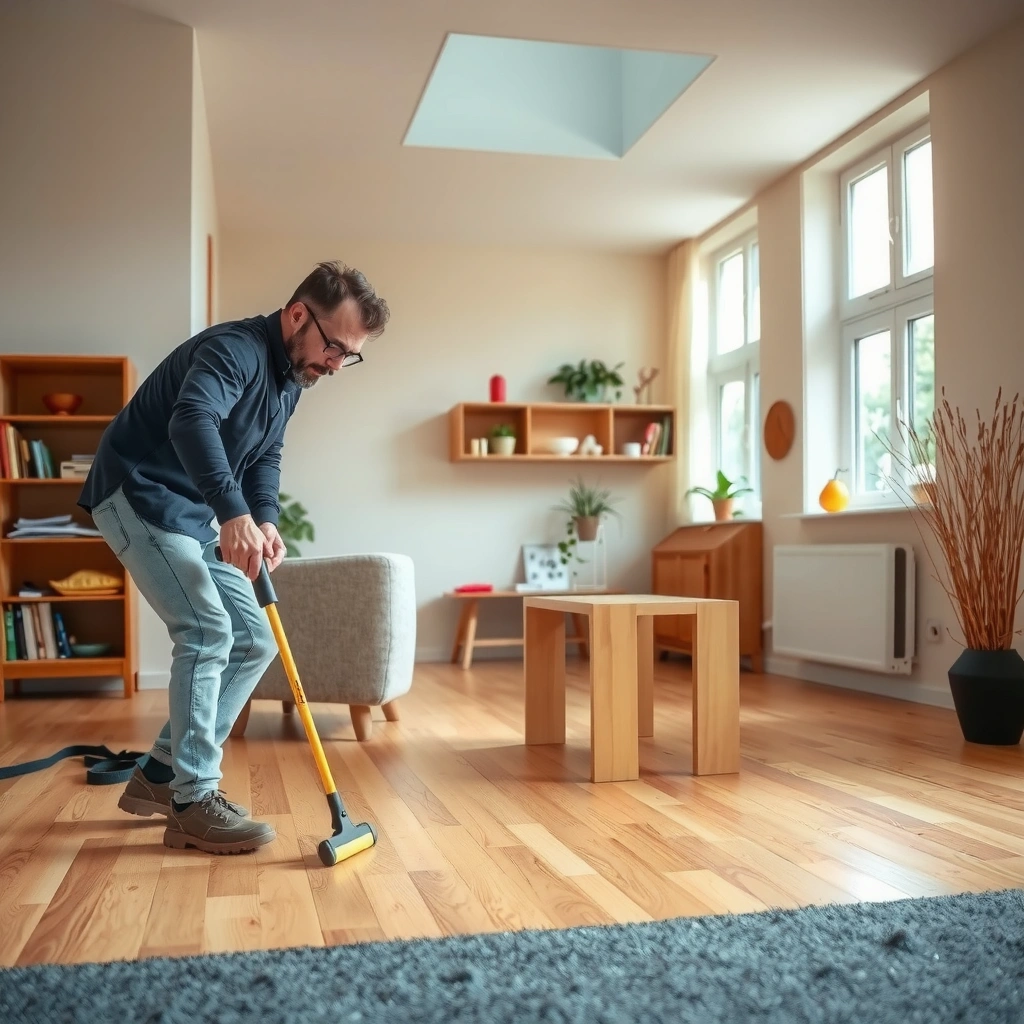
The best method depends on what the adhesive is made to do—water-based residues usually release with controlled moisture and agitation, while solvent-based or “hardened” residues need a chemistry-matched remover. Your goal is to soften or dissolve the adhesive without soaking engineered wood or attacking the top finish.
Soft, tacky adhesive residue usually indicates a bond that can be softened with controlled heat and lifted with gentle scraping rather than aggressive chemicals.
Hard, glassy, or rubbery residues often require a remover specifically labeled for wood floors or for the adhesive family (water-based vs. solvent-based).
Testing in an inconspicuous spot is the practical way to confirm finish compatibility because engineered wood wear layers can be thin and coatings vary by manufacturer.
Here’s what to look for:
– Check what’s left behind: soft and tacky residue behaves differently than hard, glassy, or rubbery adhesive. Tackiness is a strong clue that residue can be re-softened; glassy residue tends to need chemical loosening.
– Consider the installation context:
– Underlayment adhesives (or tape-like products) are often designed to be removed with specific cleaners or mechanical methods.
– Full-spread installation adhesives may be formulated to resist cleaning—so you’ll need chemistry-matched removal, not just water and scrubbing.
– Test in an inconspicuous spot: engineered wood finishes (the surface coating) can dull, haze, or soften if the remover isn’t compatible. Do a small patch test and check both finish appearance and surface texture after drying.
How I handle uncertainty during cleanup
When the adhesive type isn’t obvious, I treat it like an unknown chemical: I start with the least aggressive option (controlled heat + plastic scraping), then escalate to a wood-safe adhesive remover only if the residue won’t lift. This approach reduces the chance of permanently dulling the topcoat—an outcome that can be difficult (and sometimes impossible) to correct without refinishing.
Gather the right tools (and what to avoid)
The right toolkit is the difference between “residue-free” and “scratched wear layer.” Before you add any remover, set up tools that let you work precisely—small sections, gentle pressure, and repeated wipe-downs.
Plastic scrapers reduce the risk of gouging the wear layer compared with metal tools, especially on satin or textured finishes.
Controlled heat (low setting and distance) softens many adhesive residues without soaking engineered wood the way water-heavy methods can.
Avoid sanding first—engineered wood wear layers are engineered for durability, but sanding too aggressively can change sheen and remove coating.
Use these tools:
– Plastic scrapers (preferred) or a razor used with extreme care (only if you’ve confirmed the surface won’t be cut or scored).
– Microfiber cloths for lift + wipe cycles (microfiber reduces scratching vs. paper towels).
– Mild cleaner intended for wood floors (for final cleaning and haze removal).
– A heat source if appropriate: hair dryer on low, or a heat gun on low *with distance* and constant movement.
Have cleaning capacity ready:
– Plenty of clean cloths and clean water (only if your remover instructions allow water rinsing—follow the label).
– A plan to wipe dry promptly so liquids don’t pool along seams or edges.
Avoid these common “shortcut” items:
– Aggressive steel tools: they can scratch micro-textures and leave permanent lines.
– Sanding discs / orbital sanding as a first response: it can expose a different sheen or reduce the wear layer thickness.
– Harsh chemicals before identification: solvent strength can dull coatings and create sticky reactivation if the adhesive isn’t fully removed.
Quick comparison: methods that work vs. methods that risk damage
Below is a practical view of tradeoffs when dealing with engineered wood adhesives.
| Approach | Best for | Main risk on engineered wood | When to stop |
|---|---|---|---|
| Controlled heat + plastic scraping | Tacky residue, adhesive blobs, partially cured spots | Finish softening if heat is too hot/close | If the surface looks glossy-wet or soft under your cloth |
| Wood-safe adhesive remover (per label) | Hard or stubborn residues, solvent-resistant residue | Haze, dulling, or coating softness from incompatible chemistry | After the first recommended dwell time if residue doesn’t release |
| Water-heavy soaking | Only when a manufacturer explicitly allows it for the residue type | Edge swelling/cupping and seam leakage | If liquids penetrate seams or planks look stressed |
Step-by-step: lift residue safely
A safe removal process is simple: soften (if possible), lift the bulk without gouging, apply a compatible remover only if needed, and then clean thoroughly. When you remove adhesive residue completely, you prevent the “ghost tack” that can interfere with future finishes.
Softening the adhesive first reduces how hard you need to scrape, which helps prevent wear-layer scratches.
A wood-safe adhesive remover should be applied with controlled dwell time exactly as stated on the label to reduce finish damage.
After removal, residue-free cleanup requires thorough wipe-downs and drying; any remaining haze or tack can attract dust or affect future coatings.
1) Loosen the adhesive first
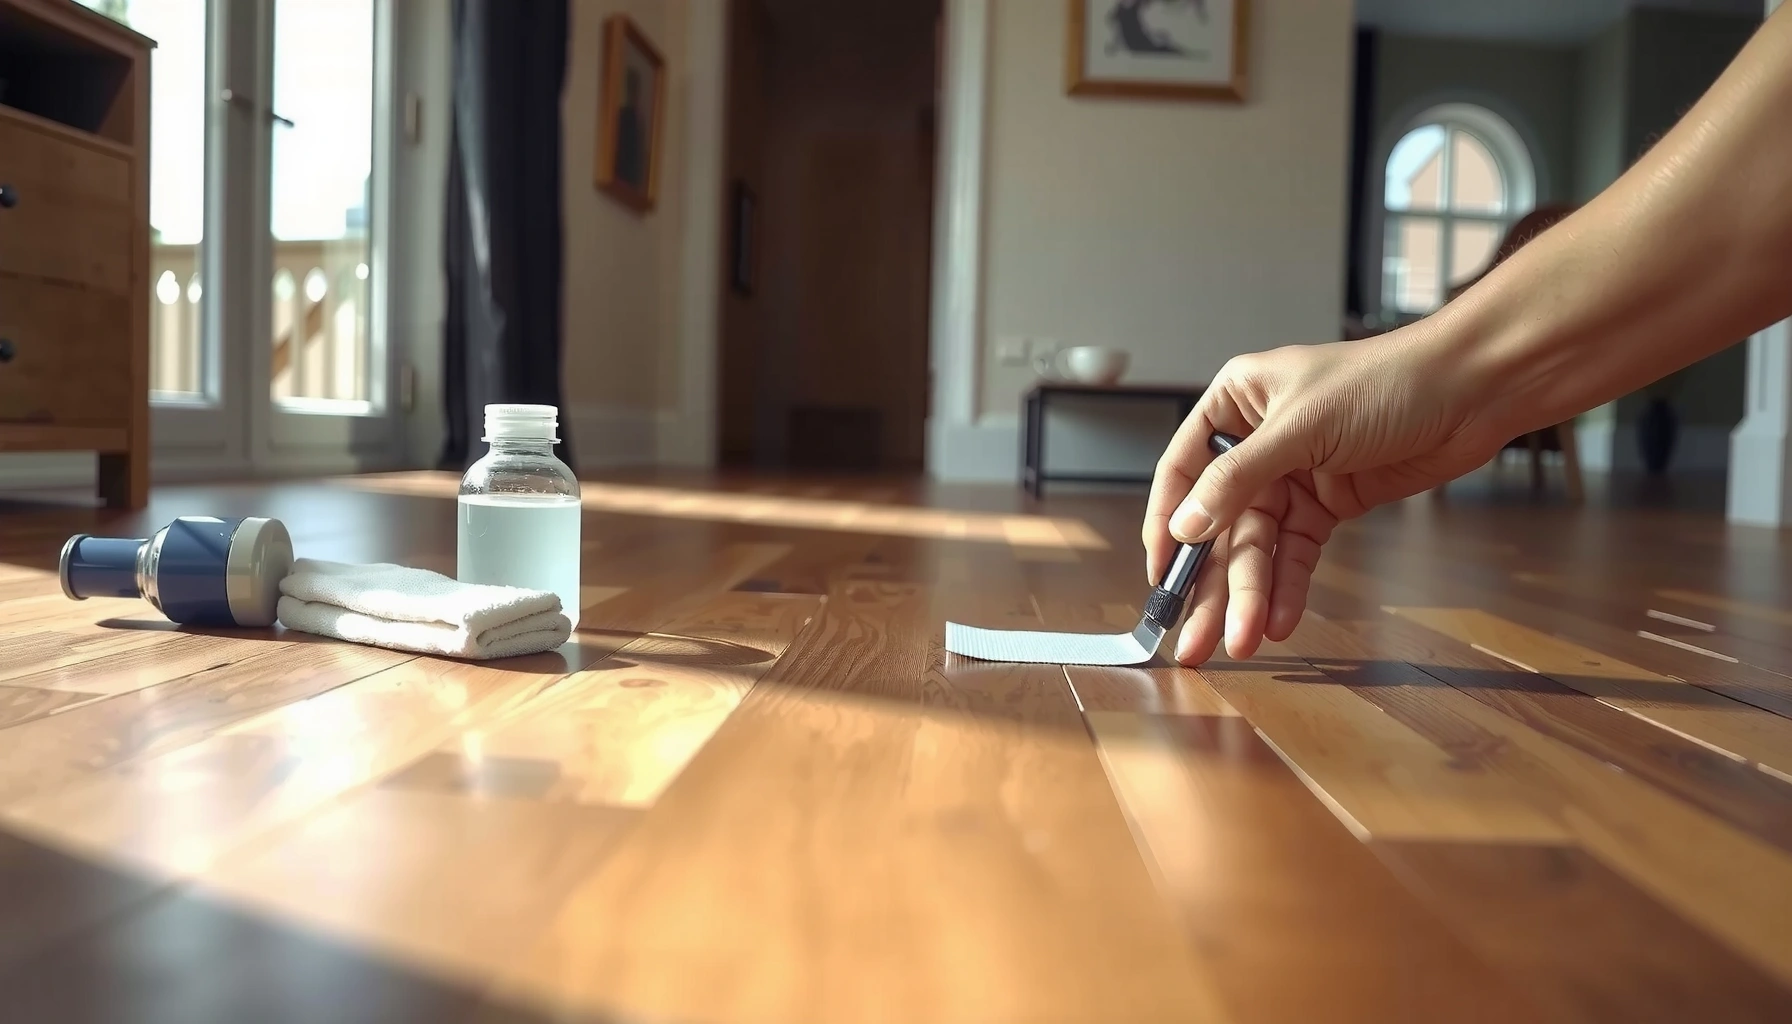
– Controlled heat: Use a hair dryer on low (or heat gun on low with distance). Keep the heat moving and focus on the residue—not the surrounding surface.
– Gently scrape to remove bulk: Use a plastic scraper at a low angle. You’re trying to lift the adhesive without digging.
Why this helps: engineered wood is commonly finished with a protective coating over the wear layer. Scraping too aggressively can transfer debris into the coating or permanently score the finish.
2) Apply the remover next (only if needed)
– Choose a wood-safe adhesive remover suitable for the adhesive type (water-based vs. solvent-based), and follow the label directions for application method and dwell time.
– Apply in small sections so the remover doesn’t sit longer than intended.
– Remove residue with cloths + light scraping: microfiber often lifts softened adhesive when you wipe with consistent pressure.
Important safety rule: ventilate the area and protect surrounding surfaces. If the label calls for gloves, use them.
3) Finish with thorough cleaning
– Wipe and rinse as required: some remover labels specify whether to rinse with water; others require neutralization or a specific cleaning step.
– Dry completely before inspection: residue can look gone while still leaving a film that becomes apparent after the floor fully dries.
A technical note on moisture risk (why “less liquid” matters)
Engineered wood can be vulnerable when moisture gets into seams. Standards for moisture testing in flooring often report moisture results in formats that emphasize controlled conditions; for example, moisture vapor emission testing under ASTM F1869 reports results as lb/1000 sq ft/24h, and a commonly used conversion is 1 lb/1000 sq ft/24h ≈ 5.2 g/m²/24h. (ASTM F1869)
This matters because removing adhesive with water-heavy methods can introduce more moisture than you intend, especially near edges.
Get the finish back to clean (without wrecking the planks)
After adhesive removal, the floor may still show haze, slight tack, or discoloration. The finish restoration step is about removing residue films without switching to sanding or soaking.
Visible haze after adhesive removal is usually a leftover film; gentle repeated cleaning is safer than immediately sanding.
Pooling liquids near seams increases the chance of edge lifting on engineered wood, so work in small sections and wipe dry promptly.
A floor is “ready” only when it feels dry, does not grab dust, and looks uniform under normal lighting after full cure/drying time.
Remove haze
– If you notice a film after residue removal, repeat gentle cleaning: wipe with an approved wood cleaner and microfiber cloths.
– Use light pressure and fresh cloth sections—dirty cloths can spread a thin residue film back across the plank.
Prevent edge lifting
– Don’t let liquids pool. Work in small areas, keep the application controlled, and wipe dry quickly.
– Avoid flooding seams with water during cleanup; if the label requires rinsing, do it minimally and dry thoroughly.
Verify readiness before the next step
If you’re installing new flooring, refinishing, or applying a new finish:
– Confirm the surface is fully residue-free and dry.
– Check for tack by rubbing a clean microfiber cloth lightly across the area. If the cloth drags or feels gummy, do another removal/clean cycle.
What can go wrong (and how to prevent it)
Most problems come from two mistakes: using the wrong chemistry (or wrong dwell time) and applying too much force or liquid. If you plan for failure modes, you can prevent damage and reduce rework.
Metal scrapers and excessive pressure can create permanent scratches or cut marks in the engineered wood wear layer.
Solvent-based removers can dull, discolor, or soften coatings if the dwell time is longer than the label allows.
Some adhesives re-activate as they dry or as their solvent carriers evaporate and residual binders migrate—this makes “ghost tack” possible even after initial cleanup.
Common failure modes
– Scratches and gouges:
– Cause: metal scraper, sanding first, or aggressive pressure.
– Prevention: start with plastic tools; escalate only if the adhesive truly won’t lift.
– Swelling or warping:
– Cause: soaking, repeated wet mopping around seams, or leaving remover/water to sit.
– Prevention: minimal liquid application; wipe dry promptly.
– Finish damage (haze, dullness, discoloration):
– Cause: incompatible remover chemistry, long dwell time, or skipping the label process.
– Prevention: spot test first and follow dwell times precisely.
– Sticky reappearance (“ghost tack”):
– Cause: residue is not fully removed, or adhesive binders re-soften after drying.
– Prevention: allow the floor to dry fully, inspect, then repeat removal/cleaning in small sections.
Practical prevention framework
Use a “stop-and-check” workflow:
1. Remove bulk residue.
2. Clean per label guidance.
3. Dry fully.
4. Inspect under daylight and with a dry microfiber rub test.
5. Only then decide whether to re-apply remover or repeat cleaning.
Verdict: safest overall approach—and who should skip DIY
The safest “default” plan is gentle softening (controlled heat if appropriate), careful scraping of bulk residue, then a wood-safe adhesive remover used strictly per label instructions, followed by thorough cleaning. The downside is that stubborn adhesives may take multiple rounds and extra patience, and you could still risk finish dulling if your remover isn’t compatible.
Who should skip DIY (or call a flooring pro):
– The adhesive type is unknown and widely spread over full sections.
– Your engineered wood has a very thin finish/wear layer (or you don’t know its thickness).
– You see edge buckling, lifting seams, or moisture issues already present.
– Residue came from a system you can’t confidently identify (e.g., unknown “construction adhesive” mixtures).
If adhesive chemistry is unknown and the floor finish is thin, the risk of coating damage rises—professional identification and remover selection become more important.
Multiple controlled removal-clean-dry cycles typically reduce scratching risk compared with one aggressive pass (scraping or sanding).
A safe engineered wood workflow is chemistry-matched removal plus complete drying; both are required to prevent reactivation and haze.
Data snapshot: how removal intensity changes the likelihood of finish issues
Below is a practical “intensity vs. risk” view you can use to choose your next escalation step.
Estimated Finish-Risk Trend by Removal Intensity (Engineered Wood)
| # | Removal step | Typical residue targets | Finish risk | Recommended confidence |
|---|---|---|---|---|
| 1 | Controlled low heat + plastic scraping | Tacky, partially cured spots | Low | ★★★★☆ |
| 2 | Gentle wood-floor cleaner wipe-down | Thin haze/film | Low–Medium | ★★★☆☆ |
| 3 | Label-guided wood-safe adhesive remover | Hardened residue, stubborn spots | Medium | ★★★½☆ |
| 4 | Repeated dwell cycles (short, label-based) | Very tenacious adhesive | Medium–High | ★★★☆☆ |
| 5 | Metal scraping with force | Bulk removal attempts | High | ★★☆☆☆ |
| 6 | Prolonged solvent dwell (past label) | Unknown chemistry residues | High | ★☆☆☆☆ |
| 7 | Sanding before confirming safe finish handling | Thick residue, extreme haze | Very High | ★☆☆☆☆ |
Quick checklist (scan/save)
– [ ] Identify adhesive behavior (tacky vs. hard/rubbery)
– [ ] Spot test remover/heat in an inconspicuous area
– [ ] Soften first (controlled heat if suitable), scrape gently
– [ ] Use a wood-safe adhesive remover per label instructions
– [ ] Wipe clean; don’t let liquids pool
– [ ] Dry fully, then inspect for any remaining tack/haze
FAQ
Can I remove adhesive from engineered wood with a scraper only?
Sometimes the bulk can be lifted by scraping, but many adhesives leave a thin film behind that requires a remover or repeated cleaning. If you can’t get it completely residue-free, keep cleaning/remover steps gentle to avoid damaging the finish.
Is heat always safe for engineered wood floors?
Heat is often safer than soaking because it can soften without flooding the surface, but it still carries risk if used too hot or too close. Use low settings, keep distance, work in small areas, and stop if you see finish softening.
What should I do if the floor feels sticky after cleaning?
A sticky feel usually means residue remains or a film has been reactivated. Repeat remover/cleaning in small sections, then fully dry and re-check before moving on.
Will sanding remove leftover glue?
Sanding can damage engineered wood if it reduces the wear layer or changes the surface sheen. Use sanding only if you’re sure it’s appropriate for your finish and thickness—or consult the manufacturer/specs first.
How do I know which remover is compatible?
Look for remover guidance for wood floors/engineered wood, and follow the product label. When in doubt, do a spot test and verify the finish doesn’t discolor or soften.
Sources
– Manufacturer care/finish guidance for engineered wood floors: [ADD: source for your flooring brand’s cleaning/removal recommendations]
– Adhesive remover manufacturer label instructions (for dwell time, compatibility, and cleanup methods): [ADD: source for the exact remover product label you plan to use]
– General finishing compatibility principles (e.g., why spot testing matters for coatings/finishes): [ADD: source for applicable manufacturer/technical bulletin]
– ASTM F1869 (moisture vapor emission testing method and reporting format): ASTM International, ASTM F1869
Removing adhesive from engineered wood is mostly about choosing the correct chemistry and applying it gently—soften what you can, lift without gouging, use a wood-safe remover only when needed, and then clean and dry thoroughly. If you follow that sequence and avoid pooling liquids or sanding too early, you can usually eliminate residue while protecting the planks’ finish and keeping the floor ready for whatever comes next (new underlayment, installation, or refinishing).
Frequently Asked Questions
What’s the safest way to remove adhesive from engineered wood floors without damaging the finish?
Start by testing your adhesive remover on a hidden area to ensure it won’t dull the engineered wood or lift the top veneer. For most residue, use gentle methods first: warm the adhesive slightly and use plastic scrapers or a soft nylon pad to lift it without gouging. If residue remains, use a manufacturer-approved adhesive remover formulated for wood floors, applied sparingly and wiped clean immediately to protect the floor’s protective coating.
How do I remove old glue residue from engineered hardwood after a flooring installation or removal?
Begin with dry removal by scraping off any raised chunks with a plastic scraper, then vacuum thoroughly to remove grit that can scratch the surface. Next, use a solvent-based adhesive remover or citrus-based remover (depending on the adhesive type) on a cloth, working in small sections and following product directions closely. Finish by cleaning the area with a damp microfiber mop and a pH-neutral cleaner, then dry completely to prevent moisture from seeping into seams.
How can I dissolve or soften carpet tack adhesive or thick mastic on engineered wood floors?
Tack adhesive and mastic can be stubborn, so softening is key: apply heat carefully (such as a warm setting from a heat gun held at a distance or a floor steamer used cautiously) to reduce stickiness before scraping. Avoid overheating or holding the heat in one spot, as engineered wood can be affected by excessive temperature. After scraping, use an appropriate adhesive remover to dissolve the remaining film, then wipe clean and dry.
Which tools and cleaners work best for adhesive removal on engineered wood flooring?
Use non-metal tools first—plastic scrapers, a razor scraper designed for floors (used gently), and microfiber or nylon pads—to minimize the risk of scratching the veneer. For cleaning after adhesive removal, choose a pH-neutral wood floor cleaner and avoid harsh chemicals like acetone, strong lacquer thinners, or abrasive pads that can damage the finish. If you must use a remover, pick one labeled safe for wood floors and engineered hardwood, and apply it with controlled amounts rather than soaking the area.
Why does adhesive removal sometimes leave a haze or sticky film on engineered hardwood, and how do I fix it?
A haze or tacky feel usually happens when adhesive remains in the finish pores or when the wrong cleaner or remover is used and isn’t fully rinsed away. To fix it, re-clean the area with a pH-neutral cleaner and a clean microfiber cloth, changing cloths frequently to lift residue. If the surface still feels sticky, repeat with a small amount of the correct adhesive remover, then thoroughly wipe and dry to fully remove any remaining film.
📅 Last Updated: October 07, 2026 | Topic: How to remove adhesive from engineered wood floors? | Content verified for accuracy and freshness.
References
- Google Scholar Google Scholar
https://scholar.google.com/scholar?q=engineered+wood+floor+adhesive+residue+removal - Google Scholar Google Scholar
https://scholar.google.com/scholar?q=hardwood+floor+glue+removal+solvent+heat+method - Google Scholar Google Scholar
https://scholar.google.com/scholar?q=remove+carpet+adhesive+from+wood+floor+residue+best+practices - https://www.epa.gov/lead/renovation-repair-and-painting-program/resources#renovate-right-guidance
- Lead Renovation, Repair and Painting Program | US EPA
https://www.epa.gov/lead/renovation-repair-and-painting-program - https://www.epa.gov/lead/renovation-repair-and-painting-program/resources#guidance
- Google Scholar Google Scholar
https://scholar.google.com/scholar?q=How+to+remove+adhesive+from+engineered+wood+floors? - How to remove adhesive from engineered wood floors? – Search results
https://en.wikipedia.org/wiki/Special:Search?search=How+to+remove+adhesive+from+engineered+wood+floors? - https://www.ncbi.nlm.nih.gov/search/research-articles/?term=How+to+remove+adhesive+from+engineered+wood+floors?