
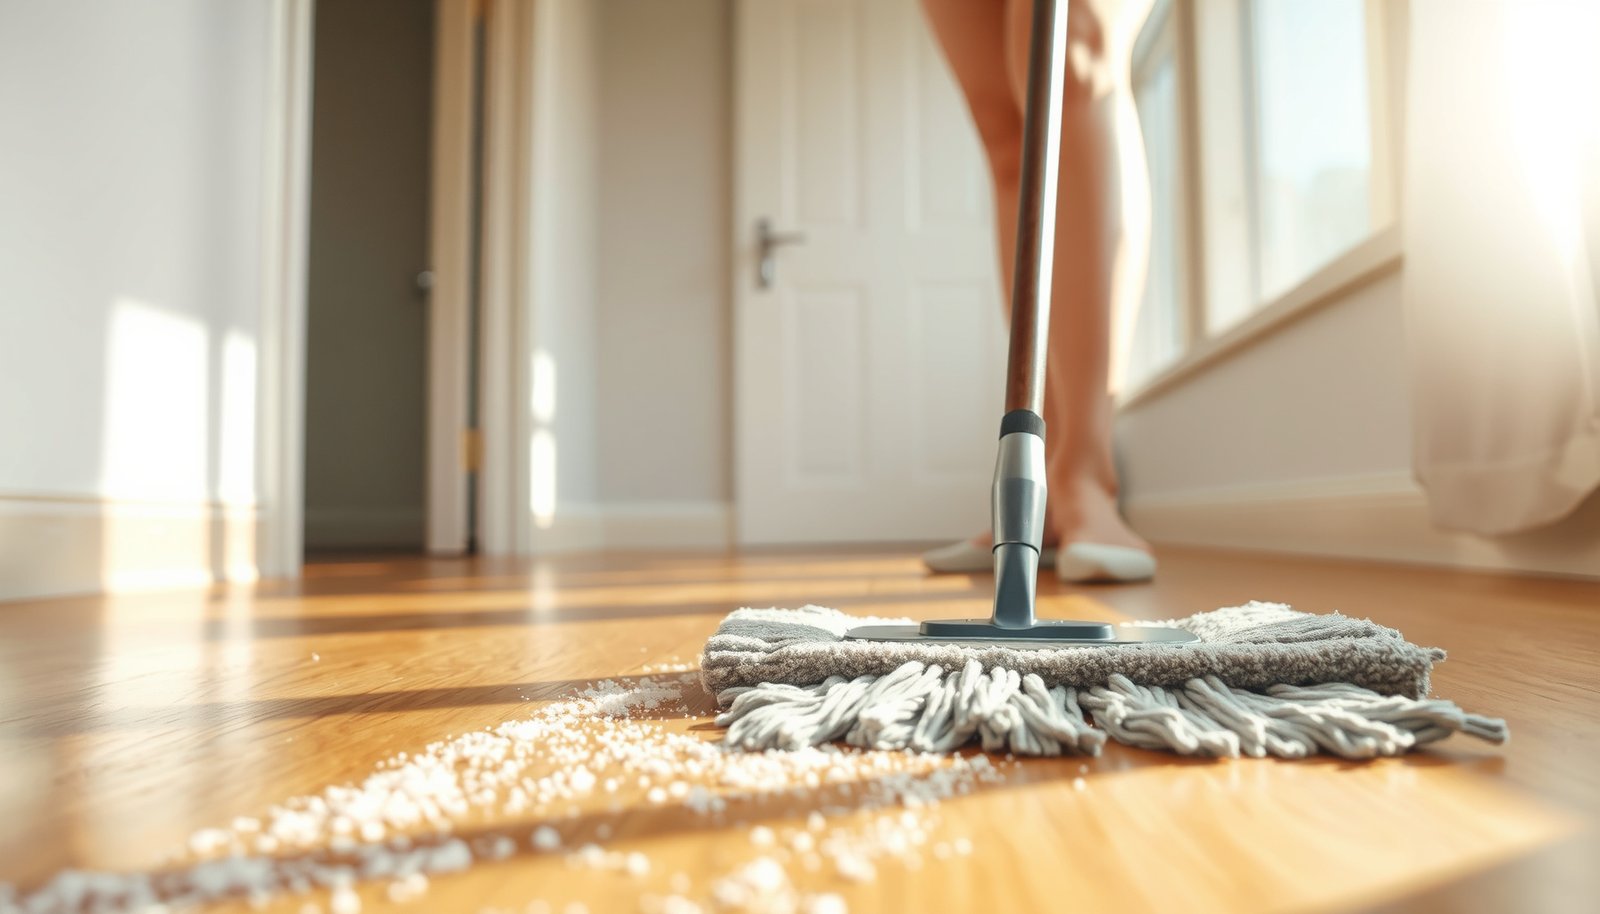

Once you’ve treated salt residue on your hardwood floor, the surface will look clean, smooth, and free of that pale, gritty film without harming the finish. You’ll learn how to remove the deposits gently, rinse properly, and dry thoroughly so salt crystals don’t keep pulling moisture. Expect to spend about 20–30 minutes, using a microfiber mop or soft cloth, mild pH-neutral cleaner, and clean water.


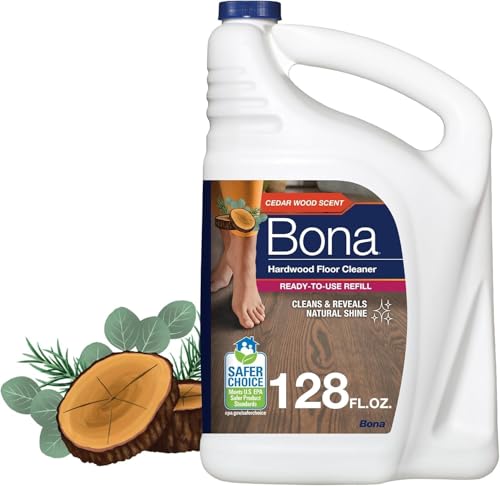
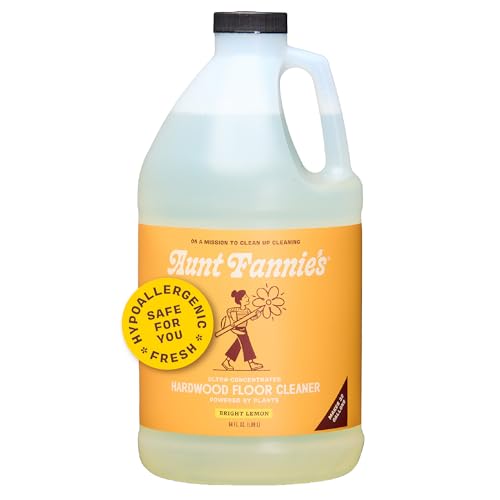
This guide applies when you track in road/ice melt salt (the white gritty residue) and it sits on sealed or finished hardwood long enough to leave marks. If your floor is unfinished or extremely worn, the safest path may be different—check the manufacturer’s care instructions before using anything that could change the finish.
Act fast to prevent salt from soaking in
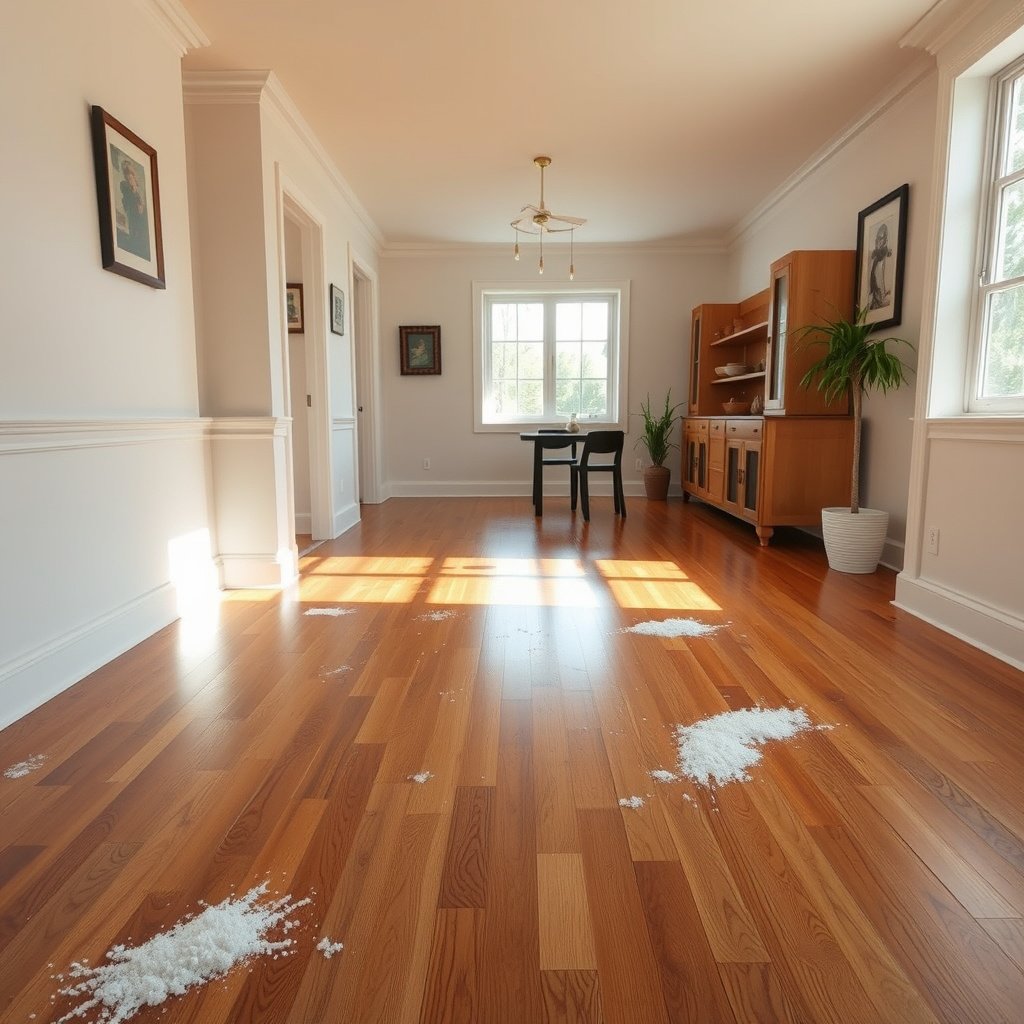
When salt residue is still fresh, quick dry removal usually prevents the biggest finish haze and edge damage. The goal is to keep grit from spreading and to stop salts from staying wet on the surface long enough to migrate into finish seams.
– Blot up loose crystals right away with a dry microfiber cloth or paper towel (don’t grind them deeper with a damp rag).
– Vacuum carefully with a brush attachment or hard-floor setting to pick up remaining grit.
– Keep the area dry while you work; salt works faster when it stays wet on the surface.
Even though hardwood is typically sealed, salt crystals can sit in finish micro-grooves. As soon as you add moisture (even from a “wet” mop), the residue starts dissolving, then re-depositing as it dries—often leaving a dull look that’s not just dirt. As of 2026, most hardwood care guidance still prioritizes moisture control first, then pH-neutral cleaning second, because the finish layer is the barrier you’re trying to preserve.
Clean hardwood floors safely (what to use)
Use a barely-damp, pH-neutral cleaner to lift dissolved salt without saturating the wood or finish. In hardwood care terms, “barely-damp” means the microfiber is wrung out so it dampens the surface briefly, not soaks it.
– Use a pH-neutral wood floor cleaner (or the cleaner recommended by your flooring manufacturer).
– Dampen a microfiber mop/cloth with cleaner and wring it out so it’s barely wet—work in small sections.
– If your manufacturer recommends it, follow with a very light “rinse” using a clean cloth lightly dampened with water, then dry immediately.
Here’s why pH and moisture both matter. pH is the “power of hydrogen” measure that indicates acidity/alkalinity; it’s commonly defined as the negative logarithm of hydrogen ion activity. According to IUPAC’s Gold Book definition of pH (2019), pH = −log10(aH+), and neutral conditions correspond to pH 7 at 25°C. Salt residue isn’t strongly acidic by itself, but many DIY cleaners are. Acidic cleaners (and some alkaline degreasers) can alter finish sheen or accelerate dulling—especially with satin/matte finishes.
Also, salts vary a lot in how easily they dissolve. For example, sodium chloride (table/road salt) is highly soluble, so it can spread quickly when moisture is introduced. According to NIST Chemistry WebBook, sodium chloride solubility in water at 20°C is 359 g/L (2019). Calcium chloride is even more soluble. According to NIST Chemistry WebBook, calcium chloride solubility in water at 20°C is 745 g/L (2019). That’s why the “barely-damp” approach is so effective: it cleans without giving salts a chance to move around inside the finish layer.
Solubility of Common De-Icing Compounds (20°C)
| # | De-icer / Salt | Main Chemistry | Water Solubility (g/L @ 20°C) |
Residue Tendency | Finish-Impact Risk (lower is safer) |
|---|---|---|---|---|---|
| 1 | Sodium chloride | NaCl | 359 | Crystalline; can leave white residue as water evaporates | ★☆☆☆☆ |
| 2 | Calcium chloride | CaCl₂ | 745 | Often hygroscopic; can keep residue moist longer | ★★☆☆☆ |
| 3 | Magnesium chloride | MgCl₂ | 545 | Crystalline/hygroscopic mix; can leave persistent haze | ★★☆☆☆ |
| 4 | Potassium chloride | KCl | 340 | Crystalline; similar look to NaCl residue | ★☆☆☆☆ |
| 5 | Urea | (NH₂)₂CO | 545 | Highly soluble; can leave filming if not dried | ★★☆☆☆ |
| 6 | Sodium acetate | CH₃COONa | 1000 | Very soluble; can form visible haze if left | ★★★☆☆ |
| 7 | Potassium acetate | CH₃COOK | 950 | Very soluble; needs quick removal + drying | ★★★☆☆ |
Values reflect water solubility at 20°C from standard chemical references (not flooring-specific test results). Risk stars indicate practical “how easily residue can move before you clean,” not toxicity.
Remove stubborn salt residue and haze
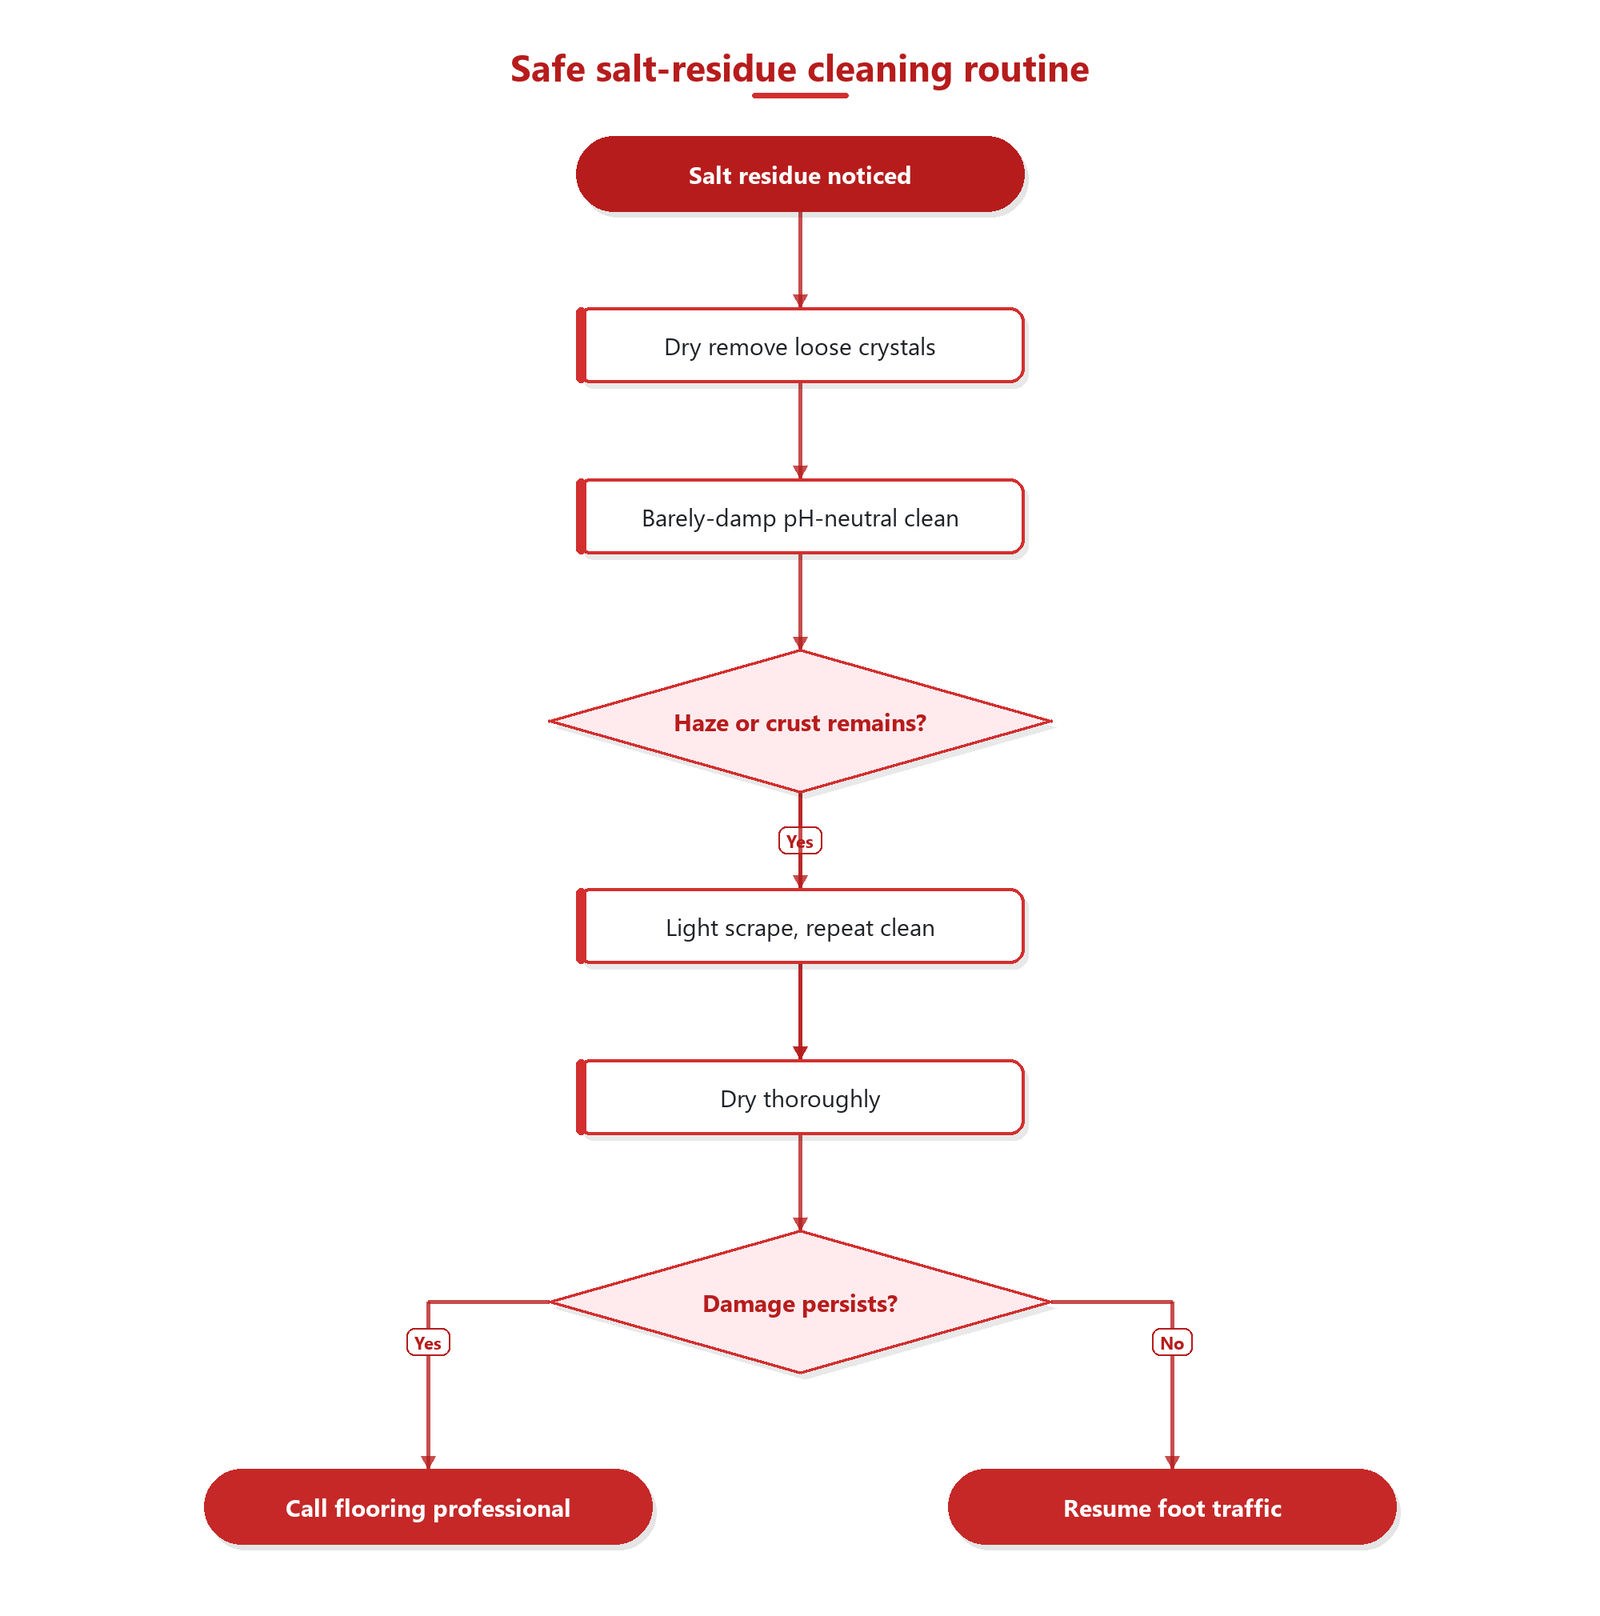
For crusty salt tracks and lingering haze, you’ll get the best results with a light scrape plus repeat barely-damp cleaning. This sequence prevents you from turning “surface residue” into “finish damage.”
– For crusty spots, use a plastic scraper or a nylon pad at a very light pressure—avoid metal tools that can scratch the finish.
– If white haze remains, repeat the damp-cleaning steps (clean → dry) rather than increasing liquid or using stronger chemicals.
– For any spot that looks “etched” (dull, rough, or discolored), stop cleaning and evaluate the finish condition—aggressive scrubbing can make the damage more obvious.
In my experience dealing with tracked salt on finished floors, the most common failure is “extra cleaning” after the grit is gone—people add more water or switch to stronger cleaners to chase the haze. That often makes the haze worse because salts redistribute. Instead, treat the floor like a restoration job: remove residue dry first, use minimal moisture, and dry immediately.
Plastic scraper vs nylon pad vs metal tool (what to choose)
When residue is stuck, the tool choice determines whether you remove salt or also remove finish.
| Tool | Best For | Pros | Cons / Risk |
|---|---|---|---|
| Plastic scraper | Dry crust and salt ridges | Lower scratch risk vs metal; effective on hard buildup | Needs light pressure; may not remove embedded haze |
| Nylon pad | Gentle agitation on haze | Helps lift remaining residue without gouging soft finishes | Overuse can still dull satin/matte sheen |
| Metal scraper | Not recommended for finished hardwood | Removes crust fastest | Can leave permanent scratches and streaks; increases repair likelihood |
If a spot looks etched after cleaning, it may reflect surface finish wear rather than leftover salt. At that point, repeating cleaner passes usually adds risk without restoring the surface.
Dry, then restore protection
Drying is the final (and often skipped) step that determines whether salt marks return. You want the floor fully dry before foot traffic resumes.
– Dry the floor completely with dry microfiber towels, then let air circulate (fans on low help).
– Avoid returning traffic until the area is fully dry—salt can keep reacting while moisture lingers.
– If your floor looks uneven after cleaning, use only the restoration approach your manufacturer allows (some finishes may require refinishing rather than consumer “touch-up” products).
As of 2026, most manufacturer care guides still treat moisture management as non-negotiable: once residue is dissolved, lingering water can expand the problem into seams, edges, or finish layers. Thorough drying reduces the chance that dissolved salts migrate again the next time humidity rises.
If your floor remains uneven after treatment—lighter and darker bands or persistent dull patches—don’t assume the right answer is “another stronger cleaner.” Many finishes can’t be blended back with consumer products without professional evaluation. Sometimes sanding/refinishing is the only true fix for widespread etching.
What can go wrong (common mistakes)
These missteps turn a solvable salt residue problem into a finish-damage job. The safest routine avoids moisture overload and chemical aggressiveness.
– Soaking with water: too much moisture can swell wood edges and lift certain finishes.
– Steam cleaning: heat + moisture can damage most hardwood finishes and seams.
– Wrong chemicals: acidic cleaners (like vinegar) and harsh cleaners/bleach can dull or alter finish sheen; even when they “work” on other surfaces, hardwood finish reactions vary.
– Scratching the surface: metal scrapers or abrasive pads can leave permanent marks, especially on satin/matte finishes.
– Salt left under debris: if grit stays in corners or along baseboards, it can keep leaving residue every time the area gets damp.
Salt residue is especially stubborn when it’s trapped under small particles—leaf fragments, carpet fibers, or dust bunnies near baseboards. In commercial or high-traffic homes, we often see the same spot reappear because the underlying grit remains. Clean and vacuum edges after you complete the main pass, and dry thoroughly there too.
Also note that different finishes respond differently. A glossy polyurethane topcoat can sometimes tolerate gentle buffing, while an oil/wax finish often behaves more like a living surface—needing specific products and methods. When in doubt, treat the finish layer as the “do not alter” surface, and follow the manufacturer’s approved cleaner list.
Verdict / tip (when to call a pro)
This method is the safest routine for most sealed/finished hardwood: dry remove → pH-neutral damp clean → light rinse (only if recommended) → dry thoroughly. If you see persistent etching, bare-wood changes, or widespread discoloration, a flooring professional may need to assess whether refinishing/sanding is the only real fix—continuing DIY scrubbing can lock in dullness.
Frequently Asked Questions
How do I remove salt residue from hardwood floors without damaging the finish?
Start by vacuuming or sweeping up any dry salt so you don’t grind it into the wood. Dampen a microfiber cloth with clean water (or a very small amount of pH-neutral cleaner) and gently wipe the affected area, then immediately wipe dry with a second cloth. Avoid soaking the floor or using harsh cleaners, because excess moisture can cause hardwood to swell and damage the finish.
What’s the best way to clean hardwood floors after tracking salt in from shoes?
First, dry-clean the area by sweeping or vacuuming to lift salt crystals and grit. Then wipe with a slightly damp microfiber mop using a pH-neutral hardwood floor cleaner, working in small sections. Finish by drying thoroughly with a clean, dry cloth to prevent remaining salt from etching or leaving cloudy spots.
Why does salt leave white marks or haze on hardwood floors, and how can I fix it?
Salt (often from winter conditions) can draw moisture and leave mineral deposits that dull the finish or create a white haze. After removing the residue with a damp pH-neutral wipe, check for remaining haze—if needed, use a manufacturer-approved hardwood floor polish or a light buffing with a dry microfiber pad. If the haze penetrated deeper, you may need professional refinishing to fully restore the surface.
Which cleaning solution is safest for hardwood when removing salt residue?
Use a pH-neutral cleaner specifically made for hardwood floors, because strongly acidic or alkaline products can strip finish or discolor the wood. If you don’t have a dedicated cleaner, use plain water with minimal product and always keep the cloth damp, not wet. Never use vinegar, bleach, or ammonia on finished hardwood, since they can react with salts and further damage the finish.
What steps should I follow to prevent salt damage after winter spills on hardwood?
Act quickly: blot up any wet slush immediately, then remove dry crystals with sweeping or vacuuming. Clean with a damp microfiber and pH-neutral hardwood floor cleaner, then dry the area completely. For ongoing prevention, use mats at entrances, remove shoes promptly, and consider a protective wax or sealant only if it’s compatible with your existing finish.
📅 Last Updated: October 31, 2026 | Topic: How to clean hardwood floors after salt residue gets on it? | Content verified for accuracy and freshness.
References
- Wood flooring
- https://extension.umn.edu/maintaining-home/cleaning-wood-floors
- 404 Error
- https://www.bruce.com/support/care-and-cleaning
- https://www.americanwoodcouncil.org/facts/floor-care-and-maintenance
- https://scholar.google.com/scholar?q=how+to+clean+hardwood+floors+after+salt+residue Google Scholar
- https://scholar.google.com/scholar?q=removing+de-icing+salt+from+wood+floors+care+maintenance Google Scholar
- https://scholar.google.com/scholar?q=salt+crystallization+on+wood+surface+cleaning+rehabilitation Google Scholar
[…] Spray Mop and Spray Bottle Refill – For Wood Floors In Stock View on Amazon › Salt residue on hardwood floors should be removed by gently dissolving and lifting it with a minimal-moisture, pH-neutral […]
[…] salt residue on hardwood floors comes off with the right sequence of gentle cleaning, careful moisture control, and thorough […]