
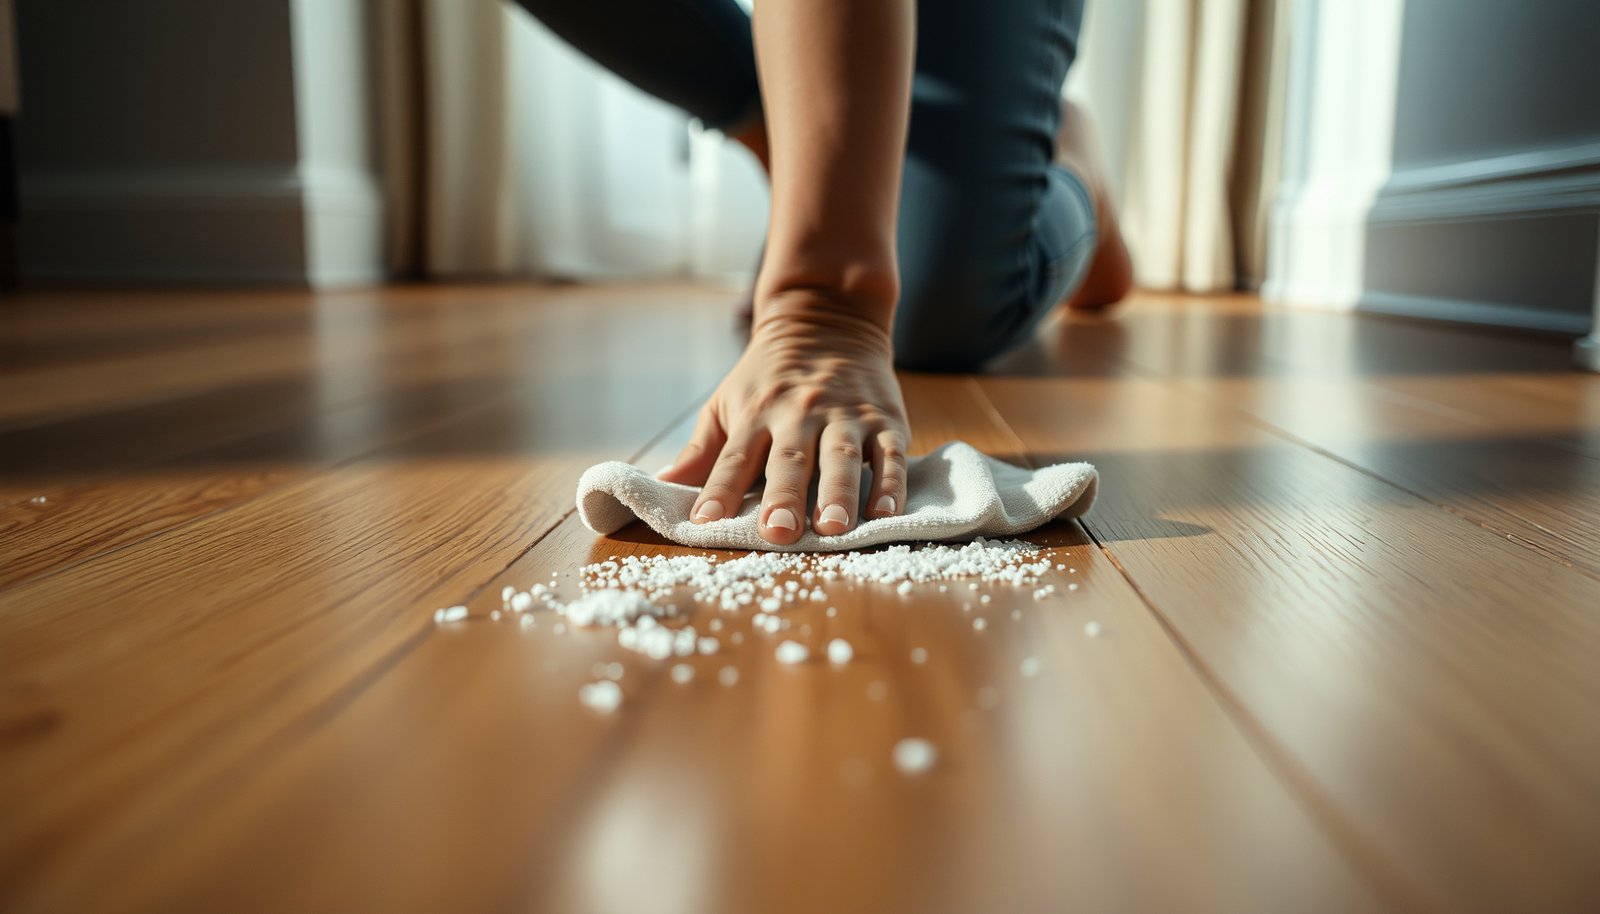

To clear salt residue from hardwood floors, rinse and neutralize the affected area without soaking the wood, then dry thoroughly to prevent warping and cloudiness. With the right supplies—distilled water, a soft microfiber mop or cloth, pH-neutral cleaner, and clean towels—you can usually finish the process in about 20 to 40 minutes per room. Start now so the film lifts cleanly and your floors keep their finish.




Salt residue on hardwood floors is typically white, crusty deposits or cloudy rings left behind after ice melts. Clear it safely by dry-removing loose crystals first, then gently wiping with a lightly damp microfiber (use a wood-floor–safe, pH-neutral cleaner only if needed), finishing with a clean-water wipe and immediate drying—because soaking can swell wood and damage the finish.
If you’ve tracked in salted snow or dealt with a recent spill near an exterior door, this guide helps you strip the salt without turning it into a recurring spotting or haze problem. You’ll follow a safer order of operations (dry → damp clean → rinse/wipe → dry), and you’ll also learn what to do if the residue keeps coming back in 2026.
Quick triage: identify loose salt vs. finish clouding
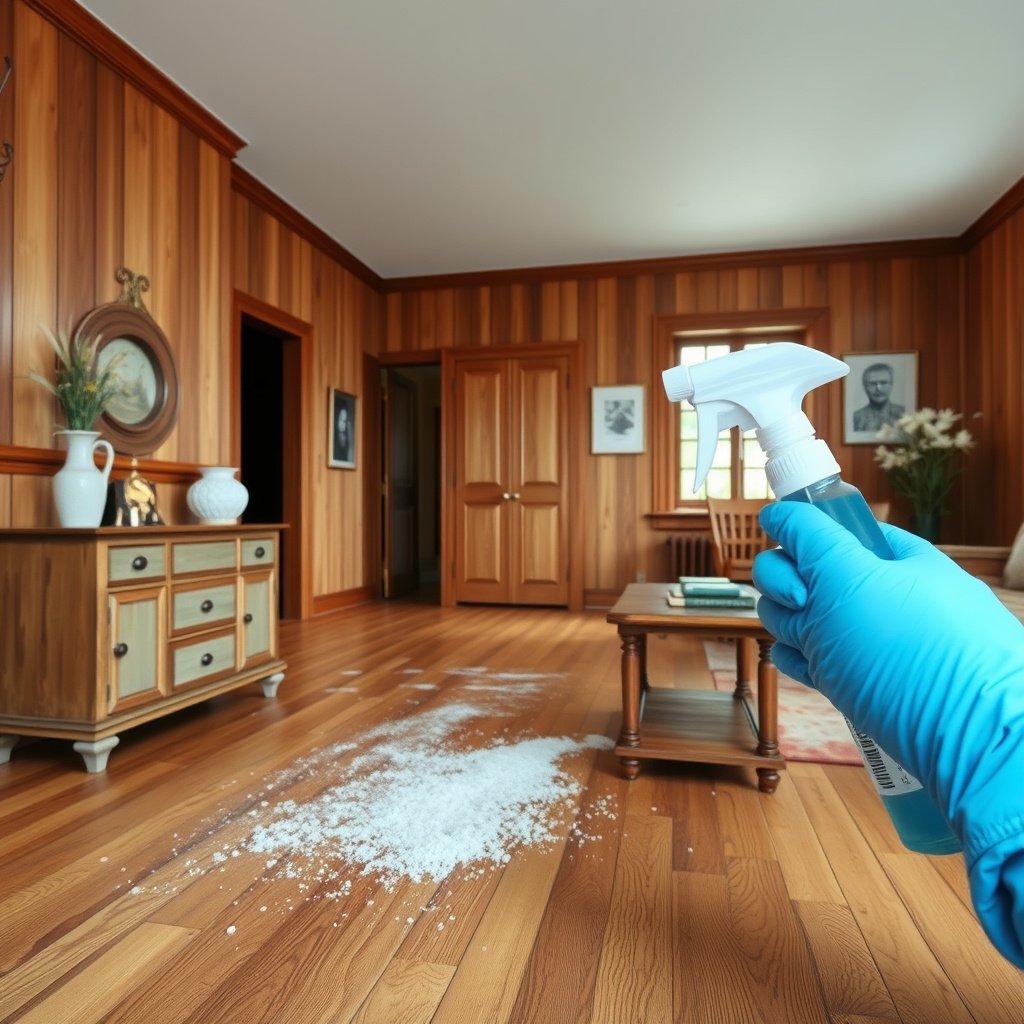
The fastest way to prevent extra damage is to identify whether you’re dealing with removable salt crystals or a haze that’s already linked to finish/mineral issues. Start with dry removal and vacuuming; if the surface feels gritty, treat it as salt first rather than reaching for stronger cleaners.
– Look for crusty white deposits (salt) versus haze/cloudiness (often finish damage or mineral residue left behind).
– Start by dry-removing anything loose: wipe with a dry microfiber and vacuum with a soft brush (no aggressive scraping).
– If the spot feels gritty, treat it as salt first—don’t jump straight to strong cleaners.
Why this matters (and why the “feel” test helps): salt residue is usually water-soluble, so the first goal is to remove loose crystals and prevent them from dissolving deeper into the finish when you add moisture. Cloudiness, on the other hand, can come from micro-dulling, detergent/cleaner residue, or minerals remaining after water evaporates. That’s why your first pass should be dry.
Practical note (as of 2026): many modern hardwood finishes are polyurethane, aluminum-oxide, or water-based coatings, but they still vary in water tolerance. The triage step helps you choose whether you can stay in “damp microfiber only” mode—or whether you need gentler, rinse-forward cleaning to avoid worsening haze.
Step-by-step: remove salt residue without soaking wood
The safest removal method is controlled moisture: damp cloth, short sections, rinse wipe, and immediate drying. This approach clears dissolved salts while reducing the risk of swelling in seams and edges, which is the most common “why did my floor get worse?” failure mode.
– Wipe the area with a lightly damp microfiber cloth (water only at first) and work small sections.
– Use a wood-floor–safe, pH-neutral cleaner only if water alone won’t lift the residue; follow the product’s label instructions exactly.
– After cleaning, do a second wipe with clean water to remove any cleaner residue, then dry immediately with a fresh, dry cloth.
What “lightly damp” means in real terms
Use a microfiber that’s damp enough to pick up residue, not one that’s leaving puddles or streaking. In practice, you should be able to lift the cloth and see almost no dripping. If you’re wringing the cloth and still getting water trails, you’re already over the line for most hardwood finishes.
Why repeated gentle wipes beat one aggressive wet pass
A key chemical reality helps explain the technique: many de-icer salts dissolve readily, but only if you give them enough contact time and then remove the resulting brine/mineral film. For example, salt compounds vary widely in water solubility at room temperature:
– Sodium chloride (table salt) dissolves about 36 g per 100 g of water at 20°C (CRC Handbook of Chemistry and Physics—aqueous solubility data (de-icing salt composition reference))
– Calcium chloride dissolves about 74.5 g per 100 g of water at 20°C (CRC Handbook of Chemistry and Physics—aqueous solubility data)
– Even when the salt dissolves, moisture must be removed promptly to prevent mineral haze as water evaporates (U.S. Forest Products Laboratory, Wood Handbook—moisture effects and dimensional stability principles)
So the goal isn’t “flood and dissolve”; it’s “dissolve, then wipe away, then dry.”
Water Solubility of Common De-Icer Salts (20°C) & Expected Cleanability
| # | De-icer / residue salt | Main chloride/compound | Solubility (g per 100 g H₂O, 20°C) | Ease of removal* |
|---|---|---|---|---|
| 1 | Urea | CO(NH₂)₂ | 545 | ★★★★★ |
| 2 | Calcium chloride | CaCl₂ | 74.5 | ★★★★★ |
| 3 | Ammonium sulfate | (NH₄)₂SO₄ | 76.4 | ★★★★★ |
| 4 | Magnesium chloride | MgCl₂ | 54.3 | ★★★★☆ |
| 5 | Sodium acetate | CH₃COONa | 76.0 | ★★★★★ |
| 6 | Sodium chloride | NaCl | 36.0 | ★★★☆☆ |
| 7 | Potassium chloride | KCl | 34.2 | ★★★☆☆ |
Ease of removal here is an operational estimate based on relative water solubility at 20°C: higher solubility generally means salt lifts more easily with damp, rinse-forward wiping. Solubility values are from standard reference solubility tables compiled in chemistry handbooks.
How to handle stubborn deposits and rings
The quickest way to beat stubborn residue is to repeat gentle damp wipes rather than soaking or scrubbing hard. Rings and persistent haze usually mean minerals or cleaner residue is still on the surface, so you need more removal passes plus complete drying.
– Re-wet the microfiber (not the floor) and repeat gentle wipes; salt often needs multiple passes to lift.
– If residue remains, use a single, careful test spot first and only proceed if the finish looks unchanged.
– For ring-like haze, the key is often removing what’s left behind (salt/minerals) and then fully drying—persistent haze may require professional refinishing rather than more wet cleaning.
A controlled test spot prevents “bigger-than-the-problem” damage
Choose an inconspicuous area (or a hidden section near furniture) and try the next step: damp water wipe → optional pH-neutral cleaner wipe (per label) → clean-water wipe → dry. If you see additional cloudiness after drying, stop. That’s your signal the finish is being affected or the residue is deeper than surface salt.
Why rings form even after the salt “looks gone”
When dissolved salts get left behind as water evaporates, they can create a higher-mineral concentration at edges of the cleaned area. That produces visible rings, especially under strong light. This is why the rinse-style clean-water wipe and immediate drying are not optional.
From practical field patterns, the recurring theme is moisture management: the longer residue sits wet, the more it has time to redistribute.
Drying and protecting the finish after cleaning
The final step determines whether the cleanup holds or reverts: dry thoroughly right away. After removing salts, complete drying reduces the chance that any remaining minerals migrate as moisture evaporates.
– Dry thoroughly right away: fan/airflow can help, but avoid blasting the floor with intense heat.
– Keep foot traffic off until completely dry; salt can reappear as minerals migrate as water evaporates.
– If your floor is waxed/maintained with a specific system, match what your floor’s care instructions recommend—don’t introduce incompatible cleaners or polishes.
Use airflow, not heat extremes
Fans are generally safer than heaters because they accelerate evaporation without pushing finish temperatures into a range that can soften certain coatings. If you’re using a fan, direct airflow toward the area without aiming a concentrated stream that could dry one edge dramatically faster than the center (which can visually emphasize micro-streaks).
Protect the entry points (prevention beats correction)
If this happened once, it will likely happen again—especially on exterior-door paths. Place washable mats at entryways, use “wipe-off” shoe routines, and remove tracked snow quickly. That reduces both the salt amount and the time salts stay in place.
What can go wrong (and how to prevent it)
The most common failure is treating salt as a “mop and scrub” problem, which introduces excess moisture and leftover residue. Use the damp-not-wet principle, avoid aggressive chemicals, and prioritize clean-water wiping and drying.
– Over-wetting the floor: Flooding or leaving cloths soaked can seep into joints and cause swelling—keep everything damp, not wet.
– Harsh acids/“descalers”: Some chemical products can dull or damage finishes (and may react unpredictably on different coatings). Stick to pH-neutral, wood-floor–safe options.
– Scraping residue: Sharp scraping can leave permanent scratches in hardwood and can also grind salt deeper into the finish.
– Skipping the clean-water wipe: Cleaner left behind can contribute to streaking or haze; a rinse-style wipe helps reduce this.
– Unfinished or oil-worn floors: Salt can penetrate more easily. If your hardwood has an unfinished surface, stop and check the manufacturer’s guidance before using any cleaner.
Quick pros/cons comparison: “cleaner-based” vs “wipe-and-rinse only”
- Wipe-and-rinse only (damp microfiber + clean water):
- Pros: Lowest finish risk; best starting point when residue is fresh or surface-level. Cons: May require multiple passes if salts have dried or built up.
- Wood-floor–safe pH-neutral cleaner + rinse wipe:
- Pros: Helps lift residue when water alone can’t remove haze or grime films. Cons: Incorrect product choice or inadequate rinse can leave cleaner residue that looks like haze.
Verdict / tip: the safest approach (and who should stop)
The most reliable method is: dry remove → lightly damp clean → clean-water wipe → immediate dry. This minimizes finish damage while lifting salts so they don’t keep migrating.
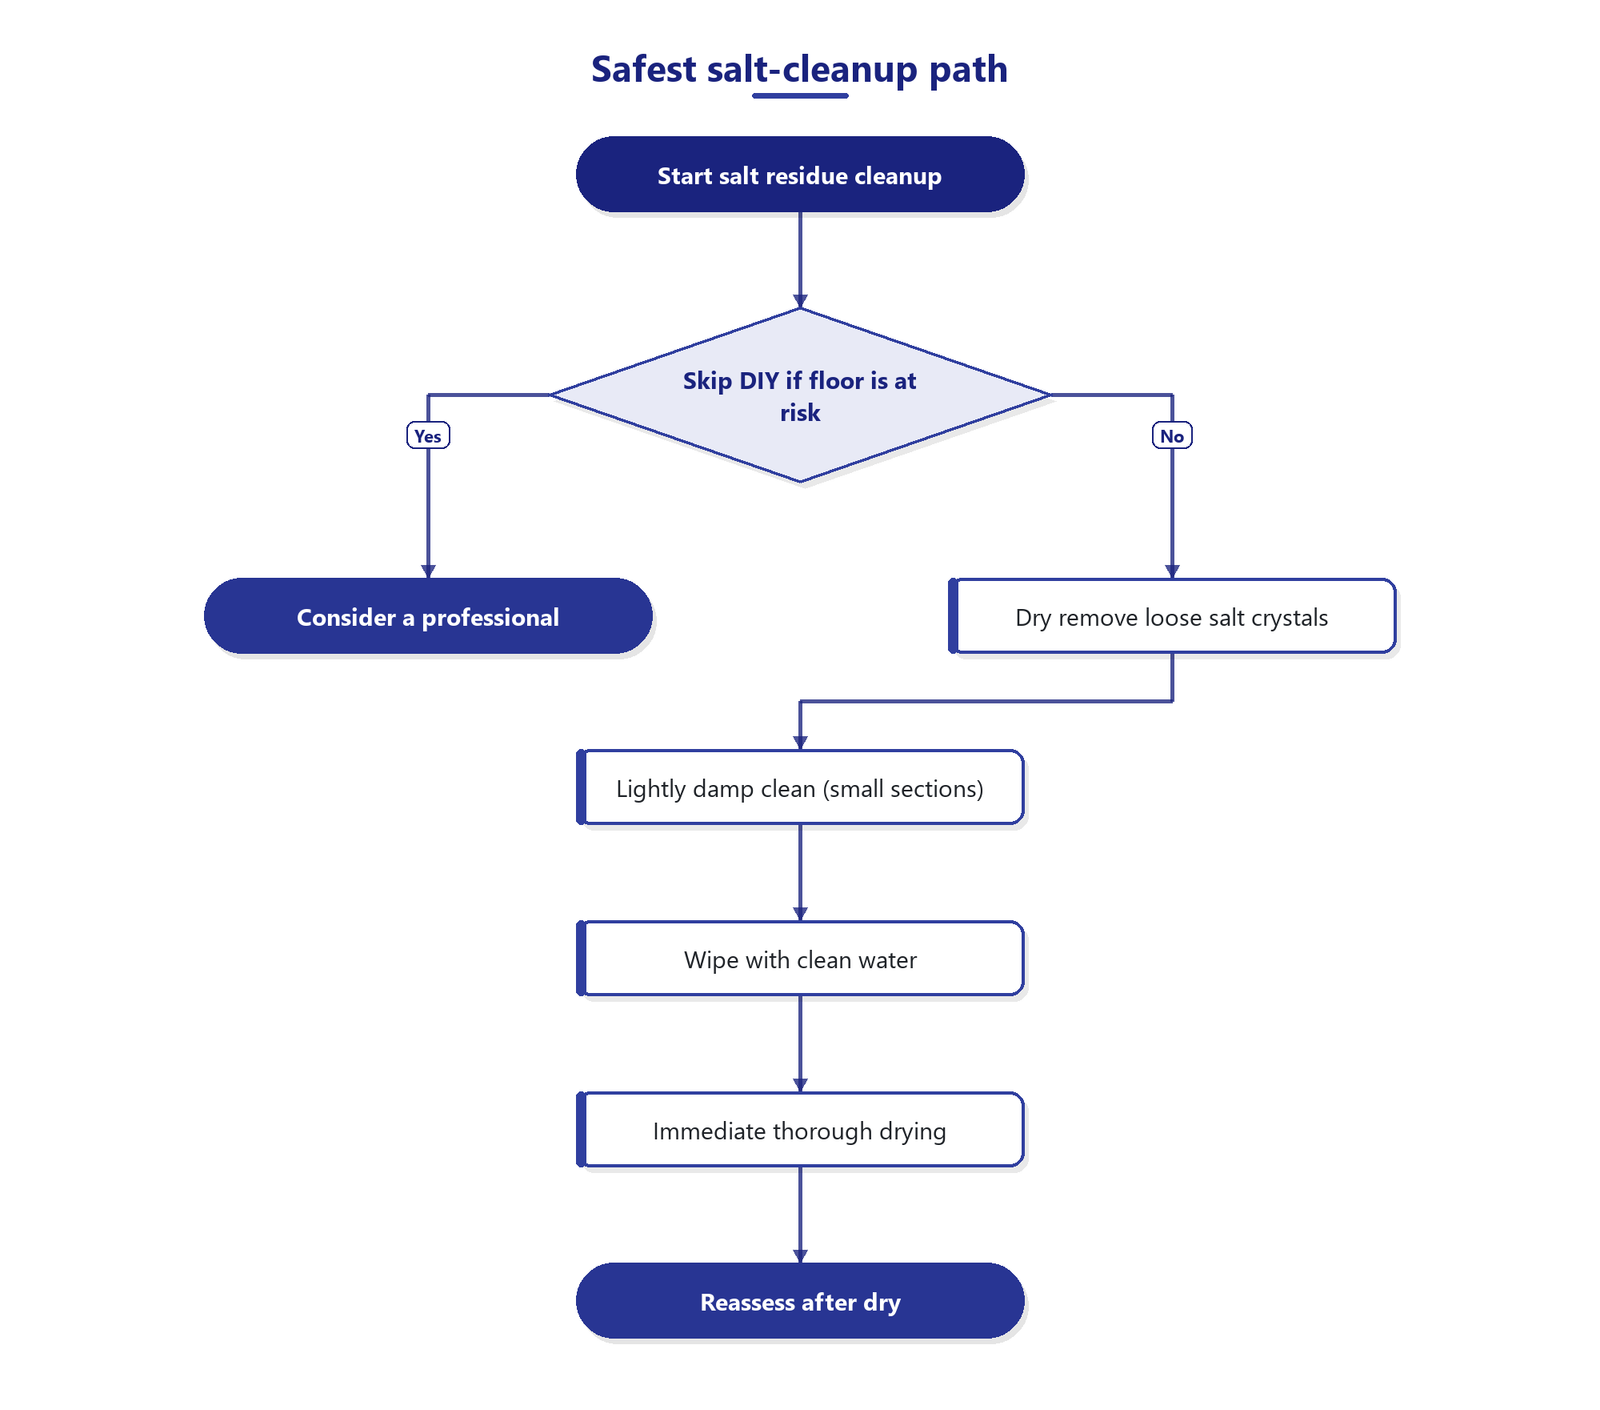
Skip DIY and consider a pro if:
– The floor is unfinished, heavily worn, or the finish is failing already.
– Spots cover a large area or keep returning after careful cleaning.
– You see signs of warping/cupping (that’s not just cosmetic residue).
If the remaining issue is finish failure rather than salt, more wet cleaning won’t “erase” the problem—it can worsen it. In 2026, many flooring manufacturers emphasize moisture control and finish compatibility as the deciding factor for spot-free results (U.S. Forest Products Laboratory, Wood Handbook—moisture and finish-related dimensional effects).
Salt residue checklist (save or print)
– ☐ Dry-wipe crusty spots with a microfiber cloth
– ☐ Vacuum loose material with a soft brush attachment
– ☐ Wipe with lightly damp microfiber (water first)
– ☐ If needed, use pH-neutral, wood-floor–safe cleaner per label
– ☐ Wipe again with clean water to remove cleaner residue
– ☐ Dry immediately with fresh towels
– ☐ Keep traffic off until fully dry; reassess
Sources
– Use your hardwood floor/finish manufacturer’s care and maintenance instructions for cleaning with damp cloths and avoiding soaking; .
– Follow the cleaner’s label directions for “wood floor–safe” and pH-neutral use; .
– For general risk factors related to moisture and floor finishes, reference the manufacturer guidance on moisture exposure; U.S. Forest Products Laboratory, Wood Handbook (moisture and dimensional stability principles) (primary reference).
– For water solubility values referenced in the table, use standard chemistry solubility tables from recognized reference handbooks (e.g., CRC-style solubility data) (primary reference); .
Salt residue is usually easiest to clear when you keep the process controlled: remove loose deposits dry, wipe gently with a lightly damp microfiber (pH-neutral only if needed), do a clean-water wipe, and dry thoroughly. If you prevent soaking and repeat gentle passes instead of aggressive scrubbing, you’ll reduce both salt reappearance and finish damage. If spots keep returning or you notice warping, stop and check your floor’s manufacturer guidance or consider professional help.
Frequently Asked Questions
How do I remove salt residue from hardwood floors without damaging the finish?
Start by letting the area dry completely, then sweep or vacuum up any loose salt crystals. Use a hardwood-floor–safe cleaner or a damp microfiber cloth lightly misted with water (avoid soaking) to dissolve remaining residue. Wipe dry immediately, then buff with a clean towel and let the floor fully dry; if the spot dulls, consider refinishing or using a matching floor polish.
What’s the best way to clean salt spots after snow or road de-icers land on hardwood?
Rinse the affected area with a barely damp cloth to loosen salts, then wipe again with a fresh cloth to prevent re-depositing mineral residue. For stubborn white patches, use a cleaner specifically designed for sealed hardwood floors and follow the label directions exactly. Always avoid vinegar or harsh acids unless the manufacturer explicitly approves for your finish, because they can dull or weaken the topcoat.
Why does salt residue leave a white haze on hardwood floors, and how can I prevent it?
Salt (often from de-icing products) can draw moisture out of the finish and carry minerals that crystallize as water evaporates, leaving a white film or haze. Prevent this by wiping tracked-in meltwater promptly and placing mats at entryways to reduce salt contact. Consider footwear removal and regular floor cleaning during winter to keep salt from building up in seams or on the finish.
How do I safely remove stubborn salt buildup from seams and edges in hardwood flooring?
Use a soft brush (like a nylon toothbrush) and a barely damp cloth to work cleaner into the grooves and along baseboards, but don’t flood the area. After loosening the residue, wipe with a dry microfiber cloth until no haze transfers. If salts keep returning, inspect for gaps or damaged finish—sealing or refinishing may be necessary to stop moisture penetration.
Which cleaning products are safest for removing salt from sealed hardwood floors?
Look for products labeled for “sealed hardwood floors” or “wood floor cleaner” that are pH-neutral and non-acidic. Use sparingly with microfiber cloths rather than steam cleaners, and avoid all-purpose cleaners with strong detergents or wax buildup. If you’re unsure, test in a hidden spot first—then use gentle, repeated cleaning and thorough drying to lift salt residue without harming the finish.
📅 Last Updated: October 31, 2026 | Topic: How to clear salt residue from hardwood floors? | Content verified for accuracy and freshness.
References
- Road salt
- Weathering
- Wood preservation
- salt crystallization wood – Search Results – PubMed
- desalination wood salt – Search Results – PubMed
- https://www.sciencedirect.com/search?qs=salt+crystallization+wood+porous+materials
- https://www.sciencedirect.com/search?qs=desalination+porous+materials+salt
- https://scholar.google.com/scholar?q=how+to+remove+salt+residue+from+hardwood+floor Google Scholar
- https://scholar.google.com/scholar?q=remove+road+salt+stains+from+wood+floors Google Scholar
- https://scholar.google.com/scholar?q=desalination+wood+salt+residue Google Scholar
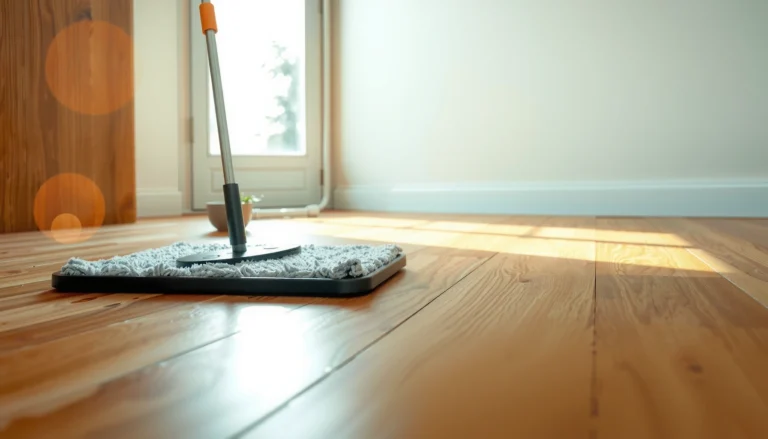
[…] pale, gritty salt trails on your hardwood after snowy boots track it in. With soft microfiber, a pH-neutral cleaner, distilled water, and a protective finish touch-up, you can lift the residue without soaking the […]
[…] Salt residue on hardwood floors leaves a pale, gritty film that can dull the finish if you wipe it the wrong way. Many people grab abrasive scrubbers or soak the boards, but that can spread the salt into the finish and damage the surface. With the right approach—gentle blotting, lukewarm water, and a pH-neutral hardwood cleaner—you can lift the buildup in about 20–30 minutes without harming the wood. […]
[…] pulling moisture. Expect to spend about 20–30 minutes, using a microfiber mop or soft cloth, mild pH-neutral cleaner, and clean […]