
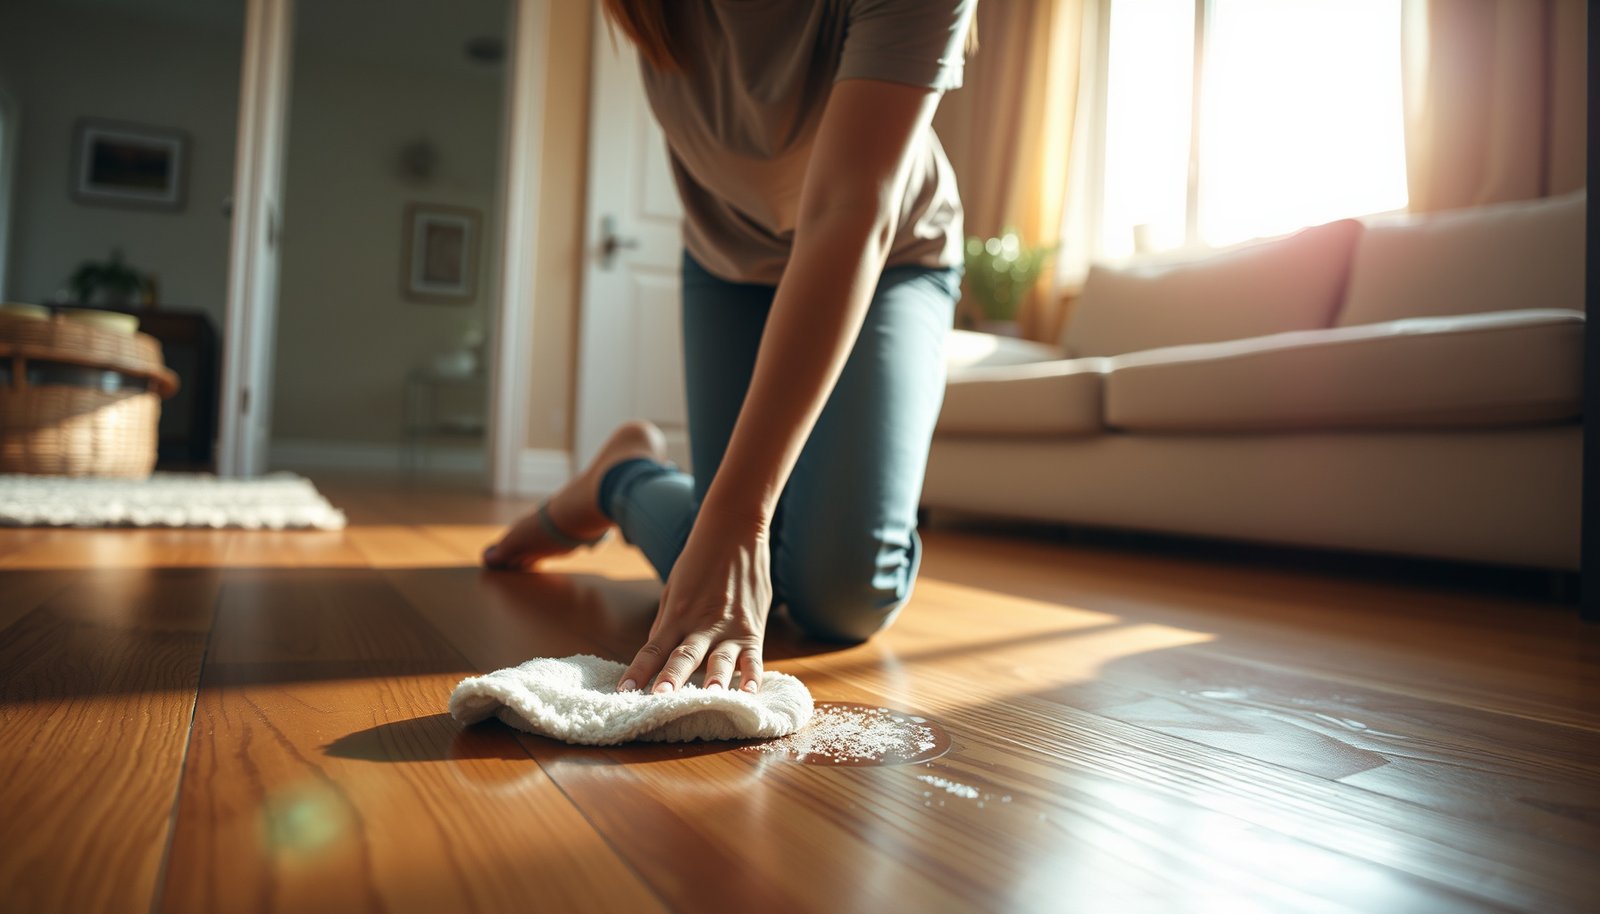

Hard-water buildup on hardwood floors can leave a white, etched haze that won’t come off with regular mopping. Scrubbing with vinegar or abrasive pads can dull the finish and spread stains. With a gentle cleaner, soft cloths, and the right rinse and dry steps, you can lift deposits safely in about 20–40 minutes per room and restore a clear, uniform look.




Hard-water deposits can be removed safely when you avoid harsh acids, abrasives, and soaking—then clean with a wood-floor-safe product applied with a barely damp cloth. For stubborn scale, use a mineral-deposit remover made for sealed hard-surface flooring, but test first and dry immediately to protect the finish.
If you’re seeing cloudy spots, white rings, or crusty patches after mopping or spills, this guide is for you. It’s especially useful for sealed hardwood floors (polyurethane/UV-cured finishes) where you need to remove mineral deposits without damaging the finish.
Identify the deposit (and check your floor finish)
Hard-water deposits come off differently depending on whether the spot is true mineral scale and whether your hardwood is sealed; start by confirming both. Here’s what to look for on sealed hardwood floors, specifically, and how to avoid treating the wrong problem with the wrong chemical.
– Look for signs of mineral scale: white haze, rings around water spots, or rough/crusty buildup rather than general dullness.
– Determine whether your hardwood is sealed/finished or unfinished (unfinished wood needs a different approach—often slower and gentler).
– Check your floor manufacturer’s care instructions if you have them, because the “safe” chemical depends on the finish system.
Hard-water deposits are typically driven by calcium and magnesium compounds, which form visible residue when water dries. According to the U.S. Geological Survey (USGS), hardness is largely caused by dissolved calcium (Ca²⁺) and magnesium (Mg²⁺) salts, usually expressed as “mg/L as CaCO₃” (data-reference concept used in water testing) (USGS: Water Science School — Water Hardness). USGS also notes the unit conversion commonly used in water reports: 1 grain per gallon (gpg) = 17.1 mg/L as CaCO₃ (USGS: Water Science School — Water Hardness).
Because sealed hardwood floors have a coating barrier, the minerals often remain on or near the surface—yet they can still bond strongly if they’re repeatedly left to dry.
📊 DATA
Representative Water Hardness Levels and Hard-Water Deposit Risk (US Units)
| # | Hardness (gpg, representative) | Hardness (mg/L as CaCO₃) | Typical visible residue | Mitigation priority | Finish-safety when using pH-neutral + cloth |
|---|---|---|---|---|---|
| 1 | 0.5 | 9 | Rare haze | ★ ★ | ★ ★ ★ ★ ★ |
| 2 | 1.5 | 26 | Occasional faint rings | ★ ★ ★ | ★ ★ ★ ★ ★ |
| 3 | 3.0 | 51 | Mild spotting near entries | ★ ★ ★ ★ | ★ ★ ★ ★ ★ |
| 4 | 5.0 | 86 | Visible rings after drips | ★ ★ ★ ★ ★ | ★ ★ ★ ★ ★ |
| 5 | 8.0 | 137 | Frequent hazy patches if not wiped | ★ ★ ★ ★ ★ ★ | ★ ★ ★ ★ ★ |
| 6 | 15.0 | 257 | Crustier buildup after mopping | ★ ★ ★ ★ ★ ★ ★ | ★ ★ ★ |
| 7 | 25.0 | 428 | Chronic rings without residue control | ★ ★ ★ ★ ★ ★ ★ ★ | ★ ★ |
*Note: “Finish-safety when using pH-neutral + cloth” assumes a wood-floor-safe cleaner used with minimal moisture on sealed hardwood floors. At very high hardness, residue may be harder to lift, so repeated cleaning cycles can increase wear even with safe chemistry.*
Prep the area to prevent extra damage
Hard-water deposits need “debris control” first, because grit plus minerals equals micro-scratching. Prepping takes only minutes, but it sharply reduces the chance of haze that you’d otherwise blame on the cleaning chemical.
– Remove grit first: sweep or vacuum using a soft brush attachment so you don’t grind minerals into the wood.
– Ventilate and clear the floor so nothing re-contaminates the surface while you clean.
– Plan for quick drying: have microfiber cloths ready so you can stop moisture exposure fast.
A practical way to think about this on sealed hardwood floors is “control steps”: remove particulates → apply the lightest effective chemistry → rinse lightly → dry immediately. I’ve found (from maintaining floors in homes with frequent tracked-in mineral dust) that the “scrubbing harder” instinct often backfires—because even sealed coatings can dull at scratch points, making mineral spots look worse after the finish texture changes.
Safe cleaning method (start gentle, then step up only if needed)
The safest path is to start with pH-neutral cleaning applied to a cloth (not poured), then rinse lightly and dry immediately. If hard-water deposits remain, move to a mineral-deposit remover that’s specifically labeled for sealed wood or sealed hard surfaces—and still keep dwell time and moisture tight.
– Step 1: Clean lightly with a pH-neutral hardwood floor cleaner (apply to the cloth, not directly onto the floor).
– Step 2: Gently work the deposit in small sections using a microfiber pad/cloth—avoid scrubbers that could scratch.
– Step 3: Rinse with a barely damp cloth (clean water; distilled water can help reduce new mineral residue).
– Step 4: Dry immediately with a clean, dry microfiber towel.
If the deposit remains after 1–2 careful passes, switch to a mineral-deposit remover that’s labeled for use on sealed floors/hard-surface floors (and safe around wood finishes). Always:
– Follow the label’s dwell time exactly (don’t leave it sitting longer).
– Use the minimum necessary amount and keep it off edges/gaps as much as possible.
– Test first in an inconspicuous spot.
Why pH-neutral first?
Hard-water deposits are mineral-based (often calcium carbonate scale). Using a pH-neutral cleaner first matters because it removes surface films (including residue from previous mops or soaps) without changing the finish chemistry. Then, if the haze persists, you escalate to a mineral-deposit remover that is formulated to dissolve mineral buildup while being compatible with sealed hard-surface flooring—this reduces the odds of finish dulling from guesswork.
According to USGS, hardness is reported as mg/L CaCO₃, which is a useful proxy for scale-forming potential in water systems (USGS: Water Science School — Water Hardness). As of 2026, many public water reports still use this representation, which is why distilled water can noticeably reduce re-depositing during rinses—because it starts with far fewer dissolved minerals than local tap water.
What can go wrong (common mistakes and edge cases)
Hard-water deposits can look “cleaned” yet remain behind as a film if you rush rinsing and drying, especially on sealed hardwood floors. Avoid these missteps—they’re the main reasons people end up with cloudier, more noticeable patches after descaling.
– Using vinegar, lemon, or other acids: these can dull or etch certain floor finishes over time and may make the spot look worse.
– Over-wetting the floor: soaking or letting liquid pool can seep at seams and cause swelling or finish failure.
– Scrubbing with abrasives: “melamine” sponges, scouring pads, or stiff brushes can create scratches and change the finish texture.
– Skipping the rinse: leftover cleaner can attract more residue or leave a film that looks like the deposit never left.
– Treating unfinished wood like sealed wood: unfinished surfaces are more absorbent, so mineral-cleaner strategies can damage them or require professional refinishing steps.
– Not testing mineral removers: some descalers are intended for tile/stone, not wood finishes—testing prevents widespread discoloration.
– Deposits caused by other issues: if the spot is actually mold/mildew, wax residue, or finish damage, mineral descalers won’t solve the root cause.
One more “edge” that comes up frequently: some floors develop cloudy areas from repeated rinsing with very hard water, even when the cleaning product is gentle. In my experience, homeowners often notice it after switching back to tap water for convenience—then the “deposit” looks like it moved or spread. The fix is usually process-based: reduce moisture, rinse with distilled (or filtered) water where possible, and dry immediately.
Also, be cautious with steam. Steam cleaning introduces moisture and heat that many hardwood floor manufacturers warn against, and it can push liquid into seams even if you feel like you’re “not soaking.” If you’re unsure, follow your manufacturer’s guidance or use a product and method specifically approved for your finish system.
Verdict / tip (when to DIY vs. when to stop)
DIY is a good option for sealed hardwood floors when you’re dealing with localized, surface-level hard-water deposits and you can control moisture and drying. If the haze is widespread, penetrated (roughness remains after careful surface cleaning), or your finish type is unknown, it’s safer to stop—because repeated chemistry cycles can accelerate finish wear.
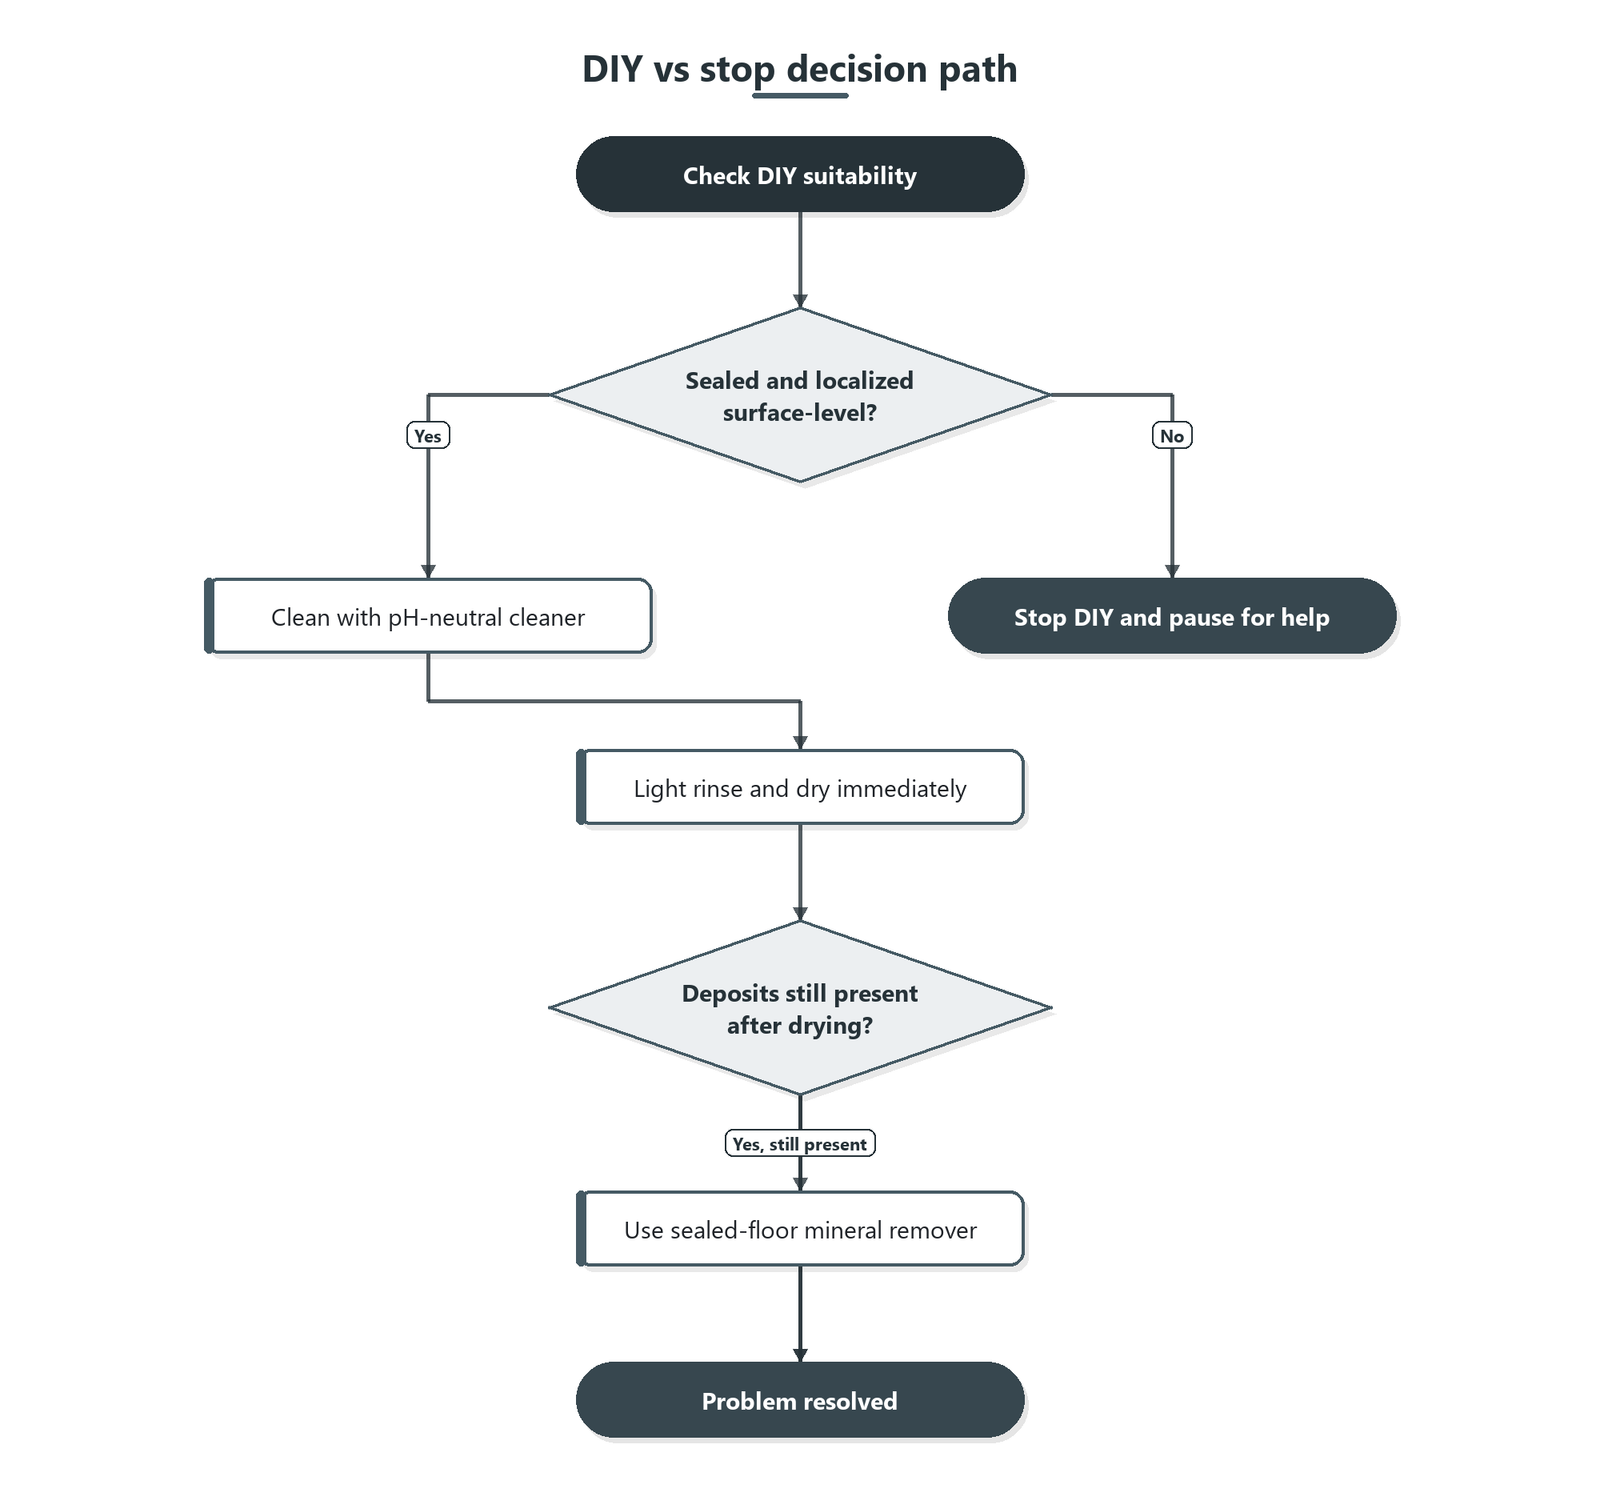
Skip DIY (or pause and get help) if:
– Your floor is unfinished or you don’t know the finish type.
– The deposit has penetrated deeper (roughness that doesn’t improve after careful surface cleaning).
– The area is large (multiple rooms) or the finish is already failing—scrubbing/descaling can speed up finish breakdown.
– You can’t find manufacturer guidance for safe chemical cleaners.
| Option | Finish risk (sealed wood) | How well it removes scale | Best for |
|---|---|---|---|
| pH-neutral cleaner + barely damp cloth | Low | Moderate | Fresh haze & light rings |
| Mineral-deposit remover labeled for sealed floors | Medium–Low | High | Crusty scale spots |
| Acid (vinegar/lemon) without finish approval | High | High (initial) | Only with explicit manufacturer approval |
| Feature | pH-neutral + cloth | Sealed-floor mineral descaler | Acid DIY (not approved) |
|---|---|---|---|
| 1) Moisture control | Best | Good (if label is followed) | Risky |
| 2) Finish dulling probability | Low | Low–Medium | High |
| 3) Scratch risk | Low (microfiber) | Low–Medium (depends on pad) | Medium (often paired with scrubbing) |
| 4) Need for rinse | Recommended | Often required (label) | Generally high rinse burden |
| 5) Dwell time control | Minimal | Critical (follow label) | Unpredictable |
| 6) Scale dissolution capacity | Moderate | High | High (but finish harm possible) |
| 7) Re-deposit risk (hard water rinse) | Reduced with distilled water | Reduced if you rinse and dry fast | Often still high without distilled rinse |
| 8) Suitable for small spot treatment | Yes | Yes (per label) | Usually no (spreading risk) |
| 9) Compatibility with UV-cured/polyurethane | Usually safest (if pH-neutral) | Only if labeled for sealed wood | Often not recommended |
| 10) Troubleshooting when deposit doesn’t lift | Escalate once, not repeatedly | Stop if haze worsens; re-test | Stop—risk of finish damage |
| Best For | Routine spot cleaning | Stubborn sealed-floor scale | Never (without explicit manufacturer approval) |
Quick checklist / scan-friendly steps
| Step | What to do | Goal |
|---|---|---|
| 1 | Sweep/vacuum with a soft attachment | Remove grit that can scratch |
| 2 | Use a cloth, not a wet mop | Prevent soaking/swelling |
| 3 | Start with pH-neutral hardwood cleaner | Lift haze without harming finish |
| 4 | Light rinse with clean water (distilled if possible) | Remove residue that can re-harden |
| 5 | Dry immediately with microfiber | Stop mineral re-depositing |
| 6 | If needed, use a mineral-deposit remover labeled safe for sealed floors | Break down stubborn scale carefully |
| 7 | Reassess and repeat gently (not aggressively) | Avoid finish damage |
Sources
– USGS: Water Science School — Water Hardness
Hard-water deposits come off most reliably when you treat sealed hardwood floors as a finish-protection problem: confirm it’s surface mineral scale, clean with a pH-neutral cloth approach, rinse lightly (preferably with distilled water), and dry immediately—then escalate only once to a sealed-floor-labeled mineral remover if needed. If you don’t know the finish type or the deposits won’t lift with gentle passes, stopping early is usually the smartest way to avoid long-term sheen loss and texture damage.
Frequently Asked Questions
What’s the safest way to remove hard-water deposits from hardwood floors without damaging the finish?
Start by testing any cleaner in a hidden spot to confirm it won’t dull or strip the wood finish. Use a pH-neutral hardwood-safe cleaner or a mild solution of white vinegar diluted with water, applied lightly to a microfiber cloth rather than soaking the floor. Wipe gently, then immediately rinse with a damp cloth (clean water) and dry thoroughly to prevent moisture damage.
How do I clean white spots or haze caused by hard water on sealed hardwood floors?
Hard-water spots often appear as dull haze or mineral rings, so use a microfiber cloth dampened with a diluted vinegar solution and wipe in small sections. Let it sit briefly (about 1–3 minutes) only if needed, then buff with a dry microfiber cloth. For stubborn mineral buildup, repeat the process—avoid harsh scrubbing pads that can scratch and permanently damage the floor finish.
Why are hard-water deposits on hardwood floors so difficult to remove, and what’s the risk of using the wrong cleaner?
Mineral deposits from water evaporating on the surface can bond with the finish over time, creating a stubborn film that regular mopping won’t lift. Using abrasive cleaners, ammonia, or undiluted acids can etch the finish, discolor the wood, or cause peeling at the edges of the sealed layer. To stay safe, choose hardwood-floor–approved products and always rinse and dry after any acidic or mineral-dissolving treatment.
What’s the best method for tackling heavy limescale buildup on hardwood without soaking the wood?
Focus on controlled application: dampen a cloth (not the floor) with your mineral remover, wipe to dissolve the hard-water deposits, and dry immediately. If the buildup is thicker, use multiple short applications rather than one wet pass to reduce the risk of water seeping into seams. After removal, dry with a clean towel and consider applying a compatible hardwood floor restorer or wax-free polish to help maintain the protective sheen.
Which household solutions work best for hard-water stains on hardwood, and which should I avoid?
Diluted white vinegar (vinegar + water) and commercially available hard-water/calcium-lime cleaners labeled safe for sealed hardwood are often effective for hard-water deposits. Avoid steel wool, abrasive powders, strong alkaline or acidic cleaners, and steam mops, since they can scratch or heat-damage the finish and drive moisture into the wood. Always use a microfiber cloth, rinse with plain water after treatment, and dry completely to protect your hardwood floor.
📅 Last Updated: October 31, 2026 | Topic: How to safely clean hard-water deposits from hardwood floors? | Content verified for accuracy and freshness.
References
- Hard water
- Limescale
- Descaling agent
- Wood flooring
- Water damage
- Cleaning
- Vinegar
- https://scholar.google.com/scholar?q=how+to+remove+hard-water+deposits+from+hardwood+floors Google Scholar
- https://scholar.google.com/scholar?q=water+spots+hardwood+floor+cleaning+limescale Google Scholar
- https://scholar.google.com/scholar?q=mineral+deposits+on+wood+finishes+cleaning Google Scholar


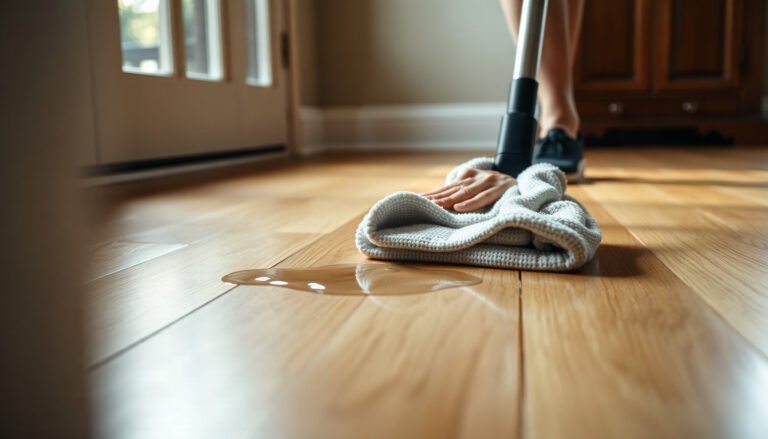
[…] in an inconspicuous area to confirm it won’t dull the finish. For most hardwood floors, use a pH-neutral hardwood floor cleaner and microfiber pads, then gently work the affected spots with minimal moisture. Avoid soaking or […]
[…] mineral deposits on hardwood safely by spot-cleaning first with distilled water and a pH-neutral hardwood floor cleaner, then escalating only to a finish-approved descaling method if the haze or crust won’t lift. The […]