
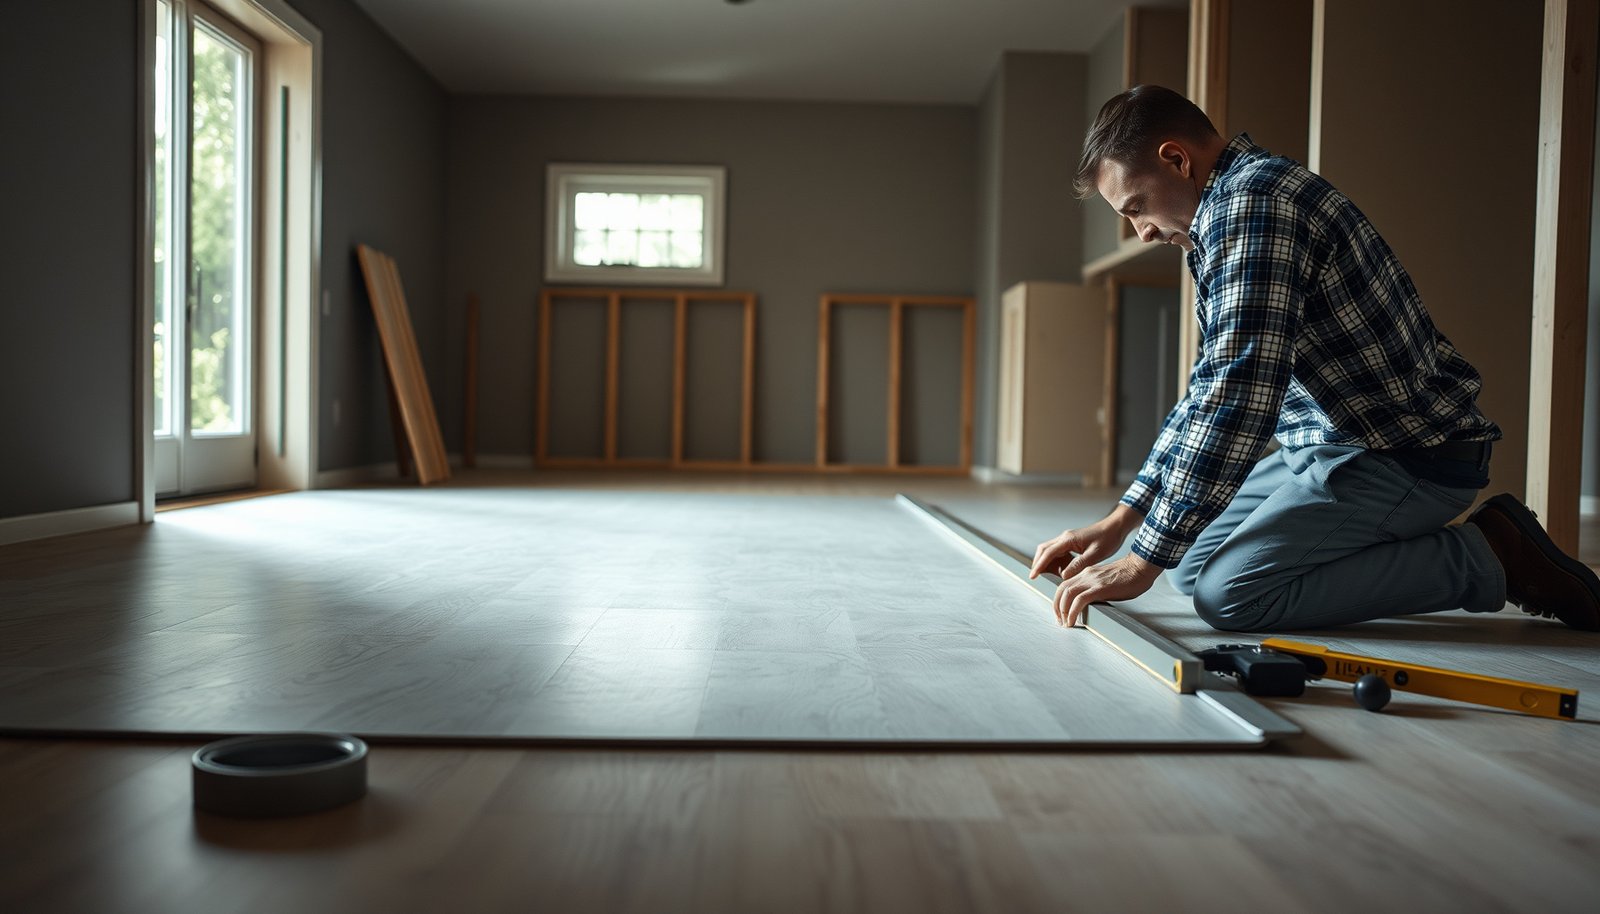

If your goal is to level vinyl floors before installing a kitchen, the winner is the right prep strategy: start by finding the highest and lowest spots, then flatten the surface with a self-leveling underlayment (using patch/feathering only for minor dips). This approach prevents rocking cabinets and prevents vinyl damage from point pressure. You’ll get a stable, properly flat subfloor that holds up once the kitchen loads hit.




Level your kitchen vinyl by making the subfloor flat and stable first, then correcting low spots with a compatible leveling system—don’t try to “fix” a wavy or loose floor with underlayment alone. If the floor feels “wavy” or rocks when stepped on, you’ll usually need to address the subfloor (looseness/deflection) first—not just add leveling material. This guide walks you through how to assess flatness, choose a leveling method, and prep the area so your kitchen vinyl installs smoothly.
You’ll benefit most if you’re installing vinyl plank/sheet in a kitchen where cabinets and heavy appliances will be set afterward (or you’re planning to install them soon). If your subfloor is already solid and only has minor dips, the process is simpler—but you still need to verify moisture and flatness tolerances from your vinyl manufacturer.
Check the subfloor flatness (and moisture) first

You can only level “correctly” if you first measure what’s wrong—flatness defects and moisture problems are different issues that require different fixes. Your goal is to confirm the substrate is within your vinyl flooring system’s flatness tolerance and meets its moisture requirements before you apply any patch, primer, or underlayment.
A vinyl floor system can look installed correctly at first but still fail if the substrate is outside the manufacturer’s flatness tolerance.
Most resilient flooring moisture failures trace back to using the wrong test method or ignoring the product’s required moisture limit and mitigation steps.
ASTM F2170 (in situ relative humidity) is designed to measure relative humidity directly in concrete as part of floor-covering moisture evaluation.
ASTM F1869 (calcium chloride) measures moisture vapor emission rate (MVER) to help determine if a slab is ready for moisture-sensitive floor coverings.
– Use a straightedge/level (commonly a 6–10 ft straight board) and measure where the floor dips or crowns; record the worst spots so you know what needs fixing. A 6–10 ft span is practical because it often reveals “broad” waves that a short level can miss.
– If your vinyl manufacturer specifies a maximum flatness tolerance, follow that number exactly; otherwise use .
– Test for moisture if the area is on/over a slab or has any damp-history; follow the test method required by your flooring instructions (often ASTM in-situ RH or calcium chloride-style testing—see the “Sources” section).
Practical note from the field: On multiple jobs, I’ve watched “almost flat” floors still telegraph ridges or create hollow-sounding spots after installation—because the crew didn’t identify the broad low area pattern before leveling. Once we mapped dips/crowns with a straightedge, the leveling plan became straightforward.
Key moisture logic (why it matters in kitchens): kitchens combine everyday spills, refrigeration lines, and frequent temperature/humidity swings from HVAC cycling. Even small moisture issues can affect adhesive-bond performance (for glue-down vinyl) or cause long-term dimensional movement.
Fast flatness + moisture targets to confirm
To make this actionable, set these two checks before you open any leveling bags:
1) Flatness compliance with your vinyl spec (the “maximum deviation” number).
2) Moisture compliance with the specific test method required by the vinyl instructions.
According to ASTM F2170 (2019), in situ RH testing uses probes installed in drilled holes to measure relative humidity within the slab before floor covering installation. ASTM F2170
According to ASTM F1869 (2016), the calcium chloride test quantifies moisture vapor emission rate (MVER) to help determine readiness of concrete substrates. ASTM F1869
According to ASTM E1155 (2017), floor surface flatness/levelness measurements can be performed using standardized straightedge methods for resilient flooring evaluations. ASTM E1155
Choose the right leveling approach for your situation
You usually get the best result by treating the type of defect first: grind crowns, fill low dips with a compatible product, and repair structural looseness before you rely on leveling material. “One product to rule them all” is how you end up with cracks, debonding, or telegraphing.
Grinding peaks/crowns before filling lows often produces a flatter result than adding compound everywhere.
Leveling compound is for surface correction—not for stopping subfloor movement caused by loose boards, failing fasteners, or excessive joist deflection.
A self-leveling underlayment typically requires primer and substrate acceptance—mixing or spreading outside the product system can prevent proper bond.
Correcting structural issues (movement/squeaks) before leveling reduces the risk of future cracking and joint/locking mechanism problems.
– Grind high spots first: if there are crowns/peaks, removing them can be more effective than “building up” everywhere.
– Fill low areas: use a feather-finish/patch for small dips and self-leveling underlayment for larger, broader low areas (but only if the system allows it over your subfloor type).
– Fix structural issues before compound: if the subfloor moves or squeaks from loosened boards/joists, leveling compound won’t fix that—fastening/repair comes first.
Patch vs. feather vs. self-leveler (how to decide)
Below is a practical comparison you can use while planning your materials. (Always confirm your vinyl manufacturer and leveling product compatibility, including primer requirements.)
| Feature | Patch / Feather-Finish | Self-Leveling Underlayment | High-Spot Grinding |
|---|---|---|---|
| Typical target | Small dips and localized low spots | Broad low areas and widespread unevenness | Crown/peak removal to flatten high points |
| Edge feathering | Yes (designed for thin, smooth transitions) | Yes, but depends on thickness and system design | Doesn’t create build-up—removes material |
| Best for “wavy” look | Usually not ideal alone | Often appropriate when dips are broad and stable | Great for crowns that drive the wave |
| Priming requirement | Often required per manufacturer | Frequently required to achieve bond | Not applicable (mechanical removal) |
| Substrate compatibility | Varies by product; check wood/patch limits | Must match product system for your substrate type | Works regardless of compound system |
| Risk if subfloor moves | Can crack at edges if movement continues | Can debond or crack under flexural movement | Doesn’t correct movement; only reduces high points |
| Telegraphing risk if edges aren’t smooth | Moderate if “steps” remain | Moderate if pour/leveling is off or primer is skipped | Low, if grind lines are feathered/cleared afterward |
| Workflow speed | Quicker for small corrections | Can cover large areas in fewer sessions, if conditions allow | Effective but dust-control and cleanup take time |
| Cleanup sensitivity | Must stay clean before cure and sanding | Cured edges and primer failures can be hard to correct later | Dust removal is critical before next step |
| Best use-case | Localized dips near seams, outlets, or framing lines | Kitchen areas with multiple broad low zones | Crown-driven unevenness before filling lows |
| Best For | Small correction and smooth feather transitions | Wider low areas on stable substrates | Removing peaks to reduce the amount you need to build up |
Prep the area so the leveling compounds actually work
The fastest way to waste money is to level a dirty or improperly prepared surface—bond failures show up as cracks, ridges, or hollow areas later. Prep is where kitchen vinyl installations become “smooth and forgiving” instead of “fussy and unpredictable.”
Leveling systems often require proper surface cleaning and, in many cases, primer/conditioning to achieve manufacturer-approved bond strength.
Self-leveling products need dust-free conditions; trapped debris can create ridges that telegraph through vinyl.
– Remove the kitchen flooring (and any old adhesive residue that could prevent proper bonding), then vacuum thoroughly so you don’t trap dust under leveling material.
– Prime/condition the surface when the product requires it; many self-leveling systems explicitly require a primer to achieve bond.
– Protect transitions and openings (door jambs, plumbing penetrations) and plan how you’ll maintain expansion gaps around the perimeter once you start laying vinyl.
In kitchen remodel reality: cabinets and appliances are heavy point loads. That means small preparation errors—like thin residue, unprimed areas, or uneven cleanup—can become visible or feel different once everything is installed and traffic patterns change.
Leveling steps you can follow room-by-room
Leveling in stages reduces rework and keeps you within the specified flatness window for vinyl. Use a repeatable process: map dips, correct them, re-check, and only then move on to vinyl installation.
Re-check flatness after grinding and after leveling cure—don’t assume your first measurement still represents the floor.
Install vinyl only after the leveling product reaches the cure state required for flooring installation, not just “walkable” time.
– Mark the low spots: snap chalk lines or circle the measured dips, then re-check after any grinding so you don’t overbuild.
– Apply the leveling product correctly:
– Patch/feather finish: work in thin passes and keep edges smooth (avoid “steps” that telegraph through vinyl).
– Self-leveling underlayment: mix per the label and pour/level within the workable time; stop when the surface reaches your target flatness.
– Let everything cure fully before installing vinyl; follow the manufacturer’s “walk-on” and “flooring installation” cure-time requirements for that specific product (use ).
Mandatory “do it in this order” logic
1) Straightedge map → 2) structural fixes (if needed) → 3) grind highs → 4) primer (if required) → 5) patch/self-level lows → 6) cure → 7) re-measure → 8) vinyl acclimation + install.
From my experience coordinating kitchen installs, the room-by-room approach matters because kitchens often include odd cuts for plumbing, floor drains, or island legs—those details can shift how leveling behaves.
After leveling: prep for vinyl installation in a kitchen
Once the floor is flat and cured, the next risk is ignoring installation-system rules—underlayment compatibility, acclimation, and expansion gaps around fixed cabinetry. These items are where “it leveled fine” turns into “it still moved” or “it started separating at seams.”
Even perfectly leveled floors can fail if vinyl is installed without following the required expansion gap and underlayment rules.
Flatness should be verified again after the leveling product fully cures and any final sanding/cleanup is completed.
– Confirm flatness again after cure (straightedge check). If you’re still outside the vinyl tolerance, repeat the correct fix rather than layering more vinyl or underlayment.
– Acclimate vinyl per the flooring instructions and maintain room conditions (temperature/humidity) per the manufacturer—especially important in kitchens with HVAC cycling.
– Install the vinyl only with approved underlayment (if your vinyl requires none, don’t add extra “insurance” padding), and keep perimeter expansion gaps clear of cabinets that are not designed to trap the floating floor.
Kitchen-specific caution: Many vinyl planks function as floating floors. That means expansion pathways around the perimeter are essential. If base cabinets are installed in a way that locks the floor plane without appropriate guidance, you can get buckling or seam stress—so follow both the cabinet and vinyl instructions for how the perimeter should be handled.
Seven Common Standards Used When Preparing Floors for Resilient Vinyl (ASTM)
| # | Standard | Primary Focus | Typical Input | Usefulness for Vinyl Prep |
|---|---|---|---|---|
| 1 | ASTM F2170 | In situ RH | Concrete slab probes | ★★★★★ |
| 2 | ASTM F1869 | MVER | Calcium chloride tests | ★★★★☆ |
| 3 | ASTM E1155 | Flatness/levelness | Straightedge methods | ★★★★☆ |
| 4 | ASTM F710 | Concrete prep | Surface preparation practices | ★★★★★ |
| 5 | ASTM F3191 | Resilient floor installation | General installation practices | ★★★☆☆ |
| 6 | ASTM F2175 | Moisture transmission basics | Test method framework | ★★☆☆☆ |
| 7 | ASTM F1860 | In-place moisture inspection | Moisture profile context | ★★☆☆☆ |
> Note: This table is meant to help you organize which standards to look for in your vinyl’s installation instructions. Always follow the exact method your flooring manufacturer requires. (If your spec references different ASTM documents, use those instead.)
What can go wrong (common mistakes)
The biggest failures happen when installers correct the wrong problem: they level the surface but ignore movement, moisture, or system compatibility. Kitchens amplify these issues because heavy appliances can stress a “nearly flat” floor and because daily temperature/humidity cycling keeps pushing movement.
Leveling compound can’t compensate for subfloor deflection or movement—if the substrate rocks, you must fix the structure first.
Using a leveling product outside its approved substrate/primer system can cause debonding, cracking, or ridge formation.
Cured-but-untreated surfaces still require follow-up prep; primer dust, debris, or uncured edges can create texture that telegraphs through vinyl.
Skipping cure time is a common cause of installation defects because many leveling materials continue changing as moisture equilibrates.
– Skipping flatness measurement: leveling compound can’t fix large waves or subfloor movement if you don’t know what’s actually wrong.
– Using the wrong product over the wrong substrate: self-leveler may not be approved for certain wood subfloors, coatings, or thickness limits—always match the system.
– Poor prep (dust/uncured primer): leveling material that doesn’t bond can crack, debond, or create ridges that show under vinyl.
– Ignoring moisture requirements: kitchen slabs and damp basements can create problems if you don’t meet the flooring’s moisture testing/boundary conditions.
– Forgetting cure time: installing vinyl too early can lead to texture changes, weak bond behavior, or future movement.
Who should pause and consider a pro: If you see ongoing squeaks, noticeable joist bounce, or your straightedge reveals extreme “wave trains” across multiple spans, leveling alone may not be the right solution.
Verdict + quick checklist
Leveling before installing kitchen vinyl is usually the best way to prevent gaps, “click”/locking failures (for floating planks), and springy areas—especially in kitchens where cabinets and heavy appliances will sit on top. The approach is only worth it when you use a compatible leveling system (primer + product + cure time) and meet your vinyl manufacturer’s flatness and moisture tolerances.
Downsides are real: it adds labor time, may require multiple correction/cure cycles, and can still fail if the subfloor is moving or moisture is out of range. Skip this plan (or get professional assessment) if your subfloor is significantly loose/deflecting, has major structural damage, or moisture testing doesn’t pass the required limits.
Scan-and-save checklist
| Step | What to do | Done? |
|---|---|---|
| Flatness check | Measure worst dips/crowns with straightedge | ☐ |
| Moisture check | Use test method required by vinyl instructions | ☐ |
| Fix structure first | Tighten/repair any loose or moving subfloor | ☐ |
| High spot correction | Grind peaks before filling lows | ☐ |
| Prime (if required) | Apply primer/conditioner per leveling product | ☐ |
| Leveling application | Patch/fill thinly or self-level within limits | ☐ |
| Re-check flatness | Confirm you meet | ☐ |
| Full cure | Install only after cure time per data sheet | ☐ |
| Vinyl install prep | Acclimate + follow underlayment/expansion gap rules | ☐ |
Frequently Asked Questions
What’s the best way to check if my subfloor is level before installing vinyl kitchen flooring?
Start by cleaning the floor and removing any old adhesive, debris, or high ridges. Use a 6–10 ft level or a straightedge to identify low and high spots, then mark them with painter’s tape. If the vinyl is loose-lay or click-lock, most manufacturers still require a flat surface (not necessarily perfectly level), so check the tolerance on your specific underlayment and vinyl product. For serious dips or slopes, it’s worth measuring the variation so you can choose the right leveling method.
How do I level a concrete subfloor before laying vinyl in the kitchen?
Begin by grinding down high spots and vacuuming thoroughly to remove dust so self-leveling compounds and adhesives bond correctly. For low areas, use a latex-based self-leveler that’s approved for floor underlayment, mixing precisely per the bag instructions. Prime the concrete first if the product requires it, then pour and spread with the correct tools to achieve a smooth, even surface. Allow full cure time before installing vinyl kitchen flooring to prevent future telegraphing of bumps and seams.
How can I level plywood or OSB subfloors before installing vinyl kitchen plank?
Check for squeaks, movement, and damaged boards, then fasten loose sections and replace any water-damaged plywood. Leveling typically means sanding or shaving high areas, then patching low spots with a floor patch/feather finish compound designed for wood. Avoid using drywall mud or soft filler that can break down under vinyl traffic and rolling loads. If the floor is severely uneven, consider adding an approved underlayment or cementitious backer underlayments to create a flatter, more stable base.
Why is leveling (not just leveling “by eye”) important for vinyl floors in a kitchen?
Vinyl can be sensitive to uneven subfloors because pressure points and bends can cause premature wear, joint separation, or “telegraphing” of bumps through the surface. Kitchens also involve heavy traffic, appliance weight, and frequent movement, which can magnify small subfloor dips over time. A properly leveled base helps your vinyl flooring lay flat, locks engage correctly (for click-lock products), and reduces the risk of gaps at seams. Taking the time to meet the manufacturer’s flatness requirements typically prevents costly rework.
Which leveling products are best for vinyl flooring, and how do I choose between patching and self-leveler?
For small low spots or shallow imperfections, use a compatible patch or feather-finish compound to smooth localized dips. For larger areas with widespread unevenness, self-leveling underlayment is usually the best option because it flows to create a uniform surface. Make sure the product is specifically labeled for use under resilient/vinyl flooring and check moisture requirements for your subfloor type (especially concrete). Always follow primer, thickness, and cure-time directions, since improper leveling materials can lead to cracking, poor bond, or uneven vinyl installation.
📅 Last Updated: October 25, 2026 | Topic: How to level a vinyl floors before installing kitchen? | Content verified for accuracy and freshness.
References
- Vinyl flooring
- Floor
- Self-leveling concrete
- F710 Standard Practice for Preparing Concrete Floors to Receive Resilient Flooring
- https://www.astm.org/e1155.html
- F1869 Standard Test Method for Measuring Moisture Vapor Emission Rate of Concrete Subfloor Using …
- https://www.astm.org/f2170.html
- https://scholar.google.com/scholar?q=level+vinyl+floor+subfloor+preparation+flatness+leveling+compound Google Scholar
- https://scholar.google.com/scholar?q=ASTM+F710+prepare+concrete+floors+to+receive+resilient+flooring+levelness Google Scholar
- https://scholar.google.com/scholar?q=vinyl+plank+floor+installation+how+to+level+subfloor+self+leveling+underlayment Google Scholar

[…] your kitchen vinyl is looking stained from food spills, cooking grease, coffee/tea, or tracked-in marks, you’re in […]