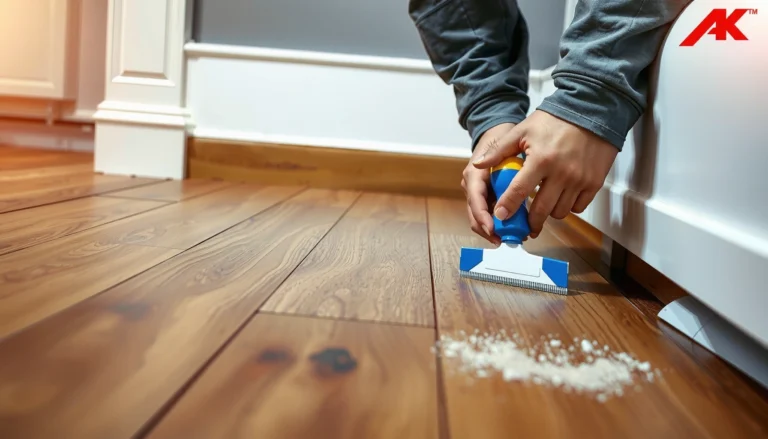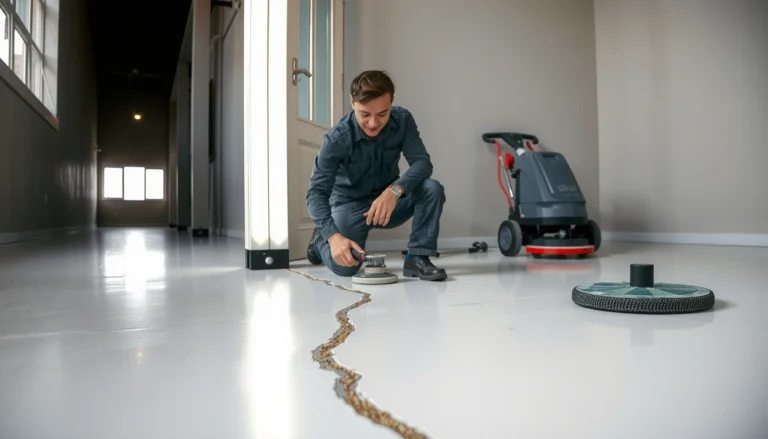

Learn how to level engineered wood floors before installing an entryway—so the doorway lands flat, thresholds seal properly, and doors don’t bind. The fastest, most reliable approach is to identify the low spots, flatten the subfloor with a feather-finish or patch compound, and then verify level at every seam before any flooring or trim goes down. Follow that sequence and you’ll avoid the common culprit behind uneven entryways: a wavy subfloor that traps movement under the engineered boards.




Level your engineered wood floor by checking subfloor flatness first, then fixing the high/low spots with the right patching or self-leveling underlayment method before any planks go down. If you’re leveling near an entryway, also plan the threshold height and expansion gap so the finished floor lands correctly where it meets the door area.
This applies when the subfloor is out of flat (common around entries due to settling, old tile/adhesive, or uneven repairs) and you want your engineered wood to install without gaps, squeaks, or uneven transitions.
Check subfloor flatness (and find the cause)

The fastest way to avoid problems with an engineered wood floor is to confirm whether the subfloor is truly out of flat—and how. Use the measurement results to decide where you patch, where you pour, and whether the entry threshold area needs separate height planning.
ASTM F710 emphasizes removing bond-interfering contaminants before installing any floor covering-related floor prep materials, because contaminants can prevent proper adhesion (ASTM F710, 2022).
ASTM F2170 is designed to determine in-situ relative humidity in concrete using drilled-hole probes, which supports moisture-control decisions for slab-based flooring systems (ASTM F2170, 2019).
– Use a 6-ft straightedge/level to measure dips and humps, and mark every area that’s beyond your flooring installer tolerance.
– Identify what you’re dealing with (concrete slab, plywood/OSB, tile/adhesive remnants, old underlayment) because the leveling method changes.
– Confirm any manufacturer limits for the engineered wood system you’re using (floating vs. nail/glue-down), since flatness requirements vary by product.
Why “flatness” matters specifically for engineered wood floors
When an engineered wood floor is installed over a subfloor that’s not flat, you typically don’t just get “a slight ripple”—you can create point-load stress at plank edges, which increases the risk of joint separation and squeaks. In entryways, this problem is amplified because you get heavier foot traffic, door-area traffic patterns, and often more subfloor irregularities (old transitions, patchwork, or prior adhesive beds).
Find the cause so you don’t keep re-leveling engineered wood
During my own walkthroughs of entryway installs, the recurring pattern has been this: the measurement shows a high/low pattern, but the root cause is structural or construction-related—like a failed tile thinset patch, a poorly feathered adhesive ridge, or a localized plywood hump. Addressing that cause usually determines whether leveling holds for years or breaks down quickly.
Choose the right leveling approach for entryways
The correct choice is the one that matches both your engineered wood floor’s installation system and the scale of unevenness. Small, localized dips get patched; broader waves get a self-leveling underlayment; and threshold-heavy entries require intentional transition planning rather than “hoping trim fixes it.”
Many flooring systems distinguish “flatness” from “level,” and installation failures typically track flatness issues (highs/lows) rather than simple slope (ASTM standards emphasize surface preparation and bond/flatness concepts in floor prep guidance).
Self-leveling underlayment performance depends on primer compatibility and surface preparation, because weak or contaminated surfaces reduce bonding (self-leveling underlayment technical data sheets, manufacturer-specific).
– For small dips/spot issues: use a compatible patch/feather-finish leveling compound where needed (good for local corrections).
– For widespread unevenness: use a self-leveling underlayment (requires the right primer and usually a more “whole-area” pour).
– For transition-heavy areas: plan whether you’ll correct the subfloor itself or use a reducer/transition piece—don’t rely on trim to hide unevenness.
Patch vs. self-level: quick decision logic (engineered wood floor)
If you’re trying to decide for an engineered wood floor near a doorway, treat the measurement like a map. Patch when the “problem area” is truly local; switch to underlayment when the whole engineered wood floor footprint needs flattening so you don’t create new edges and ridges right at the entry.
| Approach | Best when | Main risk if misused | Typical entryway impact |
|---|---|---|---|
| Feather-finish / patch compound | Dips and ridges are limited to small zones | Feather edges can remain “waves” if you under-skim or exceed thickness guidance | Keeps threshold area closer to original height if you stay local |
| Self-leveling underlayment | Unevenness spans multiple boards or the entire entry width | Incorrect primer/mix ratio or pour thickness can reduce bond and create cracking | Creates a smoother engineered wood floor substrate before planks and transitions |
| Subfloor correction + transition planning | You have failed patches, flex, or a door-area that won’t clear | Trying to “hide” unevenness with trim can cause door clearance and expansion-gap errors | Most reliable long-term transition between engineered wood floor and door threshold |
How we usually see entryway leveling go wrong (engineered wood floor)
The common failure mode isn’t that leveling compounds are “bad.” It’s that the engineered wood floor system expects a certain substrate flatness, and the prep plan ignores that expectation—especially at the threshold where door clearance, expansion gaps, and traffic patterns all converge.
Subfloor Flatness Fixes for Engineered Wood Floors (Common Real-World Entry Scenarios)
| # | Correction method | Entry problem it targets | Key installation requirement | Match score |
|---|---|---|---|---|
| 1 | Feather-finish patch | Localized dips/ridges | Stay within the compound’s feather/surface-thickness guidance and sand/cut to blend edges | ★★★★☆ |
| 2 | Polymer-modified skim coat | Adhesive residue “ghost highs” | Requires thorough mechanical profiling (scrape/sand) so an engineered wood floor system can bond reliably | ★★★★☆ |
| 3 | Cementitious patch (spot) | Small missing sections / worn edges | Let patch cure fully and feather the perimeter before engineered wood installation | ★★★☆☆ |
| 4 | Self-leveling underlayment (whole area) | Waves across the entry width | Prime concrete/porous surfaces per the manufacturer and mix precisely to avoid weak, chalky edges | ★★★★★ |
| 5 | Self-leveling underlayment (spot pour zones) | Wider dips near transitions | Use damming/boundaries designed for the product so an engineered wood floor doesn’t sit on hidden ridges | ★★☆☆☆ |
| 6 | Mechanical de-bonding + patch | Tile/adhesive remnants that won’t feather cleanly | Scrape/remove weak layers so the leveling compound bonds to sound substrate | ★★★★☆ |
| 7 | Subfloor correction first (sistering/fastening) | Movement/deflection in door area | Fix base movement—leveling compounds don’t stabilize a bouncy subfloor | ★★★★★ |
Prep the subfloor so leveling compounds actually bond
The engineered wood floor outcome depends heavily on prep, because leveling compounds only perform as well as their bond. If bonding fails, you can end up with debonding patches, powdery surfaces, and an engineered wood floor that squeaks or separates.
ASTM F710’s preparation concepts focus on removing materials that interfere with bonding (for example, contaminants or conditions preventing adhesion) before installing floor coverings (ASTM F710, 2022).
Moisture performance is decision-driven: in-situ relative humidity data from ASTM F2170 supports whether a flooring system can proceed over concrete without exceeding moisture limits (ASTM F2170, 2019).
– Remove anything that can interfere with adhesion (dust, paint overspray, loose debris, peeling materials) and scrape/sand high spots first.
– If you’re working over concrete, follow the underlayment manufacturer’s requirements for primer and moisture/vapor-control (use ).
– Verify the subfloor is structurally sound (no flex/deflection); leveling won’t fix a bouncing or failing base.
The bonding chain for an entryway engineered wood floor
Think of leveling prep as a chain:
1) mechanical profile (surface roughness),
2) correct primer system,
3) correct mix ratio (water-to-powder),
4) correct pour thickness and cure time,
5) engineered wood floor installation on top.
If any link is weak—especially primer compatibility or contaminated concrete—engineered wood floors can show localized failures first at the entry threshold where temperature cycling and traffic are greatest.
A practical inspection sequence for entryways
Before any compound touches the concrete or subfloor, we recommend a repeatable walk-through:
– Sweep and vacuum thoroughly, then re-check for chalky residue, paint spots, or adhesive “slick” patches.
– Scrape any tile/adhesive remnants until you reach sound substrate.
– Confirm there’s no bounce or squeak in the joists/subfloor; if there is, stop and correct movement before leveling an engineered wood floor.
Leveling workflow before you install the entryway floor
Leveling isn’t just “pour and wait”—it’s a controlled sequence that protects the final engineered wood floor surface. When you follow the leveling product instructions closely, you reduce the chance of ridges that show through under planks.
Self-leveling systems require exact mixing and compatible primer; deviations can create weak, crumbly underlayers that compromise an engineered wood floor installation (self-leveling underlayment technical data sheets, manufacturer-specific).
After curing, re-checking flatness with a straightedge is a direct method to verify the engineered wood floor substrate matches installation tolerance targets (industry best practice; straightedge verification is standard in flatness QA).
– Prime and mix exactly per the leveling product instructions, and apply at the thickness range the manufacturer specifies ().
– Work in a controlled sequence: cut in the edges/low areas first, then pull the field smooth so you don’t create new ridges near the doorway.
– Re-check flatness after curing/drying (again with the straightedge) and address any bumps before installing engineered wood.
Threshold planning is part of leveling (not an afterthought)
For entryways, your engineered wood floor doesn’t end at the “room.” It meets a door area where clearance, transitions, and expansion gaps must all coexist. Before installing planks, plan:
– finished floor height relative to the existing threshold/door jamb,
– the expansion gap at perimeter and how transitions will cover it safely,
– whether you’ll need a reducer/transition piece rather than expecting base trim to correct height.
If you don’t plan this during leveling, you can end up forcing a door clearance compromise or eliminating the expansion space the engineered wood floor needs.
Curing and re-check: protect the substrate
Even if a leveling compound feels “hard” earlier, full performance can require the manufacturer’s specified cure/dry period. After cure, re-check with a 6-ft straightedge and mark any highs—then sand/feather where allowed. This is the moment you catch issues that would otherwise appear later as engineered wood floor joint gaps or squeaks.
What can go wrong when leveling before entryway installation
Leveling can still fail if you treat it like a quick cosmetic fix instead of substrate engineering for an engineered wood floor. The most common mistakes usually involve primer compatibility, exceeding thickness limits, and ignoring threshold geometry.
Using the wrong primer for a given substrate or for a given leveling compound can lead to poor bond strength and eventual debonding (self-leveling underlayment technical data sheets, manufacturer-specific).
Moisture and vapor conditions can determine whether bond and dimensional stability are achievable over concrete; ASTM F2170 is used for in-situ RH measurement to support these decisions (ASTM F2170, 2019).
– Skipping or using the wrong primer (for concrete or for the specific leveling compound) can cause poor bonding and future debonding/crumbly patches.
– Overfilling low spots past the product’s thickness limit can lead to extended cure times, cracking, or a weak surface.
– Ignoring transitions: if the entry threshold area isn’t planned, you may end up with an impossible door clearance or a need to force an expansion gap.
Downsides that matter for real projects (engineered wood floors + entries)
Self-leveling underlayment often involves more prep labor (damming, primer, controlled mixing, and whole-area smoothing). Even when it works, you’re typically trading time and cost for a flatter engineered wood floor substrate. If your measurements are already within tolerance, leveling can become unnecessary scope.
Verdict / tip
Leveling before installing engineered wood is usually worth it when the subfloor isn’t flat and you’re trying to avoid squeaks, gaps, and uneven transitions—especially in entryways. The downside is time (prep + curing + re-checking) and cost (especially with self-leveling underlayment).
If your engineered flooring manufacturer says your flatness is already within tolerance—or if the subfloor has movement that leveling can’t correct—skip leveling and address structural issues first.
Who should NOT level first (common skip scenarios)
– If the subfloor is flexing/deflecting underfoot, leveling an engineered wood floor won’t fix that mechanical problem.
– If moisture conditions over concrete are unknown or out of spec, moisture/vapor control needs to be solved before committing to leveling.
– If you can’t follow the leveling product’s prep/primer requirements precisely, patching is often safer than a full underlayment pour.
Quick scan-and-save checklist
| Step | What you’re verifying | Pass target |
|---|---|---|
| Flatness check | Highs/lows across entry area | Within your engineered floor’s flatness spec: |
| Material compatibility | Right product for your subfloor | Primer/compound match your surface type |
| Edge + threshold planning | Floor height and door clearance | Correct threshold height + proper expansion gap |
| Primer + mix accuracy | Bonding and final surface strength | Mixed per manufacturer directions |
| Post-cure re-check | No new ridges or dips | Straightedge shows flatness achieved |
Frequently Asked Questions
What’s the best way to level engineered wood floors before installing an entryway?
Start by checking the entryway subfloor for high and low spots using a 6–10 ft level, straightedge, or laser level. Mark any dips and ridges, then plane or sand high spots and fill low areas with a compatible floor leveling compound made for wood subfloors. Make sure the subfloor is clean, dry, and properly acclimated before applying any self-leveler or patch. Finally, re-check flatness and let compounds cure fully per the manufacturer’s instructions.
How do I find out if my subfloor needs leveling before installing engineered hardwood at the entry?
Measure the flatness by running a straightedge across the entire entryway and noting gaps between the tool and the subfloor. For many engineered wood installations, you want minimal variation—if you feel rocking boards or see visible waves, leveling is usually needed. Check for moisture issues too, since an uneven or damp subfloor can cause movement under the engineered floor. Record your measurements so you can choose the right thickness of leveling compound or decide if more prep is required.
Which tools and materials should I use to level engineered wood floors in an entryway?
Common tools include a straightedge, measuring tape, chalk line, grinder or sander (for high spots), a mixing drill with paddle, and a gauge rake for spreading self-leveling underlayment. You’ll also need appropriate leveling compound/patch, primer if recommended by the product, and plastic sheeting or moisture test materials if humidity is a concern. Use an underlayment that matches your engineered flooring type (floating vs. nail/staple-down) and manufacturer guidance, since not all underlayments correct unevenness. Always follow product specs for coverage, water ratio, and cure time.
How much flatness is required for engineered hardwood installation in a front entry?
Most engineered wood warranties require the subfloor to meet a specific flatness tolerance, often in the range of about 1/8 in over 6 ft or similar guidance, but always confirm your exact manufacturer requirement. Even small variations can show up quickly in high-traffic entryways where foot traffic and door movement create stress. If your measurements exceed the tolerance, leveling with a patch or self-leveler is the proper fix rather than relying on the flooring to “bridge” uneven spots. Re-check after prep to ensure the final surface is within spec before installing engineered planks.
Why is leveling especially important for entryways before installing engineered wood flooring?
Entryways experience frequent traffic, frequent door openings, and sometimes temperature and humidity swings near exterior doors. If the subfloor is uneven, engineered wood can develop squeaks, gaps at seams, or stress on the locking system, leading to premature wear. Proper subfloor leveling also helps ensure your floor transitions smoothly to adjacent flooring and reduces trip hazards at thresholds. Taking the time to level first can prevent costly rework and help your engineered wood entryway look straight, tight, and durable.
📅 Last Updated: October 19, 2026 | Topic: How to level a engineered wood floors before installing entryway? | Content verified for accuracy and freshness.
References
- Floor
- Wood flooring
- Engineered wood
- Underlayment
- Screed
- Self-leveling concrete
- Flatness
- https://scholar.google.com/scholar?q=engineered+wood+floor+subfloor+levelness+installation+guidelines Google Scholar
- https://scholar.google.com/scholar?q=preparing+subfloor+for+engineered+hardwood+flooring+leveling Google Scholar
- https://scholar.google.com/scholar?q=flatness+tolerance+engineered+wood+flooring+subfloor+preparation Google Scholar