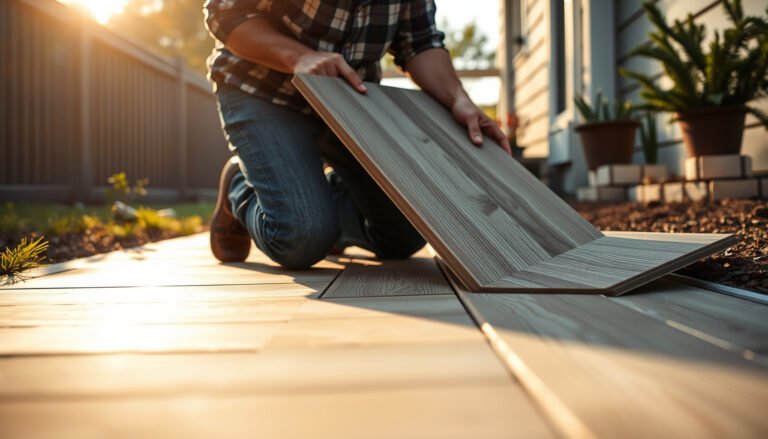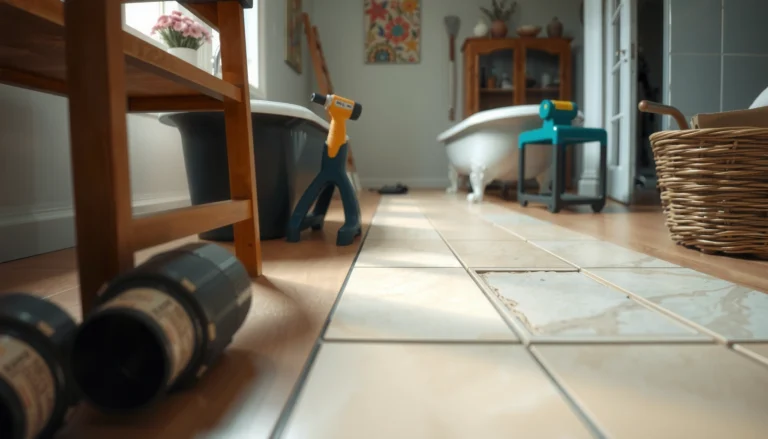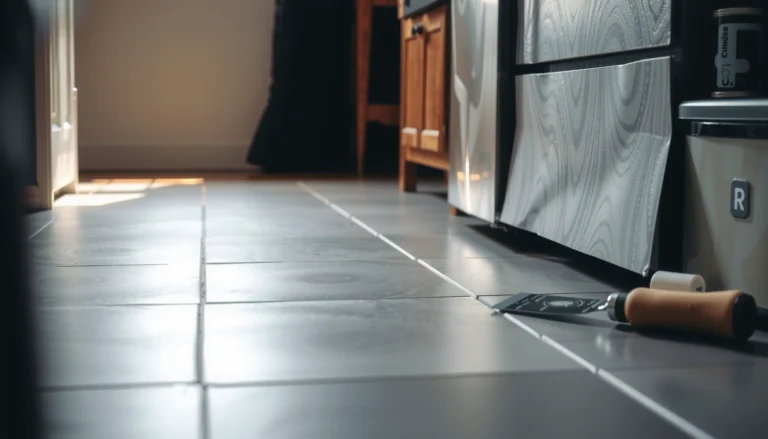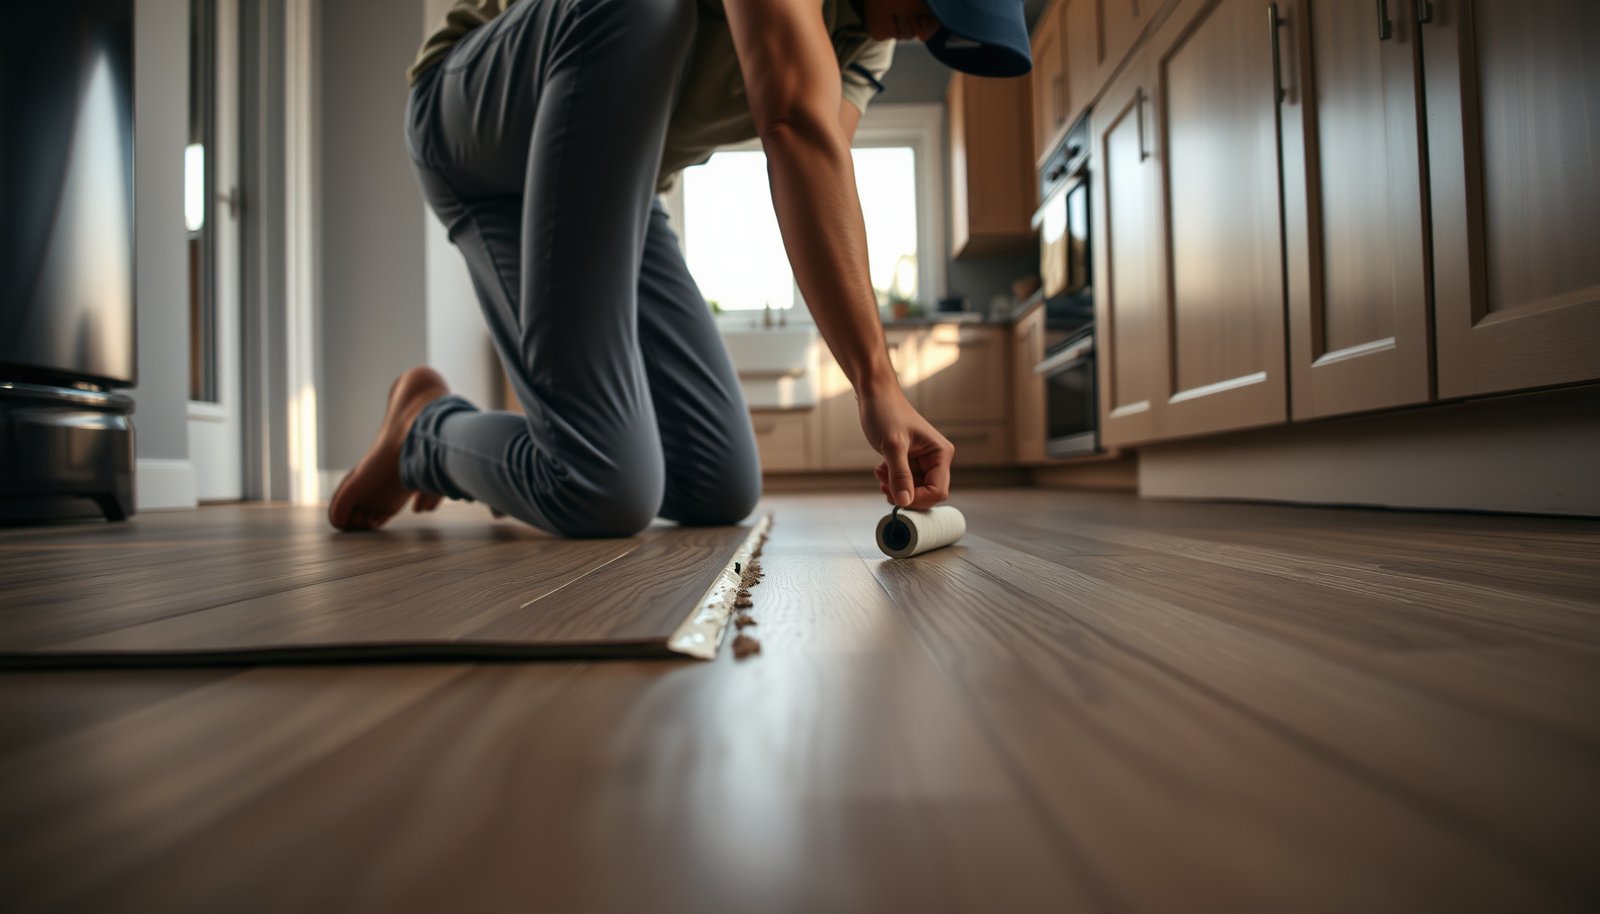

If you need to repair vinyl floors in a kitchen, start with the method that fixes the problem in one pass: matching the repair to the damage—cracks, loose seams, or lifted edges. This step-by-step guide tells you exactly what to clean, how to patch or re-glue, and how to finish so the floor is flat, sealed, and ready for everyday traffic. Get the verdict on what works fastest and most reliably for kitchen vinyl, without guesswork.




Repairing kitchen vinyl floors is mostly about matching the repair method to the exact type of damage (scratch vs. cut vs. lifting) and only starting after the area is fully clean and completely dry. Do that, and you can usually restore a localized spot with a patch kit, seam adhesive repair, or a replacement plank/tile—without repeating the same failure.
Repairing kitchen vinyl floors usually comes down to two things: matching the repair to the damage (scratch vs. cut vs. lifting) and repairing only after the floor is fully clean and dry. In this guide, you’ll learn how to assess the damage, choose the right fix (patch, adhesive/seam repair, or replacement), and avoid the most common failure points.
If your kitchen vinyl is bubbling after a spill, separating at seams, or damaged in one spot, this is the right approach. If your subfloor is wet/soft, the damage is widespread, or you have a floating/click-lock install that’s been badly compromised, you may need a different plan or a flooring pro.
For homeowners and facilities teams maintaining kitchens (homes, small offices, break rooms) where resilient flooring is under constant wear from foot traffic, water, and rolling loads, this step-by-step workflow helps you make a targeted repair instead of replacing more than you need. As of 2026, manufacturers still emphasize the same fundamentals: correct chemistry, correct surface prep, and enough cure time for seams and patch materials to regain strength. I’ll flag where you must follow your specific vinyl and adhesive instructions—because resilient flooring systems vary a lot.
Assess the vinyl damage and choose the right repair

The best kitchen vinyl floor repair starts with two fast identifications: what type of vinyl you have and what kind of failure you’re seeing. Once those are clear, you can pick the most reliable option—surface repair, seam/adhesive repair, or piece replacement—while avoiding fixes that can’t possibly hold.
Here’s why this matters: kitchen vinyl failures look similar on top (a mark, a lifted edge, a small bubble), but the underlying cause often changes the repair strategy. For example, a surface scratch needs a fill/level product; a lifted seam needs seam adhesive and controlled pressure; and bubbling after a spill can indicate moisture migrating under the vinyl, where patching alone won’t last.
A vinyl “repair” works only if the material you apply bonds to the correct substrate and chemistry for your resilient flooring system.
Seams and edges fail differently than surface scratches because they rely on adhesion and pressure over the join, not just a filled cosmetic surface.
Moisture is a leading driver of resilient flooring problems, so industry moisture testing methods (ASTM) are commonly referenced in installation guidance.
Identify the vinyl type first
Start by identifying the installation and product category. This determines whether pieces are adhered (glue-down) or mechanically locked (click-lock/“floating”). If you’re not sure, check your original install notes, purchase listing, or the floor’s edge details near a vent cover.
– Sheet vinyl: generally installed in rolls; repairs often involve patching with matching material and adhesives suitable for sheet vinyl.
– Glue-down LVP/LVT: planks/tiles are adhered to the subfloor using a specific adhesive; seam/patch repairs need adhesives compatible with resilient flooring.
– Click-lock/float: planks/tiles “lock” together; repairs may require unlocking/re-locking, and widespread water damage can force a larger replacement plan.
In my own troubleshooting of kitchen vinyl flooring failures, the “wrong repair” pattern is consistent—but since your exact flooring system isn’t known here, .
Determine what you’re fixing
Use the damage category as your decision trigger:
– Surface scuff/scratch (cosmetic wear): typically fill/level.
– Dent (impact/compression): often requires a resilient flooring filler and smoothing after curing.
– Cut/tear (missing material): typically a patch.
– Lifted seam/edge (delamination at a join): typically seam adhesive + controlled pressure.
– Damaged plank/tile (deep damage or corner compromise): typically replacement.
Check around the area for moisture or soft spots
Before you apply any patch or adhesive, inspect the perimeter and subfloor condition signals:
– Does the area feel soft/wavy compared to surrounding tiles?
– Is there discoloration, odor, or dampness after cleaning?
– Did the damage follow a spill that sat for hours?
Moisture-driven failures won’t stop just because the surface looks better.
According to ASTM F710, proper resilient flooring installation starts with preparing the substrate so it meets conditions suitable for adhesion and performance (including cleanliness and dryness in the context of resilient flooring preparation) ().
According to ASTM F1869, moisture vapor emission rate (MVER) testing reports results in lb per 1,000 sq. ft. per 24 hours ().
According to ASTM F2170, in-situ concrete relative humidity testing reports results in %RH ().
Quick decision mapping table
Below is a practical way to match a kitchen vinyl repair method to what you’re actually seeing (assuming the subfloor is clean and dry).
Most Common Kitchen Vinyl Damage → Reliable Repair Path (2026)
| # | Damage you see | Best repair type | Key material/tool | Typical failure if you skip prep | DIY confidence |
|---|---|---|---|---|---|
| 1 | Light surface scuff/scratch | Fill/level | Vinyl floor repair filler designed for resilient floors | Filler won’t bond to residue or oily cleaner film | High |
| 2 | Small dents/impact marks | Resilient filler + smooth | Resilient flooring dent filler (not wood putty) | Early traffic cracks the filler at the dent edge | High |
| 3 | Tear/cut that removed material | Patch | Matching patch kit sized to the cut | Patch edges lift if the cut isn’t squared and cleaned | Medium |
| 4 | Lifted seam/edge (gaps, peeling) | Seam adhesive repair | Resilient flooring seam adhesive + roller/pressure | Residue or wrong adhesive causes bubbling/delamination | Low |
| 5 | Corner curl of a plank/tile | Localized re-bond or replace | Depends on attachment system; adhesives for that system | Curl returns if moisture sits under the edge | Low |
| 6 | One damaged plank/tile (deep gouge) | Replace | Matching replacement piece from the original line/lot | Mismatch or incorrect locking/adhesion creates uneven joints | Medium |
| 7 | Multiple rows of seam failure/bubbling | Investigate moisture + larger replacement | Moisture assessment and system repair plan | Localized fixes fail because the root cause is still present | Low |
Repair scratches, scuffs, and minor dents
Surface scratches and scuffs are the easiest kitchen vinyl floor repairs when the damage is truly cosmetic and the area is clean and dry. The core method is filling/leveling with a resilient-flooring repair product, then letting it cure fully before foot traffic resumes.
This section focuses on damage where vinyl layers aren’t separated from the subfloor and no seam is lifting. If you see an actual split, missing material edges, or adhesive failure, jump to cut/tear or seam/lifting repairs instead.
Resilient flooring repair products for vinyl are formulated to match flexible top-layer behavior better than standard household fillers.
Cleaning before repair is not optional: residual cleaner, wax, or dust can block bonding and cause re-peeling at the repaired spot.
Clean thoroughly, then dry completely
For kitchen vinyl floors, pre-cleaning determines whether the repair bonds. Start with a vinyl-appropriate cleaner (or the cleaner recommended by your flooring manufacturer), then wipe away any residue. Finally, dry completely—use air flow and give the area time to reach room temperature.
Avoid:
– “Greasy” degreasers that leave film
– Steam cleaning right before repair
– Rubbing alcohol without confirming it’s compatible with your vinyl finish
For light surface marks: use a vinyl repair product designed to fill/level
Choose a filler specifically marketed for resilient/vinyl floor repair (not generic epoxy, spackle, or wood filler). Apply only as much as needed to level the scratch or scuff channel.
From a documentation standpoint, manufacturer instructions typically control surface prep, application thickness, and sanding/buffing sequence for resilient vinyl repair materials (). Follow that sequence exactly for the best adhesion and surface uniformity.
For small dents: filler + buff after cure
Dents require a filler that remains compatible with resilient flooring movement. After applying, let it cure fully and smooth/buff per product guidance rather than guessing.
Cure time for vinyl repair fillers is defined by the product instructions, not by the time it “looks dry.”
Also plan around kitchen use: keep the repaired kitchen vinyl spot off-limits while it cures. If you rush, the filler can crack at the dent edge or get scuffed before it reaches full strength.
Fix cuts, seams, and lifting edges
Cuts, tears, and lifted seams require a different approach than scuffs because you’re restoring either missing material (patch) or the adhesion/pressure bond (seam repair). If you treat a cut like a scratch, or treat a lifted seam like a cosmetic filler, the kitchen vinyl failure will usually return.
This section is your best path when the damage is localized and the subfloor underneath is not soft or actively wet. If the subfloor is compromised, you’ll need a different plan (often replacement plus moisture remediation).
Seam adhesive repairs depend on removing old residue and applying the right adhesive for the specific resilient flooring system.
Patch repairs are most reliable when the cut is squared, cleaned, and sized so the patch edges seat tightly.
Most resilient floor repair instructions include a controlled cure window before traffic or heavy loads.
Cuts/tears (patch approach)
A patch repair focuses on restoring the missing area and ensuring edges sit tight:
1. Remove loose edges: If any vinyl is lifting, trim away material that won’t hold.
2. Square the damaged area: Make clean, straight edges so the patch can fit without gaps.
3. Install the patch: Use a matching patch kit. Dry-fit first if instructions allow, then apply adhesive/filler per kit directions.
4. Trim carefully: A tight fit matters more than “filling around” the damage.
Then keep the area protected until fully cured—otherwise the kitchen vinyl patch can pop at the perimeter.
Seam or edge lifting (adhesive + pressure)
For lifted seams and edges, bonding is the whole job:
1. Lift only as needed: Don’t pull up more vinyl than you must.
2. Clean off old residue: Remove failed adhesive and debris so the new seam adhesive bonds to clean surfaces.
3. Apply seam adhesive: Use the adhesive specified for your vinyl system.
4. Roll or press with the right pressure: Many instructions call for seam roller pressure, often for a short, defined time window.
After repairs: don’t rush the cure
Keep foot traffic away until the adhesive or repair filler has fully cured. Your exact cure time must come from the product instructions.
Manufacturer cure windows for seam adhesives are designed to prevent re-lifting caused by early mechanical stress.
Replace a damaged kitchen vinyl plank or tile
When damage is deep, widespread, or located on an individual plank/tile that’s physically compromised, replacement is usually the most durable kitchen vinyl fix. The key is removing the correct piece without damaging neighboring edges, then installing the replacement in the right attachment system.
This is also the safer route when matching is possible (you still have spare planks/tiles or can source the same style), because DIY patches can be noticeably visible even when installed correctly.
Replacing a resilient floor piece is often more reliable than patching when the damaged area includes structural separation or edge breakdown.
Click-lock (floating) installations rely on the locking mechanism; forcing planks can permanently damage the tongue-and-groove fit.
If the damaged piece is removable: remove carefully
– Glue-down: Removal is typically a careful scrape/chisel process, but the safe method depends on the adhesive type and your flooring system. Work slowly to avoid gouging the subfloor.
– Click-lock/float: Follow the locking mechanism. Don’t pry aggressively—unlocking/re-locking is usually possible if you remove pieces in the right sequence.
Install the replacement
1. Dry-fit first (where appropriate) to confirm layout, fit, and alignment.
2. Adhere or re-lock based on your system:
– Glue-down: adhere using the recommended adhesive.
– Click-lock: re-lock without forcing; ensure the joint sits flat.
3. Maintain required spacing at walls/edges if your installation instructions specify an expansion gap.
Finish and protect
Press/roll as directed and protect the joint during cure. If you must use painter’s tape, follow manufacturer guidance for taping/pressure duration.
Temporary pressure tools (like seam rollers or controlled tape pressure) are used to support adhesion during the cure interval, not after.
What can go wrong
Kitchen vinyl repairs most often fail for three reasons: moisture under the floor, incorrect product chemistry, or impatience during cure. If you address those root causes first, you prevent most “why did it re-lift?” callbacks.
A repair can fail quickly if the underlying subfloor remains wet, even when the top surface appears corrected.
Using the wrong adhesive for resilient flooring (or for the wrong vinyl type) can lead to weak bonding or bubbling along the seam.
Walking on repaired seams or patches before full cure is a common cause of re-lifting.
Trapped moisture
If the spill reached the subfloor, the repair may fail quickly—even if the surface looks fixed. Bubbling that returns after you “think it’s dry” is a red flag.
Practical sign: if the vinyl area keeps changing shape after cleaning, stop and investigate subfloor moisture rather than adding more adhesive.
Using the wrong adhesive/filler
Seam adhesives and patch fillers are not interchangeable across vinyl types. Different finishes, backing layers, and top wear layers can react differently to adhesives.
Skipping cure/settling time
Kitchen floors experience constant micro-movement from foot traffic, appliance legs, and cleaning routines. That movement can undo a repair before the bond reaches full strength.
Also remember: even after cure, heavy rolling loads (appliances dragged for cleaning, rolling chairs) can disrupt a marginal edge. Protect the repair zone during the full cure and initial settling period.
Verdict / tip
If the damage is localized—one seam, one plank/tile, or a small cut—DIY can be reasonable for kitchen vinyl floor repair when you follow your flooring manufacturer’s repair steps and cure windows. If you see recurring bubbling, soft or wavy areas, moldy odors, or seam failure across multiple rows/areas, skip DIY and get a flooring pro or a moisture remediation assessment.
Localized resilient flooring repairs generally hold best when the subfloor is confirmed dry and the repair chemistry matches the original flooring system.
Here’s the balanced reality check:
– DIY advantages: faster turnaround, lower cost, and you can preserve the rest of the floor.
– DIY downsides: repairs are rarely perfectly invisible, and matching color/texture can be difficult—especially on older floors where exact lots may be discontinued.
– When to pause: if the subfloor is soft, the vinyl area is spreading, or seam failure returns within weeks, the issue is probably not “just a surface problem.”
If you’re working in a commercial kitchen or high-traffic office environment, also account for downtime planning. As of 2026, many resilient floor manuals still treat cure windows as operational limits, not suggestions—so schedule repair work when foot traffic can be restricted.
Quick checklist you can scan before you start
| Step | What to confirm |
|---|---|
| Vinyl type | Sheet vs. glue-down LVP/LVT vs. click-lock/float |
| Damage category | Scratch/scuff, dent, cut/tear, lifted seam/edge, full replacement |
| Subfloor condition | Fully dry; no soft spots or ongoing moisture |
| Cleaning | Use only vinyl-appropriate cleaner; remove residue fully |
| Materials | Patch kit/filler for surface damage; seam adhesive for edges; replacement piece if needed |
| Cure time | Wait the full cure window from product instructions: |
| Protection | Keep foot traffic and heavy kitchen loads off the repair zone during cure |
Sources
– ASTM F710 (Standard Practice for Preparing Concrete Floors to Receive Resilient Flooring) ()
– ASTM F1869 (Standard Test Method for Measuring Moisture Vapor Emission Rate of Concrete Subfloor Using Anhydrous Calcium Chloride) ()
– ASTM F2170 (Standard Test Method for Determining Relative Humidity in Concrete Using in-situ Probes) ()
Bottom line: the most reliable kitchen vinyl floor repairs come from correct diagnosis (vinyl type + damage category), correct materials (patch vs. seam adhesive vs. replacement), and strict attention to cleaning and cure time. If moisture might be involved or the floor is repeatedly failing, stop treating symptoms and address the root cause—or bring in a pro.
Frequently Asked Questions
How do I repair a damaged vinyl floor in my kitchen?
Start by cleaning the area thoroughly and removing any loose edges around the damage. For small scratches, use a vinyl repair kit or color-matched filler, then lightly sand and wipe clean. For tears or gouges, you may need to cut out the damaged section and replace it with a matching piece of vinyl floor using an appropriate vinyl adhesive or click-lock replacement, depending on your floor type.
What’s the best way to fix a bubbled or lifting vinyl plank in the kitchen?
Bubbling usually means moisture is trapped underneath or the plank adhesive has failed, so first identify and fix the moisture source (often from a leak or wet cleaning). For minor lift, warm the area gently with a heat source like a hair dryer and press the plank down with a weight for several hours. If the plank remains loose, lift it carefully, clean off old adhesive, reapply the correct vinyl flooring adhesive, and reinstall it so seams sit flush.
How can I repair water damage on vinyl flooring in a kitchen?
Water can cause swelling, seam separation, and subfloor issues, so assess how far the moisture has spread before repairing. If the core is swollen or the seams are opening, you’ll likely need to remove the affected planks/tiles and replace them, along with any damaged underlayment. Dry the subfloor completely, then reinstall using moisture-resistant materials and seam sealing recommended for kitchen vinyl floors.
Which vinyl floor repair products work best for scratches and scuffs?
Look for vinyl floor repair kits that include a color-matched putty/filler and instructions for the specific finish on your sheet vinyl or vinyl plank. For scuffs on the surface, a gentle cleaner followed by a vinyl floor polish or top-coat touch-up can help blend the mark. For deeper gouges, filler is usually needed—apply in thin layers, allow it to cure, then sand lightly and re-clean to restore a smooth kitchen flooring surface.
Why do kitchen vinyl floors separate at seams, and how do I fix it?
Seams separate due to moisture exposure, temperature swings, improper installation, or lack of proper subfloor flatness. Fix it by addressing the cause first—dry any moisture, ensure the subfloor is level, and avoid over-wetting during cleaning. Then re-adhere the seam using vinyl seam adhesive or replace affected planks/tiles if the core has deformed, pressing firmly so the seam is tight and flush.
📅 Last Updated: October 25, 2026 | Topic: How to repair vinyl floors in a kitchen? | Content verified for accuracy and freshness.
References
- Vinyl flooring
- Lead Renovation, Repair and Painting Program | US EPA
- https://www.epa.gov/asbestos/consumer-information-asbestos
- https://www.armstrongflooring.com/support.html
- Home – Tarkett Commercial
- https://www.rfcionline.org/resources/care-maintenance/
- https://scholar.google.com/scholar?q=repairing+vinyl+flooring+kitchen Google Scholar
- https://scholar.google.com/scholar?q=vinyl+tile+VCT+patch+repair+procedure Google Scholar
- https://scholar.google.com/scholar?q=sheet+vinyl+floor+repair+seams+patching Google Scholar