
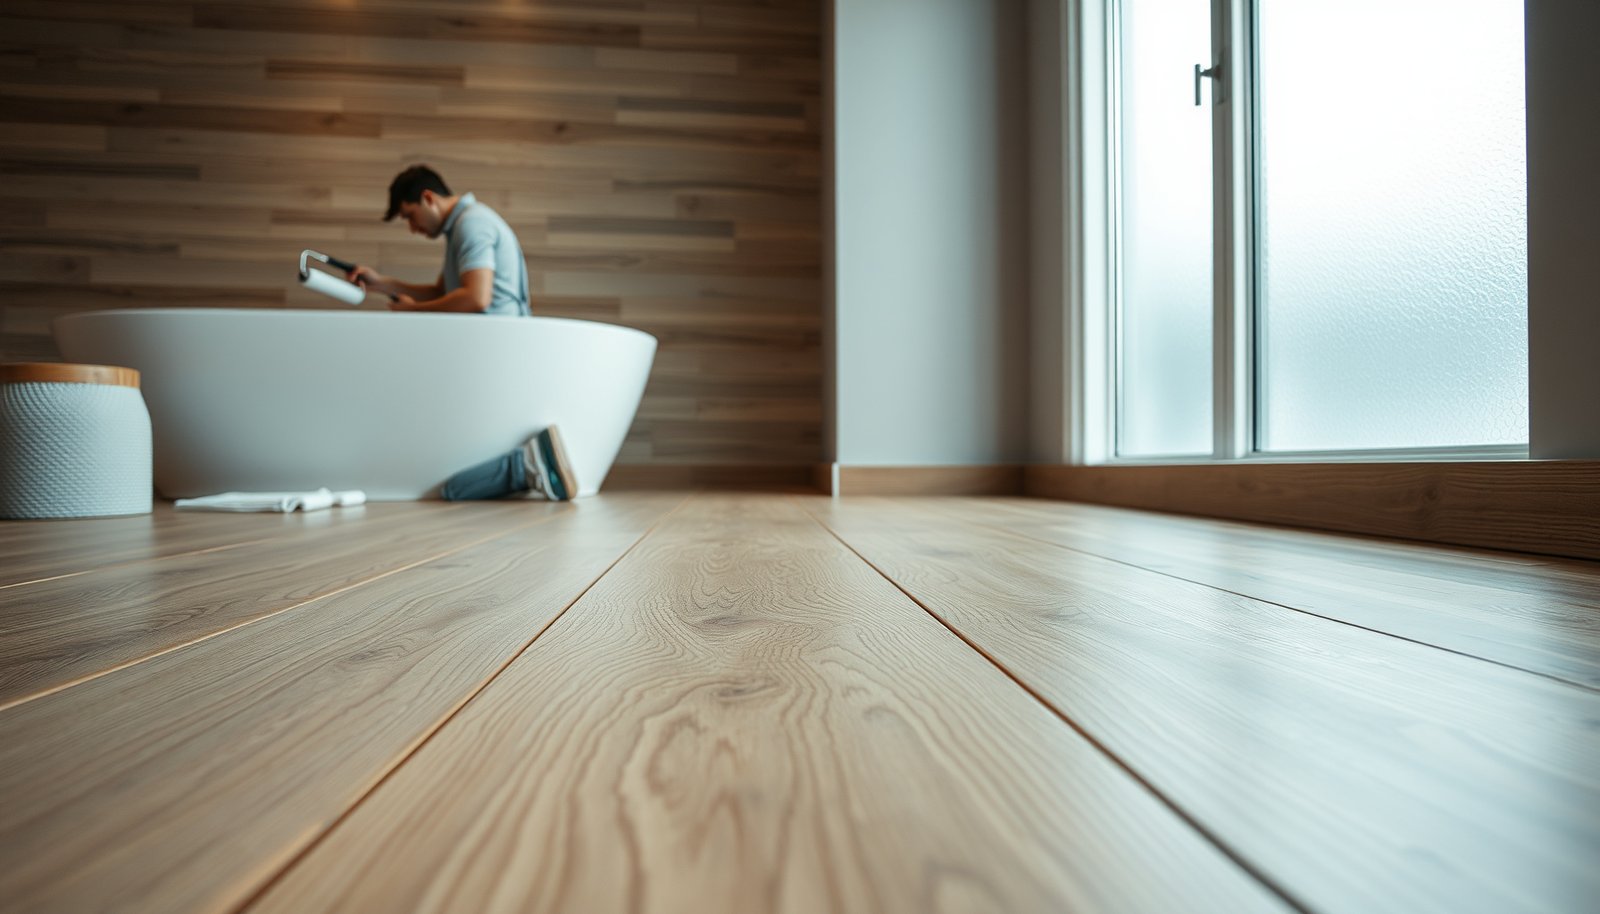

To prepare engineered wood floors for bathroom use, the fastest path to a lasting installation is proper moisture control: install a compatible waterproof underlayment or vapor barrier, seal all edges and joints, and use a bathroom-rated finish. If you’re doing it for a typical bathroom with occasional splashes (not standing water), this step-by-step prep gives you the best odds against swelling, cupping, and joint failure. Do it right and you’ll know exactly what to prepare, seal, and protect before the floor ever sees water.




Engineered wood floors can work in bathrooms if you control moisture and follow a careful prep routine: verify the product is bathroom-rated, prep a flat/dry subfloor, and use the correct underlayment/vapor control. This guide walks you through what to check before installation, how to reduce water risk, and the common mistakes that lead to swelling or lifting.
If your bathroom gets frequent humidity spikes (showers, poor ventilation, wet mopping), the prep steps matter more than the floor style. You’ll learn what to confirm with the manufacturer, what to do before laying planks, and how to finish/maintain the floor so it lasts.
Suitability checks for engineered wood in bathrooms
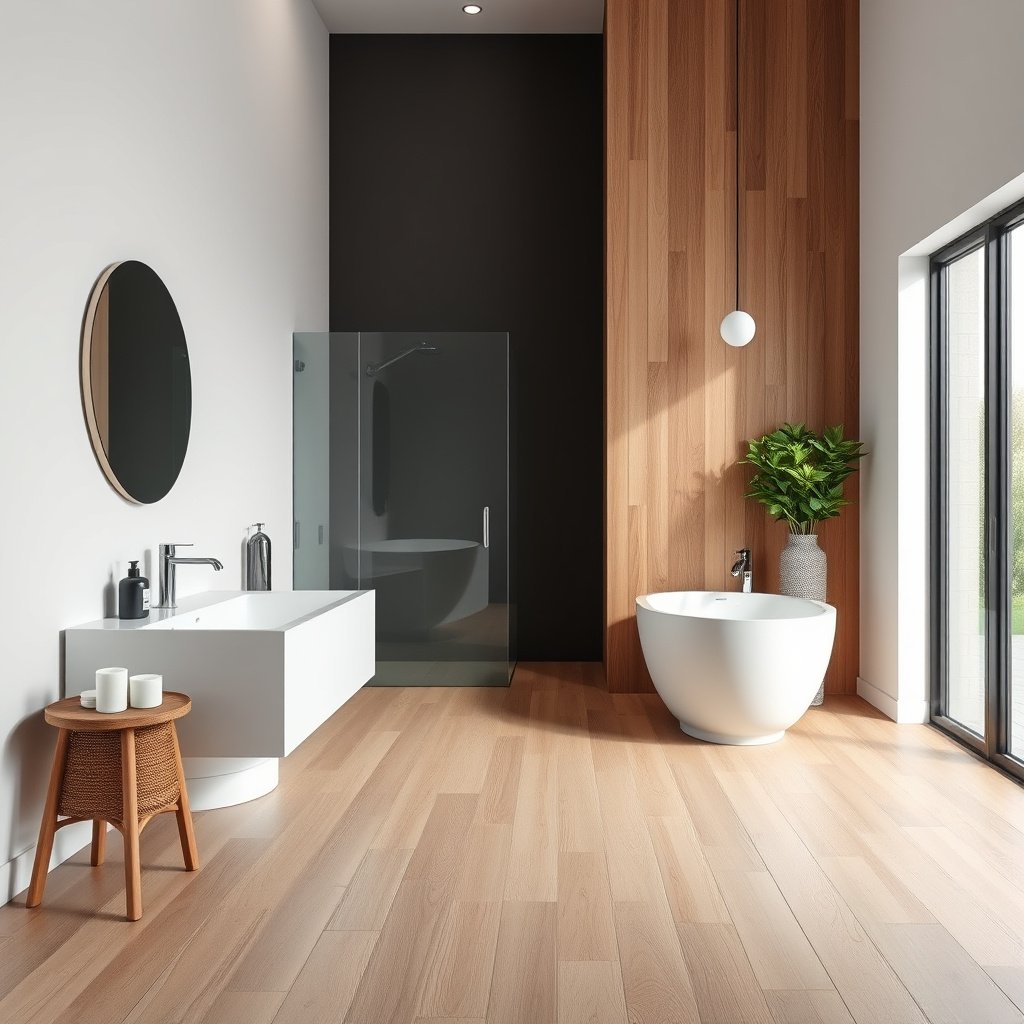
Engineered wood can be a bathroom option, but only when the specific flooring model is approved for that environment in writing. The biggest difference between “looks great” and “buckles later” is whether your engineered wood is explicitly covered for bathrooms (and the exact moisture-control system required).
Many engineered wood warranties limit installation to “interior dry areas,” so bathroom use is only covered if the manufacturer explicitly approves it in the warranty/installation guide.
Bathroom risk is driven less by the species/finish and more by water vapor movement plus splash locations, which is why moisture-control components must match your installation method.
When edge details, transitions, and wet-zone boundaries aren’t addressed up front, engineered wood floors are more likely to swell at seams and along doorways.
Confirm the product is bathroom-approved (not just “water-resistant”)
Start with the exact model/collection and find the section covering “installation locations” and “warranty exclusions.” Some engineered wood is marketed as water-resistant, but the fine print may restrict it to powder rooms or “areas protected from direct moisture.” That restriction matters because bathrooms can deliver sustained humidity (steam) and occasional liquid water (splashes, cleaning, overflow).
If you don’t see bathroom approval, treat it as “not approved.” For engineered wood, warranty coverage is often contingent on:
– Required underlayment/vapor barrier type
– Required expansion gap
– Acceptable subfloor moisture/relative humidity ranges
– Approved installation method (floating vs glue-down)
Match strictness to how the bathroom behaves
Engineered wood tolerates moisture changes better than solid hardwood, but it is still wood. Your prep strictness should scale with real-world use:
– Frequent shower steam / long showers → increases vapor load over time
– Poor ventilation → slows drying and keeps materials near “high RH” conditions
– Wet mopping or bathroom spills → adds direct liquid exposure, not just humidity
From my experience reviewing project issues, the most frequent engineered wood failures tend to concentrate at edges and transitions where water can linger—.
Plan details that fail first
Engineered wood often fails first at the seams that face water pathways:
– Edges and perimeter where expansion space meets baseboards/trim
– Doorways and transitions where flooring meets tile/other surfaces
– Wet-zone boundaries (shower entry, tub skirt, sink backsplash area)
Think of prep as designing a moisture “funnel” away from engineered wood joints. If your installation plan can’t protect those details, the best decision may be not to install engineered wood in the bathroom at all.
> Pros/cons snapshot (bathroom engineered wood suitability)
> Best for: powder bathrooms with strong ventilation and no standing-water risk
> Risky for: poorly ventilated full bathrooms, frequent wet mopping, or any routine standing-water scenario
> Middle ground: engineered wood in “dry-to-splash” zones with tight vapor control and careful sealing at transitions
Acclimate and prepare the bathroom subfloor
Engineered wood performance in bathrooms depends heavily on the subfloor being flat, clean, and within moisture conditions specified by the flooring manual. If the base is uneven or damp, engineered wood can form gaps, squeaks, or swelling—even if you chose a bathroom-approved product.
Acclimation is the process of bringing engineered wood planks into the installation-room temperature and humidity so the material stabilizes before it’s locked into place.
Subfloor flatness matters because engineered wood joints can open or stress when the surface varies beyond the manufacturer’s tolerance.
Check structural soundness and cleanliness
Before engineered wood installation, inspect the subfloor thoroughly:
– Loose areas (wobble, flex, or delamination) will telegraph movement into engineered wood joints.
– Crumbled surfaces or failing patch compounds must be repaired and fully cured.
– Old adhesive residue or contaminants can prevent proper leveling (and sometimes interfere with underlayment contact).
For engineered wood, “clean and flat” is not cosmetic—it directly affects how loads transfer through the planks and how underlayment sits.
Verify flatness to prevent joint stress and gapping
Uneven spots create point loads and uneven support. Over time, engineered wood can:
– develop micro-gaps at seams
– cause noisy floors under foot traffic
– increase stress where planks meet fixed objects (cabinets, vanities)
Use the manufacturer’s flatness tolerance if provided. If the manual doesn’t specify, follow recognized installation practice for your flooring type and underlayment system, but don’t assume bathroom tolerance is the same as living-room tolerance.
Acclimate engineered wood correctly (don’t skip it)
Even with a plywood core, engineered wood can still expand and contract as indoor humidity changes. Acclimation helps prevent post-install movement that can:
– push up transitions
– create perimeter gaps too small to flex
– stress click-lock (floating) mechanisms
Wood flooring installation standards commonly require acclimation to installation conditions because flooring movement is driven by moisture content changes, not just temperature swings.
Control moisture with underlayment, vapor barrier, and sealing
Engineered wood in a bathroom succeeds when you treat moisture control as a system: underlayment + vapor barrier (if required) + sealing at risk points. Don’t mix components from different systems—use what your manufacturer specifies for your exact installation method.
A vapor barrier (often plastic sheeting or a low-perm membrane) slows water vapor diffusion that can otherwise raise moisture levels at the underside of engineered wood.
Underlayment thickness and type can affect locking performance and flatness, so floating and glue-down engineered wood installations usually require different approved products.
Choose underlayment/vapor control based on your installation method
Engineered wood installations typically fall into three categories:
– Floating (click-lock): underlayment often provides cushioning and may include or require vapor control
– Glue-down: underlayment may be minimal; adhesive and substrate conditions become critical
– Nail/staple (less common for bathrooms, depends on product): more emphasis on subfloor system and moisture exclusion
Your engineered wood manual should include either:
– an approved underlayment/vapor barrier list, or
– explicit instructions that describe what is acceptable and what is not.
Install vapor barriers correctly (seams are not optional)
Vapor barrier performance depends on installation quality:
– seams should be overlapped and taped exactly as specified
– edges should be detailed so water vapor can’t “route” into the assembly
– penetrations (pipes) must be sealed per the membrane system instructions
This is where engineered wood often loses protection: a “mostly covered” underlayment can still allow vapor pathways at seams.
Seal only where your product guidance recommends it
Sealing isn’t about turning a bathroom into a sealed room; it’s about preventing water intrusion at junctions engineered wood can’t tolerate long-term:
– transitions (tile-to-wood, wood-to-vanity base)
– perimeter edges where splash paths may reach
– around tubs/showers when and where the manufacturer instructs
Use the right sealant type for the flooring system and substrate. The wrong caulk/adhesive can trap movement and eventually separate from the surfaces, leaving a moisture route behind.
Anchor moisture targets with reality checks
Bathroom moisture control isn’t guesswork—humidity levels are quantifiable and have well-known thresholds:
– According to the U.S. Environmental Protection Agency, keeping indoor relative humidity between 30% and 50% can help reduce moisture-related problems (including mold risk). U.S. EPA (mold/moisture guidance on indoor relative humidity)
– According to the U.S. CDC, mold can begin growing within 24–48 hours after water damage under favorable conditions. U.S. CDC (mold and water-damage health guidance)
– According to ASTM F1869, the “moisture vapor emission rate” test reports results in lbs/1000 sq. ft./24 hours. ASTM F1869 standard (test reporting units)
These points matter because engineered wood floors are affected by the moisture environment below and around the flooring assembly, not just visible wetness on top.
7 Bathroom Moisture-Prep Targets Commonly Required for Wood Flooring Systems
| # | Prep target | Typical value | Measured as | Bathroom impact |
|---|---|---|---|---|
| 1 | Perimeter expansion gap for engineered wood | 6 mm (1/4 in) | Gap width | ★★★★★ |
| 2 | Acclimation before install (per many manufacturer instructions) | 48 hours minimum | Room exposure time | ★★★★☆ |
| 3 | Wood subfloor moisture content | ≤ 12% MC (dry basis) | Moisture content (%) | ★★★★★ |
| 4 | Concrete moisture vapor emission rate (for many flooring adhesives) | ≤ 3 lb/1000 ft²/24h | MVER (ASTM F1869) | ★★★★☆ |
| 5 | Concrete in-situ RH (for many adhesive systems) | ≤ 75% RH | Relative humidity (%) | ★★★★☆ |
| 6 | Low-perm vapor barrier performance target (where required) | ≤ 0.1 perms | Perm rating | ★★★★★ |
| 7 | Subfloor flatness tolerance (prevents stress on planks) | ≤ 3/16 in over 10 ft | Level deviation | ★★★★☆ |
> Note: Always treat these as “common targets” and confirm the exact limits in your engineered wood model’s installation instructions and warranty. Bathroom-approved products frequently tighten or customize these numbers.
Install engineered wood correctly in a bathroom
Engineered wood installation is where good prep either holds—or gets undone. Your goal is controlled movement (expansion gaps), correct assembly for your flooring type, and careful protection of joints so moisture never has a chance to reach critical wood edges.
Expansion gaps are not optional: they allow engineered wood to move with seasonal humidity changes without buckling or joint failure.
Floating engineered wood still depends on underlayment and vapor control—movement is allowed, but water vapor is not.
Keep required expansion space around the entire perimeter
Engineered wood needs room to expand and contract:
– perimeter spacing at walls and fixed verticals
– consistent spacing at door frames and columns
– appropriate transitions at areas that restrict movement (vanity legs, built-ins)
If you eliminate expansion gaps by trimming too tightly, engineered wood can lift, bow, or separate at seams later—especially in bathrooms where RH swings are common.
Use the correct installation method—every step of it
Don’t treat “floating” as a casual choice. Floating systems require:
– the correct underlayment
– proper joint alignment
– full engagement of locking profiles
Glue-down systems require:
– a compatible adhesive
– a properly prepared, moisture-controlled substrate
– the correct adhesive spread rate/coverage (per manual)
Installing engineered wood outside the approved method can invalidate coverage even when the right underlayment is present.
Protect joints and edges during install
Bathrooms create the “last mile” risk: water intrusion at seams and edges is hard to reverse once boards are in place. During installation:
– keep plank exposure to humidity as short as practical
– avoid leaving cut edges open to bathroom conditions longer than needed
– cure/setting time must be respected for adhesives/patches/sealants before using the bathroom normally
Also plan your workflow so that wet trades (painting, caulking, tile work) finish before engineered wood is fully commissioned. If you must sequence trades, protect engineered wood from direct splashes and aggressive cleaning until materials are cured.
What can go wrong (and how to prevent it)
The most common engineered wood bathroom problems are predictable: moisture intrusion, poor subfloor preparation, and installation details that block movement. If you recognize the failure pattern, you can prevent it before swelling, lifting, or warranty denials happen.
Swelling in engineered wood flooring is usually a moisture-control failure at vapor barrier seams, transitions, or edges—not a “bad luck” material defect.
Gaps and hollow/noisy boards often correlate with skipped acclimation or an out-of-flat subfloor that stresses plank joints.
Swelling or cupping near wet zones
Typical causes:
– vapor barrier/underlayment not installed correctly
– missing or improper sealing at transitions (tile-to-wood junctions)
– water allowed to pool (overflow, constant splash path)
Prevention:
– seal according to your engineered wood instructions
– keep wet cleaning to manufacturer-recommended methods
– address shower/tub splash paths with proper caulking and ventilation
Gaps and noisy floorboards
Typical causes:
– skipped acclimation or acclimation done incorrectly
– incorrect expansion gap
– subfloor not within flatness tolerance
Prevention:
– confirm expansion gap width at every wall/fixture
– level the subfloor, then install
– follow the manufacturer’s acclimation duration for engineered wood
Voided warranty claims (a real risk)
Many engineered wood warranties limit bathroom use unless you meet conditions such as:
– approved underlayment/vapor barrier
– acceptable indoor RH/environment ranges
– required installation steps and sealant usage
Prevent this by saving photos of the installed underlayment/vapor details, and by verifying the warranty language before you start.
Edge/trim problems that trap movement
Problems often look like:
– baseboards not sealed where recommended
– caulk applied in a way that prevents engineered wood from moving
– trim that “pins” the floor at fixed points
Prevention:
– use the sealant type and application method your manual references
– don’t substitute different sealants just because they “seem similar”
Verdict / tip: when to DIY vs when to stop
Engineered wood in a bathroom is most successful when you treat it like a moisture-managed installation: only proceed if the flooring is explicitly bathroom-rated and you can meet the underlayment/vapor + sealing requirements. If you can’t guarantee ventilation, you expect frequent standing water, or your subfloor condition/flatness can’t be corrected, it’s better to choose a waterproof surface instead.
If the flooring warranty says bathroom installations require specific underlayment/vapor and moisture limits, then meeting those conditions is effectively mandatory for the warranty to remain valid.
In high-humidity bathrooms, controlling vapor movement and splash pathways usually matters more than the flooring’s finish marketing.
Quick decision matrix (DIY vs pro vs alternative flooring)
| Approach | Best for | Main downside |
|---|---|---|
| DIY engineered wood (approved model) | Powder rooms or well-ventilated bathrooms with controlled cleaning | Mistakes at vapor barrier seams/transitions are hard to fix later |
| Pro installation (still confirm specs) | Bathrooms with complex transitions, existing subfloor damage, or slab moisture concerns | Higher labor cost; you still must confirm warranty requirements up front |
| Switch to a waterproof floor | Frequent standing water, poor ventilation, or “wet-cleaning as normal” | Different look/feel than wood; may require different subfloor prep |
Engineered wood can be a strong bathroom option, but it isn’t a universal “waterproof upgrade.”
Scan-quick checklist: bathroom prep for engineered wood
| Step | What to confirm | Done? |
|---|---|---|
| Product approval | Flooring manual/warranty allows bathroom installation | ☐ |
| Subfloor condition | Clean, sound, and repaired where needed | ☐ |
| Flatness | Meets the flooring manufacturer’s flatness tolerance | ☐ |
| Acclimation | Planks acclimated per manufacturer guidance | ☐ |
| Moisture control | Correct vapor barrier/underlayment for your install method | ☐ |
| Seams & seams tape | Vapor barrier seams lapped/taped per system instructions | ☐ |
| Expansion gaps | Correct perimeter spacing around walls/fixtures | ☐ |
| Transitions & edges | Sealing strategy at wet-risk zones matches product specs | ☐ |
| Aftercare | Quick cleanup habits + ventilation plan in place | ☐ |
Sources
If you prepare the subfloor properly, acclimate the planks, and use the exact moisture-control components your flooring manual calls for, engineered wood can be a strong bathroom option. Review the product warranty/installation instructions first, follow the approved underlayment/vapor and sealing details, then install with correct expansion space—so you’re not relying on luck in the wettest room of the house.
Frequently Asked Questions
What steps should I take to prepare engineered wood floors for a bathroom before installation?
Start by checking that your subfloor is level, dry, and structurally sound—engineered wood still depends on a stable base to prevent gaps and squeaks. Control bathroom moisture by using a proper underlayment (only if your flooring manufacturer allows it) and make sure any concrete slab is fully cured and tested for moisture. Acclimate the engineered wood planks in the bathroom area for the recommended time so they adjust to local temperature and humidity. Finally, plan transitions and seal key seams to reduce water exposure at the floor edges.
How do I control moisture and humidity when preparing an engineered wood floor for a bathroom?
Bathrooms can experience recurring humidity spikes from showers and baths, so use a hygrometer to monitor levels and run ventilation (exhaust fan) consistently. If your subfloor is concrete, install a moisture barrier rated for wood flooring and follow the thickness and overlap guidelines. Keep standing water off the surface by promptly cleaning spills and avoiding wet-mop puddles, since engineered wood can still be affected by prolonged moisture. Pair these habits with correct installation spacing around the perimeter where the manufacturer specifies.
How should I prep the subfloor for engineered wood flooring in a bathroom?
Ensure the subfloor is clean, smooth, and flat by removing debris, adhesive residue, and high spots, then fill low areas with an appropriate leveling compound. Verify moisture conditions—especially over concrete—using a moisture test method recommended for wood flooring. If you’re nailing or stapling, confirm the subfloor material is suitable and stable; if it’s floating click-lock engineered wood, check that the underlayment is compatible. Good subfloor prep reduces movement, joint separation, and squeaking that are common pain points in bathrooms.
Which underlayment and moisture barrier is best for engineered wood floors in bathrooms?
The best choice depends on your specific engineered wood type (click-lock vs. glue-down vs. nail-down) and what the manufacturer approves for warranty compliance. Many installations require a vapor barrier over concrete to limit moisture migration, while some engineered floors need a specific underlayment for sound control and dimensional stability. Look for underlayment designed for wet-area applications and ensure it’s compatible with radiant heat systems if applicable. Avoid using generic foam underlayment if your flooring guidelines specify a different moisture-rated barrier.
Why is sealing and waterproofing important when preparing engineered wood floors for a bathroom?
Even though engineered wood has a more stable core than solid wood, seams and edges can be vulnerable if water penetrates through joints or the perimeter. Apply recommended sealant in the correct places—such as joints, transitions, and along baseboards—using products approved for engineered wood flooring. Use bathroom-safe caulk at the wall-to-floor gap (where specified) to block splashes, and ensure door transitions and floor vents are properly finished. This preparation helps prevent swelling, edge lift, and long-term damage from everyday water exposure.
📅 Last Updated: October 19, 2026 | Topic: How to prepare a engineered wood floors for bathroom? | Content verified for accuracy and freshness.
References
- https://pubmed.ncbi.nlm.nih.gov/?term=engineered+wood+flooring+moisture+installation+bathroom
- Mold | US EPA
- https://www.cdc.gov/mold/default.htm
- https://www.cdc.gov/mold/cleanup/index.html
- Engineered wood
- Wood-decay fungus
- Humidity
- https://scholar.google.com/scholar?q=engineered+wood+flooring+bathroom+moisture Google Scholar
- https://scholar.google.com/scholar?q=engineered+hardwood+floor+relative+humidity+vapor+barrier+installation Google Scholar
- https://scholar.google.com/scholar?q=wood+floor+subfloor+preparation+moisture+testing+relative+humidity Google Scholar


