
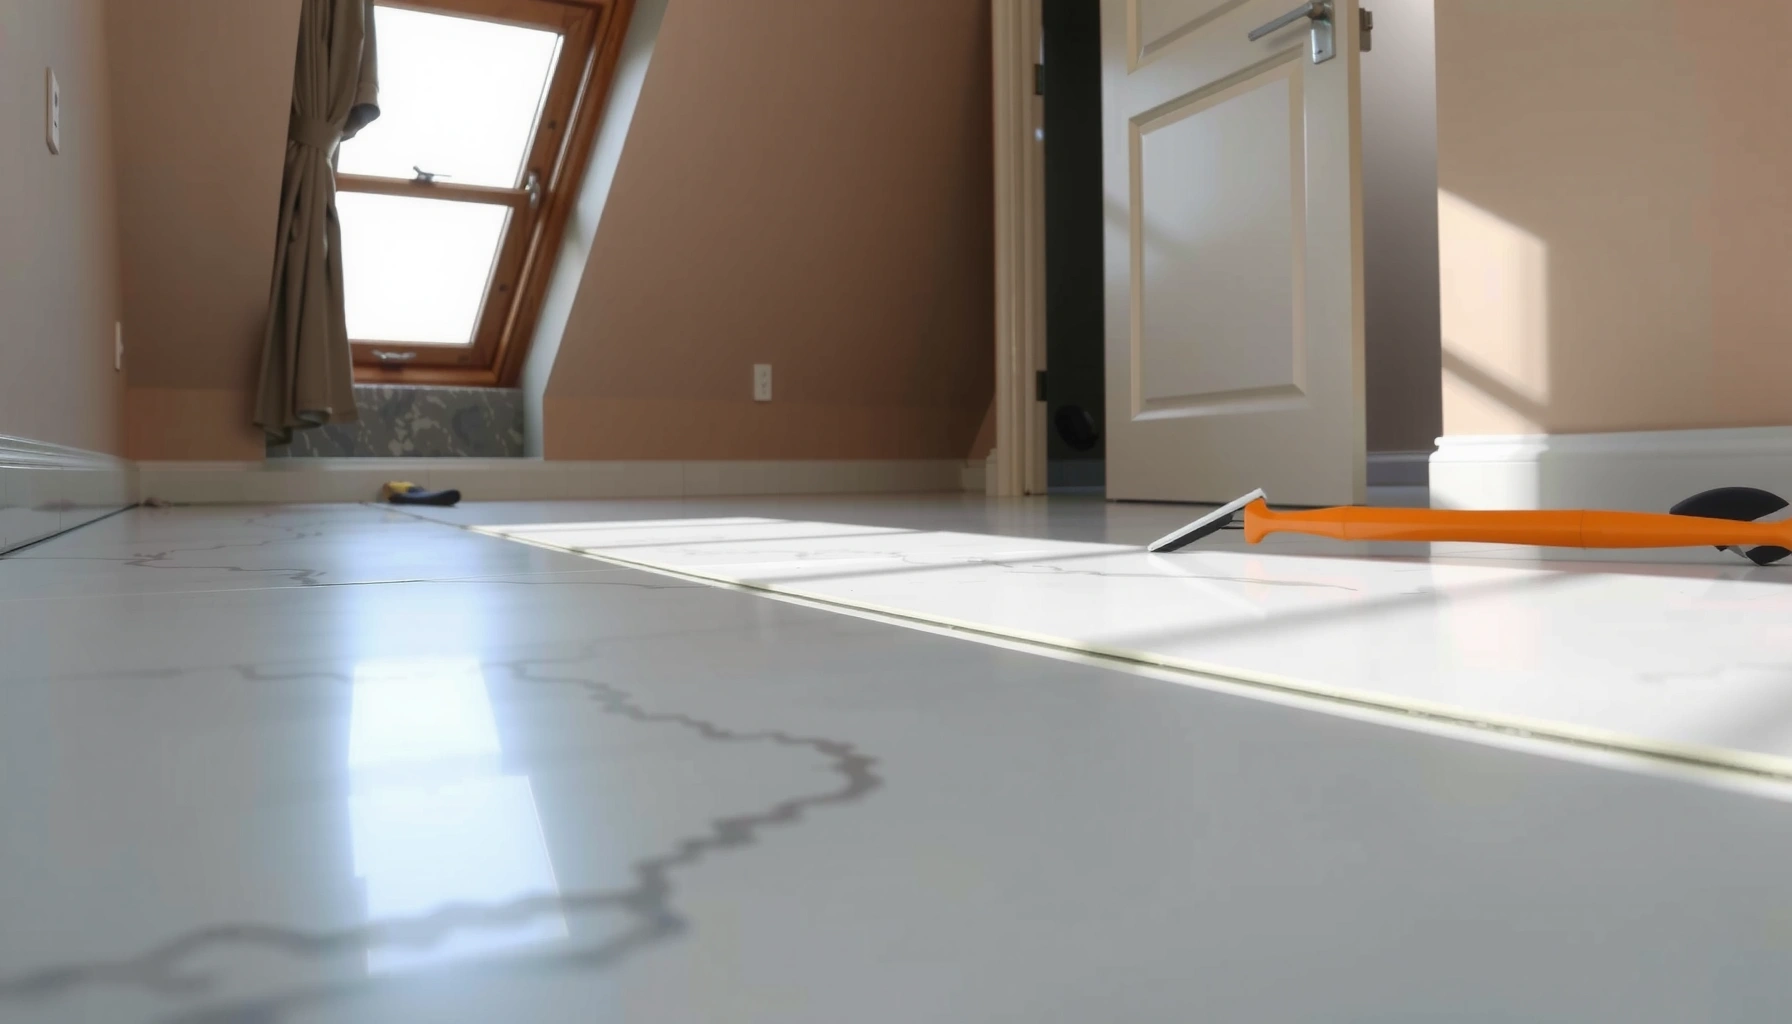

Want to know how to install marble floors in a bedroom without costly mistakes? Follow this step-by-step guide for the exact prep, layout, thinset setting, grout, and sealing process that makes marble look flawless and last. It’s the fastest path to a professional finish—provided you start with a flat subfloor, the right underlayment, and careful tile spacing.




Installing marble floors in a bedroom is mostly about getting the subfloor perfectly flat, choosing the right thinset/mortar and grout/sealer system for marble, and then sealing after installation. If the subfloor isn’t level and stable, marble can crack or show lippage—so the real work happens before any tile goes down.
Installing marble floors in a bedroom is mostly about getting the subfloor perfectly flat, choosing the right underlayment and thinset/mortar system, and sealing the stone after installation. If your subfloor isn’t level and stable, the marble can crack or show lippage—so plan to prep carefully before any tiles go down.
This guide is for homeowners tackling a bedroom marble floor installation (DIY or managing a contractor) and anyone replacing existing flooring where moisture, leveling, and tile layout matter. It’s especially relevant if you’re aiming for a clean finish with minimal edge chipping and safe long-term maintenance.
Plan the layout and confirm your marble choice

Dry-layout is used to plan tile cuts and avoid prominent slivers at the main viewing line, which reduces the chance you’ll be forced into awkward skinny cuts later.
Polished marble generally looks more reflective, but it can show micro-variations more readily than honed finishes, and it may require extra care for slip safety.
Stone floors are typically treated as a “high sensitivity” installation compared with porcelain because flatness and coverage requirements are more demanding for avoiding lippage and cracks.
Start with measurement and a dry lay:
– Measure the room length/width and note any fixed obstructions (closet openings, HVAC registers, floor vents, baseboard return edges).
– Dry-lay a few tile rows using the exact tile size and intended grout joint to see where cut pieces will land.
– Aim to avoid tiny slivers at the most visible areas (often the main entry route or the room’s visual center). If you must cut, move cuts toward less-noticeable edges (like against a closet wall).
Confirm finish and tone:
– Polished marble: higher reflectivity, can look more uniform in color, but can also highlight surface wear and haze if cleaning is wrong.
– Honed marble: typically more forgiving for visible scratches and can look more “matte” with fewer glare hotspots, though it still needs sealing and correct cleaning.
Verify practical constraints before you buy or schedule:
– Check the slab/subfloor type (plywood, concrete slab, existing underlayment) and how moisture behaves in that bedroom.
– Determine whether you’ll add an underlayment system (like a cement board layer over plywood, or a decoupling/waterproofing layer over concrete). The choice should match the substrate and the mortar manufacturer’s instructions.
Real-world installation note: in my experience planning stone layouts, the biggest “surprise” is rarely color—it’s whether the room’s walls are square. A dry layout catches wall skew early, so you can shift the grid without ending up with cut tiles that visually “walk” across the room.
Prepare the subfloor for a flat, stable base
A marble floor lives or dies by subfloor flatness and stability, so prep comes before thinset. Your goal is to reach the flatness and substrate conditions required for stone tile bonding to prevent cracking, hollow spots, and lippage.
Stone tile failures are commonly linked to insufficient subfloor flatness and inadequate mortar coverage, not the stone itself.
Substrate flattening is done before installation because once marble is set, correcting lippage is far more difficult and can require removing tiles.
ANSI guidance for tile and stone installations ties acceptable deflection to the structural span length (L), with stricter limits for stone than for many standard tile applications.
Begin with demolition and inspection:
– Remove old flooring and any adhesive residue that can interfere with bonding.
– Inspect for loose sections, squeaks, dips, or humps. Mark high spots and low spots with chalk or marker.
Level for flatness (not just “level”):
– Use a straightedge (and/or laser level for larger rooms). Marble tile requirements are unforgiving—your target is flatness within the tolerance used in your mortar/tile system instructions.
– Correct issues with mechanical grinding for high spots and patch/feather products for dips (only using patch compounds appropriate for the substrate type).
Address moisture early:
– If the bedroom is over a concrete slab, moisture can still move even without visible leaks (humidity, vapor drive, past spills).
– If your substrate/subfloor condition requires it, use an appropriate membrane or waterproofing approach specified for your substrate and intended tile system.
[ADD: source/spec reference for your specific subfloor condition — e.g., the exact flatness tolerance and whether your substrate is concrete slab, plywood subfloor, or an existing tile system.]
A key practical detail: even if you “feel” the floor is stable, you want structural stability plus a surface that won’t flex when you step near edges. For stone, small substrate movement can telegraph through the grout lines and contribute to cracking over time.
Choose the right materials and setting method
Choose a marble-approved mortar/thinset and a complete grout/sealer system designed for stone, not just “any tile thinset.” Then dial in coverage using the correct trowel size so you achieve the bond strength marble needs and reduce crack risk.
Marble installation depends on using mortars and grouts specifically approved for natural stone by the manufacturer.
Using the wrong trowel notch size can reduce mortar coverage, increasing the risk of hollow spots and cracking under point loads.
Joints in stone tile work as a system: the grout type, joint width, and installation technique all affect long-term performance.
Mortar/thinset selection:
– Use the mortar/thinset type recommended for natural stone and your substrate (cementitious thinset vs. modified thinset where permitted).
– Confirm compatibility using the mortar manufacturer’s published documentation, not just marketing labels. Marble is sensitive to certain bonding and cleaning chemistry.
Coverage and trowel:
– Mortar coverage is controlled primarily by:
– Correct trowel notch size and angle
– Flattening ridges into a consistent bed
– Proper back-buttering (if required or recommended by the stone/mortar system)
– As a planning baseline, ensure your chosen system is capable of achieving the coverage level required for stone. (If you don’t have the exact coverage spec, add it to your scope via the mortar manufacturer technical data.)
Grout and joints:
– Plan grout joints based on tile size and the look you want, but also on the system’s performance.
– Remember that grout is not just decoration—it helps manage movement and supports the tile edges. Too-tight joints can be risky if your installation tolerances are tight or if there’s any movement.
Quick comparison: setting systems for marble floors
Below is a practical way to choose between common approaches for bedroom stone floors—your exact selection should still follow the mortar and tile manufacturer requirements.
| Setting/Installation Approach | Best For | Strengths | Main Watch-Outs |
|---|---|---|---|
| Cementitious thinset (unmodified) | Many concrete slab installs and some approved systems | Often highly compatible with stone systems; strong bond | Must be mixed correctly; may be slower to work |
| Polymer-modified thinset (when approved for stone) | Where manufacturer allows and conditions require it | Better flexibility and workability | Must meet stone-approval rules—don’t substitute casually |
| Specialty stone mortar/adhesive (system-based) | Premium stone floors where spec compliance matters | Designed as a complete natural-stone system | Often higher cost; still requires correct trowel and coverage |
[ADD: mortar product/spec you plan to use] (insert brand/type and the manufacturer’s approved substrate and stone compatibility statements).
Install marble tiles: set, cut, and keep lines true
Install marble in controlled batches so you maintain clean lines, consistent spacing, and proper tile support while the mortar is curing. Work carefully: marble cutting and handling should prioritize edge protection to prevent chipping, and tile placement must stay accurate across the room.
Tile setting is typically done in sections to preserve alignment and manage mortar “open time,” which is when the thinset still accepts tile placement.
A wet saw with an appropriate blade is commonly recommended for cutting marble to reduce chipping and heat damage.
Natural stone installation requires checking alignment frequently because small lippage errors become more visible as tile placement progresses.
Set in sections:
– Spread mortar in small working areas (one section at a time).
– Use spacers to maintain consistent grout joints.
– Press and seat tiles properly—avoid sliding tiles once mortar begins to grab (unless the manufacturer’s instructions allow repositioning).
Keep the floor flat and the lines straight:
– Periodically check:
– Flatness (tile surface height)
– Alignment (straight lines relative to your layout)
– Level and plumb where reference lines exist
Cutting marble:
– Use a wet saw and appropriate stone blade.
– Protect tile edges during handling and storage.
– Dry-fit cut pieces before setting to confirm wall gaps and spacing match your plan.
Cure and traffic:
– Do not rush. Thinset and grout cure times are product-specific and environment-dependent (temperature, airflow, humidity).
– Avoid foot traffic until the installation reaches the required “foot traffic” or next-step time per manufacturer specs. Rushing commonly leads to shifting, bond issues, or grout performance problems.
From my own project management experience, the safest workflow is to plan morning and afternoon work blocks so you stay within open time windows and avoid “last-minute” adjustments at the end of the day. Stone work rewards consistency more than speed.
Grout, clean, and seal marble properly
Grout and seal marble only after the stone is fully set and ready for the next step—this prevents haze, staining, and performance issues. Then use marble-safe cleaning practices and follow the sealer’s instructions for timing and number of coats.
Grouting natural stone requires following the grout manufacturer’s mixing and haze-removal guidance to avoid leaving residues that can dull polished marble.
Sealing timing matters: most marble sealers require the stone to cure fully before application to achieve the intended stain resistance.
Cleaning products can affect stone appearance, so using stone-safe methods is part of maintaining the finished floor’s look.
Grout steps:
– Mix grout to the specified consistency and proportions (don’t guess by eye).
– Apply grout carefully, then remove excess promptly to prevent haze.
– Follow manufacturer cleanup timelines—many products have a defined method for initial removal and a later “final haze” step.
Cleaning finished marble:
– Use cleaning products appropriate for marble (and specifically safe for sealed stone).
– Avoid harsh acidic cleaners, which can etch natural stone surfaces.
Seal after cure:
– Apply the sealer after the marble has cured per the sealer manufacturer’s timing instructions.
– Use the sealer’s recommended number of coats and allow proper dry times between coats.
[ADD: source for your sealer and marble product requirements] (insert exact sealer brand/spec and the timing/coat guidance from the instructions).
What can go wrong (and how to avoid it)
Most marble problems come from skipping system compatibility checks or rushing the process after the subfloor is prepped. Common failures are usually preventable with strict flatness prep, correct mortar coverage, and product-specific cure/cleaning discipline.
Lippage and uneven tiles typically trace back to inadequate flatness prep or inconsistent mortar thickness, which is why flatness verification must happen before setting.
Cracking or loose tiles are often associated with inadequate mortar coverage, incorrect mortar type for natural stone, or traffic before cure.
Unsealed marble is more vulnerable to staining and etching, so sealing and correct cleaning are not optional for many homeowners.
Use this quick cause-to-fix mapping:
– Lippage and uneven tiles
– Cause: poor flatness prep, inconsistent thinset thickness
– Fix: correct flatness first; use leveling checks while setting
– Cracking or loose tiles
– Cause: wrong mortar choice for marble, low coverage, premature walking
– Fix: use stone-approved mortar and correct trowel + cure times
– Staining/spotting
– Cause: skipping sealer or improper haze removal
– Fix: seal after cure; clean haze using marble-safe procedures
– Maintenance mismatch
– Cause: expecting polished marble to behave like porcelain
– Fix: choose finish intentionally and follow a realistic cleaning routine
If you’re working in a bedroom with pets, frequent foot traffic, or rolling furniture, plan for protective habits (felt pads, controlled cleaning products) early. Marble can be stunning, but it is a natural material with performance limits.
Verdict: is DIY marble flooring in a bedroom a good idea?
DIY marble flooring can work if your subfloor is already close to the required flatness and you can follow a complete, manufacturer-approved mortar/grout/sealer system without shortcuts. Skip DIY (or plan for professional help) if your slab/subfloor needs major reconstruction, if moisture conditions are uncertain, or if you can’t commit to careful layout and cure/cleaning timelines.
DIY natural stone flooring succeeds most often when the installer treats the subfloor prep and mortar system as the “main project,” not the tile itself.
Complex bedrooms with lots of cuts, off-square walls, or unclear moisture conditions are where DIY cost overruns can accelerate quickly.
For stone tile, using the correct cure and cleaning procedures directly affects bond integrity and finished appearance.
DIY vs. hiring a pro (quick decision)
| Criteria | DIY Marble Floor | Hire a Pro |
|---|---|---|
| Subfloor flatness challenge | Works only if subfloor is already close to spec | Better outcomes when subfloor leveling is complex |
| Mortar/grout/sealer system compliance | Requires careful reading of spec sheets | Pros typically manage system compatibility day-to-day |
| Layout accuracy and cut planning | Higher risk for slivers and alignment drift | Better handling of off-square rooms and sightline priorities |
| Cutting and chip control | Wet saw skills required to reduce chipping | Usually more consistent edge results |
| Cure timing discipline | Easy to mess up if work is scheduled tightly | More consistent adherence to cure/traffic windows |
| Moisture uncertainty | Risky without testing and documentation | Better capability to assess and specify moisture-safe systems |
| Jobsite labor and complexity | Lower direct cost if your prep is solid | Higher direct cost but potentially fewer rework cycles |
| Tool and material management | You may need additional tools/consumables | Pros typically have the right equipment |
| Long-term warranty expectations | Often limited DIY recourse | Better warranty/contract remedies in many cases |
| Overall risk tolerance | Best for low-to-moderate complexity floors | Best when the floor must be “right the first time” |
| **Verdict** | Choose DIY if prep is already solid and you’ll follow product specs precisely | Choose pro help if prep/moisture/layout complexity is high |
Quick checklist: before and during install
– [ ] Subfloor cleaned, stable, and leveled/flat to spec ([ADD: exact flatness tolerance if you have it from your tile/mortar installer guide])
– [ ] Marble tile finish chosen (polished/honed) with slip and scratch expectations
– [ ] Mortar/thinset compatible with marble + your substrate ([ADD: mortar product/spec you plan to use])
– [ ] Proper trowel size for intended coverage ([ADD: trowel size from your mortar specs])
– [ ] Dry layout done to prevent visible sliver cuts
– [ ] Wet saw available and blades suitable for stone
– [ ] Correct grout system + joint plan
– [ ] Marble sealing done after cure using sealer instructions
Approximate Thinset Coverage by Trowel Notch (Natural Stone Tile)
| # | Trowel Notch (Square) | Approx. Coverage per 50-lb Bag | Common Use | DIY Friendliness |
|---|---|---|---|---|
| 1 | 1/4" x 1/4" | ~35–45 sq ft | Small tiles on flatter floors | ★★★☆☆ |
| 2 | 3/8" x 3/8" | ~25–35 sq ft | Most mid-size stone tiles | ★★★★☆ |
| 3 | 1/2" x 1/2" | ~18–25 sq ft | Large-format tiles / thicker beds | ★★★☆☆ |
| 4 | 5/8" x 5/8" | ~14–19 sq ft | Very large tiles where permitted | ★★☆☆☆ |
| 5 | 1/8" x 1/8" (pinched) | ~45–65 sq ft | Typically smaller mosaics | ★☆☆☆☆ |
| 6 | 1/4" x 1/2" (rectangular) | ~30–40 sq ft | Where spec allows for coverage | ★★★☆☆ |
| 7 | 1/2" x 1/4" (rectangular) | ~22–30 sq ft | Controlled beds on flatter floors | ★★★☆☆ |
Note: coverage varies by substrate flatness, technique, and mortar brand. Use your mortar technical sheet as the controlling source for the correct trowel notch and expected coverage for your exact product.
FAQ
Do I have to seal marble in a bedroom?
Most marble finishes benefit from sealing because it helps reduce staining and improves resistance to typical household liquids. Follow your specific marble and sealer manufacturer instructions for timing, coats, and re-seal intervals ([ADD: source for your sealer and marble product requirements]).
What thinset should I use for marble tile?
Use a thinset/mortar system specifically approved for natural stone (marble) and your substrate by the mortar manufacturer. Marble can be sensitive to incompatible products, so check the label/spec sheet for compatibility ([ADD: exact mortar brand/type you plan to use]).
How long should I wait before walking on marble after setting?
You should follow the thinset and grout manufacturer cure times for your product, substrate, and installation conditions. If you don’t have exact times yet, check the datasheet for “foot traffic” and grout timelines ([ADD: source for your mortar/grout cure schedule]).
Will marble crack if the floor isn’t perfectly level?
Marble tile and grout systems can fail when the substrate isn’t sufficiently flat, leading to lippage, cracked tiles, or bond failures. Correcting flatness before installation is the safest approach.
Sources:
– [ADD: marble tile manufacturer installation instructions/spec sheet for flatness, mortar/thinset compatibility, and sealing guidance]
– [ADD: mortar/thinset manufacturer technical datasheet (coverage, trowel size, cure times)]
– [ADD: grout manufacturer datasheet (mixing, installation conditions, cure and haze/removal guidance)]
– [ADD: marble sealer manufacturer instructions (application timing, coats, and maintenance recommendations)]
Installing marble floors in a bedroom is achievable, but it’s not “tile first, fix later.” Treat subfloor prep, mortar/grout/sealer compatibility, and careful layout as the core of the job, then seal and clean exactly as specified to keep the stone looking right for years. If your substrate needs major reconstruction or you’re uncertain about moisture, consider professional help—those are the scenarios where the cost of mistakes rises fastest.
Frequently Asked Questions
What are the best subfloor requirements for installing marble floors in a bedroom?
Marble needs a stable, flat subfloor so it won’t crack or develop hollow spots. Check that the concrete or existing flooring is level (typically within about 1/8 inch over 6 feet) and fully cured, and repair any dips, high spots, or moisture issues before you begin. If you’re installing over wood, use a suitable cement backer board or underlayment system designed for stone tile to reduce flexing and movement.
How do I prepare the subfloor before installing marble tile in my bedroom?
Start by removing carpet, padding, and any old adhesive, then clean and inspect the subfloor for damage, dust, or loose areas. Fill cracks and level uneven surfaces with a self-leveling underlayment or patch compound rated for tile installations. For concrete slabs, you should also address moisture with a proper vapor barrier or moisture test, since excess moisture can affect thinset bond and grout performance.
Which thinset and grout should I use for marble flooring in a bedroom?
Use a thinset mortar that is specifically rated for natural stone—often an unmodified or polymer-modified thinset depending on the substrate and manufacturer instructions. Marble is sensitive to certain chemicals, so choose a compatible, non-sand grout (commonly epoxy or urethane-modified where appropriate) and follow the manufacturer’s recommendations. Also consider sealing grout and the marble itself, because bedroom marble floors benefit from protection against staining and grout discoloration.
How can I prevent marble floors from cracking or chipping after installation?
Marble can crack if the tile flexes, the subfloor moves, or if the tile isn’t properly supported—so accurate leveling and correct mortar coverage (often using the “back-buttering” method and proper trowel size) are crucial. Use spacers for consistent grout joints and avoid thinset starvation, especially at edges. Once installed, allow the mortar and grout to cure fully, and use felt pads on furniture legs to reduce point loads and chipping in high-traffic bedroom areas.
Why is sealing marble important in a bedroom, and when should I do it?
Marble is porous and can stain from common bedroom substances like water spots, hair products, makeup, and spilled beverages, so sealing helps protect the surface and grout area. After installation, wait for the thinset and grout to fully cure, then apply a marble-safe sealer according to the product instructions. Reapply sealing periodically based on the sealer type and the level of foot traffic, which is especially helpful for marble floors in bedrooms where maintenance may be less frequent.
📅 Last Updated: October 09, 2026 | Topic: How to install in a bedroom marble floors? | Content verified for accuracy and freshness.
References
- Google Scholar Google Scholar
https://scholar.google.com/scholar?q=how+to+install+marble+flooring+bedroom - Google Scholar Google Scholar
https://scholar.google.com/scholar?q=natural+stone+tile+installation+thinset+grout+underlayment+guidelines - Google Scholar Google Scholar
https://scholar.google.com/scholar?q=marble+floor+installation+moisture+subfloor+backer+board+methods - Marble
https://en.wikipedia.org/wiki/Marble - Tile
https://en.wikipedia.org/wiki/Tile - https://en.wikipedia.org/wiki/Thinset_mortar
- Grout
https://en.wikipedia.org/wiki/Grout - https://www.britannica.com/science/marble-building-material
- Silica, Crystalline – Overview | Occupational Safety and Health Administration
https://www.osha.gov/silica - https://www.tileusa.com/tile-installation/


