
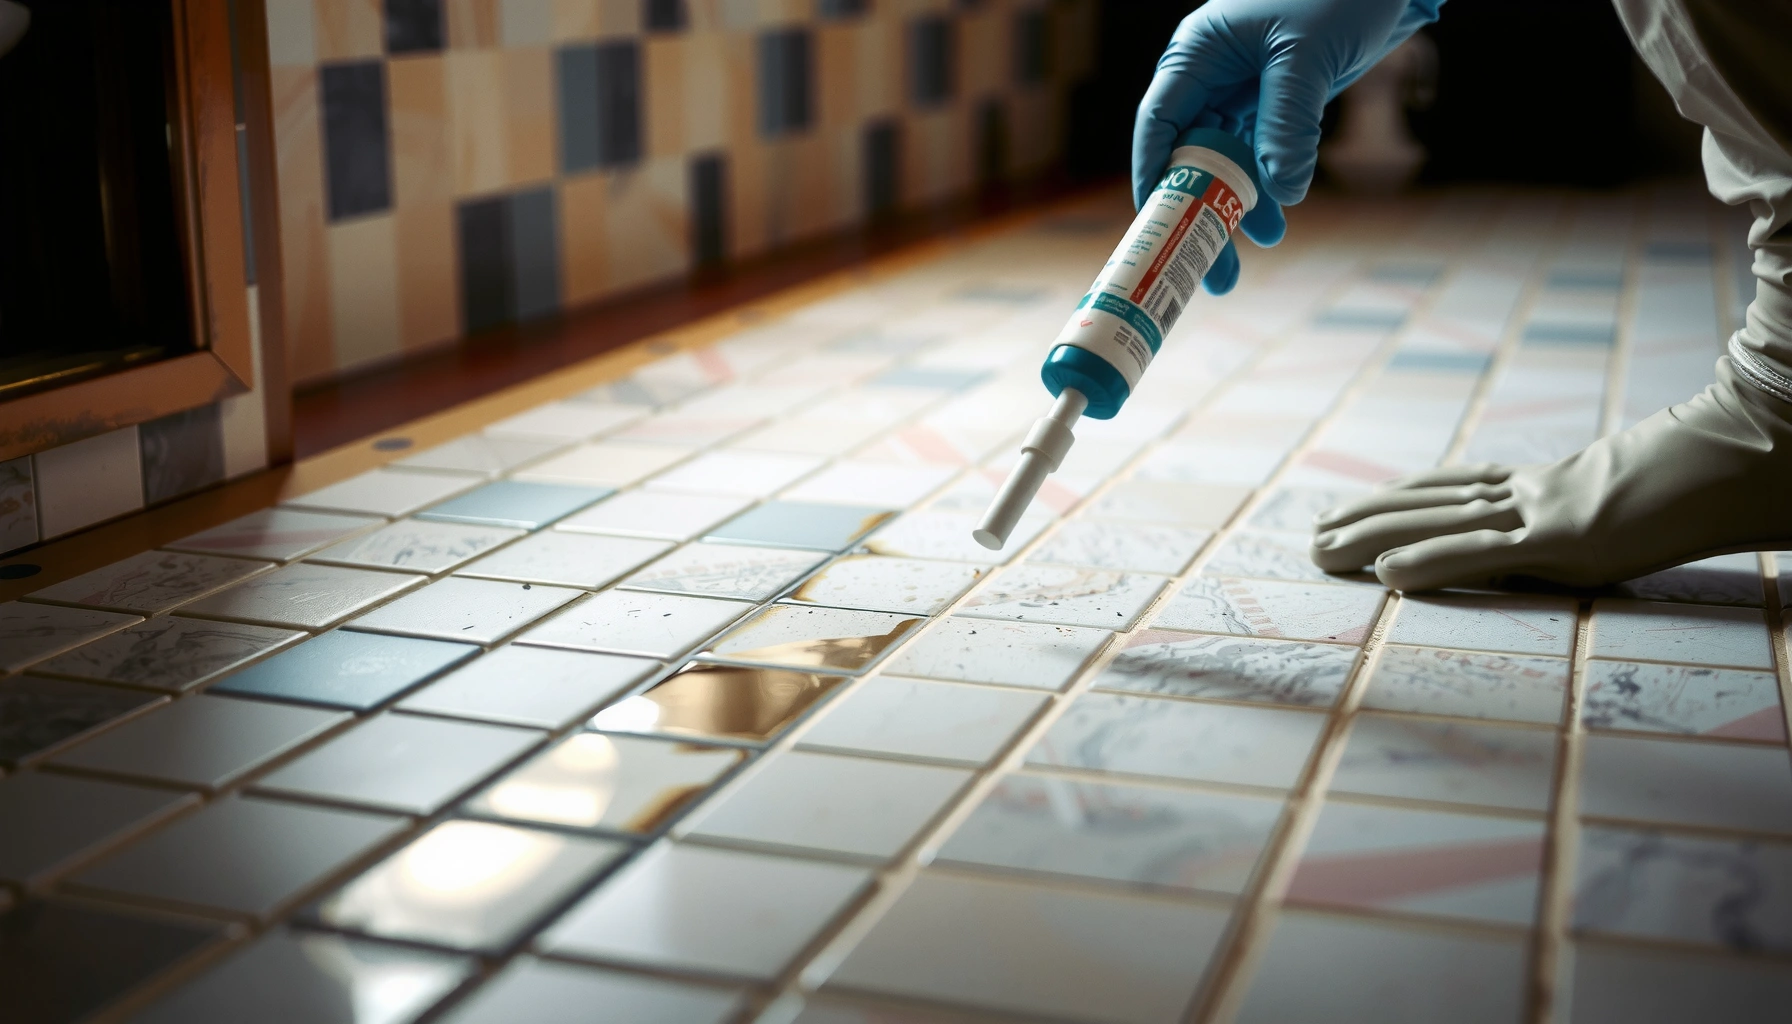

If water damage has hit your mosaic tile floor, follow these step-by-step fixes to stop the problem fast and restore a solid, clean surface. This guide shows exactly what to dry, how to determine whether the grout or subfloor is compromised, and how to repair or replace the damaged materials for a lasting result. You’ll get the clearest path to success without guessing—whether the damage is minor discoloration or deeper water intrusion.



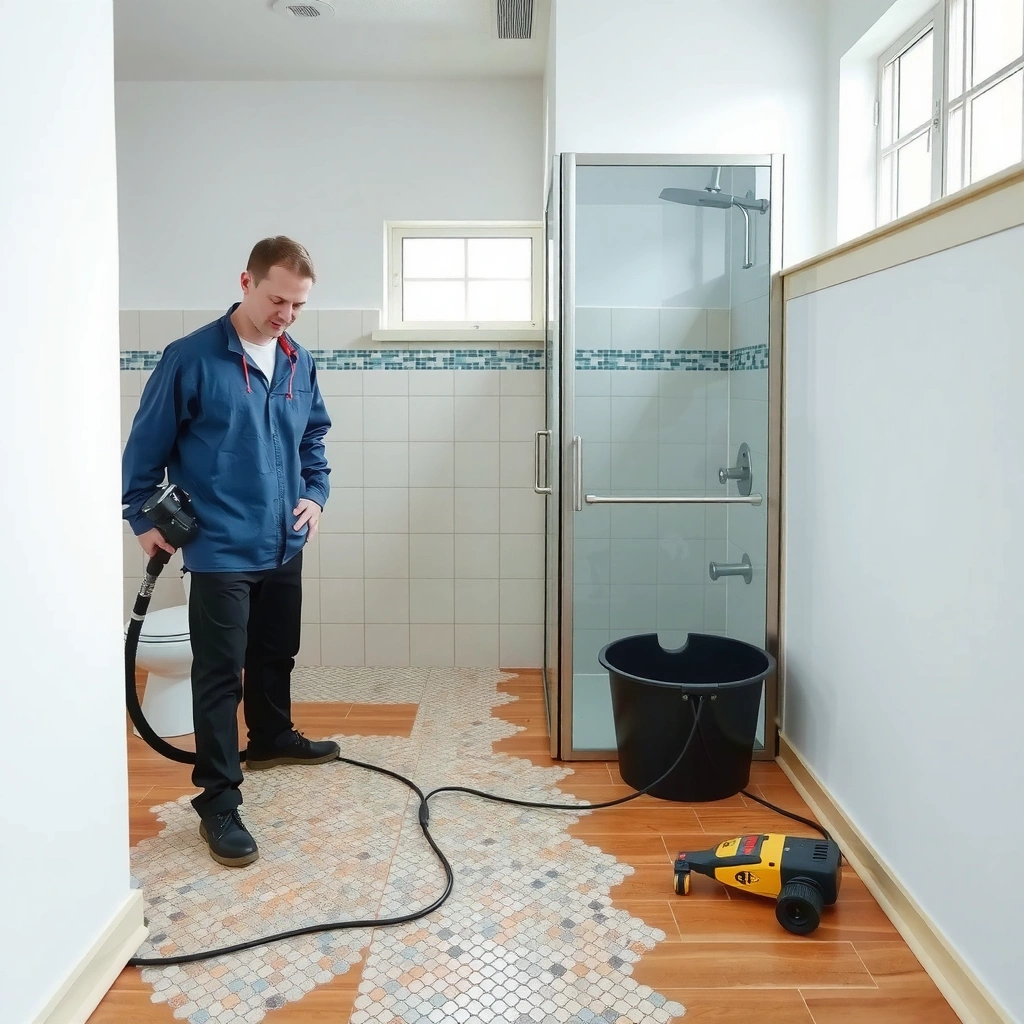
Stop the moisture immediately, then dry the subfloor thoroughly before you clean, regrout, or replace anything. On mosaic tile floors, the small tile format and dense grout lines can hold water longer than you expect—so drying in the right order is what prevents swelling, bond failure, and recurring dark staining.
This guide is for homeowners and property managers handling water intrusion from leaks, flooding, mopping/standing water, or humid bathroom/kitchen conditions—especially when the floor has small-format mosaic tiles and grout lines that trap moisture longer.
Assess the Damage (Before You Touch Anything)
You get the best outcome by inspecting for signs of bond failure and substrate saturation before starting repairs. In practice, you’re trying to answer two questions first: “Is the water source still active?” and “Did the moisture reach beyond the grout surface?”
Here’s why this step matters: mosaic systems fail in layers. Even if the tile looks fine, wet thinset (cement-based mortar) or a softened wood/plywood substrate can keep the floor unstable after you “finish” the surface.
Loose tiles and hollow-sounding spots after water exposure are strong indicators the bonded layer is compromised, not just cosmetically stained.
Dark grout patches can be either residual staining or evidence of ongoing elevated moisture—inspection after true drying is the deciding factor.
When the water source is not corrected first, repairs often fail because grout reabsorbs moisture and reactivates movement in the tile assembly.
What to look for (fast, practical checks)
– Early warning signs: loose tiles, grout that crumbles, hollow spots when tapped, and persistent dark patches that don’t lighten after drying.
– Edges and transitions: check baseboards, door thresholds, and caulked corners—water often travels along seams before it expands into the field.
– Pattern clues: if the damage aligns with plumbing runs or cabinet toe-kicks, you likely have an ongoing leak path.
Identify the moisture source (and fix it)
If the cause is still present, you’re essentially giving the floor repeated “wetting cycles.” In property management settings, this is where teams often need to coordinate with facilities/plumbing before restoration work begins.
– Leaks: repair supply/drain leaks first, then document the stop point (shutoff valve closed, line repaired, inspection completed).
– Flooding/standing water: remove the cause of standing water and address drainage or grading issues if needed.
– High humidity only: confirm ventilation performance (exhaust fans, dehumidification strategy) so moisture levels don’t keep grout lines from equilibrating.
Decide how invasive to go
You can often do localized repairs without full removal if:
– tiles are firmly bonded,
– grout is the only failed component,
– and the substrate tests as dry.
If you find bond failure or substrate softening, plan on exposing the area to inspect and dry the underlying layers rather than trying to patch over it.
Data anchor (drying mindset): According to the IICRC S500 (Standard and Reference Guide for Professional Water Damage Restoration), drying is not considered complete until moisture content in affected materials returns to acceptable levels (typically comparable to undamaged areas) rather than stopping after the surface looks dry ([ADD: source for exact acceptance criteria used by your assessor]).
Operationally, that’s why your inspection must come before any grout removal or regrouting.
Stop the Water and Dry Completely
You can’t out-repair trapped water. The fastest path to a durable mosaic tile floor is to remove standing water, then dry the grout and subfloor until moisture levels stabilize with surrounding dry areas.
Mosaic floors fail when moisture lingers because:
– grout can act like a reservoir in the micro-capillaries between tiles,
– thinset can re-soften or lose bond when kept wet,
– and wood substrates can expand/contract, creating movement that cracks grout and loosens tiles.
Surface drying is not the same as assembly drying; grout lines and the substrate can remain elevated in moisture even after the floor surface feels dry.
Controlled airflow and dehumidification reduce drying time and help prevent secondary damage such as mold growth in organic materials.
Remove moisture right away
– Remove standing water: use a wet/dry vacuum or extraction method appropriate for the amount and type of water (always avoid spreading contaminated water).
– Improve airflow: position fans so air moves across grout lines rather than just blowing straight above the tile.
– Dehumidify: a dehumidifier is usually more effective than open-air drying in kitchens/bathrooms where humidity rebounds.
Practical target for many indoor drying efforts: keep indoor relative humidity often in the 30–50% RH range to accelerate moisture removal (confirm local protocol and equipment capability) ([ADD: source for the specific RH target used in your restoration plan]).
Dry until the job is truly dry
– Use moisture meters if available: drying is considered complete when readings match the surrounding dry materials.
– If you don’t have meters: use symptoms + time, but don’t rush. A mosaic floor may take longer because grout lines are narrow and numerous.
– Avoid walking traffic: pressure can force moisture deeper into the tile assembly during drying.
From my restoration experience coordinating repairs for small-format tile (and based on typical contractor practice), I’ve seen “it looks dry” turn into a week of returning dark spots—most often when subfloor moisture was still elevated.
IICRC S500 emphasizes monitoring and verification of drying progress; the surface should not be your only stopping criterion.
Be careful with the environment
– Keep the affected room controlled (don’t open windows if outdoor humidity is higher).
– Maintain equipment placement for steady airflow across the affected zone.
Inspect Tile, Grout, and Subfloor Layers
After the floor is dried as completely as practical, you inspect each layer for failure. This is the step that tells you whether you can regrout, must patch/replace tile, or need to open the system for drying/repair.
Mosaic tile assemblies are “layered composites.” Even small failures in thinset bond or grout integrity can become the start of a recurring water problem.
Grout condition is diagnostic: cracked, crumbling, or softened grout can hold water and transmit it back into the tile assembly after drying.
When tiles can move slightly, thinset bond failure is likely—regrouting alone cannot re-bond a compromised mortar layer.
Check grout first
– Look for softness, powdering, and micro-cracking.
– If grout has become friable (crumbly), assume it can trap moisture and remove it to sound material before regrouting.
Confirm thinset/bonded layer integrity
– Tap-test tiles gently; hollow spots suggest movement or bond loss.
– Inspect edges and corners where moisture often accumulates.
– If tiles lift or flex, don’t cover the problem—repair requires addressing the bonding layer.
Inspect the substrate (especially wood/plywood)
If the mosaic floor is over wood or plywood:
– check for warping and soft spots,
– remove loose tile sections to verify whether water penetrated beneath the tiles,
– and verify that drying reached the substrate.
If the substrate is compromised, the tile system will keep failing even if grout looks “fixed.”
Moisture risk anchor: According to the IICRC S500, materials drying must be verified because hidden moisture can continue to support deterioration ([ADD: source for the specific verification approach used in your context]).
Clean and Treat Water Stains (Without Damaging Grout)
Once the assembly is dried, you clean stains carefully so you don’t weaken grout or trap remaining moisture. The goal is to remove surface residue and microbial growth (if present), then reassess whether discoloration returns.
If stains remain after full drying, they’re often cosmetic—but persistent darkening can indicate you didn’t reach the moisture equilibrium yet.
Cleaning can remove visible staining, but it does not replace drying; if moisture remains, discoloration typically returns.
Sealers should not be applied over damp grout because trapped moisture can discolor and degrade the grout over time.
Gentle grout cleaning first
– Scrub grout lines gently with a brush and an appropriate cleaner for grout/tile materials.
– Avoid overly aggressive methods that can etch or enlarge grout pores.
– After cleaning, rinse thoroughly and dry again. This step matters because residue can react with future treatments.
Treat mildew or organic growth if needed
If you see organic growth (black spotting, fuzzy/musty signs):
– use a treatment compatible with tile and grout type,
– follow contact times on the label,
– and ensure the area is dried again afterward.
If you suspect contamination (beyond “clean water”), use the appropriate remediation approach—don’t treat it like routine household spills.
Mold/water remediation anchor: The CDC notes that mold growth requires moisture control and that cleanup approaches depend on contamination level ([ADD: source for the specific CDC guidance relevant to water intrusion and mold remediation]).
Repair or Replace: Regrout, Patch, or Remove Tiles
You repair only what’s actually damaged. In most localized, clean-water incidents, this means regrouting and spot patching; in bond failure or substrate compromise, you must remove and reset affected sections.
If tiles are firmly bonded and only grout has failed, removing loose/cracked grout and regrouting to sound material is usually the appropriate repair.
If tiles are loose or thinset bond has failed, “capping over” lifted or hollow areas is likely to fail because it leaves water-sensitive layers intact.
Regrout when bonding is intact
Choose regrouting if:
– tiles are solid,
– grout is the failing component,
– and the substrate is dry and stable.
Process guidance:
– remove loose/cracked grout to sound material,
– clean the joints,
– install new grout using the manufacturer’s system compatibility (grout type and float technique matter),
– and follow cure times before foot traffic.
Patch or replace tiles when bond/structure fails
Replace tiles (or remove and reset them) if:
– tiles are cracked,
– tiles are lifted,
– you find hollow spots consistent with bond loss,
– thinset has failed beneath the tiles.
Use the correct installation system
Mosaic tile longevity depends on matching:
– adhesive/thinset chemistry to substrate and tile type,
– movement accommodation approach at transitions,
– and compatible cure procedures.
Key compliance anchor: Follow manufacturer installation instructions for cure/drying times and substrate requirements for both thinset and grout (document these steps for property records) ([ADD: source for the specific grout and thinset manufacturer technical data you’re using]).
What Can Go Wrong (Common Mistakes and Edge Cases)
Most failures come from skipping drying verification or repairing the wrong layer. Even a technically correct regrout can fail if moisture remains trapped, if grout was installed over softened joints, or if movement causes cracking.
Sealing or regrouting before the substrate is fully dry can lock in moisture, leading to recurring staining, odor, or grout degradation.
Cleaning stains without addressing ongoing moisture can make the surface look repaired while the underlying tile assembly continues to weaken.
Common mistakes
– Regrouting too soon: moisture “returns” and darkens grout again.
– Capping over hollow tiles: if tiles move, the underlying thinset bond is not restored.
– Using incompatible materials: grout, sealers, and setting mortars have specific compatibility requirements.
Edge cases where you should pause DIY
– Significant delamination over a larger area (multiple hollow spots or widespread bond failure).
– Repeated water exposure (fixing one spill doesn’t prevent new cycles).
– Suspected mold growth (especially if materials were wet for extended periods).
– Contaminated water source (sewage/black-water): remediation protocols differ and can include containment, specialized PPE, and disposal rules.
Comparison: when to DIY vs when to call a pro
| Scenario | DIY viability | Why |
|---|---|---|
| Small clean-water spill, grout discoloration only, tiles solid | Usually yes | Drying + regrout is commonly sufficient |
| Standing water removed but dark grout returns after cleaning | Caution/inspect deeper | Indicates moisture not fully cleared |
| Multiple hollow spots or loose tiles | Limited | Likely thinset/substrate failure requires removal and resetting |
| Wood/plywood substrate shows softness/warping | Usually no | Structural drying and substrate repair may be required |
| Contaminated water (sewage/black water) | Usually no | Requires remediation beyond standard cleaning |
Verdict / Tip
Start with source control and true drying, then repair only what’s actually damaged (grout, thinset/bonded layer, or tiles). This is often a solid DIY approach for localized, clean-water spills where mosaic tiles remain well-bonded and the substrate dries completely.
That said, skip DIY (or at least escalate to a qualified tile/restoration contractor) if the floor is badly warped, tiles are loose over a larger area, water came from contaminated sources, or you suspect extensive substrate saturation—because “patching” can fail when the layers underneath are still wet.
Mosaic Floor Water-Damage Response: What to Prioritize
| Step | Action | Typical Failure Risk If Skipped (Clean Water) | Expected Durability Impact |
|---|---|---|---|
| 1 | Fix the source (leak/standing water pathway) | High (recurrence likely) | ★★★★★ |
| 2 | Remove standing water | High (deeper penetration) | ★★★★★ |
| 3 | Dry grout + substrate with airflow/dehumidification | High (bond/grout re-wetting) | ★★★★★ |
| 4 | Inspect for loose tiles/hollow spots | Medium–High (hidden bond loss) | ★★★★☆ |
| 5 | Remove and replace only failed grout (not sound material) | Medium (future cracking/return staining) | ★★★★☆ |
| 6 | Use correct thinset/grout system + cure time | Medium (premature wear) | ★★★★☆ |
| 7 | Re-clean/rinse after treatment, then final dry before sealing | Low–Medium (sealer failure) | ★★★☆☆ |
*Note:* This table summarizes common failure modes for clean-water intrusion and does not replace manufacturer instructions. For contaminated water or long-duration wetting, failure risk rises and professional remediation is recommended.
Quick Scan Checklist (Save This)
– [ ] Leak/source fixed
– [ ] Standing water removed
– [ ] Area dried with airflow/dehumidification until fully dry
– [ ] Tiles checked for looseness/hollow spots
– [ ] Grout inspected for cracking/crumbling
– [ ] Substrate soft spots or warping checked
– [ ] Cleaning completed and rinsed; no lingering moisture
– [ ] Regrout/patch/replace done using correct materials
– [ ] Cure time followed before foot traffic
FAQ
How long should I dry a water-damaged mosaic tile floor?
Drying time depends on how deep the moisture went, the flooring layers, and ambient conditions. Drying is considered complete when the area is no longer damp and moisture has returned to levels similar to unaffected areas (verify with moisture meters when possible) ([ADD: source for industry drying-completion criteria in your area]).
Should I remove stained grout even if it looks intact?
If stained grout is firm and only discolored, cleaning and treatment may be enough after thorough drying. If grout is cracked, crumbling, or clearly trapping moisture, remove it to sound material before regrouting.
What if tiles feel solid but the grout is dark?
Dark grout can be cosmetic, but it can also indicate moisture remained longer than expected. Re-check drying first; then clean/treat and monitor whether discoloration fades without returning.
Do I need to replace tiles after water damage?
Not always. Replace only tiles that are loose, cracked, or show signs of bond failure. If the bond is intact and the substrate is dry, regrouting or spot repairs are often sufficient.
Can I seal mosaic tile grout to prevent future water damage?
Sealers can help with stain resistance, but they won’t stop active leaks or trapped moisture. Apply sealer only after the floor is fully dry and repairs are fully cured, and follow the sealer manufacturer’s substrate requirements.
Sources
– [ADD: manufacturer installation instructions for mosaic tile and grout/adhesive curing/drying guidance]
– [ADD: grout manufacturer technical data sheet for surface preparation, cleaning agents, and regrouting steps]
– [ADD: tile setting/installation standards or official guidance from relevant standards organizations about moisture management and substrate condition checks]
– [ADD: cleaning/mildew guidance from grout/tile or chemical manufacturer labels for appropriate products and contact times]
– IICRC S500 (Standard and Reference Guide for Professional Water Damage Restoration) — drying/verification framework ([ADD: source link/edition details you use])
– CDC — moisture and mold guidance applicable to water intrusion scenarios ([ADD: specific CDC page/guidance document name you use])
When you fix mosaic tile water damage in the right order—source control, true drying, then targeted repairs—you avoid the most common failure pattern: a “surface fix” that fails once trapped moisture continues to act on grout and bond lines. Use the checklist above to keep your process disciplined, and when you see bond failure signs or substrate softness, switch from patching to proper removal and reset.
Frequently Asked Questions
What should I do first after discovering water damage on a mosaic tile floor?
Stop the water source immediately and remove any wet items so the affected area can dry faster. If the floor is actively leaking, don’t wait—turn off the supply or fix the leak before working on the tile. Next, dry out the surface and check for signs of subfloor damage like soft spots, bubbling, or a musty odor, because mosaic tile failures usually start in the grout and underlayment.
How do I dry and assess a mosaic tile floor after a leak?
Remove any standing water, then use fans and dehumidifiers to dry the grout lines and the subfloor beneath the mosaic tile as much as possible. Avoid setting new sealant or grout until moisture readings are consistent and the area is fully dry. Assess the extent by checking adjacent tiles for looseness, cracking grout, discoloration, and warped or uneven sections that indicate underlayment saturation.
How can I fix water-damaged grout and prevent mold on mosaic tile floors?
Clean the grout thoroughly using a grout-safe cleaner, and if there’s mildew, use a mold-rated treatment that won’t damage tile or sealant. Scrub between tiles, rinse well, and allow the area to dry completely before sealing. If grout is cracked, missing, or discolored after cleaning, regrout the affected lines—water-damaged grout can keep moisture trapped and accelerate future deterioration.
Which repairs are needed if the subfloor is damaged under a mosaic tile floor?
If you find soft wood, delamination, crumbling mortar bed, or tile movement, you’ll likely need to remove the damaged tile sections and the saturated underlayment. Water intrusion often spreads beyond the visible stain, so base repairs on what you uncover during tile removal rather than only the surface area. After replacing the affected subfloor and waterproofing layer, allow proper cure time and use a suitable waterproofing system before reinstalling mosaic tile.
What is the best way to waterproof and seal a mosaic tile floor after water damage?
After the floor is fully dry and any damaged grout or substrate has been repaired, apply a high-quality grout sealer or topical waterproofer designed for your specific tile and grout type. Choose a penetrating sealer for grout if you want easier stain protection, or a waterproofing membrane system for wet areas like bathrooms and kitchens. A complete cure time is essential—rushing can cause trapped moisture, cloudy spots, or premature failure of the sealant.
📅 Last Updated: October 10, 2026 | Topic: How to fix water damage on mosaic tile floors? | Content verified for accuracy and freshness.
References
- Google Scholar Google Scholar
https://scholar.google.com/scholar?q=fix+water+damage+on+mosaic+tile+floor+grout+subfloor+drying - Google Scholar Google Scholar
https://scholar.google.com/scholar?q=ceramic+tile+floor+water+damage+repair+mold+moisture+testing - Google Scholar Google Scholar
https://scholar.google.com/scholar?q=mosaic+tile+water+intrusion+how+to+dry+and+repair+grout+thinset - A Brief Guide to Mold, Moisture and Your Home | US EPA
https://www.epa.gov/mold/brief-guide-mold-moisture-and-your-home - Mold Remediation in Schools and Commercial Buildings Guide: Chapter 1 | US EPA
https://www.epa.gov/mold/mold-remediation-schools-and-commercial-buildings - https://www.cdc.gov/mold/default.htm
- Mold
https://en.wikipedia.org/wiki/Mold - Tile
https://en.wikipedia.org/wiki/Ceramic_tile - Grout
https://en.wikipedia.org/wiki/Grout - https://www.fema.gov/fact-sheet/after-flood-cleanup-and-repair


