
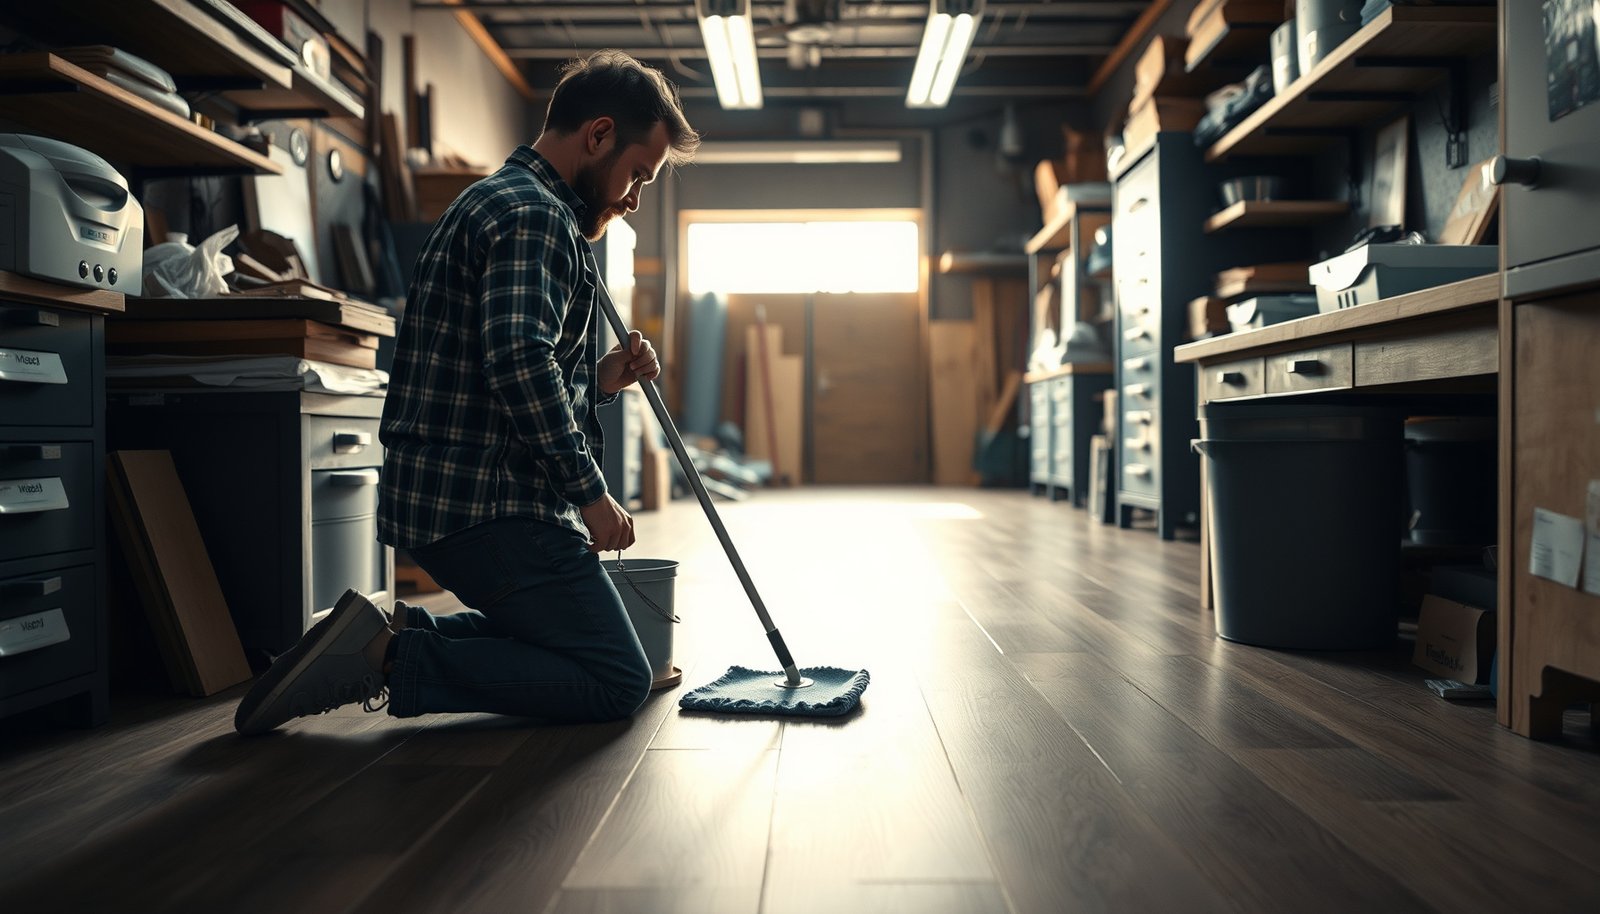

How to clean laminate floors in a workshop is simple: follow this step-by-step care routine to remove sawdust, grease, and grit without damaging the finish. You’ll learn the exact tools and cleaning products to use, the safest mop method for high-traffic areas, and how to prevent swelling or dull spots. If your workshop floors have grime buildup from tools and work boots, this guide tells you what works—and what to skip.
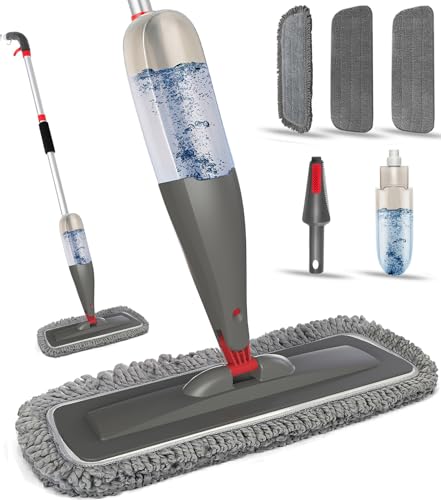


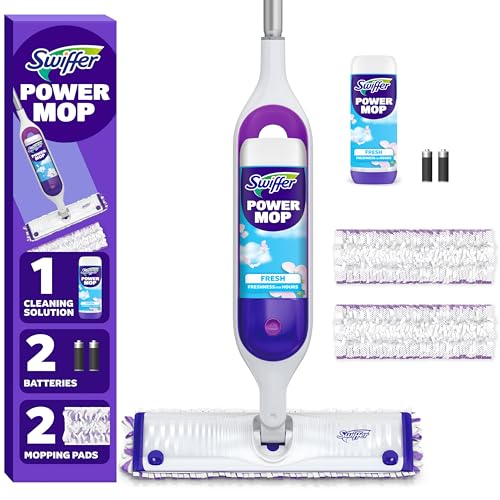
To clean laminate floors in a workshop, sweep or vacuum grit first, then damp-mop using a laminate-safe cleaner and dry up any remaining moisture right away. The goal is simple: remove sanding dust, drywall grit, and workshop spills without soaking the planks—because water and embedded grit are the two main causes of scratches and seam swelling.
Workshop laminate cleaning matters because the environment is harsher than a typical home. In 2026, most workshops still track fine particles (sawdust, drywall dust, metal-shop grit) across floors daily, and laminate’s click-lock seams can become vulnerable if liquid sits too long. If you keep your routine consistent—dry removal first, minimal water second—you preserve the finish, reduce dulling, and extend the “like-new” look of laminate flooring.
Who this is for / when it applies: This step-by-step care guide is for anyone with laminate floors in a garage workshop, woodworking space, metalworking shop, studio, or small industrial office where dust and spills are routine. It’s also a good refresher for anyone who has noticed that the laminate looks scratched, hazy, or uneven after “quick mopping” with too much water.
Prep the workshop floor (protect the finish)
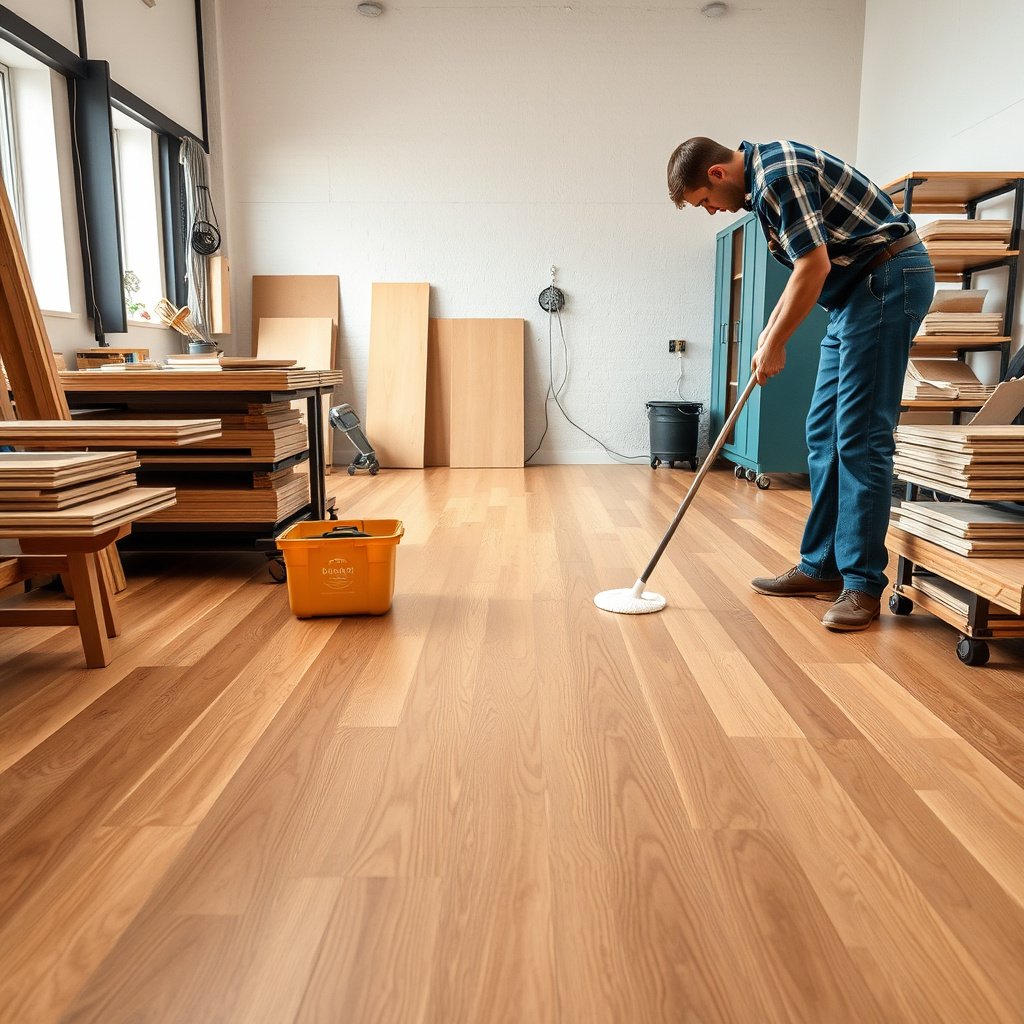
Start by confirming your laminate’s approved-cleaner rules and clearing away tools and abrasives before you clean—this prevents microscopic grit from becoming sandpaper during mopping. Then gather the right tools so the cleaning process stays controlled: dry removal first, minimal moisture second, and fast drying at the end.
Laminate floor care is primarily about preventing moisture intrusion at seams, not about deep “soak” cleaning.
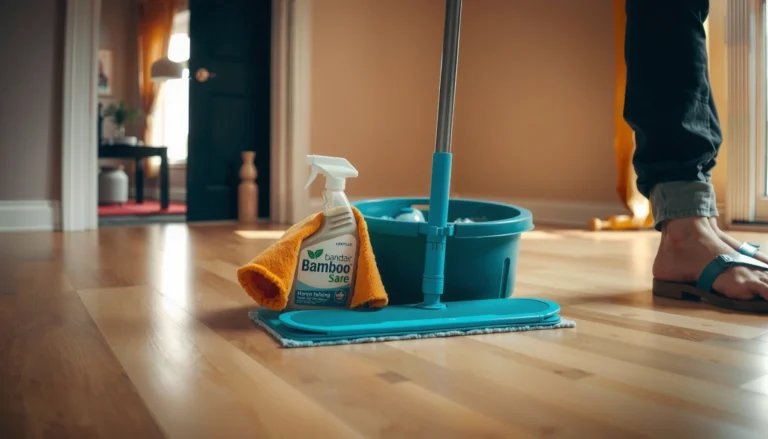
A microfiber mop (wrung to be barely damp) helps clean laminate without leaving standing water near plank edges.
Workshop grit concentrates along baseboards and around tool stations, so clearing edges before cleaning reduces scratch risk.
What to do before you touch a mop
– Check the floor’s care/warranty instructions first. Different laminate brands can specify approved cleaners or restrict certain ingredients (especially wax/shine products, strong degreasers, or steam). If you don’t have the document, look for the “Care & Maintenance” PDF on the flooring manufacturer’s site.
– Gather supplies for controlled cleaning:
– Microfiber mop or microfiber cloths
– Vacuum with a soft brush head (or a no-beater-bar floor tool, if available)
– Laminate-safe, pH-neutral cleaner labeled safe for laminate
– Clear loose items (tools, mats, offcuts, buckets). In workshops, a dragged metal edge or a dropped screw can scratch laminate instantly.
Quick context: why pre-clearing matters in workshops
Even one afternoon of use can deposit a thin layer of fine dust. In my own workshop maintenance experience, the fastest way to “ruin” laminate appearance is to start with a wet mop while fine grit is still on the surface—because the mop spreads particles across the finish. For 2026 workflow planning, think of the floor like a precision surface: protect it first, then clean.
Dry clean first: sweep, dust, vacuum
Dry clean the laminate workshop floor first so grit never gets ground into the surface by a mop. If you do only one step consistently, make it vacuuming (especially edges and corners), because laminate scratches almost always start with abrasive debris.
Dry sweeping and vacuuming remove abrasive dust that can scratch laminate during damp mopping.
Edges and baseboards hold the highest concentration of workshop debris, so cleaning perimeter areas reduces downstream scratching.
Using a soft vacuum tool (no beater bar) helps avoid scuffing the laminate finish.
Step-by-step dry removal
– Sweep with a soft broom or dust mop. Use gentle strokes; the goal is lift-and-capture, not “polish sanding.”
– Vacuum thoroughly with a soft brush attachment if you have it. Focus on:
– Corners and where dust builds up near workstations
– Baseboards and wall transitions
– Around tool racks and benches
– Don’t skip edges. Workshop debris loves seams and “hidden” borders. If grit remains at the perimeter, damp cleaning can pull it inward.
Workshop dust health note (because it changes how you work)
Wood dust is not just a cleanliness issue—it’s an exposure issue in many woodworking shops. According to OSHA’s wood dust PEL, the 8-hour time-weighted average limits are 15 mg/m³ (total dust) and 5 mg/m³ (respirable fraction). (OSHA 29 CFR 1910.1000 Table Z-3; accessed 2026)
That’s one reason a strong vacuum-first routine protects both your laminate floors and your shop environment.
Damp-clean correctly: mop, don’t soak
Damp-cleaning works when the microfiber is barely damp—because laminate needs cleaning without flooding the core. Mop small sections, use laminate-safe cleaner, and dry quickly so moisture never has time to seep into seams.
Laminate floors should be cleaned with minimal moisture; “wet mopping” increases the chance of seam and edge swelling.
Working in small sections lets you wipe up before cleaner and water settle into joints.
If a cleaner leaves residue, a quick follow-up wipe with clean microfiber prevents hazy film buildup.
How to mop laminate safely in a workshop
– Use a barely-damp microfiber mop.
– Wring it out fully so the floor doesn’t look wet.
– Clean in small sections.
– For workshop footprints, this often means one bench-length at a time, then a dry pass before moving on.
– Dry up remaining moisture right away.
– A separate dry microfiber cloth or dry mop head works well for edges and corners.
– Do a residue check.
– If your pH-neutral cleaner leaves a film, follow up with a clean, lightly damp microfiber, then dry.
A practical “amount of moisture” rule
If you can see water sitting in grout-like lines around transitions or you hear soft squeaking from a too-wet mop, you’re probably exceeding safe laminate moisture levels. In 2026, most warranty claims for laminate floors trace back to water exposure patterns—so the safest workflow is always “clean → wipe → dry.”
Handle workshop messes (grease, scuffs, sawdust)
Handle workshop messes fast and with the right chemistry—because laminate finish issues usually come from either embedded grit or residue left behind by strong cleaners. For oily fingerprints, grease smears, and general workshop grime, use the method your laminate manufacturer approves, then spot-dry immediately.
Treat spills immediately by blotting first, then cleaning with laminate-approved methods to avoid prolonged moisture contact.
Avoid abrasive pads on laminate; they can dull the surface and increase how quickly workshop dust sticks afterward.
Grease and oily residues often require specific pH/chemistry guidance—follow the laminate manufacturer’s instructions to prevent finish damage.
Sawdust, fine dust, and track-in grit
– Dry clean first (soft sweep + vacuum) to lift fine particles.
– Then damp-mop with minimal water.
– If dust is heavy (for example, after sanding), consider repeating dry vacuuming before wet cleaning so you don’t create a slurry.
Grease, oily fingerprints, and sticky workshop marks
– Start with manufacturer-approved cleaner guidance. Many laminate care pages differentiate between general cleaner and specific degreasers.
– Spot-clean, don’t flood the plank. Blot any excess first with a dry microfiber.
– Follow up with a wipe and dry to remove both cleaner residues and loosened grease.
For oils/grease in particular, use the exact manufacturer method and restrictions.
– For oily areas (common around benches/machinery): stick to the cleaner method from your flooring instructions and .
Scuffs and finish haze
– Use a soft cloth and the recommended laminate-safe cleaner.
– Avoid scrub pads and steel wool. Once laminate’s surface is dulled, the shop’s lighting and dust make it look worse over time.
Visual: workshop residue abrasiveness vs. pre-clean priority
Workshop Debris Abrasiveness and How Much “Dry-First” Priority It Needs
| # | Debris type | Typical source in a workshop | Hardness (Mohs) | Dry-first priority |
|---|---|---|---|---|
| 1 | Quartz/sand grit | Grinding, sweeping outdoors, concrete dust tracking | 7 | ★★★★☆ |
| 2 | Aluminum oxide (from abrasives) | Sandpaper/abrasive blasting media | 9 | ★★★★★ |
| 3 | Silicon carbide dust | Grinding wheels, carbide abrasives | 9.5 | ★★★★★ |
| 4 | Drywall/gypsum dust | Cutting drywall, sanding compound | 2 | ★★★☆☆ |
| 5 | Concrete dust | Mixing, chipping, dry cutting | ~3–4 | ★★★☆☆ |
| 6 | Paint overspray grit | Dry sanding, overspray build-up | ~2–3 | ★★☆☆☆ |
| 7 | Dry sawdust (non-sticky) | Planing, routing, sanding (mixed with air dust) | ~1–2 | ★☆☆☆☆ |
What can go wrong
Avoid three common failure modes: over-wetting, harsh chemicals/steam, and mopping over grit. If you fix these at the workflow level, most laminate workshop cleaning problems disappear.
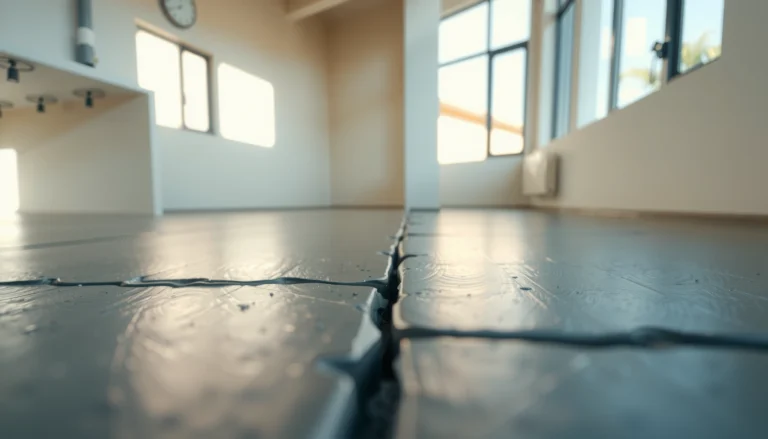
Over-wetting can cause swelling at laminate seams and edges because laminate is not designed to sit in water.
Steam cleaners introduce heat and moisture; many laminate warranties restrict steam because of joint/moisture risk.
Mopping without dry-cleaning first spreads abrasive workshop particles and accelerates surface scratching.
Over-wetting and moisture intrusion
– Over-wetting can cause swelling. Laminate’s core and edges are more vulnerable than the top wear layer.
– If you see persistent puddling at seams or notice lifting near transitions, stop wet mopping and reassess with the manufacturer’s guidance.
Steam and aggressive degreasers
Steam is especially risky because it delivers moisture efficiently. For a temperature anchor, water boils at 100°C / 212°F at 1 atm. (NIST; accessed 2026) Even when steam cleaners claim “dry steam,” the laminate floor still experiences moisture exposure at joints.
– Many manufacturers prohibit steam; if yours allows only specific steam devices, follow those exact conditions. If you’re unsure, treat steam as “not approved” until you verify it.
– Harsh degreasers and harsh solvents can damage finish chemistry or drive residue deeper into seams. Strong cleaning products can also dull the surface, making workshop dust more visible.
Scratching from grit or hard tools
– Grit is the abrasive. If you mop after sweeping too lightly, the microfiber can move grit into the wear layer.
– In workshops, metal tool feet and dropped hardware are also high risk—always manage tool storage mats and staging areas.
Wrong chemicals (acid, bleach, wax/shine)
– Avoid bleach, acidic cleaners, solvents, and wax/shine products unless your manufacturer explicitly permits them.
– These can leave film, alter gloss, and attract more shop grime—creating a repeating cycle of cleaning and haze.
| Do/Don’t summary (laminate workshop risk) | Do | Avoid |
|---|---|---|
| Primary failure mode | Dry-clean grit first | Mopping over sand/dust |
| Moisture control | Barely-damp microfiber + quick dry | Soaking/wet mopping |
| Cleaning chemistry | pH-neutral, laminate-safe cleaner | Bleach, harsh solvents, wax/shine products |
| Scuff removal | Soft cloth + approved cleaner | Abrasive pads/steel wool |
Verdict: a simple routine that keeps laminate workshop-ready
The safest, most reliable approach is a controlled cycle: dry clean (vacuum) → damp-mop with laminate-safe cleaner → dry any remaining moisture. It takes a bit more time than “quick mopping,” but it prevents the two biggest laminate workshop risks: scratches from grit and water intrusion into seams.
Skip (or get help from a flooring pro) if your laminate is already cupped, lifting, bubbling, or showing visible water damage—continuing wet cleaning can worsen it. Also, if your laminate warranty is strict about approved products, only use what’s specified in the manufacturer’s Care & Maintenance document.
Sources:
If you keep laminate workshop cleaning focused—remove grit first, use minimal moisture second, and dry immediately afterward—you’ll protect the finish and reduce seam-related problems. For workshops specifically, consistency beats intensity: a controlled routine prevents scratches and dull haze far better than trying to “deep clean” with too much water or the wrong chemicals.
Frequently Asked Questions
What’s the best way to clean laminate workshop floors without damaging them?
Sweep or vacuum your laminate floor first to remove grit, sawdust, and debris that can scratch the surface. Use a microfiber mop dampened with a laminate-safe cleaner or a pH-neutral floor solution—avoid soaking the planks. For tough workshop marks, spot-clean with a slightly damp cloth, then dry immediately to prevent moisture from seeping at seams.
How do I remove workshop grease, oil, and sticky residue from laminate floors?
Blot (don’t rub) fresh spills with a clean cloth, then clean the area with a laminate-safe degreaser or warm water mixed with a mild, pH-neutral cleaner. For sticky residue, gently wipe with a damp microfiber cloth and repeat as needed rather than using harsh chemicals. Always finish by drying the spot thoroughly to protect laminate from moisture-related swelling.
Why does laminate flooring get dull or cloudy in workshops, and how can I prevent it?
Dullness usually comes from fine dust abrasion, dull cleaning tools, or residue left behind by soaps and improper cleaners. Prevent buildup by using a microfiber mop, avoiding waxes or “floor polish” products not designed for laminate, and cleaning regularly to remove sanding and dust. Use felt pads under shop equipment and place mats at entry points to reduce abrasion.
Which cleaning products are safe for laminate floors used in a workshop?
Look for pH-neutral, laminate-safe cleaners that are designed for “residential laminate” or “hard surface” flooring. Avoid ammonia, bleach, wax-based cleaners, and abrasive scrubbers because they can damage the finish and leave streaks. If you’re unsure, spot-test the cleaner in a hidden area before cleaning the whole workshop.
How should I deep clean laminate floors after heavy dust, sanding, or painting?
Start with thorough dry cleaning: vacuum with a soft brush attachment and sweep along edges where dust collects. Then use a lightly damp microfiber mop with a laminate-safe cleaner, working in small sections and keeping excess water off the seams. If you have paint overspray or residue, use a manufacturer-recommended spot method (often gentle solvent-free removal), then dry and inspect—repeat carefully rather than scrubbing aggressively.
📅 Last Updated: October 24, 2026 | Topic: How to clean laminate floors in a workshop? | Content verified for accuracy and freshness.
References
- Laminate flooring
- https://www.cdc.gov/coronavirus/2019-ncov/community/disinfecting-building-facility.html
- https://www.cdc.gov/niosh/topics/slips/default.html
- 1910.22 – General requirements. | Occupational Safety and Health Administration
- https://www.who.int/publications/i/item/cleaning-and-disinfection-of-environmental-surfaces-in-the-context-of-covid-19
- About List N: Disinfectants for Coronavirus (COVID-19) | US EPA
- https://www.cdc.gov/coronavirus/2019-ncov/community/cleaning-disinfection.html
- https://scholar.google.com/scholar?q=laminate+floor+cleaning+care+water+damage Google Scholar
- https://scholar.google.com/scholar?q=laminated+flooring+maintenance+microfiber+cleaners Google Scholar
- https://scholar.google.com/scholar?q=surface+disinfection+hard+flooring+laminate+material+compatibility Google Scholar

[…] and dust laminate floors often, then clean with a microfiber mop that’s only barely damp. In a workshop, moisture and grit are the two main threats to […]