


If you’re trying to install transitions around laminate floors in a basement, the fastest, cleanest route is usually a proper transition strip fitted to match basement moisture conditions. This guide tells you exactly when to use reducer vs. T-molding (and when not to), how to space the expansion gap, and how to anchor the transitions so they don’t buckle or pull loose. By the end, you’ll know the right layout and installation steps for a tight seam at every doorway and edge.




Use the right transition strip (usually T-molding, reducer/step-down, or a threshold) and keep the laminate’s required expansion gap so the floor can move. In basements, this matters even more—get the subfloor flat and dry first, then install the transition so it guides the seam without pinning the floating laminate edge.
This is for homeowners finishing a basement laminate floor where you need to meet carpet, tile, another room’s flooring height, or a step down. It’s especially relevant in basements because moisture and temperature swings can make small installation mistakes show up faster.
Pick the correct transition type for the laminate height change
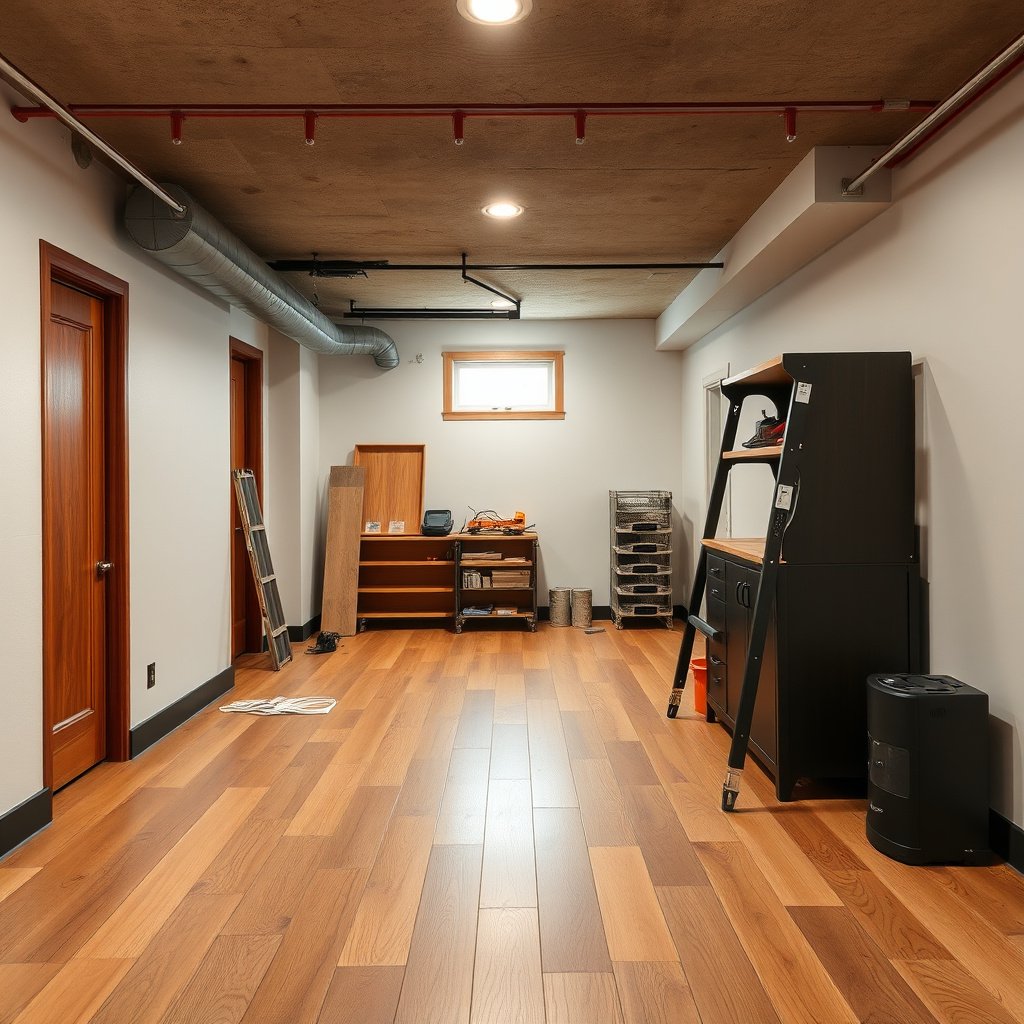
The right transition is the one that matches both the height difference and the way you’re connecting two surfaces. When a basement laminate transition is mismatched (profile or fastening method), you end up with lips, visible gaps, or doors that don’t close cleanly.
A floating laminate floor should be allowed to expand and contract; transitions are meant to cover and guide the seam, not lock the boards in place.
ASTM F1869 is one of the standard concrete moisture tests installers use before covering slabs with moisture-sensitive flooring systems (ASTM F1869).
– Match the transition to what you’re butting against (carpet, tile, another laminate run, or a step).
– Choose the profile by direction and height difference: T-molding for two floors at similar height, reducer for height changes, and thresholds for doorways.
– Use the transition manufacturer’s installation method (clips, screws, or adhesives) so it’s compatible with your laminate edge and spacing rules.
T-molding vs reducer vs threshold (what to use and why)
In 2026, the most common basement mistake we see with laminate transitions is using a “looks-close” strip instead of the correct profile. Here’s a quick decision structure you can use before you buy anything.
| Feature | T-molding | Reducer | Threshold |
|---|---|---|---|
| Primary job | Bridge equal heights | Bridge unequal heights | Doorway transition & gap cover |
| Best location | Hallways/room-to-room | Closets, raises/drops | Between rooms with doors |
| Height match tolerance | Close match required | Designed for step-down/up | Can be tuned to door clearance |
| Foot traffic edge risk | Lip risk if heights differ | Lower lip if matched to thickness | Higher durability at door openings |
| Typical anchoring | Track/clips | Base + track/fasteners | Track + screws (often) |
| Floating laminate interaction | Covers joint, doesn’t clamp boards | Guides seam across height step | Protects doorway seam while keeping gap |
| Common basement use case | Similar-height adjacent rooms | Laminate meets tile or raised subfloor | Mechanical closet/bedroom door entries |
| Door clearance considerations | Not ideal under hinges | May interfere with swing | Built for doorway profiles |
| Best when you measured carefully | Yes—height is very close | Yes—step height is known | Yes—door sill/clearance is known |
| Best For | Matched heights | Height changes | Doorways |
Fasteners and compatibility (don’t guess)
Every laminate transition system is built differently—some use clips, some use screws into a base track, and some use a top cap that locks after alignment. Your laminate transitions should follow both manufacturers’ rules: the laminate instructions for floating behavior and the transition strip instructions for fastening method.
If the transition is designed to be fixed to the subfloor, the floating laminate should remain unfastened so it can expand within the manufacturer-required perimeter gap.
Doorway thresholds are commonly installed with fastening hardware into the subfloor structure to resist movement at the threshold seam.
Measure, plan the expansion gap, and mark lines
The cleanest basement laminate transitions start with the correct expansion gap plan on paper and in pencil. You measure the height difference, then you plan the seam so the laminate can move underneath the transition cover.
Floating laminate floors rely on an expansion space at perimeter edges and at fixed points; the goal is to prevent the boards from “pinching” as humidity changes.
ASTM F1869 uses calcium chloride to measure moisture emission from concrete slabs over a multi-day period (commonly 60–72 hours) before covering (ASTM F1869).
– Check your laminate flooring instructions for the exact expansion gap needed around the perimeter and at fixed points; apply that same logic at transitions.
– Measure height differences between surfaces (laminate thickness + underlayment vs. tile/carpet tack height) so the reducer/threshold sits correctly.
– Dry-fit the transition pieces and mark where the laminate ends—don’t finalize fasteners until the fit looks right across the whole run.
The expansion gap is a “movement budget,” not a suggestion
For laminated planks in a basement, movement often comes from relative humidity swings and temperature changes—even when the space feels “dry.” That’s why your laminate transition planning needs to respect the expansion gap requirement in the laminate instructions.
If your laminate manual doesn’t give a single number, it may specify a range (or a board-length-based guidance). In that case, treat the transition area as part of the same floating system: keep the boards from contacting fixed objects, including the vertical face of a track.
Height mapping: underlayment thickness affects transition selection
Basements are where underlayment choices show up immediately. For example, the same laminate plank can sit noticeably higher depending on whether you used a thin foam pad, a thicker attached-pad product, or a basement-appropriate moisture barrier system.
As you measure for the transition, include:
– Laminate thickness (including any attached pad)
– Underlayment thickness (if separate)
– Carpet tack height (if transitioning to carpet)
– Tile height (tile + mortar bed effect, usually represented by the finished surface)
Data reference: common transition height steps (what reducers often need to cover)
The table below gives a practical “shopping and fit” reference for common step coverage sizes installers encounter when laminates meet tile or adjacent floors. Use it to confirm you’re selecting a reducer/threshold that can cover the measured step without creating a trip edge.
Common Reducer/Threshold Step Heights Used at Flooring Transitions (Basements, North America)
| # | Finished height step (in) | In mm | Typical transition match | Fit confidence |
|---|---|---|---|---|
| 1 | 1/8 in | 3 mm | Micro-reducer | ★★★☆☆ |
| 2 | 3/16 in | 5 mm | Reducer (light drop) | ★★★★☆ |
| 3 | 1/4 in | 6 mm | Reducer (common) | ★★★★★ |
| 4 | 5/16 in | 8 mm | Reducer (moderate) | ★★★★☆ |
| 5 | 3/8 in | 10 mm | Reducer (larger step) | ★★★★☆ |
| 6 | 7/16 in | 11 mm | Threshold/reducer combo | ★★★☆☆ |
| 7 | 1/2 in | 12 mm | Tall reducer/threshold | ★★★☆☆ |
Note: Always verify with your specific reducer/threshold spec sheet and your laminate’s underlayment system.
Prep the subfloor so transitions sit flat and don’t trap debris
Transitions are only as good as the surface they sit on. In a basement laminate installation, a subfloor that’s even slightly out of plane can create visible gaps and squeaks at the transition line.
Subfloor flatness errors can prevent full contact under transitions and cause edge “shadow lines” that become more noticeable as the laminate moves.
Concrete moisture testing for coverings is commonly performed using standard methods such as ASTM F1869 before installing flooring over a slab (ASTM F1869).
– Clean out dust and old adhesive so the transition lies flush—any high spot can create a visible gap or rocking.
– Fix dips/peaks before installing transitions; laminate edges can’t “bridge” a bad subfloor at a doorway or seam.
– If your basement has any moisture concerns, address them first; transitions that seal poorly can make condensation issues worse.
Flatness matters more at doorways and fixed points
Basement remodels often change subfloor layers—patch compounds, leveling, or new underlayment—so it’s easy to miss a “ridge” where two areas meet. When installing laminate transitions, even a small bump can keep the transition base from seating, which leads to:
– An uneven cover plate line
– A seam that opens as boards expand
– A tripping lip at a reducer
From my experience on basement installs (and from what I’ve seen in the field), the most frustrating transition callbacks come from a single missed high spot near the doorway threshold.
Moisture and underlayment setup: don’t rely on the transition to “solve” water
A transition can cover a seam, but it isn’t a waterproof seal. If your basement has dampness risk, the correct moisture barrier/underlayment system and installation steps are what protect the laminate edge—especially around laminate transitions where air movement can occur.
Also, keep indoor conditions stable. ASHRAE guidance commonly targets indoor relative humidity around 30–60% for comfort and building durability (ASHRAE guidance for indoor humidity control). In 2026, maintaining stable HVAC and dehumidification is often the difference between “fine for a season” and “fine for years.”
Install the transition without locking the laminate
Install the transition so it’s attached to the subfloor (or its base track), not to the floating boards. The laminate transition must cover the seam while still letting the floating laminate expand and contract within the manufacturer’s gap rules.
For floating laminate systems, transition components are typically fastened to the subfloor/track so the laminate remains free to move.
Basement humidity fluctuations can change laminate dimensions, so a pinned edge at a transition is a common cause of buckling and separation.
– Set the transition first (base/track), then let the laminate meet it while still maintaining the expansion gap.
– If the transition uses screws or nails: fasten the transition to the subfloor only, not through the floating laminate boards.
– If the transition has locking caps or reducers: install the top piece last so you can fine-tune alignment and avoid pinning the laminate edge.
The correct sequence (so you can adjust alignment)
A practical sequence for laminate transitions around laminate flooring in basements:
1. Install the base/track component to the subfloor according to the transition instructions.
2. Dry-fit the laminate rows on both sides, keeping the expansion gap at the transition line.
3. Adjust the transition alignment so the laminate edge sits evenly under the cap.
4. Install the top piece last (or lock it in) once you confirm the seam coverage and gap are correct.
If you’re working under a door threshold, check clearance early. Thresholds can be tall enough to scrape the door if the transition height is wrong for your measured step-up or step-down.
How not to “help” the laminate
Some homeowners try to eliminate movement by adding extra fasteners or adhesive. For floating laminate transitions, that approach often creates more problems:
– Squeaks at the seam
– Edge peaking where boards are restrained
– Buckling when humidity rises and the laminate expands
If you want adhesives involved at all, the only safe approach is when BOTH documents—your laminate and your transition system—explicitly allow it for the floating-edge scenario.
Basement-specific considerations: moisture, temperature, and movement
In basements, your laminate transitions need extra planning because humidity and temperature swings move the floor more than in many above-grade rooms. The goal is the same—cover the seam—but the “how” depends on moisture control and stable indoor conditions.
Many basement underlayment systems include a vapor/moisture barrier because slab moisture and seasonal humidity can affect laminate performance.
ASHRAE indoor humidity targets are commonly cited in the 30–60% range to support comfort and reduce moisture-related risks (ASHRAE humidity guidance).
– Keep the basement at normal living conditions before installing (laminate reacts to humidity and temperature swings); follow your flooring manufacturer’s acclimation guidance if provided.
– Watch for “trapped moisture” under or around transitions—use the manufacturer-recommended underlayment/moisture barrier setup for your basement.
– Allow the floor to move: transitions should guide the seam and cover it, not restrain the laminate expansion.
Acclimation and “living conditions” in 2026
As of 2026, many laminate instructions still emphasize acclimation and maintaining indoor conditions before/during installation. Even if your basement feels stable, the laminate transitions can’t prevent dimensional change—only correct spacing and proper moisture control can.
If your laminate instruction set provides a specific temperature/humidity target and timeframe, follow it. If it doesn’t, treat acclimation as a risk reducer: run HVAC/dehumidification, store planks according to manual instructions, and avoid opening the space to major swings right before installation.
Preventing trapped moisture at the transition edge
“Trapped moisture” can happen when moisture barrier seams aren’t taped correctly, when underlayment is interrupted at transition areas incorrectly, or when debris prevents a transition base from seating.
A good rule: the transition base should sit on clean, properly prepared subfloor so you don’t create micro-gaps where air can carry moisture to the seam.
What can go wrong (and how to avoid it)
Most laminate transition failures come from skipping the expansion gap, fastening the wrong components, or choosing a profile that doesn’t match the measured step height. If you handle those three areas carefully, you avoid the most visible basement problems.
A missing expansion gap can cause laminate edges to buckle or force the transition to lift as the floor expands.
Fastening a floating laminate board can convert it from “floating” to “restrained,” increasing squeaks and separation risk at seams and transitions.
– No expansion gap: laminate edges can buckle or the transition may end up pulling away over time.
– Fastening the laminate: screws/nails that go into the floating boards can cause squeaks, separation, or buckling at the seam.
– Wrong transition profile: a reducer that’s too shallow can leave a lip that catches shoes; a threshold that’s too tall can make doors scrape.
– Subfloor not flat: even a small ridge can prevent full contact and create a shadow line that gets worse as the floor moves.
Verdict / tip: If your subfloor is uneven, your basement moisture setup isn’t confirmed, or you can’t identify the expansion gap requirement from the laminate manual, pause and re-check those items before installing transitions. Transitions can hide small imperfections—but they shouldn’t compensate for a warped base, missing vapor control, or incorrect floating-floor clearances.
Quick checklist (scan/save) & FAQ
– Before you start:
– Confirm transition type (T-molding / reducer / threshold) matches your height change.
– Verify the expansion gap requirement in your laminate instructions.
– Make sure the subfloor is clean, flat, and dry.
FAQ
– Do I glue laminate transitions to the floor?
Usually no for floating laminate—transitions are typically fastened to the subfloor/track, while the laminate remains able to move. Check your transition and laminate instructions.
– What if the basement floor is uneven near the doorway?
Fix the high/low spots first; transitions can hide small gaps, but they shouldn’t be used to correct a noticeably uneven subfloor.
– How do I choose between T-molding and reducer?
Use T-molding when both sides are essentially the same finished height; use a reducer when one side is higher/lower.
– Should I install transitions before or after the last laminate rows?
Many people install transitions as they reach the seam, using dry-fits to confirm alignment. Follow the step order in your specific flooring/transition manuals.
Installing transitions around laminate in a basement is mostly about choosing the correct transition profile and keeping the floating laminate’s expansion space intact. Prep the subfloor flat and dry, dry-fit and measure height differences, then fasten transitions to the subfloor (not the boards). If you want, share your laminate thickness, underlayment type, and what each transition meets (tile, carpet, doorway, or step), and we can narrow down the best transition type and fit approach.
SOURCES:
Frequently Asked Questions
What transition strips work best when installing laminate flooring around a basement doorway?
In basements, the most common best options are T-molding for meeting another hard surface, and a reducer or threshold strip for transitions to tile or carpet. If the laminate butts up against a door jamb or step, use a jamb/threshold transition designed for low profiles to keep the surface safe and easy to close doors. Choose a strip material (usually aluminum or matching vinyl) that won’t rust in humid conditions and that covers the expansion gap along the laminate floor edge.
How do you install transition strips around laminate flooring in a basement?
Start by confirming the laminate has a proper expansion gap at walls and doorways, then snap or dry-fit the transition strip to check alignment. For most installs, measure the doorway width, cut the track/strip to length, and pre-mark screw or nail locations if the transition uses a fastening channel. Set the strip so it straddles the seam evenly, then secure it and reinstall the reducer/top cap, ensuring the laminate edges don’t pinch when the floor expands.
How can you handle height differences between laminate and basement concrete when adding transitions?
Basement slabs are often uneven, so use a straightedge to identify high and low spots before you commit to a specific transition thickness. If the laminate is thicker than the concrete underlayment plus flooring, a reducer transition or adjustable transition can help create a smooth, trip-free step. For larger height gaps, consider leveling the subfloor or choosing a thicker transition system rather than forcing the laminate edges to fit.
Why is it important to keep an expansion gap when installing transitions around laminate in basements?
Laminate flooring needs an expansion gap to allow seasonal movement, especially in basements where humidity can vary. If you install transitions too tight against the wall or trap the laminate edge, the boards can buckle and transitions may lift or separate over time. Leave the required gap, then use the transition strip to cover it neatly, creating a clean finish without restricting movement.
Which type of transition should you use between basement laminate and carpet or tile?
For transitions to carpet, a carpet-to-laminate transition strip or tackless threshold is often the best choice because it bridges the gap while staying low profile. For laminate to tile, use a reducer strip to taper between heights smoothly and prevent a hard edge from catching feet. Make sure the transition covers the seam fully and is fastened to the subfloor (not the floating laminate) so the floor can float freely.
📅 Last Updated: October 22, 2026 | Topic: How to install transitions around laminate floors in a basement? | Content verified for accuracy and freshness.
References
- Laminate flooring
- Floating floor
- Expansion joint
- Vapor barrier
- https://www.epa.gov/mold/basements-and-mold
- https://www.cdc.gov/mold/default.htm
- Redirecting…
- https://scholar.google.com/scholar?q=laminate+floor+installation+expansion+gap+transition+strip Google Scholar
- https://scholar.google.com/scholar?q=laminate+floor+threshold+reducers+installation+instructions Google Scholar
- https://scholar.google.com/scholar?q=basement+laminate+flooring+moisture+vapor+barrier Google Scholar


[…] defines Class II as 0.1–1.0 perm and Class III as 1.0–10 perm, which may be insufficient under moisture-sensitive flooring systems. ASTM […]