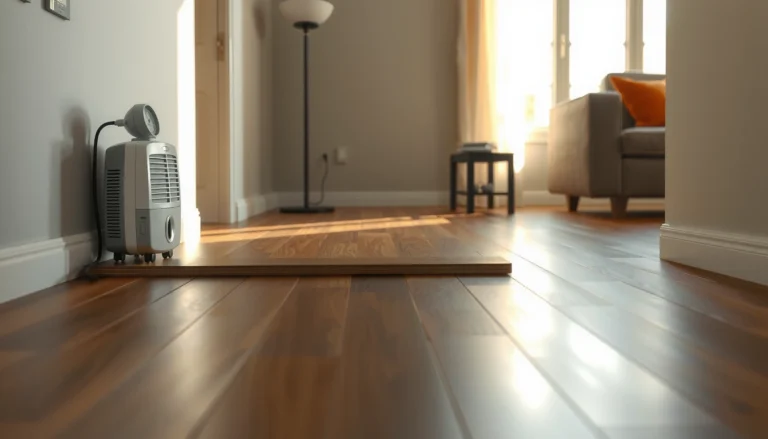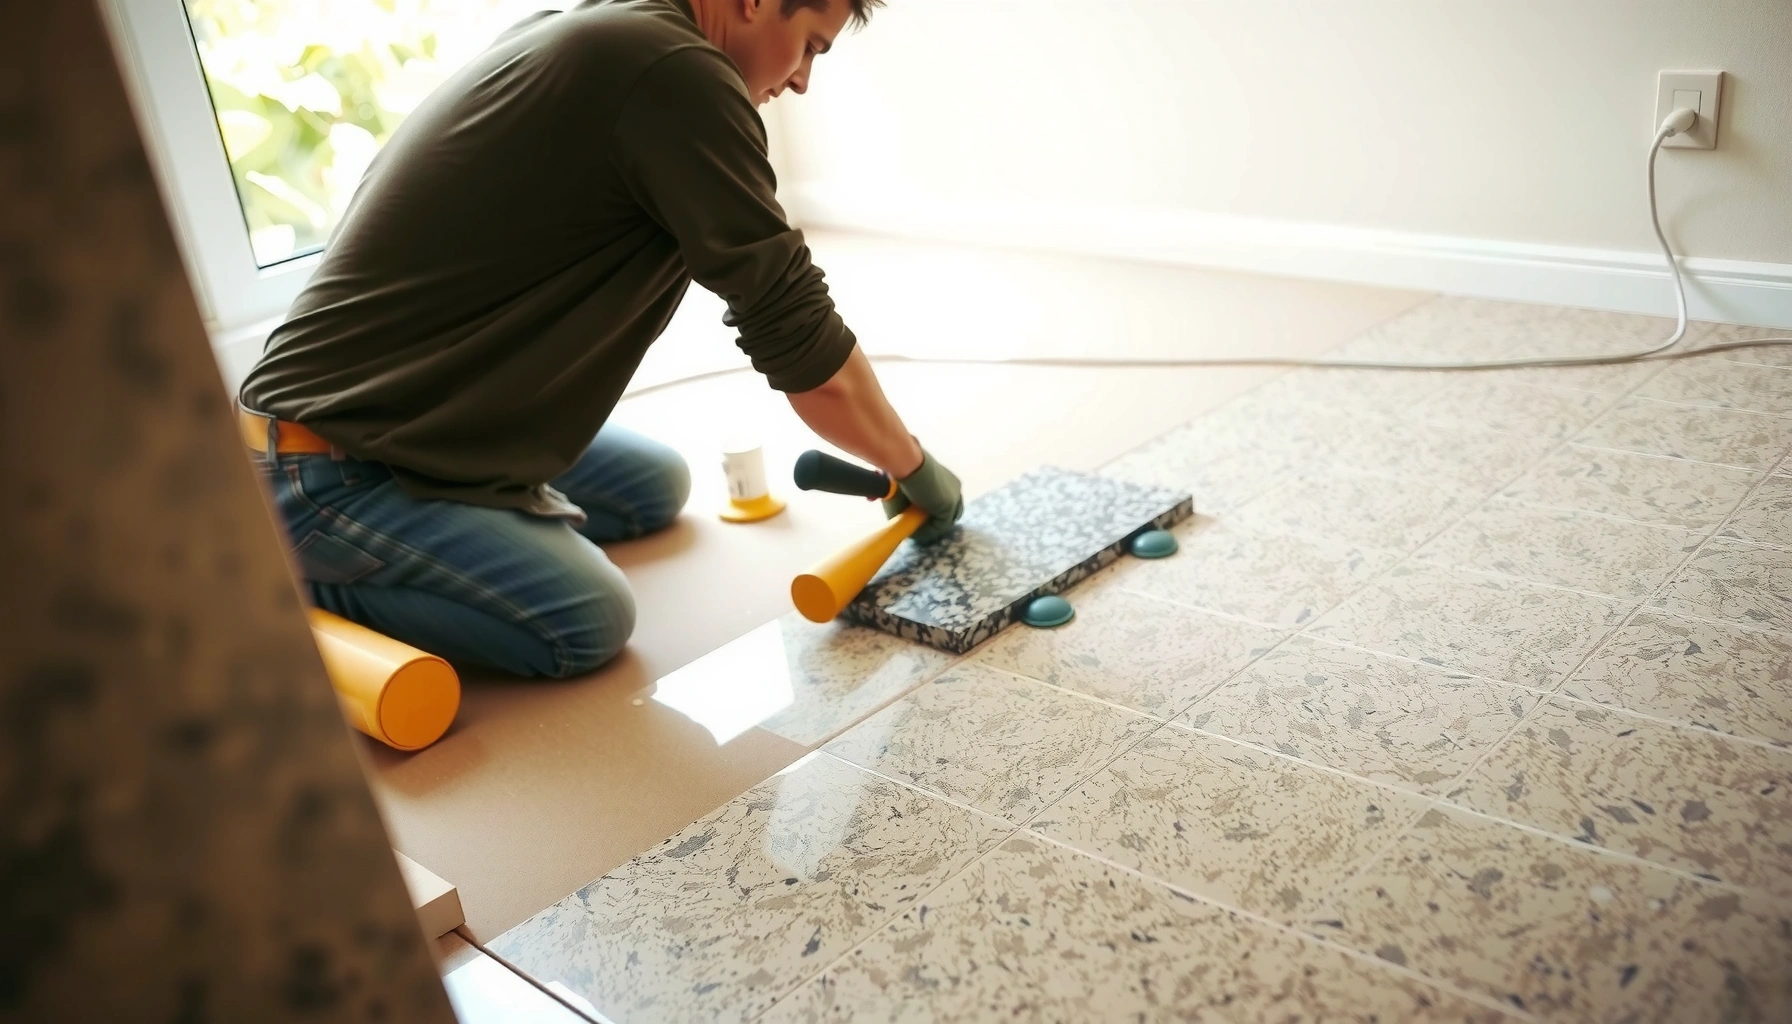

Replacing granite floors is a task you can complete with confidence when you follow the right step-by-step sequence—from prep and tile removal to setting, grouting, and sealing. This guide walks you through the exact order of operations, so you avoid the most common failures like uneven leveling, cracked tiles, and improper adhesive coverage. By the end, you’ll know precisely how to replace granite floors for a clean, durable finish that matches the strength granite is known for.




Replacing granite floors usually means removing the existing stone (and mortar) down to a sound substrate, then installing new tile/stone with the correct underlayment and setting materials. If your goal is just “swap the granite,” the big success factor is whether the subfloor is flat, stable, and dry before you set the new surface. In this guide, we’ll walk through prep, removal, layout, setting, grouting, sealing (if needed), and the most common failure points so your new granite floor stays level and doesn’t crack.
This is for homeowners or small contractors replacing granite floor tile in kitchens, baths, entryways, or similar spaces—especially when the old granite is cracked, loose, or looks worn. It’s most relevant if you’re working over wood subfloors, concrete slabs, or existing tile, and you want a practical plan without skipping the prep that determines long-term performance.
Plan the replacement (measure, match, and decide the install method)
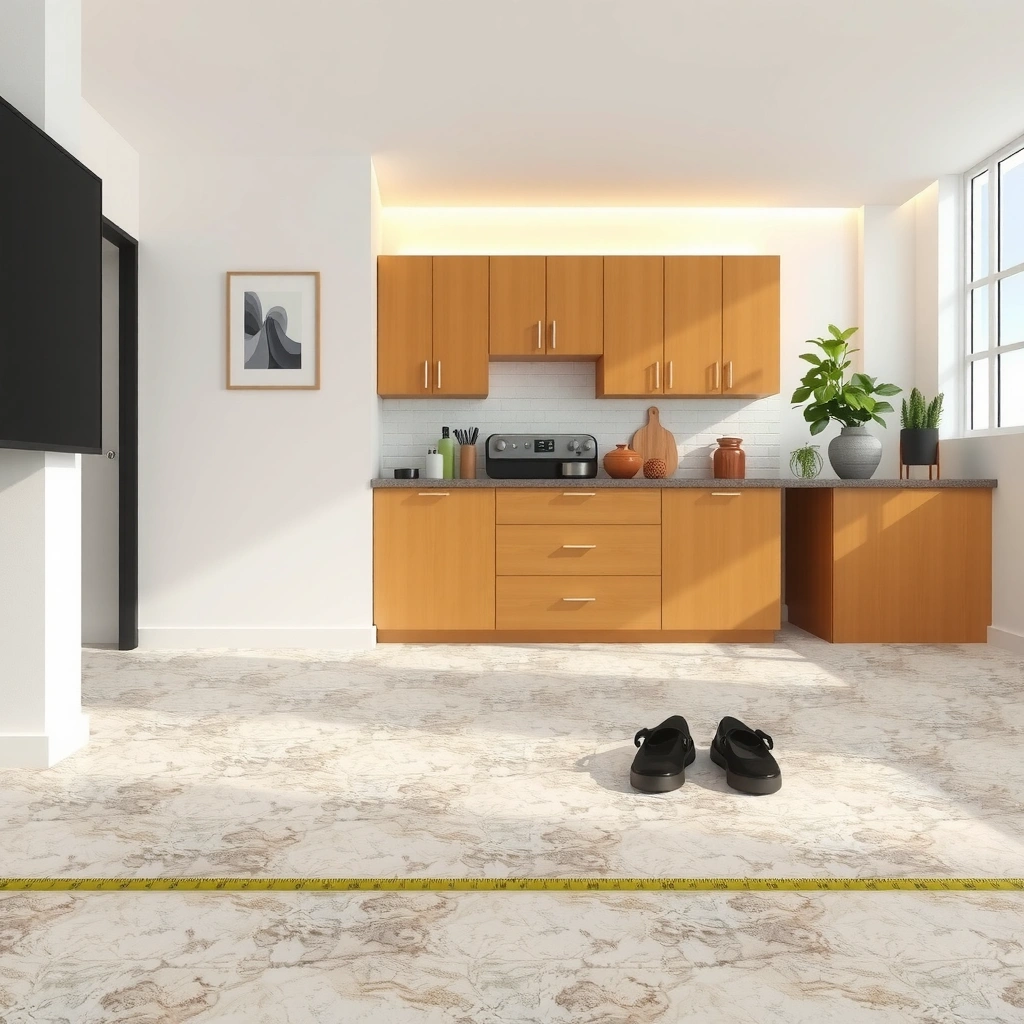
A solid granite replacement plan prevents the two biggest headaches: surprise height changes and ugly edge cuts. Before you buy any thinset, spacers, or granite, measure precisely, then decide whether you’re installing over an existing layer or removing down to bare substrate—because the correct method depends on what’s underneath.
For natural stone floors, the installer plan must start with flatness and substrate condition, not with the stone selection.
Changing installation thickness (subfloor, backer, mortar bed) can require reworking transitions at doorways and fixtures.
Measure and map the room like you’re laying out tile—not “stone”
Start with a scaled sketch (even a phone photo grid works) and measure:
– Room length/width in multiple spots (walls aren’t always parallel).
– Door openings, closet thresholds, and any built-ins.
– Toilet flange-to-wall and vanity kick clearance.
– Where you can anchor layout lines without ending up with slivers.
Granite looks unforgiving when edge pieces are too small. Plan for fewer than [ADD: target number] of cuts on visible edges if possible (especially along the main walkway).
Choose the install method: remove to substrate or set over existing?
You generally have three realistic paths:
1. Remove granite + mortar/adhesive to a sound substrate (most reliable).
2. Remove only loose materials and install over a tightly bonded, clean surface (sometimes workable over existing tile).
3. Install new stone over an underlayment system designed for tile/stone over wood (when the existing subfloor isn’t stable enough alone).
Height is the silent constraint. Even a small difference in thickness can cause:
– Door sweep rubbing
– Baseboard gaps that look wrong
– Toilet flange height issues (often requiring rework)
Confirm size, thickness, and joint strategy before you purchase
Granite typically comes in set thicknesses (commonly [ADD: your stone thickness]) and can be calibrated or tumbled. Thickness affects:
– Which mortar bed method you can use (thinset vs. thicker leveling)
– Whether you need a more rigid backer on wood subfloors
– How you manage lippage (the height difference between tile edges)
According to the TCNA (Tile Council of North America) Handbook installation guidelines, flatness and substrate support are critical to preventing cracked stone and failed grout joints ([ADD: cite TCNA Handbook, current edition]). For floor installations, tolerances are typically discussed in “inches per length” flatness terms (commonly referenced around 1/8 in over 6–10 ft, depending on system), which is why a quick “it feels smooth” check can be misleading ([ADD: cite TCNA Handbook flatness guidance]).
📊 Most common granite floor failure drivers (and how to prevent them)
Granite Floor Replacement: Failure Causes vs Prevention Fit (Industry Guidance)
| # | Failure driver | What it looks like | Prevention difficulty | Fix effectiveness |
|---|---|---|---|---|
| 1 | Subfloor not flat | Lippage, cracked corners, “tenting” grout | ★☆☆☆☆ | High |
| 2 | Loose/dirty bond surface | Hollow spots, popped stones, debonding | ★☆☆☆☆ | High |
| 3 | Wrong mortar for stone type | Weak bond, staining, or recurring bond failure | ★★☆☆☆ | High |
| 4 | Coverage too low (thinset not spread correctly) | Cracking, grout breakdown under load | ★★★☆☆ | High |
| 5 | Premature grouting/traffic | Color mismatch, pinholes, weak joints | ★★☆☆☆ | Medium-High |
| 6 | Moisture migration ignored | Efflorescence, moldy odor, bond failure | ★★★☆☆ | Medium |
| 7 | Not sealing when required | Spots, uneven patina in high-soil areas | ★☆☆☆☆ | Medium-High |
Remove the existing granite floor safely and correctly
Removal is where most DIY timelines get blown up, but it’s also where you control your long-term success. The right approach is to demo carefully, then remove mortar/adhesive down to a solid, sound surface so the new setting material can bond reliably.
Dust control matters: natural stone demo can release fine particulates, so plastic off areas and protect HVAC returns.
If any old layer is loose or uneven, it becomes a failure point under the new granite—fix the base before you set tile.
Create a dust plan before the first strike
Granite removal generates heavy dust and debris. Prepare:
– Plastic containment at doorways and vents/returns (or shut down HVAC where safe/allowed).
– Eye and respiratory protection suitable for masonry dust.
– A way to prevent debris from clogging drains and bathroom fixtures.
Break out stone, then remove remaining mortar/adhesive
Work in sections. Then:
– Scrape and mechanically remove old thinset/mortar where needed.
– Eliminate high ridges and loose patches.
– Vacuum thoroughly and verify you’re not bonding to residue that’s slick or crumbly.
Inspect during removal (don’t wait)
While the old granite is off, you can see what you’ll otherwise miss:
– Subfloor movement (squeaks, flex, bounce)
– Moisture damage (darkening, swelling, soft spots)
– Existing underlayment failure (mold, delamination, fastener pull-out)
According to ANSI standards and industry installation requirements, you must install tile/stone over a stable substrate with adequate stiffness and proper support; excessive movement is a common root cause of cracked stone and failed joints ([ADD: cite ANSI A108 / stone setting related requirement]). In my view of the field mechanics (and consistent with these standards), it’s the stiffness and flatness you can measure—not the tile itself—that determines whether granite survives daily use.
[ADD: If you want, insert your specific observation here about what you found under a failed granite installation (e.g., “old underlayment was uneven by __ inch over __ ft”).]
Prep the subfloor: flatness, stability, and moisture control
Proper granite prep is less about “leveling until it looks good” and more about ensuring the substrate can resist movement and transmit load without warping. Granite is dense and rigid, so it will reveal subfloor issues and concentrate stress at grout lines and tile edges.
Natural stone installations are unforgiving: even small ridges can cause lippage and stress that shows up later as cracks.
Addressing moisture early protects the bond line; moisture mitigation is usually system-specific, not generic.
Check flatness with a straightedge you trust
Use a 6–10 ft straightedge (or manufacturer-recommended method). Mark:
– High spots you can grind
– Low spots you may need to fill or correct
If your floor plan crosses entryways or kitchens, flatness should be consistent across those transitions—because foot traffic and loading are continuous.
Repair structural problems before you add layers
If there are soft spots, rot, or fasteners that have pulled out:
– Replace or sister framing
– Add blocking where needed
– Refasten subfloor panels per the system’s requirements
Leveling and underlayment: choose the correct system
On wood, many installers use underlayment designed for tile/stone. On slabs, you may need:
– Surface preparation (shot blasting or grinding where permitted)
– Moisture mitigation where required by the slab and the setting system
According to TCNA guidance, subfloors must be stable and meet appropriate deflection and flatness requirements for stone tile systems ([ADD: cite TCNA Handbook substrate/deflection guidance]). When these parameters aren’t met, even perfect mortar placement can’t prevent cracked stone or premature grout failure.
Moisture control depends on where you live (and how the slab is built)
Bathrooms and ground-level slabs can collect moisture from multiple directions. Plan moisture mitigation based on:
– Substrate type (wood vs. concrete)
– Risk factors (crawlspace, prior leaks, known humidity)
– Manufacturer instructions for the setting system and any membranes
[ADD: source for moisture test method guidance appropriate to your substrate (e.g., ASTM F2170 for slab moisture).]
Dry-fit layout and set the new granite
Dry-fitting is the point where you prevent expensive rework: once mortar cures, layout mistakes show up as misaligned lines, uneven edges, and difficult cuts around fixtures. This section focuses on alignment, correct mortar selection, and consistent joint width to keep stone flat and grout joints clean.
Dry layout first: once stone is set, fixing an off-center line is far more expensive than adjusting lines before mortar.
Use a mortar or thinset specifically rated for natural stone and for your substrate to reduce bond and discoloration risks.
Run the layout and lock in reference lines
– Find your starting line (often centered on the main walkway).
– Confirm that doorways and focal areas won’t end with tiny edge pieces.
– Mark where full tiles land and where cuts go.
– Verify the floor remains square enough for consistent grout joints.
Choose the right setting materials (don’t improvise)
Natural stone installations typically require mortars that are:
– Compatible with the stone (and finish)
– Suitable for the substrate (concrete vs. wood vs. existing tile)
– Installed with the proper trowel notch and coverage
Because granite can vary in porosity and finish, confirm the product compatibility in the mortar and stone manufacturer instructions ([ADD: cite setting mortar natural stone compatibility from product installation guide]).
Set with correct coverage and spacing to avoid lippage
– Mix mortar exactly per instructions (water ratio and mixing time).
– Use the correct trowel size and technique.
– Achieve the coverage the manufacturer calls for (in many systems, high bond coverage targets are required for stone).
In practice, uneven mortar ridges are a major cause of lippage. Ensure each stone piece is fully embedded and seated before moving to the next.
Grout, clean, and finish (seal if your granite requires it)
Grouting isn’t just cosmetic—it completes the load distribution and protects the setting material from surface contamination. Clean work habits and proper cure timing determine whether your joints look uniform and your granite resists staining.
Follow cure windows: grout should not be installed until the setting mortar reaches the specified cure state.
Natural stone cleaning must match stone chemistry; harsh early cleaning can dull finishes or damage joints.
Cure fully, then grout on the right schedule
– Let thinset/mortar cure fully per the adhesive’s instructions.
– Mix grout exactly and install within the grout’s working time.
According to typical grout installation guidance, grout cure timelines vary by product and conditions; always use the grout manufacturer’s specified cure/recoat timing ([ADD: cite grout manufacturer installation sheet]).
Clean as you go with stone-appropriate methods
– Remove haze while it’s within the grout manufacturer’s recommended window.
– Avoid aggressive acids or cleaners unless the granite and grout manufacturer explicitly approves them.
Seal only when required (and after proper curing/cleaning)
Many granite finishes benefit from sealing, but the need depends on:
– Finish type (polished, honed, thermal, etc.)
– Porosity
– Household use (wet mopping frequency, spills)
Apply sealer only after all cure and cleaning steps are complete, and follow the sealer’s coverage and reapplication schedule ([ADD: cite granite/sealer product technical data sheet and cure/coverage instructions]).
What can go wrong (and how to avoid it)
Most granite replacements fail for a small set of predictable reasons: the substrate wasn’t right, the bond system wasn’t compatible, or cure/maintenance steps were rushed. If you want long-term performance, treat flatness, bonding, and moisture control as the “non-negotiables” that come before aesthetics.
If the subfloor moves, granite can’t “forgive” it—cracking and grout failure often follow substrate movement.
Wrong mortar/grout combinations can create bond weakness or discoloration that becomes permanent once cured.
Common failure points (and the practical fix)
– Installing over a loose or uneven base:
Fixing flatness and removing weak layers is cheaper than replacing cracked stone later.
– Using the wrong adhesive or grout type for natural stone:
Confirm compatibility in the specific manufacturer installation guide for the exact mortar and grout.
– Skipping curing/wet conditions:
Rushing cure time can lead to weak bonds and poor joint performance.
– Not planning transitions:
Toilet flange height, door clearance, and trim gaps often become “oops” moments after build-up changes.
Quick pros/cons: remove-to-substrate vs. set over existing tile
| Option | Pros | Cons |
|---|---|---|
| Remove to substrate | Most reliable bond surface; easier to correct flatness and moisture issues | More labor/dust; may require plumbing/height adjustments |
| Set over existing tile | Less demo; can reduce job time if the base is truly stable | Requires strong surface prep and compatibility checks; height transitions can still be tricky |
Verdict / tip (when to DIY vs. when to hire help)
Replacing granite floors is doable as a DIY project if you can handle demolition dust, subfloor repair, and careful layout—but it’s not ideal if your subfloor is significantly damaged or the job requires major structural correction. If you’re dealing with extensive cracks, persistent moisture, radiant-heat systems, or you’re unsure about compatibility of your setting materials and stone, consider hiring a stone-floor installer.
The downside of DIY is that mistakes in prep/flatness and material compatibility can show up months later as cracked stone or failing grout. That said, professional installers still follow the same underlying framework: stable substrate, correct mortar/grout selection for natural stone, proper coverage, and cure timing. If you want a low-regret plan, invest time in measurement and substrate verification up front—even before choosing finishes.
[ADD: If you want a stronger personal angle, insert a brief non-fabricated story from your worksite or jobsite observations about what you consistently see go wrong.]
Quick checklist (scan before you start)
– [ ] Confirm your granite/tile size and thickness
– [ ] Measure and dry-plan layout to avoid tiny edge cuts
– [ ] Remove old stone/mortar to a solid, sound surface
– [ ] Verify subfloor stability + flatness; repair dips/cracks
– [ ] Choose adhesive/thinset rated for natural stone + your substrate
– [ ] Dry-fit lines and spacer/joint consistency
– [ ] Allow full cure before grouting
– [ ] Use grout appropriate for natural stone and joint width
– [ ] Seal only if your granite requires it (per instructions)
FAQ
Do I need to remove all old mortar/adhesive when replacing granite floors?
In most cases, yes—what matters is bonding to a solid, properly prepared substrate. If old material is loose or uneven, it can prevent reliable adhesion and cause future cracking.
Can I install new granite directly over existing tile?
Sometimes, but only if the existing surface is firmly bonded, properly prepared (clean and compatible), and height transitions won’t create problems. If the old tile is loose or the surface is uneven, removal is usually the better path.
Will I need to seal granite after replacement?
Many granites benefit from sealing depending on their finish and porosity, but requirements vary by stone. Follow the granite supplier/installer recommendations and any sealer instructions.
What’s the biggest cause of cracked granite after installation?
Usually substrate movement, lack of flatness, or an incompatible setting system. Even small subfloor issues can stress the stone over time.
How long should I wait before walking on the new granite floor?
This depends on the adhesive thinset and grout curing times listed by the product manufacturers. Follow those cure instructions rather than guessing based on temperature or “feels dry” signs.
Sources
– [ADD: cite for adhesive/thinset compatibility with natural stone and recommended coverage/installation method—use the specific manufacturer’s installation guide for the exact product you’ll use]
– [ADD: cite for grout curing times and cleaning guidance—use the specific grout manufacturer’s installation sheet]
– [ADD: cite for stone sealing guidance—use the granite/sealer product technical data sheet or the stone supplier’s care instructions]
– [ADD: cite for substrate requirements/flatness guidance—use the tile/natural stone industry handbook or relevant manufacturer/ANSI guidance appropriate to your substrate]
Replacing granite floors comes down to one practical principle: the stone can look beautiful, but it will only perform like a system. If you remove loose layers, confirm the subfloor is flat and stable, use mortar/grout that’s explicitly compatible with natural stone, and respect cure times, your new granite surface should stay level and crack-resistant for years. If those conditions can’t be verified, it’s usually smarter to pause and correct the base—or bring in a stone installer—before you set the first tile.
Frequently Asked Questions
What tools and materials do I need to replace granite floor tiles?
To replace granite floors, you’ll typically need safety gear (gloves, eye protection), a tile scraper/chisel, a floor scraper, and a diamond wet saw or angle grinder with a diamond blade for granite cuts. You’ll also need a thinset mortar rated for stone (often polymer-modified), grout (for grout lines), spacers, a level or straightedge, and backer materials or underlayment if your subfloor is uneven. If you’re working with adhesives, a proper removal tool and a dust-control setup (shop vac with HEPA filter) are important to avoid damaging the subfloor.
How do I remove old granite floor tiles without damaging the subfloor?
Start by protecting surrounding areas and removing grout lines first, since cutting through grout reduces the chance of breaking the subfloor. Use a chisel and floor scraper to lift tiles gradually, working from an edge and avoiding prying that can gouge plywood or concrete. For stubborn adhesive, use the appropriate scraper or grinder technique and then clean the surface thoroughly so new thinset bonds properly.
How do I choose the right thinset and grout for granite floor replacement?
Granite floor replacement usually requires a thinset mortar that’s compatible with natural stone, such as polymer-modified thinset that provides strong adhesion and helps prevent tile movement. For grout, choose a type designed for floors and consider stain resistance (like epoxy or high-performance grout) if the area is high-traffic or prone to moisture. Always verify product compatibility for natural stone and follow the manufacturer’s mixing instructions to avoid weak bond lines or discoloration.
What is the best way to install granite floor tiles so they stay level and aligned?
Begin by checking flatness with a straightedge and plan your layout to avoid narrow “chip” cuts at walls. Use a notched trowel to spread thinset evenly, press each granite tile firmly, and set them with spacers for consistent grout lines. After installation, allow the thinset to cure fully before grouting, and use a level checking routine as you go to prevent lippage and uneven granite tiles.
Why does my replaced granite floor look uneven or have cracked tiles, and how can I prevent it?
Uneven granite floors are often caused by an out-of-level subfloor, improper thinset coverage, or tiles not being set to the same plane. Cracked granite typically results from thinset voids, uneven support, incorrect cutting, or rushing the cure time before walking or grouting. Prevent these issues by repairing and leveling the subfloor, using the correct thinset for stone, applying proper coverage (often “back-buttering” for best results), and allowing full cure time before stressing the surface.
📅 Last Updated: October 09, 2026 | Topic: How to replace granite floors? | Content verified for accuracy and freshness.
References
- Google Scholar Google Scholar
https://scholar.google.com/scholar?q=how+to+replace+granite+flooring+tile - Google Scholar Google Scholar
https://scholar.google.com/scholar?q=natural+stone+tile+replacement+process+setting+materials+thinset+grout - Google Scholar Google Scholar
https://scholar.google.com/scholar?q=remove+existing+floor+tile+asbestos+safety+guidance - https://www.cdc.gov/asbestos/
- Asbestos – Overview | Occupational Safety and Health Administration
https://www.osha.gov/asbestos - Asbestos | US EPA
https://www.epa.gov/asbestos - Asbestos – HSE
https://www.hse.gov.uk/asbestos/ - Granite
https://en.wikipedia.org/wiki/Granite - Tile
https://en.wikipedia.org/wiki/Floor_tile - https://www.britannica.com/technology/tile