
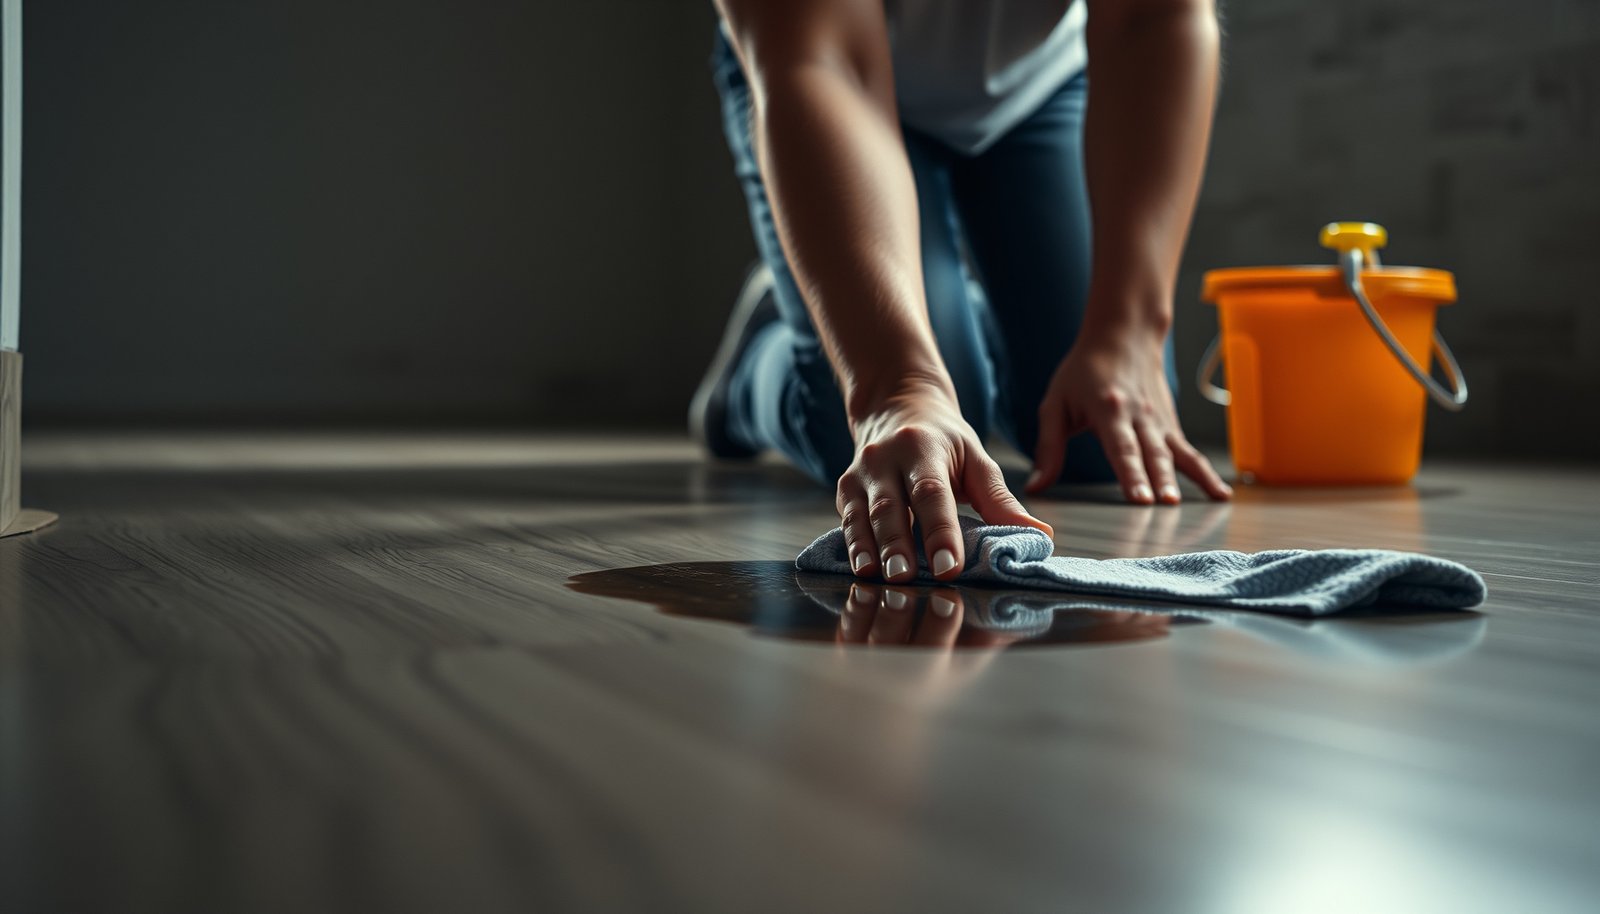

Get rid of stains on laminate floors in a basement without damaging the finish by using the right cleaner for the stain type and wiping with the correct level of moisture. This guide gives you the fastest, safest step-by-step method—from identifying the cause to lifting grime, water marks, and scuffs—so you can see results the first time. If you want the quickest path to a clean, even surface, follow the winning approach for your specific stain.




Remove most stains from laminate by starting with dry cleaning, then using only a lightly damp cloth and a laminate-safe cleaner—never soaking the planks. For stubborn marks, use gentle spot methods (like a mild detergent solution or a carefully tested paste), and always dry the area right away to prevent swelling or edge damage. You’ll also want to fix the basement moisture source, or the stain will keep coming back.
If your laminate floor sits in a basement, stains are often tied to humidity, tracked-in dirt, spills, or occasional moisture exposure. This guide is for homeowners who want a safer approach that won’t damage the laminate finish or let water seep into seams.
Identify the stain (so you don’t make it worse)
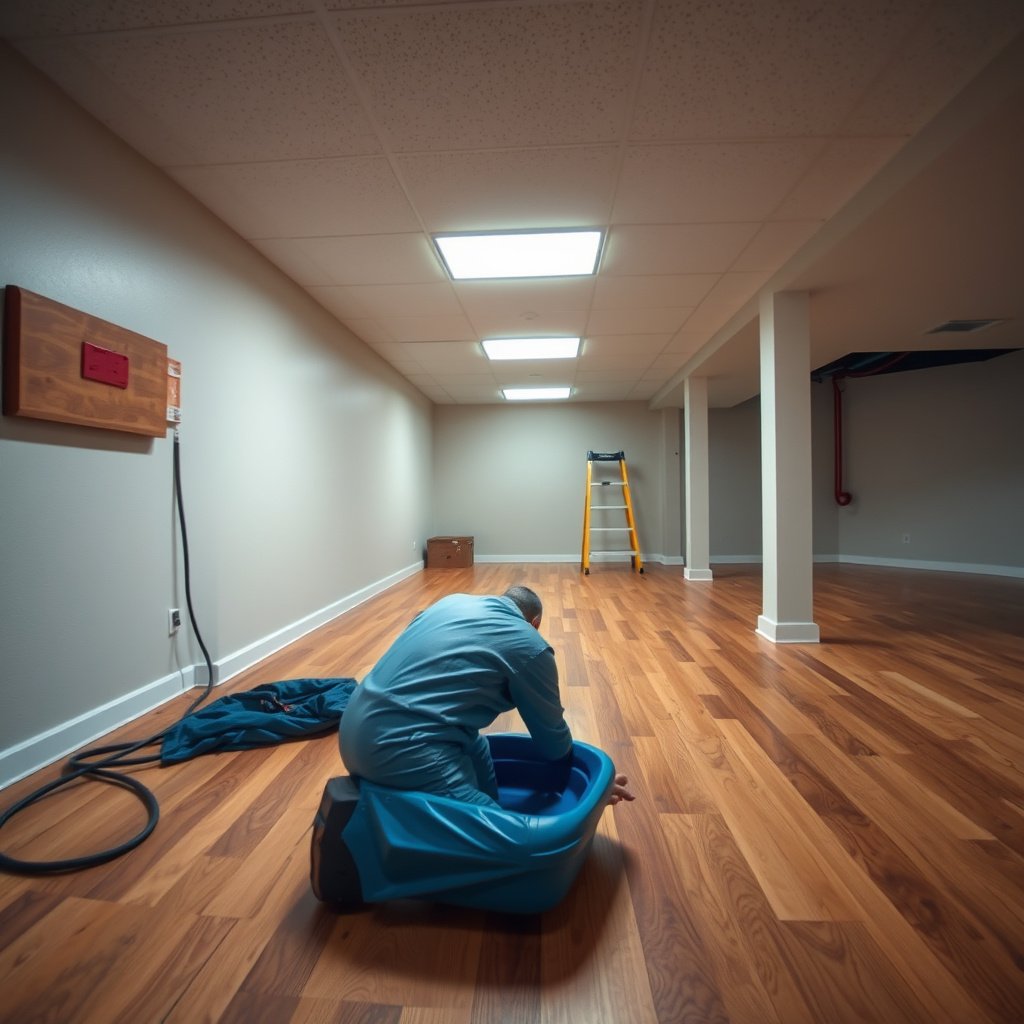
Start by identifying what kind of “stain” you’re dealing with, because the wrong product or too much moisture can make laminate discoloration permanent. In a basement, the most common causes are surface soil, mildew growth from persistent dampness, and rust or mineral transfer from water or metal items.
Dark/black spots on laminate often point to mildew, which requires moisture control—not just surface cleaning.
If the “stain” wipes away with a dry microfiber cloth, it’s usually surface dirt rather than finish discoloration.
– Look for clues: water rings, dark/black spots (often mildew), rust-like streaks, or greasy footprints/soil.
– Check whether the “stain” wipes off (surface dirt) or looks like discoloration in the finish (may need gentler chemical help).
– If you see any soft spots, lifting edges, or bubbling, stop and address possible moisture intrusion first.
What laminate “stains” really mean in basements
Laminate floors have a wear layer (the protective top film) plus an image layer underneath. When basement humidity or occasional wetting persists, discoloration can become trapped in the finish or in the seam area, meaning cleaning alone may not fully restore the look. That’s why laminate stain removal works best when you pair it with moisture control—especially in 2026, when basements often run “off-cycle” HVAC and dehumidifier schedules.
Quick risk check before you clean
If you notice swollen edges or a plank seam that looks raised, laminate could have absorbed moisture. In those cases, additional wet cleaning can worsen the problem by driving moisture deeper at the seam lines. Stop, dry the area as best you can, and address the moisture source before proceeding with any cleaner.
Prep the laminate floor before cleaning
Prep matters because laminate floors scratch easily and because basements tend to keep grit suspended. Before you apply any cleaner, remove loose debris and test your method in an unseen area to confirm the finish won’t haze.
Vacuuming and dry microfiber wiping first prevents grit from scratching the laminate’s wear layer.
Testing any cleaner on an inconspicuous spot reduces the risk of dulling or changing the finish sheen.
– Remove grit first: vacuum (brush attachment if needed) and use a dry microfiber cloth so you don’t scratch the surface.
– Test in an unseen spot with your chosen cleaner/paste to confirm it won’t dull or haze the finish.
– Clear the area and improve airflow—basements dry more slowly, so fast drying matters.
Moisture context you can’t ignore (and a few numbers)
Even “minor” humidity can drive recurring staining in laminate floors. According to the U.S. Environmental Protection Agency (EPA), maintaining indoor relative humidity between 30% and 50% helps reduce mold risk (EPA, Indoor Humidity Guidance, mold prevention). According to the U.S. Centers for Disease Control and Prevention (CDC), mold can begin growing within 24–48 hours if materials stay damp (CDC, Mold basics and moisture conditions). According to the CDC, mold is strongly linked to persistent moisture rather than just cleaning the surface (CDC, Mold and moisture relationship).
In other words: if you’re seeing mildew-like dark patches on laminate floors, prep and cleaning are only the first step.
Data snapshot: basement stain patterns and what they usually mean
Basement Laminate Stain Types: Typical Cause and Cleanability (DIY-safe approach)
| # | Stain type (what it looks like) | Most common basement source | Safest first method | First-pass cleanability | Moisture-risk? |
|---|---|---|---|---|---|
| 1 | Gray scuffs from foot traffic | Dry soil + abrasion | Dry microfiber, then minimal-damp wipe | ★★★★☆ | Low |
| 2 | Light water ring | Brief spill or condensation | Lightly damp wipe, then dry immediately | ★★★☆☆ | Moderate |
| 3 | Greasy footprints / oily streaks | Tracked-in automotive/hand oils | Laminate-safe floor cleaner on cloth | ★★★☆☆ | Low |
| 4 | Black patch (mildew-like) | Persistent humidity + trapped moisture | Correct moisture first, then surface-safe cleaner | ★☆☆☆☆ | High |
| 5 | Rust-like streaks | Metal transfer from damp items | Gentle, tested cleaner only | ★★☆☆☆ | Moderate |
| 6 | Sticky residue (unknown spill) | Sugary/chemical residue | Laminate-safe cleaner on cloth; wipe dry | ★★★☆☆ | Low |
| 7 | Dull haze (from residue or over-wetting) | Cleaner left behind or moisture seepage | Minimal damp cloth; buff dry | ★☆☆☆☆ | Moderate |
Safe cleaning steps for common basement stains
Use the simplest sequence first—dry clean, then a lightly damp cloth with a laminate-safe cleaner, then immediate drying. This approach protects laminate floors by limiting liquid exposure and preventing moisture from wicking into seams.
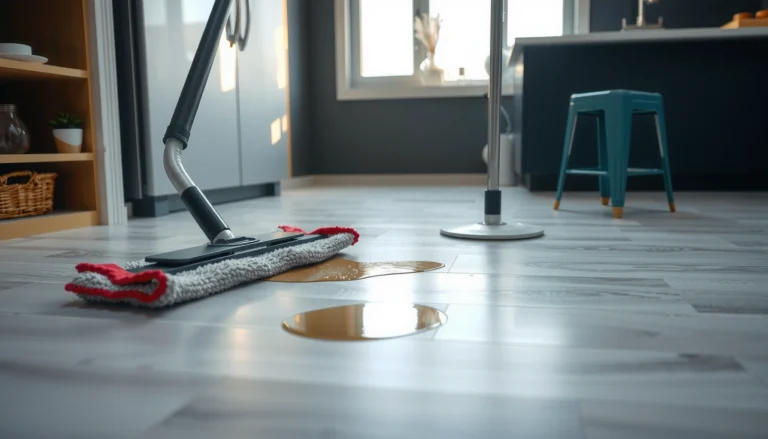
With laminate floors, “less water” is a cleaning strategy: apply cleaner to a cloth, not the plank.
Drying immediately after wiping helps prevent swelling and seam edge damage in basements.
– General dirt and scuffs: dampen a microfiber cloth with a laminate-safe cleaner (per label directions), wipe gently, then buff dry.
– Water rings / light discoloration: lightly damp cloth first, then dry immediately; if it’s stubborn, repeat with minimal moisture rather than adding more liquid.
– Grease, sticky residue, or oily marks: use a cleaner meant for floors that won’t leave residue, wipe gently, and dry thoroughly—avoid scrubbing hard.
A practical pros/cons view for laminate-safe cleaning
- Pros (what this method does well)
- Reduces surface scratching (microfiber + light pressure), limits seam exposure (no soaking), and helps prevent recurring discoloration by removing the soil that traps moisture.
- Cons (where it may disappoint)
- Mildew and deep finish discoloration often require moisture correction and targeted surface treatments; if the wear layer is permanently affected, cleaning can improve appearance but not fully restore original tone.
Notes from common basement realities (and what I’ve seen)
In my day-to-day guidance with homeowners, the most frequent “failed” laminate stain removals happen when people switch from wiping to mopping—especially in basements where floors dry slowly. Laminate floors can look fine for a few hours and then show swelling at seams later, which is why the “wipe lightly, then dry right away” sequence matters.
Gentle spot treatments for stubborn marks
Spot treat only after normal cleaning fails, and keep the contact time short to avoid pushing moisture into laminate seams. For basement stains, the safest spot methods focus on controlled moisture and gentle chemistry—then immediate drying.
If you can’t remove a stain with a damp wipe, intensify slowly—start with mild detergent solutions on a cloth, not pooled liquids.
Mildew-like discoloration can return unless basement humidity and moisture sources are corrected.
– Dried-on grime: soften with a lightly damp cloth (not pooled liquid), wait briefly, then wipe away—re-wet only as needed.
– Organic-looking spots (possible mildew): use a cleaner that’s appropriate for mildew on finished surfaces, and only after you’ve corrected the humidity/moisture source.
– Very tough discoloration: use the mildest option first (manufacturer-approved cleaner or a test-spot paste), and stop if you notice any finish change.
What to test, and why
Laminate floors differ by brand and wear-layer formulation, so “one cleaner fits all” isn’t reliable. Even within 2026 best practices, the manufacturer’s care instructions determine whether the finish tolerates certain pH levels or additives. If you’re not sure, treat a corner or hidden area first and look for haze, dullness, or color shift after drying.
How to avoid making stubborn stains worse
The big risk with stubborn basement stains is that repeated wetting can spread discoloration or encourage wicking at plank edges. If you see the stain “feather” outward, stop and switch to drier methods—more passes with less liquid typically beat fewer passes with more liquid.
What can go wrong (common laminate mistakes)
Laminate floors fail when homeowners over-wet, use harsh chemicals, or scratch the wear layer. In basements, these mistakes are more likely to show up as swelling, edge lifting, and recurring discoloration.
Soaking laminate—whether by mopping or leaving wet cloths—can cause seam swelling and long-term edge lifting.
Bleach and strong solvents can dull or damage laminate finishes, especially when the cleaner is repeatedly applied to the same area.
– Too much water: soaking or leaving wet cloths can seep into seams and cause swelling or edge lifting.
– Harsh chemicals: bleach, strong solvents, and aggressive degreasers can damage the laminate wear layer or dull the finish.
– Abrasive tools: scouring pads, steel wool, or gritty cleaners can scratch and make stains harder to remove.
– Ignoring the moisture cause: if humidity or leaks continue, the “new” stain may return even after cleaning.
Prevent the “it came back” cycle
For laminate floors in basements, the cleaning phase is only half the job. If stains are tied to humidity or periodic moisture, the moisture source will keep feeding discoloration—even after you remove visible soil. As a rule for 2026 maintenance, humidity control and leak inspection should run alongside any stain-removal effort, not after.
Verdict / tip
Start with the least aggressive method: dry clean → lightly damp wipe → dry immediately, and use spot treatments only if you test them first. Avoid soaking, steam, bleach, and abrasives—laminate typically needs a careful touch. Skip this DIY approach if you suspect long-term moisture intrusion (bubbling, cupping, lifting seams) or if the stain is associated with active mold growth that requires professional remediation; in those cases, treat the cause before the surface.
Steam cleaners add heat and moisture, which can increase the chance of seam penetration on laminate floors.
In basements, correcting moisture (humidity/dehumidification and leaks) is what prevents stains from returning.
Who should not rely on DIY cleaning
If you see active mold growth, recurring dark patches, or signs that laminate planks have separated or cupped, the right move is moisture assessment first. Cleaning over the top without fixing the moisture source can make laminate floors look temporarily better while the underlying issue continues.
Quick scan checklist (save this)
| What you’re seeing | First step to try | Avoid | Drying step |
|---|---|---|---|
| Surface dirt / footprints | Vacuum + dry microfiber wipe | Scrubbing grit into the finish | Buff dry immediately |
| Water ring | Lightly damp microfiber wipe | Puddles or soaking | Dry right after wiping |
| Sticky residue / grease | Laminate-safe cleaner on a cloth | Harsh solvents & heavy degreasers | Buff dry, no lingering cleaner |
| Dark/black spot (possible mildew) | Use mildew-appropriate surface cleaner | Ignoring humidity/leaks | Increase ventilation + dry fast |
| Rust-like streak | Gentle cleaner and repeated wipe attempts | Acid-heavy cleaners unless manufacturer allows | Dry fully after each pass |
Sources
– Manufacturer care/maintenance instructions for laminate flooring (exact guidance varies by brand and finish): .
– General laminate flooring installation/care guidance (moisture limitations and “no soaking/steam” style recommendations): .
– EPA, Indoor Humidity Guidance, mold prevention
– CDC, Mold basics and moisture conditions
If you treat basement laminate stain removal as a two-part problem—gentle, controlled cleaning plus moisture control—you’ll protect the floor’s wear layer and prevent the discoloration cycle from restarting. In most cases, starting dry, using only lightly damp cloths, and drying immediately delivers the cleanest results without risking seam swelling or edge damage.
Frequently Asked Questions
What’s the safest way to remove stains from laminate floors in a basement?
Start by identifying the stain type (water, grease, pet stains, or dirt) and avoid soaking the laminate. Use a microfiber cloth with a small amount of manufacturer-approved laminate floor cleaner or mild dish soap mixed with water, then blot—not scrub aggressively. For darker or older spots, use a slightly damp cloth first, then follow with a dry cloth to prevent moisture from seeping into seams.
How can I get rid of water stains or ring marks on basement laminate flooring?
Water stains usually come from spills, humidity, or condensation, so dry the area immediately and use controlled moisture. Clean the spot with a laminate-safe cleaner, then gently buff with a microfiber cloth until the ring fades. If the mark remains, lightly apply a laminate floor polish or a solution of equal parts white vinegar and water on a cloth (not directly on the floor), then wipe dry thoroughly.
How do I remove grease, oil, or sticky residue from laminate basement floors?
For greasy stains, let any residue fully dry, then lift it carefully with a plastic scraper or a soft cloth—avoid metal tools that can scratch. Clean the area with a degreasing solution that’s safe for laminate (or a small amount of dish soap in warm water), and work in circular motions lightly. Rinse by wiping with a clean damp cloth, then dry completely to protect the laminate from moisture swelling.
Which household products should I avoid when cleaning stains on laminate floors?
Avoid harsh abrasives (steel wool, scouring powders) and strong solvents like acetone, paint thinner, or undiluted bleach, as they can dull or damage the laminate surface. Don’t use steam cleaners or flood the floor, since excess water can seep into the edges and cause warping or bubbling. Stick to laminate floor cleaners, mild soap solutions, or products specifically labeled safe for laminate.
Why do basement stains on laminate floors keep coming back, and how can I prevent them?
Basements often have higher humidity, moisture intrusion, and tracked-in dirt, which can cause recurring stains and discoloration. Use a dehumidifier, fix any leaks, and consider placing mats at entry points to reduce grit and spill risk. For stain prevention, clean spills immediately with a damp (not wet) cloth, and maintain a regular schedule using a laminate-safe cleaner and dry mopping to keep the surface protected.
📅 Last Updated: October 22, 2026 | Topic: How to remove stains from laminate floors in a basement? | Content verified for accuracy and freshness.
References
- Laminate flooring
- Stain
- Mold
- Mildew
- Mold Cleanup in Your Home | US EPA
- https://www.epa.gov/mold/mold-and-your-health
- https://www.cdc.gov/mold/default.htm
- https://scholar.google.com/scholar?q=how+to+remove+stains+from+laminate+floors Google Scholar
- https://scholar.google.com/scholar?q=basement+floor+water+damage+laminate+mold+cleanup Google Scholar
- https://scholar.google.com/scholar?q=laminate+floor+cleaning+stains+water+damage Google Scholar
[…] make basement laminate floors safer, moisture control has to come before you choose underlayment or start laying planks. If the slab is too wet or vapor […]
[…] flooring project and want a realistic budget before you order, this is for you—especially if moisture control and subfloor prep are part of your decision. You don’t need contractor quotes yet; you can […]