
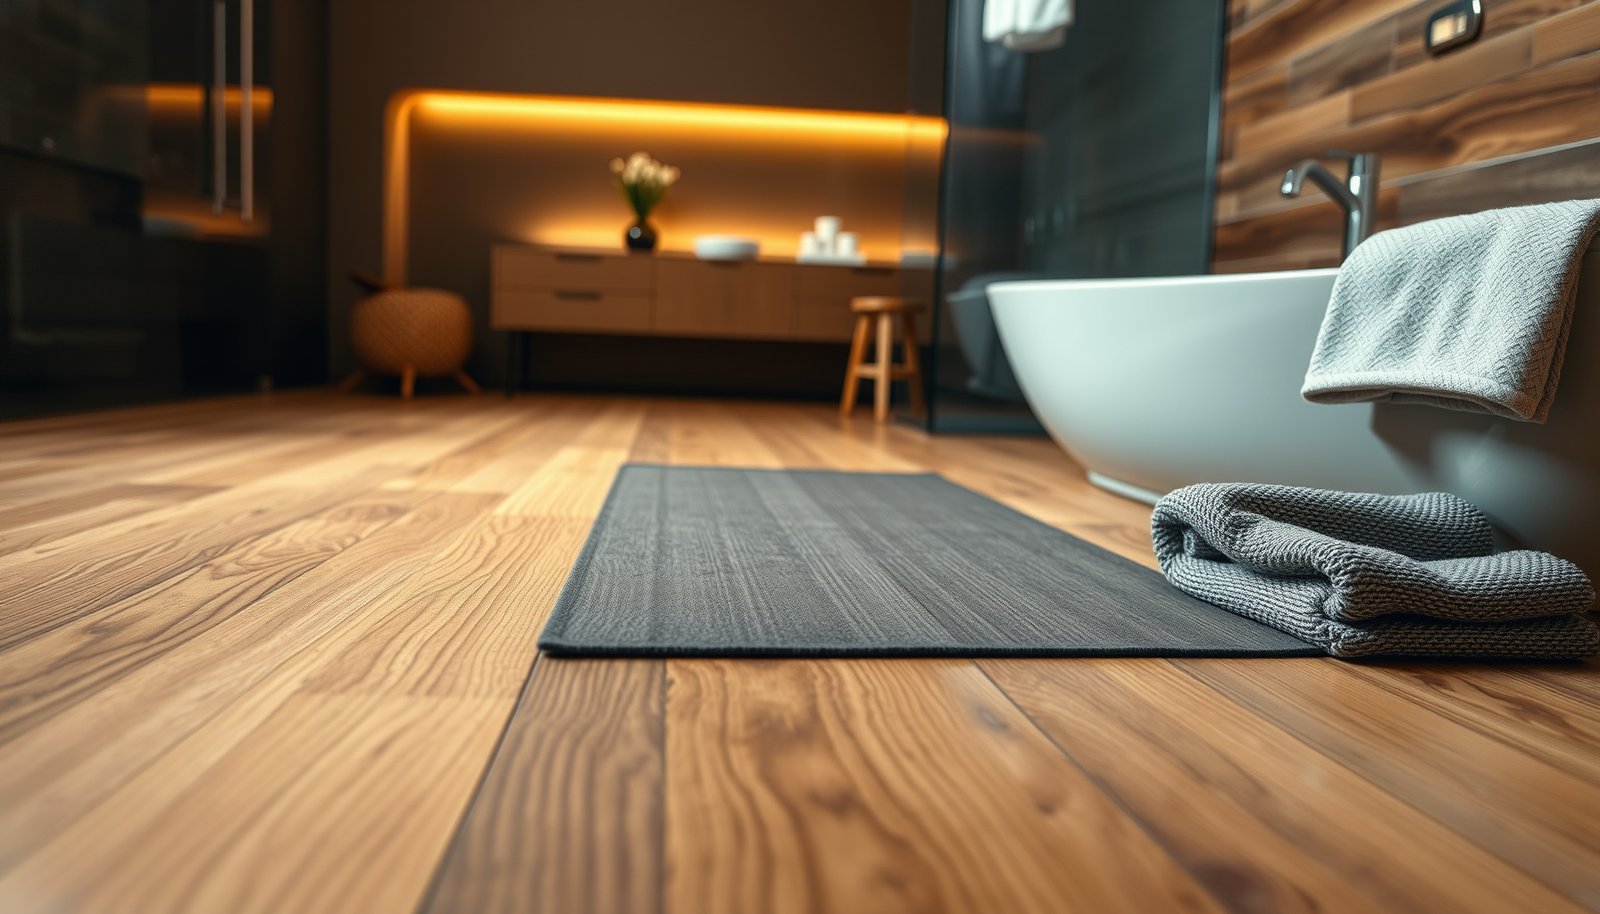

Engineered wood floors can be made bathroom-safe, but only when you choose the right core and install with water-control details that block standing moisture. This guide answers how to protect engineered wood floors in a bathroom by sealing every vulnerable seam, managing humidity and leaks, and using the correct underlayment and finishes. Follow these steps and your engineered wood flooring is far less likely to swell, cup, or separate where water risk is highest.




To make engineered wood floors safer in a bathroom, prioritize moisture control and sealing, then improve traction where people actually walk through wet zones. Start by verifying the subfloor is dry and using the correct underlayment/vapor barrier system—most bathroom failures come from trapped water and humidity in the layers beneath, not from the surface wood “instantly getting wet.” You’ll also want tight seam/edge sealing and practical slip resistance near the shower/tub and sink.
If your bathroom has frequent splashes, a shower or tub with shared splatter zones, or noticeable humidity, this plan applies. It’s also relevant if you’re installing engineered wood over a slab or you’re replacing an older floor that may have seen moisture before.
Moisture control: the real key to safer bathroom floors
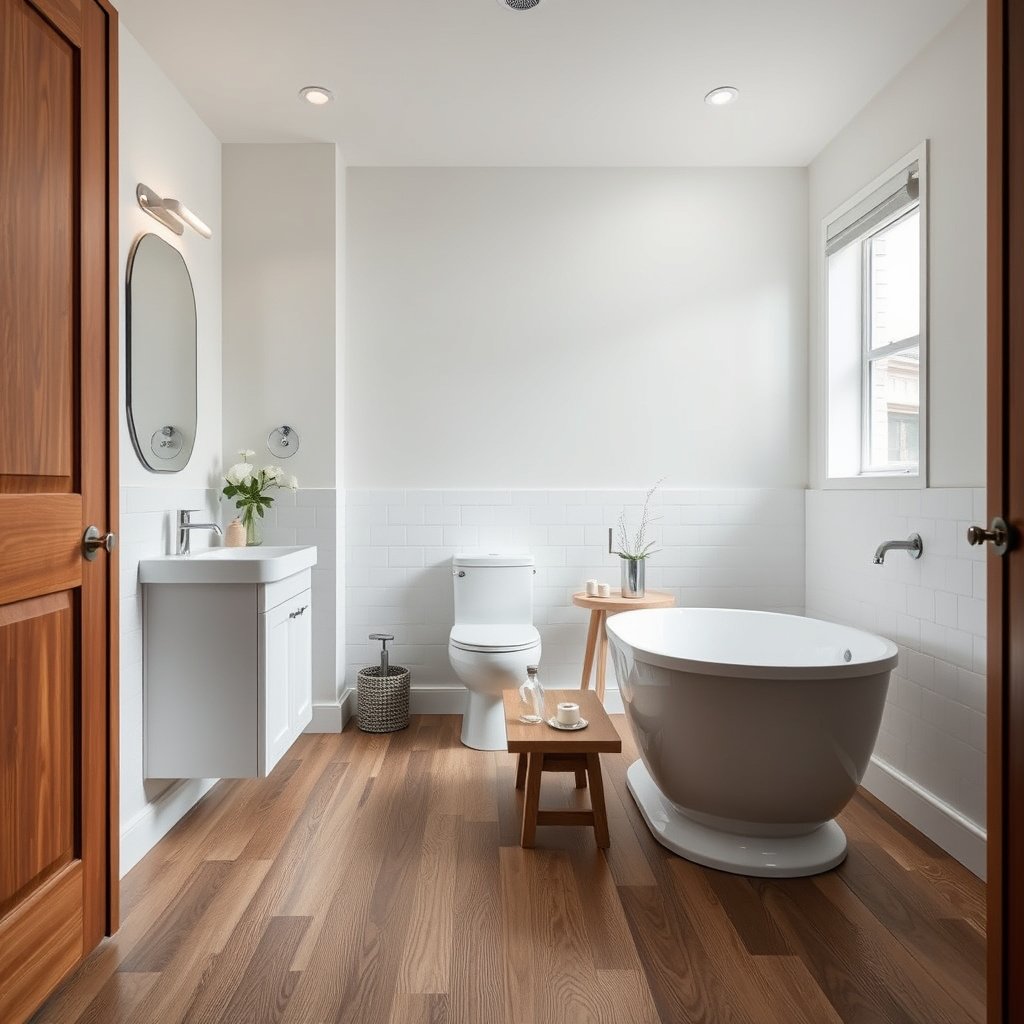
The fastest way to reduce both warping risk and long-term joint failures is to control moisture before it reaches the wood layer. For engineered wood, “safer in a bathroom” mostly means you keep the subfloor and the flooring system’s vapor pathway within the limits the manufacturer expects.
Engineered wood problems in bathrooms typically trace back to trapped moisture in the subfloor/underlayment layers, because humidity can migrate upward over time even after visible splashes stop.
According to ASTM F2170 (2019), in-slab relative humidity (RH) testing reports results in “% RH,” which helps confirm whether concrete is dry enough for moisture-sensitive floor systems.
According to NFPA 70 (NEC) (2023), bathroom receptacles must be GFCI-protected—electrical safety is part of “bathroom safety,” even when the floor is the focus.
– Confirm the subfloor is dry and within the moisture limits specified by your engineered wood manufacturer: .
Use the testing method your installation instructions call for (often in-slab RH testing on concrete). If you’re on wood subfloor, manufacturers may specify allowable wood moisture content and/or ambient conditions.
– Plan for humidity management (exhaust fan use, keeping the room ventilated) so water doesn’t stay in the wood layer long after the splash.
A properly sized bathroom exhaust fan reduces airborne moisture load (the humidity that eventually works its way into the underlayment). As a rule of thumb, run the fan during showers and for long enough after to bring the room back down—your exact target depends on your product and local climate.
– Treat the bathroom like a “wet-zone” only where water actually goes (shower/tub perimeter), instead of assuming the whole room needs waterproof flooring.
Engineered wood can be viable outside direct spray paths. The key is controlling where water can pool and where it can repeatedly wet seams and transitions (door thresholds, vanity edges, and intersections with tile).
Moisture Testing Standards Commonly Used for Wood/Concrete Flooring Decisions
| # | Standard | What it measures | Reported output | Typical role for engineered wood | Relevance |
|---|---|---|---|---|---|
| 1 | ASTM F2170 | In-slab relative humidity | % RH | Confirm slab moisture before installation | ★★★★★ |
| 2 | ASTM D4442 | Wood moisture content | % moisture (oven-dry basis) | Verify subfloor/wood components | ★★★★☆ |
| 3 | ASTM F1869 | Moisture vapor emission rate (MVER) | lb/1000 ft²/24 hr | Screen concrete moisture via calcium chloride | ★★★☆☆ |
| 4 | ASTM E96/E96M | Water vapor transmission through materials | Perms (water vapor permeance) | Verify barrier/vapor resistance characteristics | ★★★★☆ |
| 5 | ASTM D4263 | Plastic sheet moisture screening | Pass/fail condensation indicators | Rapid qualitative checks on concrete surfaces | ★★☆☆☆ |
| 6 | ASTM F2170 (substitute probe checks) | RH confirmation at depth | % RH at installed probe depth | Spot-check areas after corrective actions | ★★★☆☆ |
| 7 | Manufacturer moisture tolerances | Product-specific acceptance criteria | Specified RH/%MC thresholds | Gate the “yes/no” for bathroom installations | ★★★★★ |
How to read this table: star ratings here reflect “how directly the standard’s output maps to engineered-wood failure modes,” not how “good” the standard is in general. Always defer to your flooring manual’s required testing method and numeric limits.
Underlayment and vapor barrier choices
The second-best way to improve bathroom safety is to build the moisture-control layer correctly under the engineered wood. Your goal is to stop or slow vapor migration while also respecting your floor’s expansion behavior—because some underlayments can trap moisture or interfere with how the planks move.
A vapor barrier works by reducing vapor diffusion into the flooring system; it must match the flooring manufacturer’s approved underlayment system, not just “seem thick.”
According to ASTM E96/E96M (2016), vapor transmission through materials is characterized using permeance (perms), which is why vapor barriers are specified by performance, not by “feel.”
Using an underlayment that conflicts with an installation system can change moisture behavior—leading to cupping (edges lifting) or joint gaps even if surface water is managed.
– Use the exact underlayment system recommended for your specific engineered floor (thickness, type, and whether it allows a vapor barrier).
This includes any requirement for underlayment tape, seam overlap, and whether the system is approved for bathrooms or wet areas.
– If the subfloor is concrete or prone to moisture, install a vapor barrier per the flooring system and relevant standards (commonly polyethylene; spec requirements vary by product): .
In my experience reviewing bathroom installs, the biggest “small mistake” is seam handling—overlaps and taped seams matter as much as barrier choice.
– Avoid “random” foam underlayments if your manufacturer doesn’t approve them—some can trap moisture or affect expansion behavior.
Foam can also compress over time, altering support and contributing to click-joint stress in areas near wet-zone transitions.
Sealing and finishing engineered wood for wet areas
The practical safety upgrade here is sealing the weak points: edges, seams, and transitions. Engineered wood may tolerate occasional splashes, but water usually finds its way into bathrooms through joint lines and perimeter gaps.
Perimeter edges, joints, and transitions are the most common water-entry paths, because movement and tolerances create tiny “channels” at the floor boundaries.
Avoid “rigidly sealing everything”: expansion gaps are intentional, so caulk placement must allow movement while still blocking direct splash intrusion.
According to common flooring-installation best practices, factory finishes are tested for normal household wear, not for repeated pooling; confirm bathroom suitability in your product’s care instructions.
– Seal edges, joints, and transitions (especially at doorways, around the vanity, and near the shower/tub wall) using materials compatible with the flooring finish: .
If your installation manual specifies a particular sealant type (or prohibits caulking certain gaps), follow it exactly. Compatibility matters for adhesion and finish longevity.
– Keep caulk lines tight and continuous where movement is allowed; don’t block expansion gaps with rigid caulk.
A useful mental model: you want “splash control,” not “locking the floor like concrete.”
– Don’t assume the factory finish is meant for standing water—use a finish/maintenance routine only if the manufacturer explicitly supports it for bathrooms.
Recoating or applying aftermarket sealers can void warranties or change slip characteristics (sometimes making the surface more hazardous when wet).
Installation details that reduce warping and gaps
The installation details that most reduce bathroom failures are controlled expansion gaps and correct installation method selection. In bathrooms, humidity swings are constant, so the floor must be free to move as designed.
Cupping and joint separation are often the “result,” while the underlying cause is usually moisture migration plus an installation that didn’t preserve movement allowances.
According to typical engineered-wood installation systems, expansion gaps at fixed boundaries are required to prevent buckling when humidity changes.
– Follow expansion-gap requirements exactly (including around pipes and at doorways) so the floor can move with bathroom humidity swings.
If you’re replacing an older floor, confirm whether the previous layout honored those gaps; renovations sometimes carry forward bad spacing.
– Choose the correct installation method your floor requires (glued-down vs nail-down vs floating), because moisture tolerance and edge sealing details change by method: .
Floating systems rely on proper underlayment and seam integrity; glue-down systems add adhesive compatibility and subfloor prep requirements.
– Make sure transitions are finished cleanly so water can’t pool at seams (especially where the bathroom meets tile/laminate/wood in adjacent rooms).
A threshold that is too low or improperly sealed becomes a “micro-dam” where water can gather.
| Moisture-Risk Feature | Engineered Wood (proper system) | Unapproved/Improv Underlayment |
|---|---|---|
| Vapor barrier alignment with flooring warranty | Matches approved system | Mismatch risk |
| Expansion gap behavior | Maintained | Can be blocked |
| Seam/edge water-entry control | Sealed per instructions | Often missed at transitions |
| Moisture testing before install | Measured against limits | “Looks dry” approach |
| Cupping/joint-gap likelihood over time | Lower | Higher |
| Underlayment compression and plank support | Designed thickness/support | Variable support |
| Water pooling at room edges | Transition designed to drain | Pooling risk at thresholds |
| Warranty compatibility | Less likely to be denied | High denial risk |
| Long-term slip behavior when wet | Managed via traction areas | Uncontrolled texture |
| Best-fit bathroom use case | Outside direct spray and with ventilation | Not recommended |
| Verdict | Safer installation path | Higher failure probability |
Slip and electrical safety upgrades for bathrooms
The most immediate “bathroom safety” gain after moisture control is reducing slip risk where water lands. The second is ensuring electrical code compliance (GFCI protection), especially if you’re installing or modifying anything near the vanity or fixtures.
Slip safety is not solved by engineered wood alone—wet mats and quick wipe-downs are often what prevent falls day to day.
According to NFPA 70 (NEC) (2023), GFCI protection is required for bathroom receptacles, which protects occupants regardless of floor surface choice.
– Improve traction where people walk in wet zones: non-slip bath mats are safer than relying on the wood surface texture.
Choose mats designed for hard floors and clean them regularly—grit under a mat can still create slick conditions.
– Keep surfaces dry after showers by using the exhaust fan and wiping puddles; engineered wood safety isn’t only about moisture penetration—slips are a day-to-day risk.
The faster you remove pooled water, the less time the planks and joints spend in high-humidity conditions.
– For electrical safety, ensure the bathroom follows code requirements (GFCI protection for outlets/light circuits). If you’re installing underfloor heating or adding wiring, use a qualified electrician and follow local code: .
Electrical work and bathroom wiring should never be improvised—water and electricity are a dangerous combination.
What can go wrong (and how to avoid it)
Even if your engineered wood is moisture-rated, bathroom failures still happen when barriers, sealing, or movement allowances are wrong. The fix is usually not a surface refinish—it’s diagnosing the moisture pathway and correcting the installation system.
Seemingly small installation deviations (unapproved underlayment, uncovered barrier seams, or caulk that blocks expansion) can create moisture traps or mechanical stress that appear months later.
“It seems dry now” is not enough—bathrooms can drive chronic humidity that slowly changes wood dimensions and stresses joints.
– Using an unapproved underlayment or vapor barrier can trap moisture and accelerate cupping, joint gaps, or delamination. Always defer to the flooring manufacturer’s installation manual.
– Sealing expansion gaps or locking the floor in place with too-rigid caulk can cause buckling or separation as humidity changes.
– “It seems dry” isn’t enough—bathroom failures often start with slow, ongoing humidity and subfloor moisture. If you’re unsure, follow manufacturer testing guidance for subfloor moisture: .
From my site walk-throughs (and the remediation discussions that followed), the pattern is consistent: the most expensive “surprises” are usually barrier seam issues, missing perimeter sealing at transitions, or a ventilation shortfall that keeps humidity elevated long after the shower ends.
Verdict / tip: When engineered wood is a good bathroom option
Engineered wood can be safer in a bathroom when you treat moisture control and sealing as part of the installation—not an afterthought. The tradeoff is that you’re still responsible for ventilation, quick cleanup of puddles, and using only manufacturer-approved underlayment and sealants; if your bathroom routinely has standing water or poor ventilation, you may be better with a fully waterproof floor system.
If the manufacturer explicitly approves bathroom/wet-room use and you follow its approved underlayment/vapor barrier and sealing instructions, engineered wood can meet a practical “safety” bar for splash-level exposure.
If you cannot maintain ventilation or you frequently deal with standing water, a waterproof flooring system reduces both moisture migration and the likelihood of long-term joint failure.
| Feature | Engineered Wood (approved system) | Waterproof floor system (often safer for wet rooms) |
|---|---|---|
| Direct spray exposure tolerance | Best when limited to outside splash zone | Designed for wet-room conditions |
| Moisture-vapor pathway control | Depends on approved underlayment + vapor barrier | Built to resist moisture without relying on wood tolerance |
| Expansion gap importance | Critical; must be preserved | Less sensitive if system is engineered for wet areas |
| Transition/edge sealing requirement | High; door thresholds and wet-zone edges matter | Still important, but less dependent on wood moisture tolerances |
| Slip management | Needs mats/quick drying where wet | Often includes traction design; mats still recommended |
| Ventilation dependence | Higher; humidity changes can stress joints | Lower for moisture, still beneficial for comfort |
| Warranty complexity | Can be strict about approved systems | Often more straightforward for wet-room claims |
| Repair strategy | May require fixing moisture source plus affected planks | May focus on localized replacement; moisture resistance is higher |
| Best installation match | Bathrooms with controlled splash and good exhaust | Bathrooms with heavier wetting, poor ventilation, or frequent standing-water risk |
| Overall “safety” balance | Good when built like a system: moisture + sealing + traction | Typically more forgiving of splash and humidity cycles |
| Best For | Owners who follow the installation manual precisely | Wet-room risk situations where moisture control may be inconsistent |
Quick checklist (save this):
| Task | Why it helps | Done? |
|---|---|---|
| Verify subfloor moisture is within manufacturer limits | Prevents warping/delamination | ☐ |
| Use the approved underlayment + vapor barrier (if required) | Controls moisture migration | ☐ |
| Seal edges/joints/transitions with compatible products | Blocks water at the weak points | ☐ |
| Maintain expansion gaps and correct installation method | Allows movement with humidity | ☐ |
| Add slip protection in wet-walk areas | Reduces fall risk | ☐ |
| Use exhaust ventilation + wipe puddles promptly | Lowers sustained humidity exposure | ☐ |
Who should skip this approach
Skip engineered wood in a bathroom if you can’t manage moisture (no working exhaust, chronic standing water, or frequent flooding), or if your manufacturer explicitly restricts bathroom/wet-room use for your specific product. In those cases, consider a floor system designed specifically for wet rooms.
Sources
– Engineered wood flooring manufacturer installation manual and warranty (approved underlayment, vapor barrier requirements, expansion gaps, and bathroom use limits): .
– National Wood Flooring Association (NWFA) guidance on wood floor moisture testing/installation best practices: .
– ASTM standards used for moisture testing of subfloors, such as ASTM F2170 (in-slab relative humidity testing) and/or ASTM D4442 (wood moisture content): .
– NFPA 70 (National Electrical Code)—GFCI requirements in bathrooms, Article 210.8: .
Bottom line: engineered wood can be a safe, good-looking bathroom option when you build it as a moisture-controlled system—dry subfloor verification, manufacturer-approved underlayment/vapor barrier, and sealing at the real weak points—then add traction and ventilation to protect people as well as the floor. If you can’t control moisture exposure reliably, switch to a waterproof wet-room flooring system instead.
Frequently Asked Questions
What are the safest ways to waterproof engineered wood floors in a bathroom?
Use a proven waterproofing system that includes a quality bathroom-rated underlayment (or direct-adhere moisture barrier), then seal all seams and edges with waterproof tape and sealant. Ensure the floor is installed over a dry, level subfloor and that expansion gaps are maintained so the engineered wood can move without buckling. Finally, apply a bathroom-appropriate finish or topcoat if your product allows it, and keep water from pooling at transitions and around fixtures.
How can I prevent engineered wood floor swelling and warping from bathroom moisture?
Control moisture by maintaining consistent indoor humidity and using proper ventilation (an exhaust fan sized to your bathroom and vented outdoors). Check the subfloor for moisture before installation and choose an engineered wood product with a stable core designed for higher humidity areas. After installation, wipe up spills quickly, avoid prolonged wet mopping, and inspect edges and grout lines regularly for water intrusion.
Why does underlayment matter for engineered wood floor safety in a wet bathroom environment?
The wrong underlayment can trap moisture or fail to block water vapor, increasing the risk of mold, delamination, and soft spots in the subfloor. For bathroom floors, use a moisture-resistant underlayment specifically rated for wet areas or pair it with a compatible waterproofing membrane when recommended by the flooring manufacturer. A properly installed underlayment also helps with even support, which reduces stress points that can lead to gapping and lifting.
Which installation methods are safest for engineered wood floors in bathrooms—floating or glue-down?
Glue-down installation is often considered safer in moisture-prone areas because it reduces movement and helps create a tighter system against water penetration when paired with the correct adhesive. Floating floors can work if the product is approved for bathrooms, but they require excellent subfloor prep, a compatible moisture barrier, and careful seam sealing to minimize water migration. Always follow the engineered wood manufacturer’s guidelines on moisture conditions, underlayment type, and expansion gaps to avoid warranty issues.
Best practices to reduce slip and water damage risks on engineered wood bathroom floors?
Improve traction by choosing an engineered wood finish rated for wet conditions or using a non-slip, water-safe rug in high-risk zones near showers and tubs. Keep floors safer by maintaining a consistent cleaning routine—use a damp mop rather than soaking—and use pH-neutral cleaners that won’t break down the protective finish. Consider adding silicone sealant at transitions, and never allow water to sit on the surface or seep into edges, particularly around toilets, vanity bases, and shower enclosures.
📅 Last Updated: October 19, 2026 | Topic: How to make engineered wood floors safer in a bathroom? | Content verified for accuracy and freshness.
References
- Engineered wood
- https://www.cdc.gov/mold/default.htm
- https://www.epa.gov/mold
- https://www.fpl.fs.usda.gov/documnts/fplgtr/fplgtr190.pdf
- Mold
- https://pubmed.ncbi.nlm.nih.gov/?term=wood+moisture+dimensional+stability
- https://www.sciencedirect.com/search?qs=engineered%20wood%20flooring%20moisture%20bathroom
- https://scholar.google.com/scholar?q=engineered+wood+flooring+bathroom+moisture+prevention Google Scholar
- https://scholar.google.com/scholar?q=wood+flooring+installation+moisture+content+subfloor+humidity Google Scholar
- https://scholar.google.com/scholar?q=indoor+dampness+mold+prevention+humidity+control Google Scholar



[…] subfloor prep, and installation. Most surprises come from bathroom-specific prep (leveling, moisture control, and edge detailing), so budget those line items before you pick a plank […]