
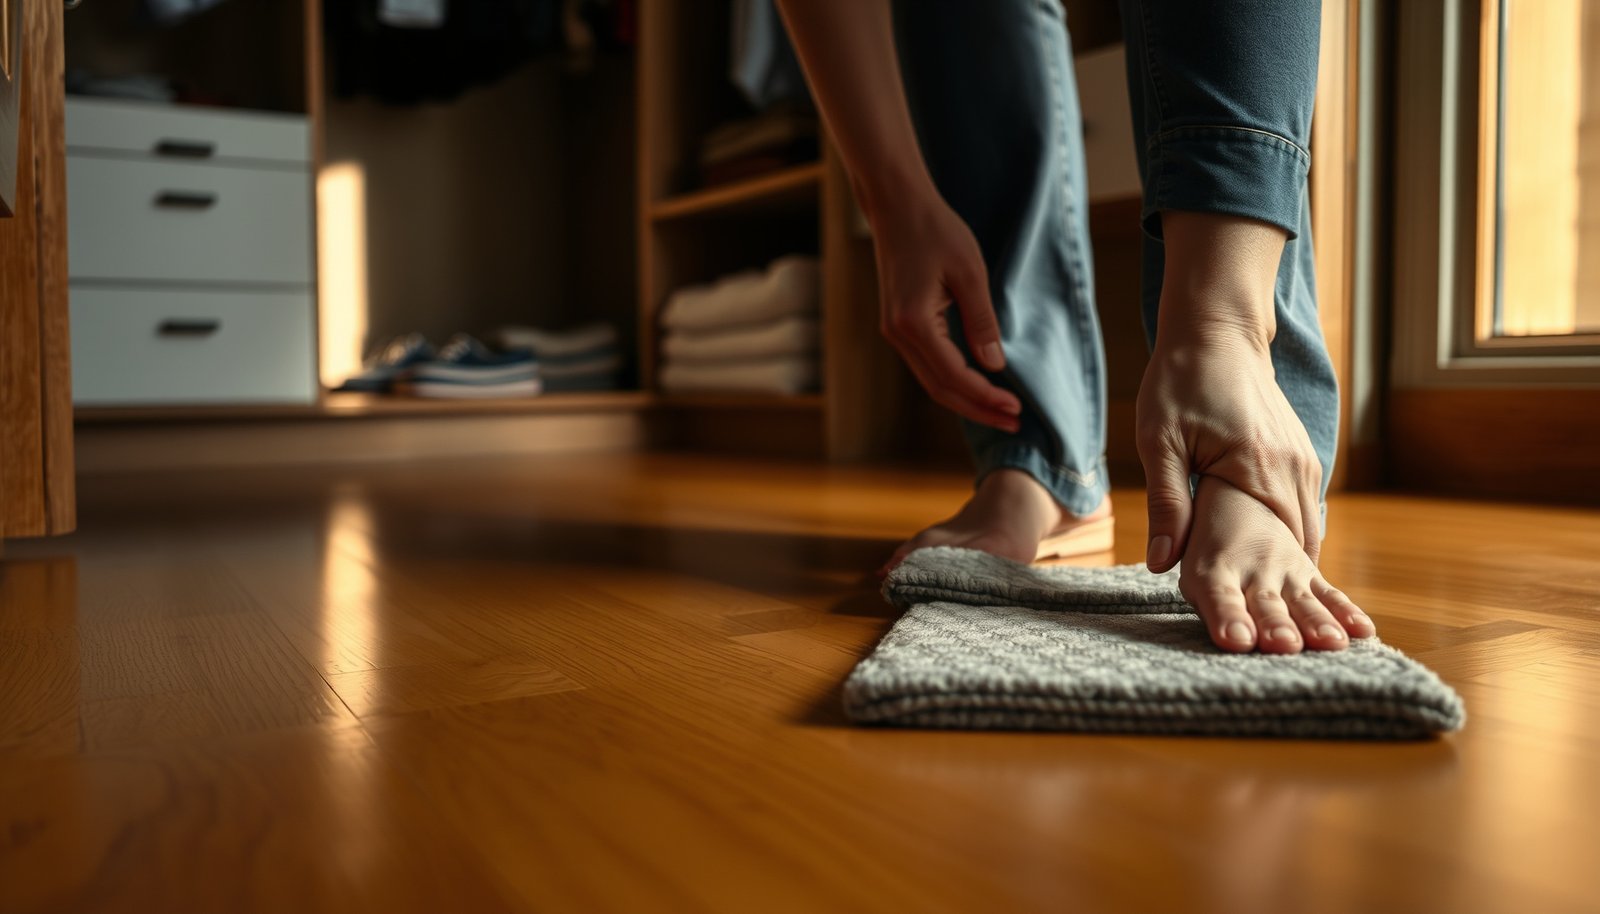

Protecting hardwood floors in a closet is easiest with a full-coverage moisture barrier plus a felt or rubber underlayment under any shelving and items that contact the floor. If you control tracking grit and standing moisture with regular vacuuming and a quick dry plan for any spills, your hardwood stays cleaner and less prone to cupping. Follow these practical steps and you’ll prevent the most common closet-floor damage without turning your storage space into a renovation project.
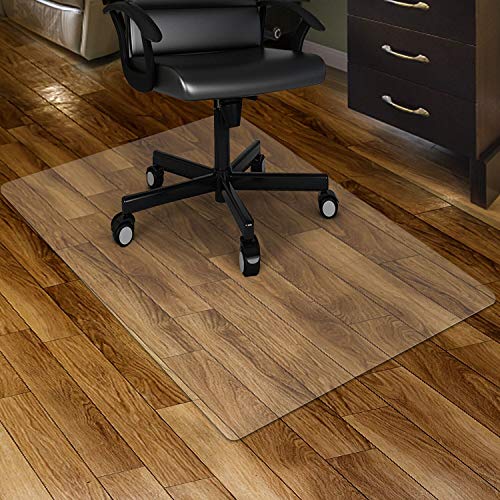



Protecting hardwood floors in a closet comes down to preventing moisture contact and reducing friction/wear where items sit and move. If you control moisture (including condensation), use breathable floor protection, and add non-scratch under-feet for shelving or racks, you’ll avoid the most common closet causes of dull spots, scratches, and cupping.
This advice is for anyone storing shoes, coats, shelving, or boxes on hardwood inside an interior closet—especially if the closet has swings in temperature, a small space that can get humid, or frequent moving of items.
Step 1: Stop moisture before it reaches the hardwood
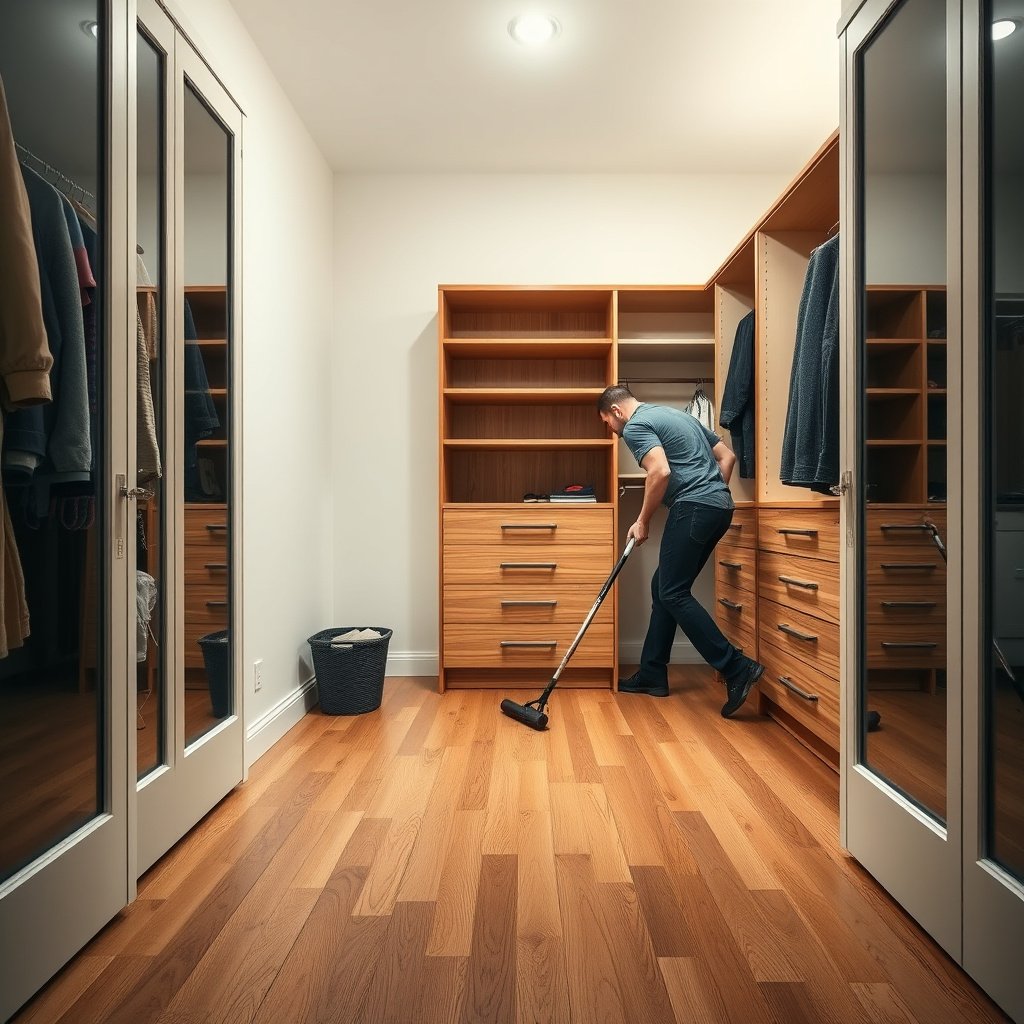
Stop moisture early, because once water (or condensation) reaches the hardwood finish, floor protection alone can’t fully “undo” damage. In closets, moisture often comes from condensation during temperature swings, damp stored items, or a hidden plumbing/HVAC source—so the first step is finding and eliminating the wetness pathway.
If you can’t identify where condensation or leaks start, a mat can only delay problems—not prevent cupping or finish haze.
Hardwood flooring is dimensionally sensitive to indoor humidity changes, so stable moisture conditions matter more than occasional spot-cleaning.
H3: Find hidden sources of water near the closet
The most damaging closet moisture is usually “indirect”: it isn’t the floor that’s wet first, it’s the room environment. Start by checking for hidden sources such as:
– Plumbing lines or shutoff valves behind the closet wall
– Damp exterior walls that “sweat” during cold snaps
– HVAC/duct condensation running close to the closet area
– Windows nearby (even when the closet is “interior,” neighboring envelopes can drive humidity swings)
From what I typically see on maintenance walk-throughs, closet moisture problems often show up as a pattern: the same side of the closet looks dull first, or the edges lift slightly after seasonal weather shifts. That’s a clue that the cause is environmental—not random floor scuffing.
H3: Keep routine use genuinely dry
Hardwood floors in closets don’t fail because of one wet event—they fail because wet conditions repeat. During normal use:
– Wipe spills immediately (don’t “deal with it later”).
– Don’t store damp boots, umbrellas, or wet cleaning cloths on the wood, even temporarily.
– If someone brings in rain-soaked items, let them dry elsewhere first.
A practical workflow is to keep a small drying area just outside the closet (a tray by the entryway or a separate towel shelf). That small habit reduces how often hardwood floors in closets see liquid water.
H3: Start on clean, dry ground before adding protectors
Before installing a floor protector (mat/rug) or changing shelf contact points, clean and dry the floor surface. Dust and grit act like sandpaper under mats, and “clean-looking” floors can still have abrasive particles that dull the finish over time.
Moisture control anchors the whole system: if the hardwood finish stays wet or repeatedly condenses, it can cloud and swell even if you add pads later.
Key moisture figures to guide your targets
– According to the U.S. Environmental Protection Agency, maintaining indoor relative humidity in the range of 30%–50% helps reduce moisture problems such as mold (2012) (EPA, *A Brief Guide to Mold, Moisture, and Your Home*, 2012).
– According to the same EPA guidance, materials that become wet should be dried promptly—EPA emphasizes acting quickly to prevent prolonged moisture exposure (2012) (EPA, A Brief Guide to Mold, Moisture, and Your Home, 2012).
– According to the National Wood Flooring Association, controlling indoor humidity helps minimize dimensional changes (commonly cited as a target band around 35%–55% for wood flooring conditions) (2016) (NWFA, wood flooring humidity guidance (title/version TBD), 2016).
Step 2: Use a floor protector that won’t trap water
Use protection that separates abrasion without creating a moisture trap. In closets, the wrong underlay can reduce airflow and keep the wood finish in contact with moisture longer—turning a “protection” layer into an accelerant for dullness and finish breakdown.
Choose breathable floor protectors for hardwood so moisture can escape rather than staying trapped against the finish.
A rug is helpful only if it lies flat, uses a hardwood-compatible pad, and doesn’t shed grit or abrasive particles.
H3: Cover the load-bearing zones (not just aesthetics)
Don’t treat the closet floor like a “nice-to-have.” Protect the high-load and high-contact areas:
– Where shelves rest or where shelf supports sit
– Where shoe racks and bins concentrate weight
– Where people step when moving items
A mat or rug designed for hard floors should stay flat and provide consistent cushioning without bunching at edges.
H3: Use the right pad under rugs (and avoid plastic underlay)
If you use a rug or mat, prioritize a pad intended for hardwood floors—something that supports the surface without restricting airflow. Many plastic-backed or non-breathable underlays can create a cooler, less ventilated microclimate under the rug.
Here’s a quick comparison you can use as a decision rule:
| Pad/Underlay type | Best for | Main risk on hardwood |
|---|---|---|
| Breathable felt / foam (hardwood-rated) | Routine closet storage zones | Lower, but still possible—moisture from wet items under the rug |
| Rubber/plastic-backed pads | Hard floors only when you can keep the area consistently dry | Moisture trapping + reduced airflow to finish |
| No pad (rug directly on finish) | Temporary staging | More abrasive friction and possible grit transfer |
H3: For shelving, protect under every support point
Hardwood floors in closets often take damage at a small number of contact points—shelf feet, rack corners, and bin supports. Use:
– Felt pads or cabinet feet under each support
– Appropriate glides that reduce micro-scratches when items shift
The goal is to avoid point pressure and repeated sliding contact. Even if your mat covers the “main area,” shelf supports can still create localized finish wear if they’re bare.
Step 3: Keep humidity and airflow stable in the closet
Keep indoor humidity stable enough to prevent condensation cycles. Closets are small—air can become stagnant, and temperature swings can cause moisture to form on cooler surfaces even when the room feels “dry.”
Condensation risk rises when closet air temperature changes faster than the floor surface temperature—stability is a protective strategy.
If the closet has vents, don’t block them; restricted airflow increases the chance of finish haze after seasonal temperature shifts.
H3: Create an airflow path (even a small one)
You don’t need a full HVAC redesign. You do need airflow pathways that prevent dead zones. Options include:
– Keeping a small gap behind shelving units (where appropriate)
– Avoiding complete sealing of the closet
– If there’s a vent, ensure air can circulate and return properly
Also avoid overloading the closet with tall items that block ventilation routes. Hardwood floors in closets suffer most where air stagnates under mats or beside heavy storage.
H3: Don’t ignore early warning signs
Periodically check for symptoms of excess moisture exposure:
– Musty odor (often the earliest sign)
– Visual haze or dulling that appears without corresponding scratches
– Slightly raised edges or localized cupping-like shape changes
If you notice any of these, pause the “store-and-forget” pattern. Reassess the moisture source, then re-check after a couple of normal usage weeks.
H3: Track conditions with a simple humidity monitor
A low-effort tool can help you confirm whether the closet environment is drifting. A basic hygrometer/thermometer can show if humidity is repeatedly spiking, which is when condensation becomes more likely.
Common Indoor Relative Humidity Targets Used in Moisture Guidance (Why Closets Matter)
| # | Guidance source | Target RH range | Band width | Relevance to hardwood in closets |
|---|---|---|---|---|
| 1 | U.S. EPA (mold/moisture) | 30%–50% | 20 | ★★★★★ |
| 2 | NWFA (wood flooring humidity guidance) | 35%–55% | 20 | ★★★★★ |
| 3 | Common remediation practice (keep below “mold-favoring” humidity) | ≤60% | (max 60) | ★★★★☆ |
| 4 | HVAC comfort heuristics (avoid extremes) | ~40%–60% | 20 | ★★★★☆ |
| 5 | Drying targets after water events (restore to normal) | Return to 30%–50% | 20 | ★★★☆☆ |
| 6 | “Too humid” cutoff used in moisture messaging | >60% | Above 60 | ★★☆☆☆ |
| 7 | “Too dry” comfort/wood risk framing | ~<30% | Below 30 | ★★☆☆☆ |
> Note: Several humidity thresholds are used across health, moisture, and wood-floor guidance; your closet’s best target is the overlap of wood-floor guidance and general moisture control.
Step 4: Reduce abrasion and impact from items moving around
Reduce scratches and finish dulling by controlling how objects contact the hardwood floor and how they move across it. In a closet, abrasion comes from both everyday friction (bins, shoe racks, coats brushing the floor) and from occasional shifts (boxes slid into place, racks nudged).
Felt pads under racks and bin feet reduce micro-scratches that polish away hardwood finish over time.
Lift-and-place prevents abrasive grit from getting dragged across the wood, even when you have a mat.
H3: Install felt pads or non-scratch glides where contact happens
Hardwood floors in closets tend to fail at the contact points first. Use:
– Felt pads under shelving furniture
– Cabinet feet or non-scratch glides under shoe racks
– Small protective pads under frequently moved containers
These reduce two failure modes at once: direct abrasion and the “squeak-to-grind” effect when items are adjusted.
H3: Stop dragging—lift, then place
Even with a floor protector, grit can get underneath. The safest pattern is lift-and-place:
– Remove the bin/shoe rack fully, carry it, and set it down
– If you must adjust position, slide only a short distance while minimizing grit transfer
In my experience working with property managers on maintenance routines, the fastest way to reduce scuff frequency is changing behavior from “push into place” to “place and re-align.”
H3: Avoid long-term point loading in one spot
Repeated concentrated weight can contribute to finish wear and localized deformation risks. For heavy items:
– Use broader supports
– Spread weight across protected zones
– Avoid storing very heavy suitcases in the same corner for months if alternatives exist
What can go wrong (common closet mistakes)
Common closet mistakes usually defeat otherwise good protection plans. The most frequent issues are moisture-trapping underlays, ignoring early signs of condensation, and using the wrong type of mat/pad that accelerates finish wear.
Plastic underlay is the classic “looks protective, but behaves like a moisture trap” mistake.
When humidity problems are seasonal, the damage pattern also becomes seasonal—edges dull first, then the surface clouds.
- Using moisture-trapping plastic underlay: Plastic can reduce airflow and keep moisture in contact with the finish longer, worsening dulling.
- Ignoring small leaks: Closet damage often starts quietly—one damp wall corner, one recurring condensation spot, or wet shoes stored overnight.
- Choosing the wrong pad or mat: Bunching edges create shifting friction and can create new wear paths.
- Over-cleaning with harsh chemicals: Aggressive cleaners can strip sheen and leave the finish more vulnerable. Follow the floor manufacturer’s recommended cleaning approach.
Verdict / tip: What’s the most reliable approach—and who should skip DIY fixes
The most reliable protection for hardwood floors in closets combines (1) moisture control, (2) breathable floor protection in storage zones, and (3) non-scratch pads/glides under anything that touches the floor. This sequence targets the two biggest closet risks—moisture exposure and friction/wear—without turning your closet into a sealed “humidity chamber.”
If you address moisture at the source and then protect contact points, you stop the cycle that causes cupping-like distortion and finish haze.
Skip DIY-only solutions when moisture signs repeat—protectors can’t replace leak remediation.
Downsides to know
– Mats/rugs can shift or curl if the size/material is wrong; that shifting can abrade the finish.
– Humidity/airflow improvements may be limited by closet design—so your floor protection is only as effective as the underlying moisture conditions.
– Over-covering everything without a breathable strategy can backfire if the closet collects moisture under layers.
Who should skip DIY “fixes”
Consider professional inspection (or at minimum, targeted remediation) if you see:
– Recurring musty odors
– Visible wall/water intrusion
– Evidence of hardwood movement (warping/cupping) that persists after you address wet items
– Ongoing condensation that returns after you dry and ventilate
Quick scan checklist (save this)
| Task | Do this | Watch for |
|---|---|---|
| Moisture check | Inspect for leaks/condensation and keep spills off the floor | Musty smell, haze on finish, raised edges |
| Floor covering | Use a suitable mat/rug in storage zones | Curling edges, bunching, odor from the mat |
| Under-foot protection | Add felt pads/non-scratch glides under racks/shelves | Items sliding/squeaking, visible scratch patterns |
| Humidity/air | Keep closets ventilated/airflow paths unblocked | Stagnant air, frequent condensation after temperature changes |
| Movement habits | Lift-and-place heavy items; avoid dragging | New dull spots or scuff “tracks” |
Sources
– National Wood Flooring Association (NWFA) — wood flooring care/maintenance guidance and general recommendations on indoor humidity impacts on wood flooring.
– U.S. Environmental Protection Agency (EPA) — guidance on controlling indoor moisture/humidity to prevent moisture-related problems, including RH targets and prompt drying.
– Your hardwood flooring manufacturer — maintenance/cleaning and humidity/conditions guidance specific to your finish and installation.
Protecting hardwood in a closet comes down to preventing repeated moisture contact and limiting abrasion where items sit and move. Start by identifying leaks or condensation, then use breathable floor protection in the main storage zones and non-scratch pads under shelf/rack contact points—then re-check after a couple of weeks of normal closet use to confirm the environment is staying stable.
Frequently Asked Questions
How can I protect hardwood floors in a closet from scratches and scuffs?
Use a quality area rug or entry mat inside the closet to catch grit from shoes and reduce abrasive contact. Add felt or rubber pads under hangers, storage bins, and any shelving brackets that may touch the floor. For heavier items, place a non-slip underlayment or a rug with a protective backing to prevent friction and movement that can dull hardwood finishes.
What’s the best way to prevent moisture damage to hardwood floors in a closet?
Maintain closet humidity with proper ventilation, such as a small fan or ensuring airflow from the main room. Avoid storing wet items directly on the floor—use sealed containers or a drip tray for anything that could leak. If your closet is prone to dampness, consider a moisture barrier like a breathable underlayment designed for hardwood installation or consult a flooring professional about subfloor conditions.
Why do hardwood floors in closets get damaged even when they don’t get much foot traffic?
Closets often trap humidity changes, and small amounts of dust, grit, and shoe residue can build up and cause abrasion over time. Heavy hanging systems, sliding storage, and frequent item rearranging can also concentrate wear in specific areas. Without protective mats and pads, the floor finish can wear faster from friction and micro-scratches, even with minimal walking.
Which protective products work best on hardwood floors in closets?
Look for non-staining rugs with grippy backing (or rug pads that are specifically safe for hardwood) to prevent moisture and movement. Use felt pads rated for hardwood floors and, if needed, protective clear floor coating products only if they’re compatible with your current finish. Avoid rubber backing mats that can trap moisture or leave residue—check labels for “safe for hardwood” or consult the manufacturer.
How should I arrange storage in a closet to minimize wear on hardwood floors?
Place all heavy items on dollies, risers, or protective boards so they don’t press directly into the finish, and keep legs and corners from scraping when you move items. Use shelving liners under bins and keep storage off the floor when possible to reduce trapped grit and potential dampness. When installing or adjusting closet hardware, use protective pads beneath brackets and ensure everything is stable to avoid constant friction against the hardwood.
📅 Last Updated: October 17, 2026 | Topic: How to protect hardwood floors in a closet? | Content verified for accuracy and freshness.
References
- https://www.energy.gov/energysaver/maintain-indoor-humidity
- https://www.epa.gov/mold/mold-and-moisture-indoor-air
- https://www.epa.gov/indoor-air-quality-iaq/controlling-indoor-humidity
- https://www.cdc.gov/mold/default.htm
- https://www.fpl.fs.usda.gov/documnts/fplgtr/fplgtr190.pdf
- Humidity
- Wood
- https://scholar.google.com/scholar?q=protect+hardwood+floor+humidity+maintenance Google Scholar
- https://scholar.google.com/scholar?q=wood+flooring+care+felt+pads+protect+from+scratches Google Scholar
- https://scholar.google.com/scholar?q=hardwood+floor+dimensional+stability+relative+humidity Google Scholar


