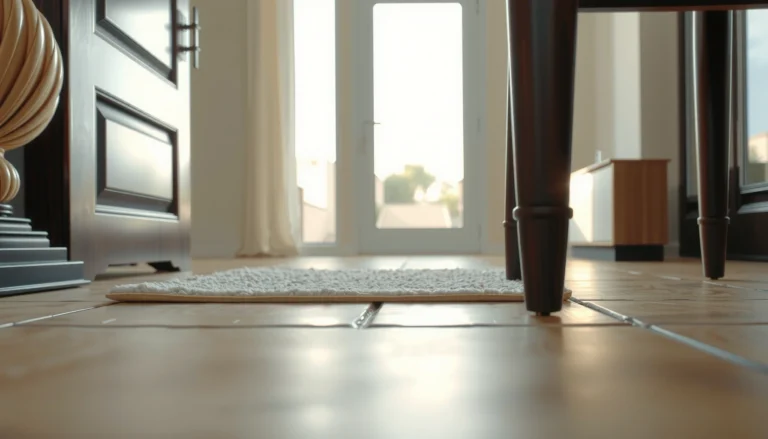
Prevent water damage to kitchen floors with a tight set of practical steps that stop leaks fast and keep water from soaking into subfloors. If you install proper mats and seal vulnerable spots, fix spills immediately, and manage humidity under sinks and appliances, you’ll prevent the swelling, warping, and mold problems that typically follow everyday water exposure. Follow the checklist in the sections ahead for the most effective, do-now actions and the maintenance habits that keep your floors protected long term.
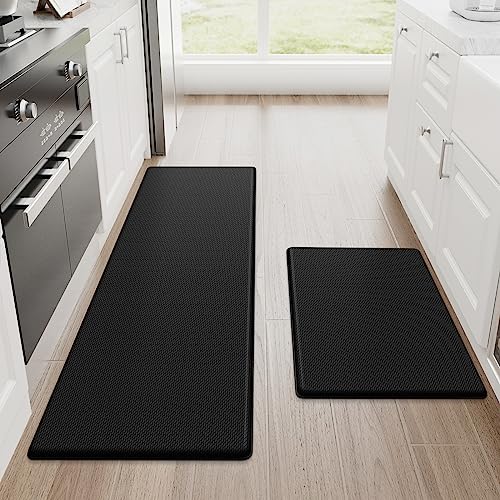



Fixing kitchen floor water damage comes down to three moves: stop leaks fast, seal vulnerable edges and penetrations, and prevent water from pooling at the source. If you check the under-sink plumbing, dishwasher lines, and areas around the fridge and sink first, you’ll usually find the root cause before it works its way into seams, grout, and subfloors.
If you have hardwood, laminate, tile, vinyl, or concrete in your kitchen, the approach is similar—but the materials and sealing needs differ. This is especially useful if you’ve noticed damp spots, bubbling near seams, musty odors, or recurring spills from mops and dish prep.
Start with the most likely leak points
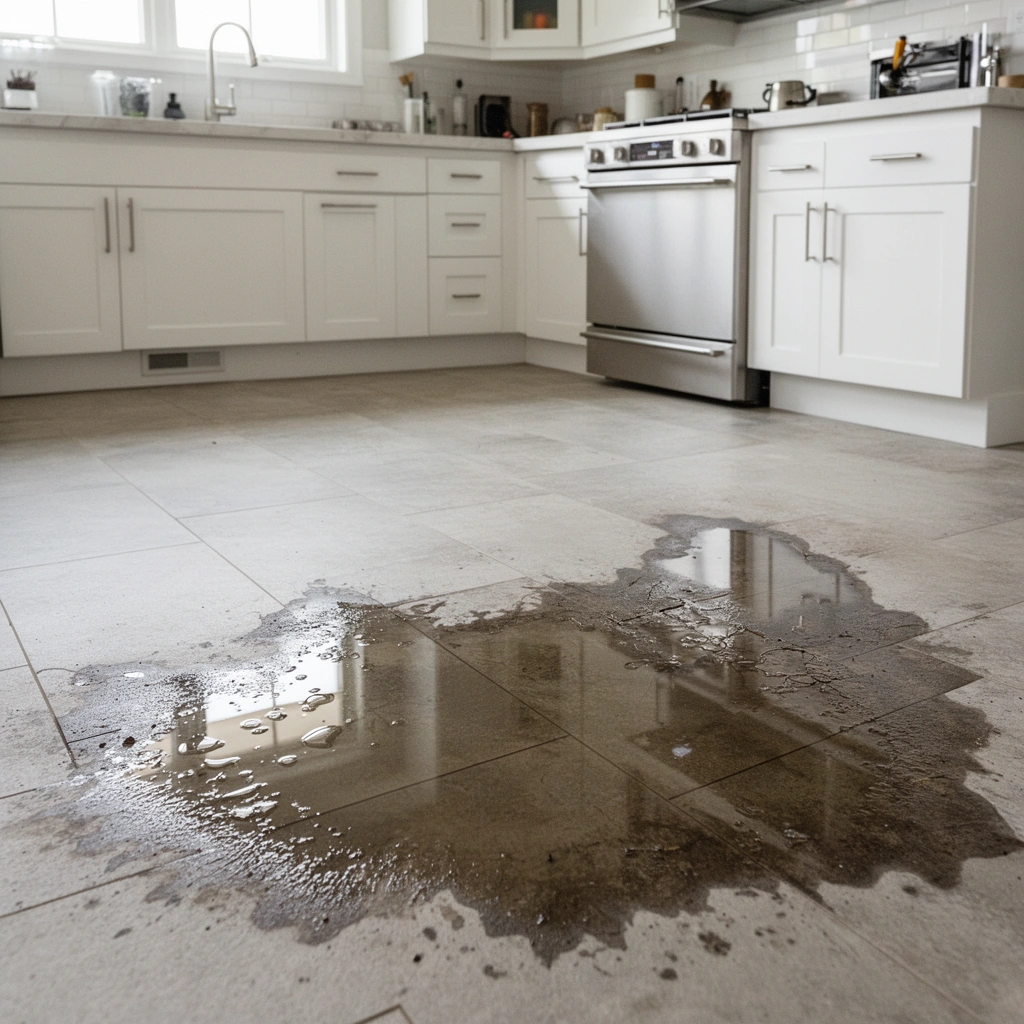
You’ll prevent the most damage by identifying the leak source early—before moisture has time to migrate under flooring. Start with the high-probability zones (under-sink, dishwasher, fridge) because they combine frequent water use with hard-to-see plumbing connections.
Mold can begin to grow within 24–48 hours after water damage, so early leak detection is a key moisture-control step. CDC, mold guidance
IICRC water-damage guidance emphasizes controlling moisture quickly and thoroughly to prevent secondary damage like microbial growth. IICRC S500 (Standard and Reference for Professional Water Damage Restoration)
Under-sink: where “slow drips” hide
Under the sink, the most common causes are supply line seepage and drain line issues. Look for:
– Supply lines (hot/cold): corrosion, dampness around compression fittings, bulges, or wet cabinet bottoms.
– Drain connection: a humid halo around the trap or a small puddle that reappears after running water.
– Shutoff valves: hairline leaks at the valve stem or threading.
From my experience, the biggest “gotcha” is that cabinets can feel dry on the surface while the back panel or flooring beneath the toe-kick is still saturated. Use paper towels as a quick verification method: wipe suspected fittings, then run the sink and check which area gets damp first.
Dishwasher: lines, air gaps, and drainage behavior
Dishwashers create damage in two ways: supply water leaks and drain or sump overflow. Check:
– Inlet hose connections under the sink (or at the connection box).
– Drain hose routing—kinks or aging clamps can cause partial leaks.
– Air gap (if installed) and the high loop—improper configuration can increase slow leaks.
A practical workflow: run the dishwasher, stand by for 10–15 minutes after cycle start, then inspect hose connections. After the cycle ends, re-check for dampness—some leaks show up only during drain-out.
Behind and around the refrigerator: condensation and supply issues
Fridge-related moisture usually comes from:
– Refrigerator water line (ice maker / dispenser) leaking behind the unit.
– Defrost water that is supposed to drain properly but sometimes backs up.
– Condensation from inadequate airflow or a poorly sealed door.
Check for corrosion around the water connection and scan the floor line behind the fridge with a flashlight. If you see recurring damp spots in the same footprint, suspect a behind-the-wall line leak or a drainage pathway issue—not general “kitchen humidity.”
Hidden wetness test: edges, seams, and re-appearing moisture
Many kitchen floors get water damage from the path, not the starting point. To find hidden wetness:
1. Dry the suspect area thoroughly.
2. Place a dry paper towel along edges/seams.
3. Wait 30–60 minutes (or run the dishwasher/sink again) and see where moisture “returns.”
This flashlight-and-wipe method is effective because water tends to wick into gaps and migrate along the lowest points.
Typical Timeline of Effects After Kitchen Water Exposure
| # | Time after moisture event | What often starts | Why it matters for floors | Relative urgency |
|---|---|---|---|---|
| 1 | 0–6 hours | Moisture begins spreading into grout, seams, and underlayment | Water wicks along edges before you see discoloration | High |
| 2 | 6–12 hours | Cabinet framing and subfloor can retain moisture | Hidden wetness grows even after the surface looks dry | High |
| 3 | 12–24 hours | Musty odor can begin as materials warm and dry unevenly | Uneven drying increases odor and material breakdown risk | Medium |
| 4 | 24–48 hours | Mold growth may begin under the right conditions | This is why “dry it fast” matters for kitchen floors | Very High |
| 5 | 2–7 days | Subfloor swelling and lingering moisture pockets | Adhesives and underlayment can degrade; seams can lift | High |
| 6 | 1–3 weeks | Warping, cupping (wood/engineered), and grout deterioration risk | Tile grout and caulk can fail at edges first | Medium-High |
| 7 | 3+ weeks | Persistent odor and potential hidden structural damage | Surface sealing may not address moisture beneath | High |
Seal joints, edges, and penetrations before problems start
You should treat sealing like risk management: prevent water from finding entry points into seams and penetrations. Once leaks occur, sealing helps—but it’s most effective when applied before moisture becomes a recurring exposure.
Water typically enters flooring systems at edges, grout lines, caulk joints, and penetrations rather than through intact field surfaces. Manufacturer installation/sealing guidance (tile/vinyl/hardwood)
Proper caulking and patching around sink fixtures is a preventive step because splash and vibration concentrate stress at those joints. Fixture installation guidance (sink manufacturer best practices)
Where to seal in a kitchen (and why it works)
Focus on areas that flex and get splash exposure:
– Floor-to-cabinet seams and perimeter edges (where subfloor meets flooring system).
– Baseboards and transitions (especially on wood and laminate).
– Penetrations: around sink supply lines, dishwasher drain, and electrical/water routes.
– Re-caulk zones around the sink where daily splashing plus foot traffic can fatigue older caulk.
Choose sealants that match your floor system
The “wrong sealant” problem is real because flooring materials move differently:
– Tile: prioritize correct grout/caulk systems at change-of-plane areas (where water management relies on the caulk joint more than grout).
– Vinyl click / floating floors: focus on joint protection and follow the manufacturer’s underlayment/finish recommendations rather than assuming one universal waterproofing product.
– Hardwood/engineered wood: prevent standing water and follow the finish system’s compatibility; don’t rely on coatings that void warranties or trap moisture underboard.
– Concrete: use surface-appropriate sealers (and ensure the concrete is dry and clean before coating).
Practical sealing approach (low drama, high impact)
1. Dry and clean first—old contaminants prevent bonding.
2. Remove failed caulk where it’s already peeling or cracking.
3. Apply sealant by joint type (perimeter, fixture, penetration).
4. Allow full cure time before getting the area wet (follow manufacturer instructions—cure schedules vary widely).
From a maintenance perspective, the most cost-effective habit is to re-check and touch up caulk during normal seasonal cleaning. In my own home maintenance routine, I treat sink caulk inspection like a “smell test”: if the perimeter looks tired or feels tacky/deteriorated, it’s time.
Build a “no-pooling” routine for daily cleanup
You prevent most kitchen floor damage by avoiding standing water and drying promptly—even if the surface looks fine. The fastest path is a spill-and-dry workflow focused on the sink, dishwasher, and dish-drying area.
CDC-style moisture guidance consistently highlights prompt cleanup and thorough drying to reduce mold and odor risk after water exposure. CDC mold and dampness guidance
Moisture prevention is easier than repair because water can move into subfloors and underlayment before visible staining appears. IICRC S500 (moisture migration principles)
Wipe spills immediately (and change the way you mop)
If you mop, your goal is controlled dampness, not soaking:
– Use a well-wrung cloth or mop head (avoid puddling along seams and edges).
– Apply water in small sections; don’t flood near baseboards.
– After mopping, do a quick pass with a dry towel along high-risk edges.
Dish-drying areas create repeat wetness. If you leave a rack dripping into the same spot, you’re effectively creating a micro-leak cycle even without plumbing problems.
Rugs and mats: use them correctly, or they can worsen damage
Mats can help, but only if they don’t trap moisture:
– Choose mats designed for wet-area use (and follow the manufacturer’s care instructions).
– Lift and dry them regularly.
– Replace mats if backing deteriorates or if you notice a persistent damp odor underneath.
A simple daily workflow that reduces risk
– After dishwashing: wipe splash zones and check the floor along the sink wall.
– During cooking: keep a “dry pass” towel handy for quick wipe-downs near edges.
– End of day: ensure no water is left under mats or at door thresholds.
Improve drainage and moisture control in the kitchen
You reduce water-damage risk by managing airflow and humidity so surfaces and seams dry faster. When the kitchen can’t dry down, even minor drips and normal cleaning can accumulate into long-term damage.
EPA guidance for indoor moisture notes that controlling humidity helps prevent mold growth and other moisture-related problems. EPA indoor air quality / dampness guidance
ASHRAE commonly targets indoor relative humidity in the roughly 30–60% range to balance comfort and mold risk. ASHRAE humidity/ventilation guidance
Contain splash zones and verify slow-drip risk
Even if you don’t see a leak, slow drips can keep the floor damp:
– Put a mat or containments where dish prep water hits.
– Confirm the dishwasher and supply hookups don’t “weep” after cycles.
– Re-check connections after you move the dishwasher or adjust cabinetry.
Ventilation matters as much as sealing
Humidity control is an invisible safeguard:– Use the range hood during cooking.
– Ensure exhaust fans function properly.
– If airflow is weak (e.g., closed door kitchens), consider improving circulation so the floor dries faster after washing.
In practice, I’ve seen kitchens with identical floor types age differently—primarily because one has active exhaust and the other relies on passive air exchange.
What can go wrong (common mistakes and edge cases)
You can still have water damage even if you “did everything right”—usually because of mismatched materials, incomplete drying, or moisture that reaches underlayment/subfloor. The fixes below target the most frequent failure modes so you don’t waste time sealing the wrong area.
Using sealants not approved for your flooring system can lead to poor bonding and premature failure at seams. Manufacturer installation/sealing compatibility guidance
Surface repairs can fail if moisture already migrated into underlayment or subfloor materials that remain wet. IICRC S500 (category/extent and drying concepts)
Common mistakes to avoid
– Using the wrong sealant for the floor type: some products won’t bond or won’t handle expansion/contraction at joints.
– Ignoring small, repeated leaks: a drip that seems minor can still saturate subfloor areas over time.
– Relying on a rug to “solve it”: trapped moisture under mats can keep seams damp and worsen odor.
– Not drying fully after cleaning: damp seams can still swell materials and support microbial growth.
– Underestimating subfloor damage: if water reached below a floating floor, sealing the top may only delay the next symptom.
Fast comparison: floor type vs. where you should prioritize protection
| Floor type | Highest-risk water entry points | Best prevention focus | Key caution |
|---|---|---|---|
| Hardwood / engineered wood | Perimeter joints, under-mat dampness, underside exposure | Fast wipe + humidity/ventilation + prompt drying | Avoid soaking; use only finish-compatible sealing |
| Laminate (floating) | Joint edges, transitions, damaged underlayment | Seal penetrations + keep joints dry | Don’t rely on top coatings to stop edge water |
| Tile | Grout lines and caulked change-of-plane joints | Re-caulk edges, maintain grout, address cracked caulk | Grout sealers don’t fix failed caulk joints |
| Vinyl (click/peel-and-stick) | Seams, underlayment gaps, perimeter edges | Prevent standing water at seams; dry quickly | Follow manufacturer instructions for compatible sealants |
| Concrete | Surface pores/cracks and baseboard transitions | Use concrete-appropriate sealing and fix interior drainage | Sealer won’t help if leaks continue |
Verdict: prevention is worth it—just don’t skip material-specific steps
If your goal is to prevent water damage to kitchen floors, your best ROI is early leak checks + sealing edges/joints + a cleanup routine that prevents standing water. The downside is that prevention requires consistent maintenance (checking hoses, re-caulking periodically, and using proper cleaning methods), and it won’t always reverse damage that already reached the subfloor.
If you’re seeing warped flooring, persistent musty odors, or repeating damp spots that don’t correlate with a specific spill, skip aggressive DIY sealing and consult a flooring or plumbing professional to confirm the moisture source and the extent of underlayment/subfloor saturation.
Quick checklist (scan/save)
– ☐ Inspect under-sink, dishwasher, and fridge area for moisture weekly
– ☐ Replace cracked/aging hoses before they fail ([ADD: replace interval/spec if known])
– ☐ Re-caulk sink edges, baseboards, and floor-to-cabinet seams as needed
– ☐ Wipe spills immediately; avoid soaking during mopping
– ☐ Dry mats/rugs and ensure they don’t trap water underneath
– ☐ Improve ventilation (hood/exhaust) to reduce lingering kitchen humidity
– ☐ If you find repeating damp spots, open up and confirm subfloor condition ([ADD: next diagnostic step])
FAQ
How often should I check under my sink for leaks?
A practical approach is a quick weekly look and a more thorough check when you notice any damp cabinet bottoms, odors, or changes in flooring.
What’s the most common way kitchen floors get water damage?
Edges and seams are the usual entry points—around sinks, baseboards, grout lines, and where flooring meets cabinets or transitions.
Can I prevent water damage without replacing old flooring?
Often you can slow or prevent further damage by fixing leaks, sealing vulnerable joints/edges, and improving drying/ventilation—but severe warping or soaked subfloor may still require repair.
Are kitchen rugs safe for preventing water damage?
They can help if you clean up spills quickly and dry/lift the rug regularly. Avoid keeping rugs that stay damp against the floor.
Should I waterproof a kitchen floor even if it’s currently dry?
If you’re proactive, yes—focus on sealing seams, penetrations, and grout/caulk systems appropriate for your specific flooring type rather than trying one “universal” product.
Sources
– [ADD: manufacturer installation/sealing instructions for your exact flooring type—e.g., tile/grout systems, vinyl click flooring, laminate floating floors, hardwood finishing—use the official docs for bonding/compatibility]
– [ADD: manufacturer guidance for dishwasher installation and hose/drain requirements—official appliance manual/spec]
– [ADD: plumbing guidance from a primary authority (e.g., local plumbing code resources or fixture/manufacturer leak prevention guidance) if you reference code-level recommendations]
– [ADD: humidity/ventilation recommendations from a primary indoor air quality or building science source, if you include specific target RH guidance]
Frequently Asked Questions
What are the best ways to prevent water damage to kitchen floors?
Use moisture-resistant flooring materials like vinyl plank, waterproof laminate, or sealed tile grout to reduce water absorption. Place absorbent mats near sinks, the dishwasher, and refrigerator areas, and use quick-dry routines after spills or mopping. Keeping the floor sealed where appropriate also helps prevent water from seeping into subfloors and causing warping or mold growth.
How can I stop water from leaking under my sink and cabinets?
Install a quality shutoff valve and consider adding a leak detection system under the sink and near plumbing lines. Check hoses regularly, replace aging supply lines, and use waterproof caulk or sealant at the cabinet perimeter to limit moisture intrusion. If you notice dampness, fix the source promptly and dry the area thoroughly to protect the subfloor from long-term damage.
How do I protect kitchen floors from dishwasher and appliance leaks?
Inspect the dishwasher door gasket, drain hose, and connection points for cracks or looseness, and ensure the unit is level to prevent pooling water. Use a water-resistant mat or leak tray beneath the dishwasher when recommended, and avoid overfilling or running cycles that leave standing water. After each spill or overflow event, dry the floor and surrounding edges quickly to reduce the risk of swelling and mold.
Which cleaning methods are safest for preventing water damage on kitchen floors?
Use a damp mop rather than soaking the floor, and choose cleaning products labeled safe for your specific flooring type (especially for wood, laminate, or vinyl). Avoid steam cleaners on surfaces that aren’t rated for them, and never let water sit around seams, grout, or edges. For best results, follow up with dry towels or a mop head that removes excess moisture quickly.
Why does kitchen floor water damage happen even with careful cleaning, and how can I prevent it?
Water damage often comes from small, repeated exposure—like splashes near the sink, condensation from wet cookware, or slow leaks that go unnoticed under cabinets. Improve prevention by sealing grout and edges where applicable, installing floor underlayment designed for moisture control, and addressing leaks immediately. Regularly inspect high-risk areas such as around the dishwasher, refrigerator water lines, and baseboards to catch early signs before they cause costly repairs.
📅 Last Updated: October 12, 2026 | Topic: How to prevent water damage to kitchen floors? | Content verified for accuracy and freshness.
References
- https://www.extension.iastate.edu/news/how-prevent-moisture-damage-your-home
- https://www.canada.ca/en/public-health/services/publications/healthy-living/indoor-air-quality.html
- https://www.epa.gov/mold/preventing-mold-after-water-damage
- https://www.cdc.gov/mold/default.htm
- https://www.fs.usda.gov/naturalresources/soils/erosioncontrol/basics
- https://www.healthywa.wa.gov.au/Articles/A_E/Mould-and-damp
- Google Scholar Google Scholar
https://scholar.google.com/scholar?q=prevent+water+damage+kitchen+floor+installation+waterproofing - Google Scholar Google Scholar
https://scholar.google.com/scholar?q=household+floor+water+leakage+prevention+waterproof+membrane+grout+maintenance - Google Scholar Google Scholar
https://scholar.google.com/scholar?q=mold+prevention+after+water+damage+floor+materials+subfloor - Google Scholar Google Scholar
https://scholar.google.com/scholar?q=How+to+prevent+water+damage+to+kitchen+floors?