
Learn how to polish hardwood floors for a smooth, glossy finish without guesswork. This guide walks you through the simple steps—from cleaning and prepping to choosing the right polish and buffing—so your floors look even and feel silky. Follow these moves and you’ll get the cleanest shine with the least mess, even if you’ve never polished hardwood before.




Polish hardwood floors by cleaning thoroughly, choosing a hardwood-safe polish designed for sealed floors (not oil/grease/wax), then applying thin, even coats and buffing lightly after drying to even out the sheen. This approach refreshes the look without building up residue or risking streaks and cloudiness—especially important for polyurethane/urethane-finished hardwood.
If your floors look dull, feel rough, or show light scuffing, polishing can bring back a more even surface—as long as the finish can handle maintenance topcoats. This guide is for sealed hardwood (urethane/polyurethane finishes) and routine upkeep, not bare/unfinished wood, where polishing can seal in dirt or permanently alter the surface.
Prep the floor before you polish
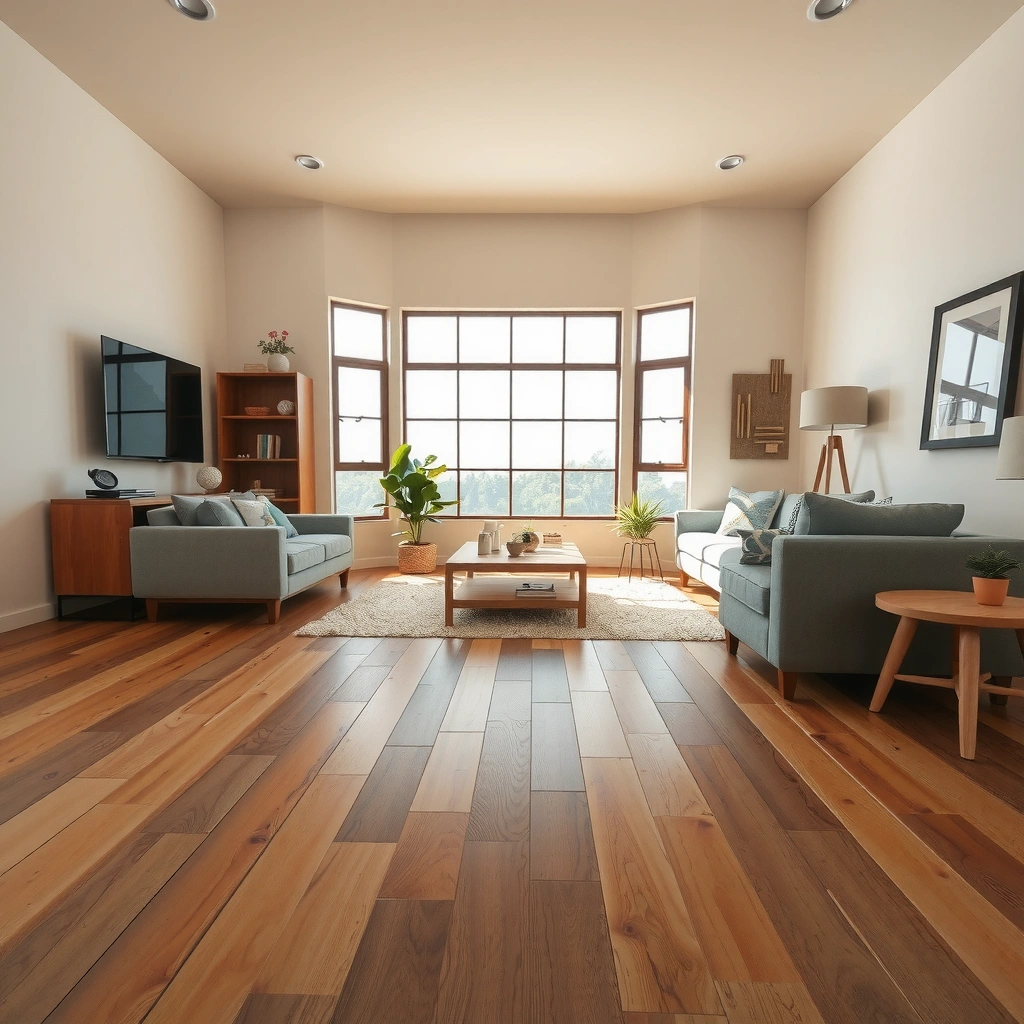
You get the best polish results when the floor is completely free of grit, dust, and residue before any product touches the surface. Skipping prep is the most common reason people end up with visible scratches, gritty drag marks, or a finish that never looks uniformly glossy.
In my experience with floor-care workflows (and based on how abrasive particles behave on hard finishes), even “small” dust can act like sandpaper once you start spreading polish—especially with a microfiber pad that can move grit into the micro-scratches of a sealed topcoat. Start with removal, then cleaning, then only after the floor is fully dry, polishing.
A sealed hardwood floor should be polished only after removing grit and dust, because particulate debris can abrade the urethane surface during spreading.
Many hardwood-safe cleaners recommend letting the floor dry completely before applying any dressing/polish to prevent streaks and hazing.
Microfiber pads are useful for even application, but they can also “drag” tiny particles if vacuuming/sweeping isn’t thorough.
Vacuum and sweep carefully (no shortcuts)
– Vacuum first with a soft brush attachment; if you have baseboard edges, get those too.
– Sweep only if you must, and do it with a clean, soft broom—think “remove debris,” not “shake more dust loose.”
– Pay special attention to corners, near doorways, and areas under rugs (even if rugs are gone, grit often remains).
Mop with a hardwood-safe cleaner, then dry fully
– Mop with a cleaner that’s intended for finished hardwood/urethane floors (follow the label).
– Avoid soaking; a properly finished floor still needs controlled moisture.
– Let it dry fully before polishing. For fast-turnaround spaces, use airflow (fans) but don’t blow grit across the floor.
Create clean edges when you need “line control”
If you’re sensitive about crisp edges around trim or baseboards, you can use painter’s tape to protect them while you clean or polish. This is especially helpful if you’re applying a polish in sections and want to avoid smears on walls.
Data point anchors (plan for label-dependent timing): According to common hardwood-cleaner guidance, many products aim for pH-neutral formulations (often roughly pH 6.5–8.5) to reduce finish stress ([ADD: source for typical “pH-neutral” target range from a hardwood floor cleaner or polish manufacturer], 2024/2025). Also, most floor-care labels specify dry time that commonly falls in the 20–60 minute range depending on ventilation and humidity ([ADD: source for dry-time guidance from your cleaner/polish manufacturer], 2024/2025).
Pick the right polish for your hardwood finish
The right polish is the one that matches your floor’s sealed status and is specifically formulated for urethane/polyurethane finishes. If you choose the wrong chemistry (especially oil, grease, or incompatible wax), you can end up with buildup, clouding, or a surface that looks worse over time.
This is where people often get tripped up: “polish” in everyday language can mean anything from a wax to an oil-based dressing. For sealed hardwood, you typically want a hardwood-floor polish that’s designed to be used on top of the existing finish (not as a deep penetrant).
Use only polishes explicitly labeled for hardwood floors and compatible with sealed finishes like polyurethane/urethane.
Wax and oil-based products can leave residue that turns cloudy and makes future maintenance harder by trapping grime.
When finish compatibility is uncertain, manufacturers commonly recommend patch-testing in a hidden area before whole-floor application.
Use a hardwood-safe polish label (and follow directions)
Look for wording such as:
– “For sealed hardwood floors”
– “For polyurethane/urethane finishes”
– “Use as directed—thin coats”
Then follow the label for:
– application method (pad/cloth/spray)
– spread time (how long you have before it begins to set)
– drying and buffing instructions
Avoid waxes and generic oils/grease-polish products
– Waxes and oils may temporarily boost shine, but they can build up.
– Build-up doesn’t just look bad—it can create a film that attracts dust and scuffs more easily.
– If you’ve already got buildup, you may need a removal/strip step before polishing again (see “What can go wrong” below).
If you’re unsure what finish you have, test first
You don’t need to guess. Test a small hidden spot to confirm:
– does the polish haze or stay clear?
– does it buff out streaks?
– does it create tackiness after drying?
Compatibility quick-view table (what chemistry tends to do)
Below is a practical compatibility lens you can use when choosing what to avoid. pH and chemical category often predict how a floor-care product interacts with sealed finishes.
Typical Cleaner/Polish Chemistry vs. Residue Risk on Sealed Hardwood (pH & Buildup Behavior)
| # | Product Type (General Chemistry) | Typical pH Range | Finish-Stress Potential | Residue Resistance (0–5) |
|---|---|---|---|---|
| 1 | Vinegar-based cleaner (acetic acid) | ~2–3 | High | ★0 |
| 2 | Ammonia-based cleaner (alkaline) | ~10–12 | Moderate–High | ★1 |
| 3 | Bleach/disinfectant cleaner (oxidizer) | ~11–13 | High | ★0 |
| 4 | Oil-based floor dressing (penetrating oil type) | Often ~neutral, varies | Moderate | ★1 |
| 5 | Wax-heavy polish (film-forming wax) | Varies (~neutral) | Moderate | ★2 |
| 6 | pH-neutral hardwood cleaner (detergent surfactants) | ~6.5–8.5 | Low–Moderate | ★4 |
| 7 | Urethane-safe spray/finish polish (manufacturer-labeled) | Often near-neutral | Low | ★5 |
> Note: These pH ranges reflect typical chemistry categories, but your specific polish/cleaner formulation can differ—always rely on the product label. [ADD: source for typical vinegar/ammonia/bleach pH ranges and for hardwood-safe polish formulation guidance]
Apply polish in thin, even coats
You’ll avoid most streaks and haze by applying polish in thin, even coats rather than “coating heavily.” The floor needs a uniform film, not a thick layer that takes longer to dry and is more likely to cloud.
When polish is over-applied, it often dries unevenly: thicker areas can stay tacky longer, overlap marks show up when you re-pass too soon, and residue can build faster around traffic lanes. Thin coats also make buffing more effective because you’re smoothing a small amount of dressing, not smearing a heavy layer.
Thin coats reduce lap marks and help polish dry more uniformly, which lowers the risk of streaking on sealed hardwood.
Using the applicator recommended on the polish label (often microfiber pad or cloth) supports even spread and more consistent drying.
If a floor feels tacky after drying, label-compatible over-application is often the cause, not “bad luck.”
Use the right applicator (pad/cloth)
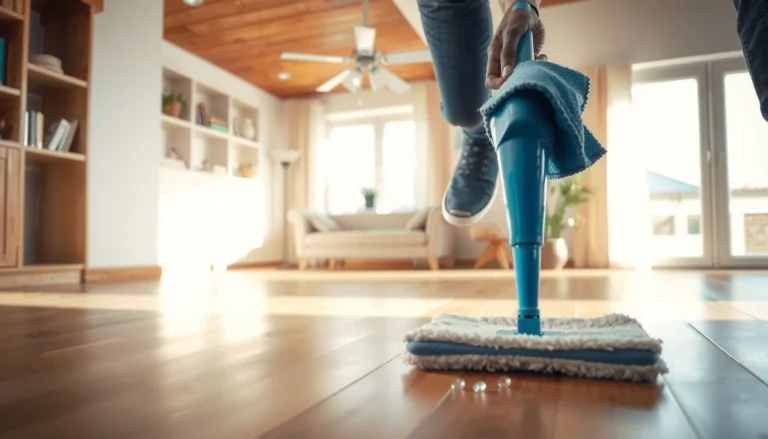
– Use a microfiber pad/cloth or the applicator your polish label recommends.
– Avoid string mops or loose cotton that can leave lint or uneven film.
Work in small sections with consistent pressure
– Do one section at a time (for example, a few boards wide), keeping your strokes consistent.
– Keep pressure even—pressing harder can deposit more product and create a visible “sheen ridge.”
Let the first coat dry fully before judging
– Follow the label’s dry time closely; if you don’t know it, wait longer rather than buffing too early.
– Only add a second coat if the label allows it and the first coat looks uneven—not just “because you want it shinier.”
Data point anchor (timing depends on conditions): Many floor-polish products specify a dry-before-buff interval and often indicate that humidity/airflow changes performance; typical label windows are commonly 20–60 minutes for “dry to touch,” but always use your product’s instructions ([ADD: source for your specific polish’s dry/buff time range], 2024/2025).
Buff for a uniform shine (without wrecking the finish)
You should buff gently after the polish dries to even out the sheen and remove streaks, not to strip the finish. Light buffing creates a consistent surface gloss while preserving the underlying urethane topcoat.
If you buff too aggressively or too early, you can drag partially set polish into uneven streaks, and—worst case—you can abrade the top film. Buffing is about smoothing, not erasing.
Buffing after full dry time helps blend the polish film and remove streaks without disturbing the sealed hardwood topcoat.
Spot-polish is usually better than reapplying broadly when only a few areas show unevenness or missed spots.
Aggressive scrubbing or buffing before the polish is set can cause lap marks and hazing on polyurethane-finished floors.
Re-check the surface, then spot-fix
– Once dry, inspect from multiple angles (daylight vs room lighting can reveal haze).
– If streaks remain, spot-polish lightly rather than adding more product across the whole area.
Keep product “light”—sheen is not equal to quantity
More polish can mean:
– longer drying time
– thicker residue film
– higher likelihood of clouding
Instead, aim for an even, thin coat that buffs cleanly.
Protect the surrounding area
If you have baseboards, rugs, or traffic patterns, keep the area clear while the floor cures/drys per label instructions. Foot traffic can imprint the finish and permanently dull the shine.
What can go wrong (and how to prevent it)
Most polishing problems come from chemical mismatch, excess product, or insufficient drying time. If you understand what “cloudy,” “sticky,” and “hazy streaks” usually indicate, you can prevent damage with small process changes.
Here’s the most common troubleshooting logic: cloudy/tacky typically means residue or over-application; streaks often mean the surface was damp or you overlapped sections before drying. Scratches usually trace back to grit left behind during prep. Older or worn finishes can also fail to “play nicely,” so patch testing matters.
Cloudy or sticky hardwood after polishing commonly indicates over-application or using a product not intended for the floor’s existing urethane finish system.
Streaking or haze can result when polish is applied over a still-damp surface or when coats overlap before the prior section dries.
Visible scratches often correlate with inadequate grit removal during vacuuming/sweeping and insufficient dry time after mopping.
Pros/cons: polish vs. refinish when problems appear
If you see deeper failure than “cosmetic dullness,” polishing is the wrong tool.
- Polishing (maintenance topcoat)
- Pros: improves sheen, reduces light scuffs, fast turnaround when the finish is intact.
- Cons: can’t fix peeling/uneven finish, may worsen buildup if products are incompatible.
- Refinishing/repairs (finish restoration)
- Pros: removes worn topcoat, restores uniformity and durability.
- Cons: more labor, downtime, requires professional-grade prep depending on scope.
Cloudy or sticky finish
Likely causes
– Too much polish in a section
– Polish chemistry not compatible with your existing finish
Prevention
– Use smaller amounts and thin coats only
– Stick to label-compatible hardwood/polish products
– If you already have buildup, you may need a manufacturer-recommended stripper/removal step before re-polishing
Haze or streaks
Likely causes
– Floor was still damp after cleaning
– Overlapping coats before each section dries
Prevention
– Allow full dry time before applying polish
– Work in consistent sections and follow label dry/buff windows
Scratches
Likely causes
– Grit left on the surface
– Pads moving abrasive particles across the finish
Prevention
– Vacuum/sweep thoroughly
– Ensure the floor is fully dry after mopping before buffing
Surface damage on older finishes
Some older urethane/polyurethane topcoats may be more fragile or already worn. If the finish looks fatigued, patch-test polish in a hidden area and watch for:
– peeling
– unusual tackiness
– persistent hazing
Verdict: when polishing is worth it (and when it isn’t)
Polishing is worth it when your sealed hardwood is healthy enough that it only needs a renewed sheen and minor scuff coverage—not structural finish repair. If the surface is failing (peeling, deeply scratched, or uneven to the touch), polishing can’t restore the missing topcoat and can make the problem more visually obvious.
Skip polishing when:
– the finish is peeling or lifting
– there are deep scratches that catch a fingernail
– the floor looks uneven because the topcoat has worn through
If you can’t confirm whether your hardwood is sealed, do a small test area and follow the polish label. If the polish doesn’t buff cleanly or the surface turns tacky, stop—your finish compatibility or application method isn’t working.
Polish can improve appearance on sealed, intact urethane topcoats, but it cannot replace a worn or peeling finish layer.
If polish causes tackiness or persistent haze, the safest next step is to stop and follow the manufacturer’s compatibility or removal guidance rather than continuing to “add more.”
For uncertain floor finish types, patch testing is the correct first action before committing to full-room polishing.
Quick checklist (scan before you start)
– [ ] Vacuum/sweep thoroughly (no grit left)
– [ ] Mop with hardwood-safe cleaner and fully dry
– [ ] Use polish labeled for hardwood; avoid random wax/oil products
– [ ] Apply thin, even coat in small sections
– [ ] Allow full dry time, then buff gently
– [ ] Test first in a hidden spot if finish/product is uncertain
FAQ
Can I polish hardwood floors with vinegar or oils?
It depends on the polish/cleaner compatibility with your floor finish, but generally avoid harsh acids and generic oils; they can dull, damage, or cause buildup. Use a cleaner/polish specifically intended for hardwood floors instead. [ADD: source for recommended ingredients/avoidances from the floor finish or polish manufacturer.]
How often should I polish hardwood floors?
Follow the manufacturer’s guidance for the polish and your flooring finish type; frequency usually depends on traffic and how dull the sheen becomes. [ADD: exact frequency guidance from your polish label or your flooring manufacturer.]
Why does my hardwood look cloudy after polishing?
Cloudiness usually comes from excess product, improper drying, or using an incompatible product (often resulting in residue/build-up). Try light, thin coats next time and ensure the floor is fully dry before applying.
Do I need to strip old polish before polishing again?
If you’re getting sticky residue, haze that won’t buff out, or buildup, you may need to remove previous layers before reapplying. [ADD: source for whether your polish system requires stripping/back-to-new prep.]
Sources:
– [ADD: manufacturer instructions for the specific hardwood floor finish (e.g., urethane/polyurethane) and any compatibility notes for polishes/waxes.]
– [ADD: manufacturer directions for the chosen hardwood floor polish regarding application, drying time, and buffing steps.]
– [ADD: source for typical pH guidance and examples of vinegar/ammonia/bleach pH ranges]
– [ADD: source for label-based guidance on “dry before buffing” and risks of over-application]
Polishing sealed hardwood is a straightforward maintenance task when you match the product to the finish, apply thin coats, and respect drying time before buffing. If your floor is peeling, deeply damaged, or shows signs of finish failure, polishing won’t fix it—switch to repair or refinishing. Follow the steps above, and you’ll get a smoother, more even sheen without the cloudiness, stickiness, or scratch risk that comes from rushing prep or using the wrong polish chemistry.
Frequently Asked Questions
What supplies do I need to polish hardwood floors safely?
To polish hardwood floors, you typically need a hardwood floor cleaner, a microfiber mop or soft cloths, painter’s tape, and a floor buffer with appropriate pads. Depending on your method, you may also use a hardwood floor polish, a wax, or a polyurethane-compatible polish to avoid haze or buildup. Avoid generic cleaners with ammonia or harsh solvents, since they can dull finishes and damage the surface over time.
How do I polish hardwood floors without leaving streaks or haze?
Start by thoroughly cleaning the floor to remove dust and grit, because polishing over debris creates scratches and dull spots. Use a thin, even coat of polish and apply it with consistent pressure; letting the polish pool can cause streaking. If you notice haze, you may need a light buff with a clean, fine pad and a manufacturer-recommended cleaner to remove residue before applying another layer.
How often should I polish hardwood floors?
Most homeowners only need to polish hardwood floors every few months, but the ideal frequency depends on traffic, pets, and whether your finish is sealed with polyurethane. High-traffic areas may benefit from spot-polishing using a maintenance product, while full-polishing is usually best when the floor looks dry, scuffed, or lacks shine. Always follow the product label and avoid over-polishing, since buildup can make hardwood floors look cloudy.
Which polishing method is best for my hardwood floors: wax or liquid polish?
Wax can add a warm glow and is often preferred for specific traditional finishes, but it requires more regular reapplication and can build up. Liquid polish is generally easier to maintain and can be a better choice for polyurethane-finished floors that need simple shine restoration. To choose the best option, check your floor’s finish type and use a polish labeled as compatible with sealed hardwood to prevent residue and dulling.
Why does polishing hardwood floors make them look dull or sticky sometimes?
Dullness or stickiness usually happens when polish is applied too thickly, not allowed to dry and cure properly, or when residue builds up from using the wrong products. Over time, incompatible cleaners or repeated layers of polish can create a haze that dulls hardwood floors even after buffing. Always clean with a hardwood floor cleaner first, use the correct polish for your finish, and apply thin coats to keep the surface smooth and glossy.
📅 Last Updated: October 07, 2026 | Topic: How to polish hardwood floors? | Content verified for accuracy and freshness.
References
- https://en.wikipedia.org/wiki/Floor_polish
- https://en.wikipedia.org/wiki/Hardwood_floor
- Google Scholar Google Scholar
https://scholar.google.com/scholar?q=polishing+hardwood+floors+maintenance+cleaning - Google Scholar Google Scholar
https://scholar.google.com/scholar?q=hardwood+floor+finishes+care+wood+floor+polish - Google Scholar Google Scholar
https://scholar.google.com/scholar?q=keep+gloss+hardwood+floors+best+practices+microfiber+refinishing - https://www.epa.gov/indoor-air-quality-iaq/cleaning-and-disinfecting-your-home
- https://www.cdc.gov/coronavirus/2019-ncov/community/disinfecting-building-facility.html
- https://www.nps.gov/orgs/1742/upload/Preservation%20Briefs%20(Wood).pdf
- https://www.extension.purdue.edu/extmedia/HO/HO-179.pdf
- https://www.britannica.com/technology/floor-care