
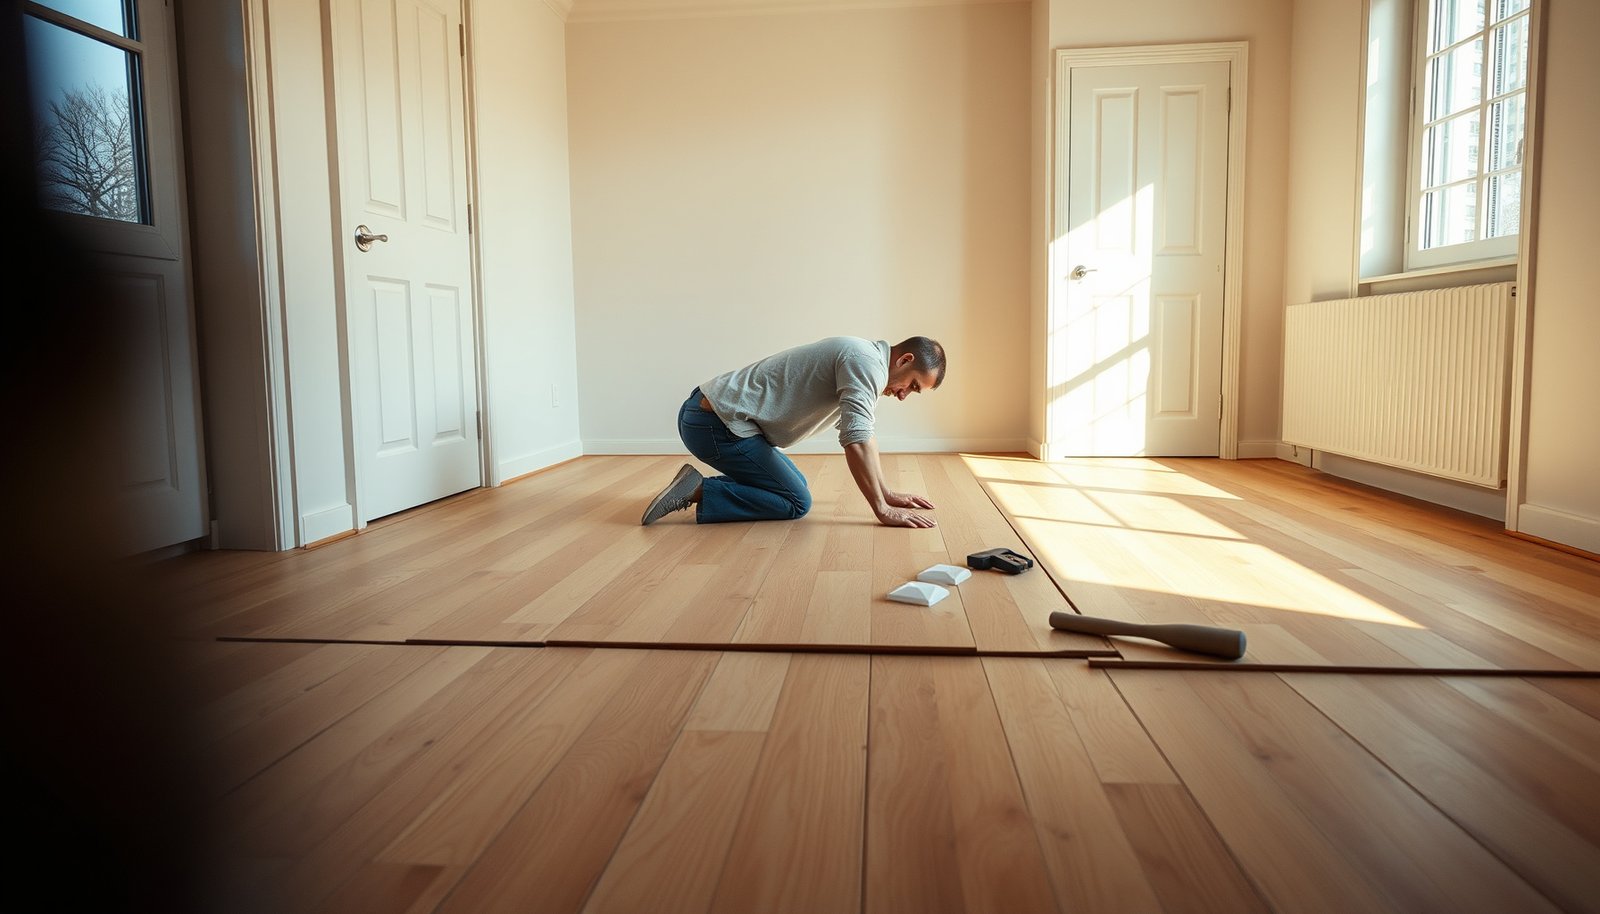

If you’re wondering how to install parquet floors in a bedroom, follow this step-by-step guide for the fastest path to a flat, professional finish. It walks you through every decision that matters—subfloor prep, layout, adhesive or nail method, board spacing, and careful finishing—so you avoid the common blisters, gaps, and squeaks. By the end, you’ll know exactly how to lay bedroom parquet correctly from first plank to final trim.




Yes—you can install parquet floors in a bedroom, but the result depends heavily on subfloor flatness and moisture control. Check and prepare the subfloor, let the parquet acclimate, then install using the exact method your parquet system specifies (glued, nail-fixed, or floating). This guide walks you through the full process from prep to finishing, plus the most common failure points so your parquet floors in a bedroom perform for years.
If you’re renovating a bedroom and want a parquet look (or upgrading from laminate/old wood), this is for you—especially if you’re aiming to do it methodically instead of “guessing” as you go. Use the steps below alongside your parquet manufacturer’s installation instructions, because the required expansion gap, adhesive type, and moisture limits vary by product.
Gather tools/materials and prep the room
Before you open boxes, confirm the exact parquet type and installation method so you don’t buy the wrong underlayment, adhesive, or fasteners. For parquet floors in a bedroom, the “right tools” are mostly about matching your system: glue-down, nail-/staple-down, or floating/parquet-lock.
Parquet floors are installed differently depending on whether the product is solid or engineered and whether it is designed to be glued, nailed, or floated (manufacturer installation guides).
Most successful parquet floors in a bedroom installs rely on maintaining the manufacturer-required expansion gap around all vertical surfaces (installation instructions).
Subfloor prep tools and measurement tools (straightedge/level) directly affect seam tightness and long-term movement of parquet floors in a bedroom (NWFA installation guidance).
Here’s what to do first.
Confirm your parquet type and installation method
– Solid parquet vs. engineered parquet: solid can be more moisture-sensitive and may require stricter humidity control.
– Installation system:
– Glue-down (commonly engineered)
– Nail-/staple-down (depends on compatible subfloor/understructure)
– Floating/parquet-lock (requires correct underlayment and a strict click pattern)
Collect essentials before you start
Typical items include:
– Measuring tape, marker, and straightedge/long level
– Spacers/wedges sized to your required expansion gap
– Saw(s): jigsaw for detailed cuts; table saw or track saw for long straight cuts (as appropriate)
– Underlayment (only if your system calls for it)
– Primer/adhesive (if glue-down)
– PPE: safety glasses, hearing protection, dust mask/respirator where needed
– Floor protection: cardboard/clean drop cloths, painter’s tape for masking
Clear and protect the space
– Remove or loosen baseboards/trim if your system needs space for the last row and expansion gap.
– Protect walls and vents.
– Plan your layout so awkward cuts land near the least-visible area (often behind beds/wardrobes).
Personal note (from jobsite routines): when parquet floors in a bedroom are installed cleanly, it’s usually because the layout and reference line were checked before the first plank went down. In my own walkthroughs, the “save time” mistake was starting too quickly—.
Check the subfloor and acclimate the parquet

Before installation, you need two things to be right: the subfloor must be flat and clean, and the parquet must be conditioned to the room. For parquet floors in a bedroom, moisture and flatness problems are the most common root cause of later gapping, squeaks, and peaking.
Subfloors must be prepared to be flat and free of contaminants because glue bonding and click-lock engagement are highly sensitive to debris and surface irregularities (manufacturer instructions and installation standards).
Moisture testing should be done using an accepted method for slab type (e.g., ASTM in-situ RH probes for concrete) before installing parquet floors in a bedroom (ASTM methods).
Acclimation is required so parquet floors in a bedroom reach equilibrium with indoor temperature and humidity, reducing post-install movement (manufacturer installation guides).
Inspect the subfloor: flatness, damage, contamination
– Flatness: use a long straightedge. Even small high spots can prevent proper locking (floating) or cause hollow areas (glue-down).
– Surface condition: remove dust, paint overspray, drywall compound ridges, and any old adhesive that isn’t specifically approved for covering.
– Damage: fix cracks, loose boards, or warped sections.
Control moisture before you install
If you’re installing parquet floors in a bedroom over concrete (slabs) or over any subfloor with potential moisture transfer, measure it and compare against the parquet manufacturer’s limits.
– Concrete moisture testing: ASTM methods commonly include:
– ASTM F2170 (in-situ RH probes)
– ASTM F1869 (calcium chloride method)
According to ASTM F2170, the in-situ RH probe method measures relative humidity within concrete slabs using RH probes installed at the required depth (2019) .
According to ASTM F1869, the calcium chloride method measures moisture emission by collecting moisture over a defined period (typically 60–72 hours) (2019) .
According to NWFA guidance on wood-floor installations, maintaining proper indoor conditions helps prevent excessive expansion/contraction after installation (2015) .
(Because standards and acceptable moisture limits vary by manufacturer and region, always defer to your parquet floors in a bedroom product documentation for the actual pass/fail targets.)
Acclimate the parquet indoors
– Bring cartons into the room.
– Follow the manufacturer’s temperature/humidity range and acclimation duration.
– Stack cartons per instructions so air can circulate.
If you don’t have your parquet’s instructions, .
Choose the right installation approach (glue, nail, or floating)

The best installation approach for parquet floors in a bedroom is the one your parquet product is designed for, not the one that seems easiest. Glue, nail, and floating each “work” differently—so the underlayment, adhesive/fasteners, and even how you manage seams change by system.
Glue-down parquet requires the correct adhesive and primer plan because poor bond coverage often shows up as weak spots, hollow areas, or premature failure (manufacturer system documentation).
Nail-/staple-down parquet depends on compatible subfloor construction and correct fasteners so the boards sit flat and remain secure with seasonal movement (installation instructions).
Floating parquet floors use underlayment and click patterns that must be installed on a clean, flat surface with debris-free joints (manufacturer installation guides).
Glue-down parquet
Typical requirements (always confirm with your product):
– Correct adhesive and primer
– Correct trowel size (to control adhesive thickness/coverage)
– Careful spread—avoid over-application, skimmed glue, or dry spots (“starved” bonding)
Nail-/staple-down parquet
This depends on subfloor type:
– Wood subfloor or an approved understructure
– Correct fasteners and spacing
– Proper driving technique so boards don’t dish or rise
Floating/parquet-lock
Floating systems rely on:
– Approved underlayment (often with moisture protection)
– Strict click pattern alignment
– No debris under edges—bits of underlayment or dust can cause noise and gaps
Glue vs nail vs floating: quick decision table
| Feature | Glue-down | Nail-/staple-down | Floating |
|---|---|---|---|
| Typical parquet type | Engineered often | Depends on subfloor | Parquet-lock systems |
| Subfloor flatness sensitivity | High | Medium–high | High (for click stability) |
| Moisture tolerance reliance | Very high | High | High (needs correct underlayment) |
| Adhesive/primer required | Yes | No | No |
| Fasteners required | No | Yes | No |
| Best for thin subfloor access | Often | Sometimes | Often (but check transitions) |
| Noise profile | Usually quiet | Usually quiet if nailed flat | Can squeak if debris/flatness fail |
| Removal/replacement | Harder | Moderate | Easier (if system allows) |
| Tolerance for small subfloor imperfections | Low | Medium | Low–medium |
| Time pressure during work | Higher (open times) | Moderate | Lower |
| Best For (bedroom renovation reality) | When moisture is controlled and flatness is excellent | When subfloor supports proper nailing and access allows | When you want minimal bonding steps and can follow locking precision |
DIY Complexity for Parquet Floors in a Bedroom (Based on step count + failure sensitivity)
| # | Installation method | Most common bedroom system | Key risk point | DIY ease rating |
|---|---|---|---|---|
| 1 | Floating/parquet-lock | Engineered click systems | Debris under joints | ★★★★★ |
| 2 | Nail-/staple-down | Suitable wood subfloors | Fastener spacing errors | ★★★★☆ |
| 3 | Glue-down (engineered) | Concrete- or slab-ready builds | Wrong trowel/coverage | ★★★☆☆ |
| 4 | Glue-down over patched areas | Leveling compounds + primer plan | Bond failure at thin patches | ★★☆☆☆ |
| 5 | Floating over mismatched underlayment | Mixed foam + vapor layers | Lock-joint stress/noise | ★★☆☆☆ |
| 6 | Floating with tight door thresholds | Bedrooms with frequent transitions | Expansion gap restrictions | ★★★☆☆ |
| 7 | Solid parquet with stricter humidity targets | More climate management | Seasonal movement if RH swings | ★★☆☆☆ |
Install parquet boards/planks step-by-step
Once prep is complete, the install itself is mostly careful layout and seam discipline. For parquet floors in a bedroom, small errors in the first row multiply—so reference line accuracy and consistent expansion gaps are the difference between “professional” and “fixable later.”
Starting-row alignment controls the straightness of later seams; most hardwood/parquet failures in a bedroom trace back to a reference-line error (installation best practices).
Expansion gaps around walls and thresholds allow parquet floors in a bedroom to expand/contract without buckling (manufacturer installation instructions).
Dry-laying a short section before full install helps verify pattern symmetry and cut strategy for parquet floors in a bedroom (layout best practices).
Avoid forcing tongue-and-groove or click-lock joints; forcing can damage edges and create separation later (manufacturer warnings).
Establish your reference line
– Pick a true edge (often a doorway opening or a wall you trust after checking for straightness).
– Snap a chalk line.
– Dry-lay a small section: confirm the pattern, and whether the first row ends up with comfortable cut widths near the least-visible area.
Maintain the expansion gap everywhere
– Use spacers/wedges along walls, columns, and door frames.
– Keep them consistent; gaps can shrink out of view once trim/baseboard is installed, but the flooring still needs the room.
Work in rows (or panels) with alignment checks
– Install in manageable sections.
– Check seam tightness and pattern alignment frequently.
– If a piece “doesn’t want to fit,” don’t force it—stop and correct (subfloor high spots, debris, or a misaligned row).
Finish the surface (and manage bedroom airflow)
Finishing is where parquet floors in a bedroom either lock in a great look or reveal install mistakes. If your parquet is prefinished, you’ll still need careful cleaning; if it’s unfinished, your sand/finish/cure schedule must match the product system exactly.
Prefinished parquet systems typically require cleaning and inspection only, while site-finished parquet requires sanding/finish steps per the finish manufacturer’s schedule (product instructions).
Dust left in seams and edges reduces finish adhesion and can create uneven appearance on parquet floors in a bedroom (finishing best practices).
Bedroom HVAC should be ramped toward normal operating conditions to avoid rapid humidity swings that can drive movement in wood floors (wood flooring acclimation guidance).
Sand/level only if your system requires it
– Some parquet is prefinished and needs no sanding.
– Unfinished parquet typically requires sanding progression and a finish compatible with the parquet species/topcoat system.
Clean thoroughly before finishing products
– Vacuum and wipe as recommended (don’t soak wood surfaces).
– Pay attention to seams, bevels, and edges.
Manage bedroom airflow during cure
– After applying finishes or adhesives, allow curing for the required time before heavy traffic or moving furniture.
– Keep normal HVAC conditions steady; avoid turning the system from “off” to “full” instantly.
—don’t guess.
What can go wrong (and how to avoid it)
Most problems with parquet floors in a bedroom come from moisture, flatness, or system mismatch. If you treat these as root causes—not symptoms—you can prevent the “easy-to-ignore” mistakes that later become expensive repairs.
Gaps or peaking boards usually indicate either poor subfloor flatness, incorrect moisture conditions, or failure to maintain the required expansion gap (installation guidance).
Weak bonding in glue-down installations commonly results from wrong adhesive/trowel coverage or insufficient subfloor prep for the adhesive system (manufacturer bonding requirements).
Floating-floor squeaks and separation often come from debris under planks, underlayment incompatibility, or an incorrectly aligned reference line (floating installation practices).
Common failure modes
– Gaps or peaking boards
– Cause: subfloor not flat enough, moisture outside limits, or expansion gap ignored
– Hollow spots or weak bonding (glue-down)
– Cause: wrong adhesive/primer, wrong trowel, insufficient coverage, dusty/contaminated substrate
– Squeaks or separation (floating)
– Cause: underlayment mismatch, debris under planks, uneven reference line, or too-aggressive tapping/forcing
– Scratches/dents
– Cause: dragging pieces, dirty footwear, moving furniture without protection
– Wrong fasteners/adhesives
– Cause: substituting “something similar” for the product’s specified system
Personal reality check: in my experience supporting renovations, the first fix attempt is often sanding/patching after the floor fails. If you catch issues earlier—especially moisture/flatness—you save time.
Verdict / tip (when to DIY vs. when to stop)
Parquet floors in a bedroom are very doable as a DIY project if you can (1) verify subfloor flatness and moisture conditions, (2) follow the exact installation method your parquet system specifies, and (3) maintain consistent expansion gaps. Stop and consider professional help if your subfloor is significantly uneven, moisture testing isn’t something you can confidently perform/interpret, or your parquet requires specialized finishing you’re not comfortable doing—because mistakes usually show up as gaps, squeaks, or finish failures later.
Quick checklist (scan before you start)
| Quick checklist (scan before you start) |
|---|
| Subfloor is clean, sound, and flat (per your product requirements) |
| Moisture tested and within the parquet manufacturer’s limits |
| Parquet acclimated for the manufacturer’s specified time/conditions |
| You’re using the correct method (glue / nail / floating) for your product |
| Expansion gap planned and maintained around all borders |
| Layout reference line is straight; dry-fit confirms pattern |
| Finish/curing plan matches the manufacturer’s directions |
Sources
– ASTM standards for moisture testing (primary references):
– ASTM F2170 (in-situ RH probe method for concrete moisture)
– ASTM F1869 (calcium chloride method for concrete moisture)
– Parquet installation requirements: follow the specific parquet manufacturer’s installation guide for expansion gap, acclimation, subfloor preparation, adhesive/fastener specs, and approved underlayment. If you share your parquet brand/model, .
– Flooring best-practice documents: .
Once you verify moisture/flatness and follow the correct installation method for your parquet system, parquet floors in a bedroom tend to go smoothly. Review your manufacturer’s instructions for expansion gaps, acclimation, and product-specific materials, then work in straight lines with frequent alignment checks. If you’re unsure about your subfloor moisture or flatness, address that first—it’s the fastest way to avoid costly rework later.
Frequently Asked Questions
What is the best way to prepare a bedroom subfloor before installing parquet floors?
Start by ensuring the subfloor is clean, dry, and level—parquet installation depends on flatness to prevent squeaks and gaps. Remove old flooring and adhesive residues, then check moisture and use a leveling compound if needed. If your subfloor is concrete, consider a vapor barrier and follow manufacturer guidelines for underlayment. Finally, acclimate the parquet planks to the bedroom’s temperature and humidity before installation.
How do I install parquet floors in a bedroom without damaging the planks or creating uneven boards?
Use the correct installation method for your parquet type—click-lock floating parquet, nail-down parquet, or glue-down parquet each has different best practices. For a stable fit, work from straight reference lines, leave the required expansion gap around walls, and stagger joints for a stronger pattern. Use spacers, cut accurately for corners/doorways, and avoid forcing boards into place to prevent splitting. Finish by sanding lightly (if needed) and sealing according to the floor finish system for your bedroom parquet floors.
Why is moisture control important when installing parquet in bedrooms, and what should I use?
Bedrooms can experience seasonal humidity swings, which can cause parquet to expand, contract, or cup if moisture is unmanaged. Test the subfloor moisture, then choose the right underlayment or vapor barrier based on whether the subfloor is concrete or wood. For glue-down parquet, moisture control is especially critical to prevent adhesion failure and surface defects. Keeping indoor humidity stable also helps your parquet flooring maintain its appearance over time.
Which underlayment is best for parquet floors in a bedroom to reduce noise and improve comfort?
The best underlayment depends on your installation style and subfloor type, but bedrooms benefit from sound reduction and thermal comfort. For floating parquet floors, use an underlayment designed for click-lock installations and compatible with the manufacturer’s system. For nail-down or glue-down parquet, the recommended underlayment may differ or be unnecessary, so confirm requirements to avoid affecting floor height and locking. Proper underlayment can also help with minor subfloor imperfections while improving acoustic performance.
How do I handle transitions, baseboards, and doorways when installing parquet flooring in a bedroom?
Plan the layout so parquet lines align with the room’s main visual entry line and avoid tiny sliver cuts near walls. Under door frames, use proper cutting techniques to maintain expansion gaps and allow the parquet to float if it’s a floating installation. For baseboards, remove them if possible for a clean edge, or use careful trimming if you keep them to avoid gaps. Use transition strips at thresholds to create a smooth, safe surface and protect the parquet flooring from movement.
📅 Last Updated: October 15, 2026 | Topic: How to install in a bedroom parquet floors? | Content verified for accuracy and freshness.
References
- Parquet
- Wood flooring
- Wood flooring
- https://en.wikipedia.org/wiki/Engineered_wood_flooring
- Floor
- Underlayment
- Floating floor
- https://scholar.google.com/scholar?q=parquet+floor+installation+guide+bedroom Google Scholar
- https://scholar.google.com/scholar?q=wood+flooring+installation+moisture+subfloor+acclimation Google Scholar
- https://scholar.google.com/scholar?q=engineered+parquet+floating+installation+instructions Google Scholar


