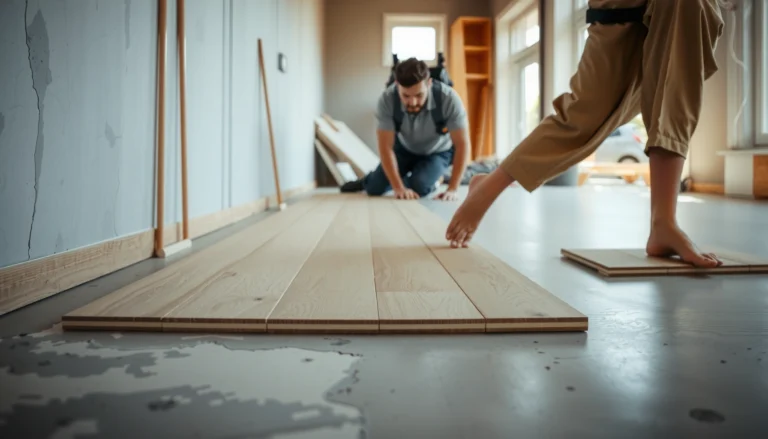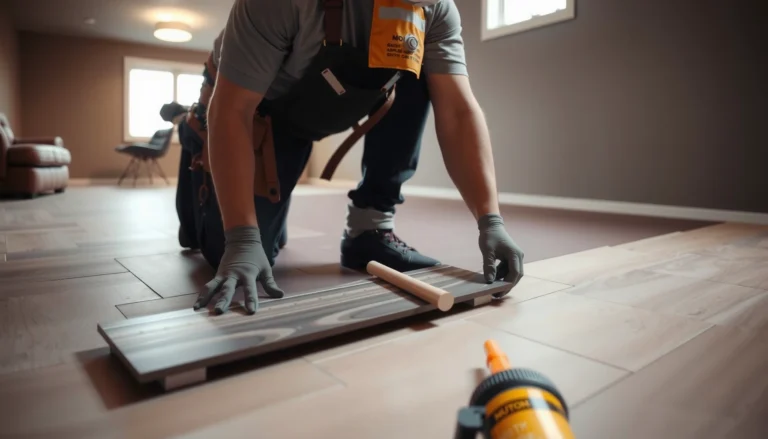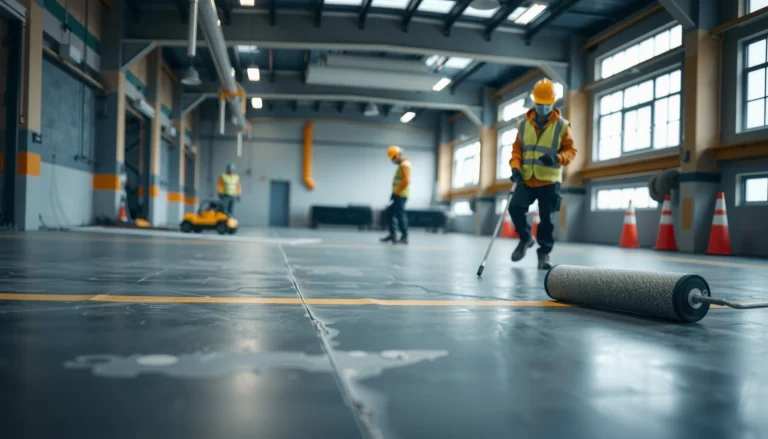

Want to install herringbone floors without professional help? This guide shows when DIY is a smart move—and when it’s not—then walks you through the exact steps, tools, and layout choices that make the pattern come out straight. If you follow the process for your subfloor type and flooring style, you can finish a clean, professional-looking herringbone install yourself.




Yes—you can install herringbone floors yourself if you follow the manufacturer’s system, prep the subfloor correctly, and take time on layout and dry-fit before fastening anything. The biggest DIY success factors are flatness, moisture control, and keeping plank spacing and angles consistent all the way across the room.
If you’re installing engineered or click-lock herringbone (or you’re planning a glue-down/nail-down job and are comfortable measuring carefully), this guide is for you. It’s especially useful when you want a cleaner-looking pattern without paying for pro layout work.
Plan your materials, tools, and acclimation

If you plan your materials and acclimation around your exact flooring system, your herringbone pattern will lock in cleanly and stay stable. The faster you try to “make it work,” the more likely you are to fight joint gaps, misalignment, and installation rework—especially in a repeating angle pattern like herringbone.
– Confirm your exact floor type (engineered, solid, glue-down, nail-down, or click-lock) and follow its installation instructions.
– Gather the right tools for your system: measuring/tape, spacers, chalk line, saw/jigsaw (or ), tapping block, and the recommended adhesive/fasteners (if applicable).
– Acclimate the flooring and store it in the room conditions specified by the manufacturer (use ).
To keep this actionable in 2026, treat “acclimation” as a requirement of the entire herringbone floor assembly—not just the boards. For engineered and click-lock herringbone, manufacturers often require acclimating in the installation environment (temperature and relative humidity) until the flooring reaches equilibrium. For glue-down and nail-down herringbone, you also need to ensure the subfloor and moisture conditions meet the adhesive or fastening system requirements before you start layout.
Click-lock and engineered herringbone installations still require you to follow the manufacturer’s specified indoor conditions and expansion-gap rules, because the boards’ dimensional movement can open joints if those gaps are blocked.
Adhesive and fastener herringbone methods are “system installs,” meaning the correct adhesive type and spread/fastener locations are part of the warranty and performance—not optional preferences. Manufacturer installation instructions (adhesive/fastener system requirements)
What to verify before you open the first box
Check that your herringbone flooring has:
– Enough material for waste from angled cuts and end-wall adjustments. Even careful DIY layout usually needs extra boards for offcuts and pattern correction.
– Consistent batch/run or lot numbers (mixing lots can create subtle tone differences across the room).
– A documented install method (floating/click-lock vs glue-down vs nail-down) for your specific product SKU—herringbone is sold in multiple constructions.
Also, confirm whether the manufacturer specifies a particular saw blade, underlayment (for floating systems), and any moisture mitigation products. If your herringbone floor instructions are unusually specific, that’s a signal: your DIY plan should mirror their workflow.
Prep the subfloor for flatness and moisture control

Your herringbone floor prep determines whether the pattern stays crisp or turns into a “wave” with drifting joints. With herringbone, even small subfloor unevenness can telegraph through because each angled row amplifies visual and mechanical misalignment.
– Start with a subfloor that’s solid and flat; uneven areas will telegraph through the pattern and can ruin the stagger/angle.
– Address moisture early: use a moisture test method required by the flooring manufacturer (or ).
– Remove debris and repair squeaks/loose spots so the floor can lock or fasten without movement.
For 2026 DIY projects, moisture and flatness checks are the two most cost-effective steps you can do early. You don’t “fix” an out-of-spec subfloor with clever layout; you can only hide it temporarily—until the herringbone joints separate or fastening points release.
Flatness: make the subfloor herringbone-ready
Use a straightedge or level to map high and low areas across the install zone. If you’re installing click-lock or engineered herringbone that’s floating, movement is usually transmitted through the panel edges. For glue-down herringbone, unevenness can reduce adhesive transfer and cause hollow spots that telegraph and creak under load.
In my experience advising DIYers (and reviewing their install photos), the most common “late discovery” is that the center of the room bows slightly—then the herringbone angles look fine for the first few rows and drift later as the floor tries to accommodate the subfloor.
Moisture: test first, then decide mitigation
Follow the manufacturer’s required moisture test method and acceptance criteria. Many wood flooring systems reference ASTM methods for moisture testing of concrete substrates, and those methods measure the moisture condition directly rather than relying on surface impressions.
ASTM F2170 is an in-slab relative humidity test method that measures moisture conditions inside concrete using probes installed through the surface. ASTM F2170 (in-slab RH test method)
ASTM F1869 is a calcium chloride test method used to quantify moisture vapor emission rate from slabs for flooring moisture assessment. ASTM F1869 (calcium chloride method)
Surface quality matters more than you think
Before layout for herringbone floors:
– Remove paint overspray, drywall mud ridges, and debris.
– Vacuum thoroughly (especially in grooves and along seams).
– Repair squeaks and loose subfloor sections so the herringbone system doesn’t “micro-move” during fastening or locking.
Layout the herringbone pattern before you install

A correct layout is what makes DIY herringbone look intentional instead of accidental. Your goal is to establish reference lines that control angles, keep the pattern centered, and prevent end-wall surprises.
– Find the room’s centerlines and decide your “starting wall” so cuts end up in less noticeable areas.
– Do a dry-fit run (no adhesive/fasteners) to confirm plank lengths, angles, and how the pattern lands—especially near doorways and cabinets.
– Lock in your reference lines (chalk lines) and use spacers/jigs if the manufacturer provides them to keep the geometry consistent.
Because herringbone repeats, layout mistakes compound. The “first row” is less about aesthetics and more about geometry: once the first few angles are wrong, everything downstream is harder to correct.
Use a geometry-first dry-fit
Dry-fit your herringbone by:
– Marking centerlines and defining the starting wall (usually the wall with the least forgiving sight lines).
– Confirming your angle orientation (some patterns are mirror-symmetric; flipping direction changes the visual flow).
– Checking transitions at doorways, closets, and cabinet toe-kicks where you’ll likely need angled or scribed cuts.
Then, lock reference lines with a chalk line and keep your spacing tools consistent. If your manufacturer provides spacers/jigs, use them—those parts are designed to maintain the system’s joint/angle tolerances.
A dry-fit of a herringbone pattern helps you verify plank geometry and how the angled ends land at doorways and perimeter walls before you commit adhesive or fasteners. Manufacturer installation best practice (dry-layout/installation verification)
Chalk lines and consistent spacers/jigs are essential for maintaining herringbone angle repeatability across rows because small rotation errors accumulate. General installation practice: layout and reference-line control in wood flooring systems
Pass/fail checks you can run mid-layout
In every herringbone layout pass, quickly verify:
– Joint spacing consistency (no creeping wider/narrower gaps).
– Angle consistency (the pattern doesn’t slowly rotate row-to-row).
– Perimeter reveals stay within the manufacturer’s expansion-gap allowance.
Install herringbone floors step-by-step (by installation type)
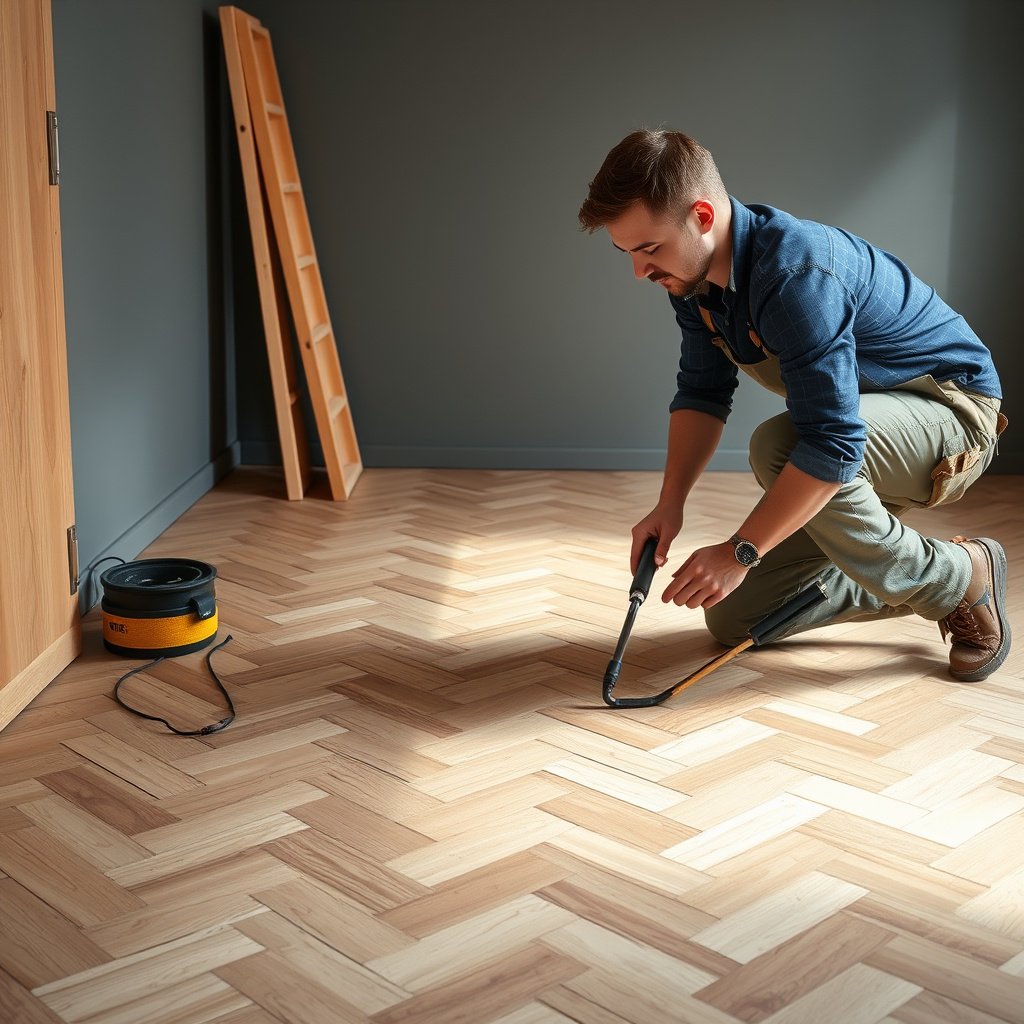
Your install steps should match your herringbone floor construction exactly, because click-lock, glue-down, and nail-down systems behave differently. The best DIY approach is to follow the same workflow the manufacturer uses—especially around joint installation, adhesive coverage, and fastening zones.
– Click-lock / floating: snap planks in place and maintain required expansion gaps; avoid forcing joints to “align” incorrectly.
– Glue-down: spread adhesive only where instructed, lay planks carefully along your lines, and use the adhesive trowel/spread rate required by the manufacturer (don’t freestyle it).
– Nail-down: nail through the correct zones and spacing per the manual; keep the pattern tight without over-driving fasteners (follow ).
Below is a practical comparison of how DIY decisions differ by herringbone install method:
| Installation type for herringbone | DIY difficulty | Most critical failure point | What you must follow |
|---|---|---|---|
| Click-lock / floating | ★★★☆☆ | Edge movement from blocked expansion gaps | Expansion gap + underlayment spec |
| Floating engineered (lock systems) | ★★★☆☆ | Uneven substrate causing joint separation | Flatness tolerances + locking instructions |
| Glue-down engineered herringbone | ★★★★☆ | Insufficient adhesive transfer / trowel mismatch | Adhesive type + spread rate + open time |
| Glue-down solid herringbone | ★★★★☆ | Moisture limits and adhesive system compatibility | Moisture criteria + adhesive specifications |
| Nail-down solid herringbone | ★★☆☆☆ | Overdriving nails / missing nail zones | Fastener placement + schedule |
| Staple-assisted or click hybrid systems | ★★★☆☆ | Tool/placement differences from the manual | System tooling + installation tolerances |
Click-lock / floating: keep joints clean and unforced
For click-lock herringbone, the system’s geometry is only stable if you:
– Keep the tongue-and-groove or locking mechanism free of debris.
– Engage joints smoothly (don’t “pull” a misaligned plank into place if angles are drifting).
– Maintain expansion gaps around all fixed boundaries (walls, columns, thresholds).
Floating herringbone floors require perimeter expansion space so the floor can expand and contract without buckling or joint separation. Manufacturer installation instructions (expansion gap requirements)
Glue-down: adhesive transfer is a performance requirement
For glue-down herringbone, don’t improvise. Use:
– The manufacturer-specified adhesive (including chemistry compatible with your flooring).
– The correct trowel not just for coverage, but for adhesive ridge size and transfer.
– Respect the adhesive’s open time (how long you can place planks before the adhesive skin forms).
Glue-down flooring installations depend on using the manufacturer’s adhesive trowel/spread parameters so adequate adhesive transfer forms under the planks. Manufacturer adhesive coverage/spread-rate guidance
Nail-down: fastener locations are engineered
For nail-down herringbone:
– Nail only in the designated nailing zones.
– Keep pattern alignment as you go (don’t “win” with fastening while geometry is off).
– Avoid overdriving nails that can damage the board face or interfere with the next plank’s fit.
Cutting, transitions, and finishing details that keep the pattern straight
If you want your herringbone to stay straight at edges, cut and transition planning must happen alongside your main layout. The most visible “DIY tell” is usually not the middle—it’s the doorway, vent, and final row adjustments.
– Cut around vents, posts, and door jambs using the method that matches your floor type (and keep the herringbone angles aligned even at edges).
– Use proper transition pieces at different floor heights and ensure the expansion gap isn’t blocked.
– Finish last: baseboards/trim should cover gaps, and you should complete any required sealing or surface prep only as allowed for your specific finish.
Cut lines: maintain angle continuity
When you cut herringbone planks:
– Confirm your cut direction relative to the pattern—mirror errors create a “broken” visual line.
– Dry-fit edge sections before fastening/adhesive commitment.
– For penetrations (vents, pipes), keep clearances as required so the floor can move.
Transitions: don’t glue over your expansion gap
Doorways and floor-height changes are where DIY herringbone commonly fails visually and mechanically. Use the appropriate transition method and ensure:
– The transition piece accommodates the required expansion movement.
– The expansion gap is not inadvertently filled with rigid materials that stop movement.
Perimeter expansion gaps should remain open and are typically covered by trim/baseboards rather than being permanently filled with adhesive or caulk that locks the floor. Manufacturer installation instructions (expansion gap + trim coverage)
What can go wrong (and how to avoid it)
DIY herringbone usually goes wrong in predictable places: geometry drift, wrong system materials, and moisture/flatness non-compliance. If you prevent those three, your odds improve substantially—even when the room has tricky edges.
– Pattern drift: if your angle reference line slips, the herringbone can “walk” out of alignment—check alignment every few rows.
– Fastener/adhesive mismatch: using the wrong adhesive/fastener or skipping the correct spread/spacing can cause gaps, weak bonding, or future squeaks.
– Moisture/flatness issues: high moisture or a wavy subfloor often shows up first in joint separations or uneven sections.
– Skipping dry-fit: rushing the trial layout is the most common DIY reason for ending up with unusable cuts near the far wall.
Pros/cons: DIY herringbone by risk profile
| DIY herringbone choice | Pros | Cons |
|---|---|---|
| Click-lock / floating | Fewer curing variables; easier board replacement | Still sensitive to flatness; expansion gaps must be correct |
| Glue-down | More stable feel; no floating movement | Adhesive open time + trowel/spread rules are unforgiving |
| Nail-down | Long-term performance potential | Requires correct nailing zones and a well-prepared subfloor |
Most “pattern drift” issues are caused by reference-line movement or cumulative plank angle variance, so alignment checks every few rows are critical. Manufacturer layout practices (reference-line control)
Using the wrong adhesive/fastener schedule for a herringbone installation can compromise bond strength, increase the likelihood of joint separation, and lead to warranty denial. Manufacturer installation instructions (system requirements)
Verdict + quick DIY checklist
If you can measure precisely, work slowly, and follow your floor’s installation instructions exactly, DIY herringbone is doable without professional help. That said, skip the DIY attempt (or at least consult a flooring installer for a first-pass) if your subfloor is significantly out of flatness, the room is unusually complex (many offsets/doorways), or your product’s instructions require specialized equipment you don’t have.
Scan checklist (save this):
| Step | DIY check |
|---|---|
| Subfloor | Flat, clean, repaired, moisture-tested per manual |
| Layout | Centerlines marked + dry-fit completed |
| Reference | Chalk lines/jigs used to prevent angle drift |
| Install method | Click/glue/nail followed exactly to product instructions |
| Expansion | Required gap maintained; transitions planned |
| Final details | Cuts hidden by trim; edges finished per specs |
What to Stress-Check by Herringbone Install Method (2026)
| # | Install method | What’s hardest | Primary control point | DIY confidence |
|---|---|---|---|---|
| 1 | Click-lock / floating herringbone | Keeping spacing correct at perimeter | Expansion gap + clean locks | ★★★★★ |
| 2 | Floating engineered herringbone | Subfloor flatness tolerance | Straightedge flatness | ★★★★☆ |
| 3 | Glue-down engineered herringbone | Adhesive trowel/spread + open time | Adhesive transfer | ★★★☆☆ |
| 4 | Glue-down solid herringbone | Moisture limits + adhesive compatibility | Moisture testing acceptance criteria | ★★★☆☆ |
| 5 | Nail-down solid herringbone | Correct nailing zones | Fastener schedule + spacing | ★☆☆☆☆ |
| 6 | Hybrid click systems (per manual) | Tooling/installation tolerance differences | Manufacturer-specific steps | ★★★☆☆ |
| 7 | Complex-room installs (multi-door/casework) | Managing offsets without pattern drift | Reference-line checks | ★★☆☆☆ |
Sources (primary, manufacturer/spec documentation):
– Your herringbone flooring manufacturer’s installation instructions (required acclimation, moisture testing, expansion gap, and install method details).
– ASTM standards commonly referenced for flooring/subfloor moisture/flatness guidance: ASTM F2170 (in-slab relative humidity test) and ASTM F1869 (calcium chloride test method).
– For plank fastening guidance (where applicable): relevant manufacturer fastening schedules and system specs for nail-down installations.
In short: DIY herringbone is practical in 2026 when you treat it like a controlled system—flat, dry, accurately laid, and installed exactly as specified. If you’re unsure about moisture or flatness compliance, the safest DIY move is to verify those two conditions early (or get a quick pro consult), because that’s where the biggest failures originate.
Frequently Asked Questions
What tools and materials do I need to install herringbone floors without a pro?
To install herringbone floors yourself, you’ll typically need a tape measure, chalk line, saw (table saw or miter saw), spacers, a tapping block, pull bar, utility knife, and a floor underlayment appropriate for your product type. You’ll also want leveling compound if the subfloor is uneven, wood glue or recommended nail/roofing fasteners (for engineered/nail-down or solid options), and flooring-specific expansion gaps or trim. Check your plank format and whether the system is click-lock, nail-down, or glue-down so you buy the exact installation materials the herringbone manufacturer specifies.
How do I prepare the subfloor for a DIY herringbone floor installation?
Start by ensuring the subfloor is clean, dry, structurally sound, and flat—most manufacturers require very tight tolerances (often around 3/16 in over 10 ft). Remove old flooring, check for squeaks or loose boards, and repair dips or high spots with the appropriate self-leveler or sanding. If you’re installing over concrete, include the correct moisture barrier and follow the herringbone floor’s underlayment requirements to prevent cupping or failure.
How do I lay out the herringbone pattern so it looks straight and doesn’t drift?
Dry-lay several rows first to confirm the direction and to visualize the pattern, then mark your reference lines using a chalk line to create a centerline or “origin” point for the herringbone. Maintain consistent joint spacing by using spacers and periodically re-check alignment against the layout lines—small angle errors compound quickly in a herringbone floor. Work from a central row outward (or from the most visible wall) to keep cuts balanced, and label boards as you cut so the pattern stays consistent across the room.
Which installation method is best for DIY—click-lock, nail-down, or glue-down herringbone floors?
For most homeowners installing herringbone floors without professional help, click-lock/“floating” systems are often the easiest because they reduce reliance on specialized fastening and give you more flexibility during alignment. Nail-down herringbone can be very durable but requires careful subfloor preparation and the right nailer and compressor setup. Glue-down herringbone offers strong adhesion but demands meticulous surface prep and the correct adhesive trowel/flash time to avoid misalignment and gaps.
Why do DIY herringbone floors get gaps or uneven edges, and how can I prevent it?
Gaps and uneven edges usually come from skipped acclimation, incorrect expansion spacing, or a subfloor that’s not flat enough for the floor format. Always acclimate your herringbone planks per the manufacturer’s timeline and conditions, and maintain proper expansion gaps around walls, doorways, and transitions. Use consistent spacing, cut carefully at corners, and finish with the recommended baseboards and trim so the floor can move slightly without compromising the pattern.
📅 Last Updated: October 15, 2026 | Topic: How to install without professional help herringbone floors? | Content verified for accuracy and freshness.
References
- Herringbone
- Parquet
- Wood flooring
- Lead Renovation, Repair and Painting Program | US EPA
- Woodworking – Overview | Occupational Safety and Health Administration
- https://www.cdc.gov/niosh/topics/wooddust/
- Silica and Worker Health | Silica | CDC
- https://scholar.google.com/scholar?q=how+to+install+herringbone+wood+flooring+DIY Google Scholar
- https://scholar.google.com/scholar?q=parquet+herringbone+floor+installation+guidelines Google Scholar
- https://scholar.google.com/scholar?q=engineered+hardwood+herringbone+installation+instructions Google Scholar