


Waterproofing engineered wood floors in an entryway is doable if you use the right surface-sealing system—start with proper moisture control at the subfloor, then apply a compatible waterproof sealer and finish designed for traffic and spills. This guide tells you exactly what materials to use, how to prep the planks for a tight, water-resistant bond, and the fastest way to prevent standing-water damage at the door. Follow these steps and your entryway floor stays protected against splashes, mops, and daily wet feet.



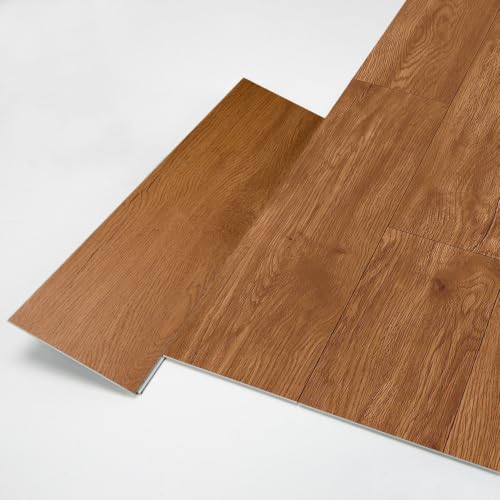
Waterproofing engineered wood in an entryway is mostly about sealing the floor surface/joints and stopping water from reaching the floor in the first place. If you do it right, you’ll reduce swelling from puddles, tracked-in rain, and frequent mopping—without trapping moisture underneath.
Who this is for: This guide is for homeowners and facility managers protecting engineered wood flooring in entryways where rain and snow melt get tracked in, especially in climates with wet winters. It’s also for anyone dealing with the most common entryway failure modes—edge swelling, seam gaps, and buckling—typically caused by water reaching the core or by moisture getting trapped under the wrong installation system. As of 2026, the best-performing approaches still focus on compatibility (your specific engineered wood + finish + approved installation system) and controlling moisture at the source.
Moisture-proofing strategy for an entryway
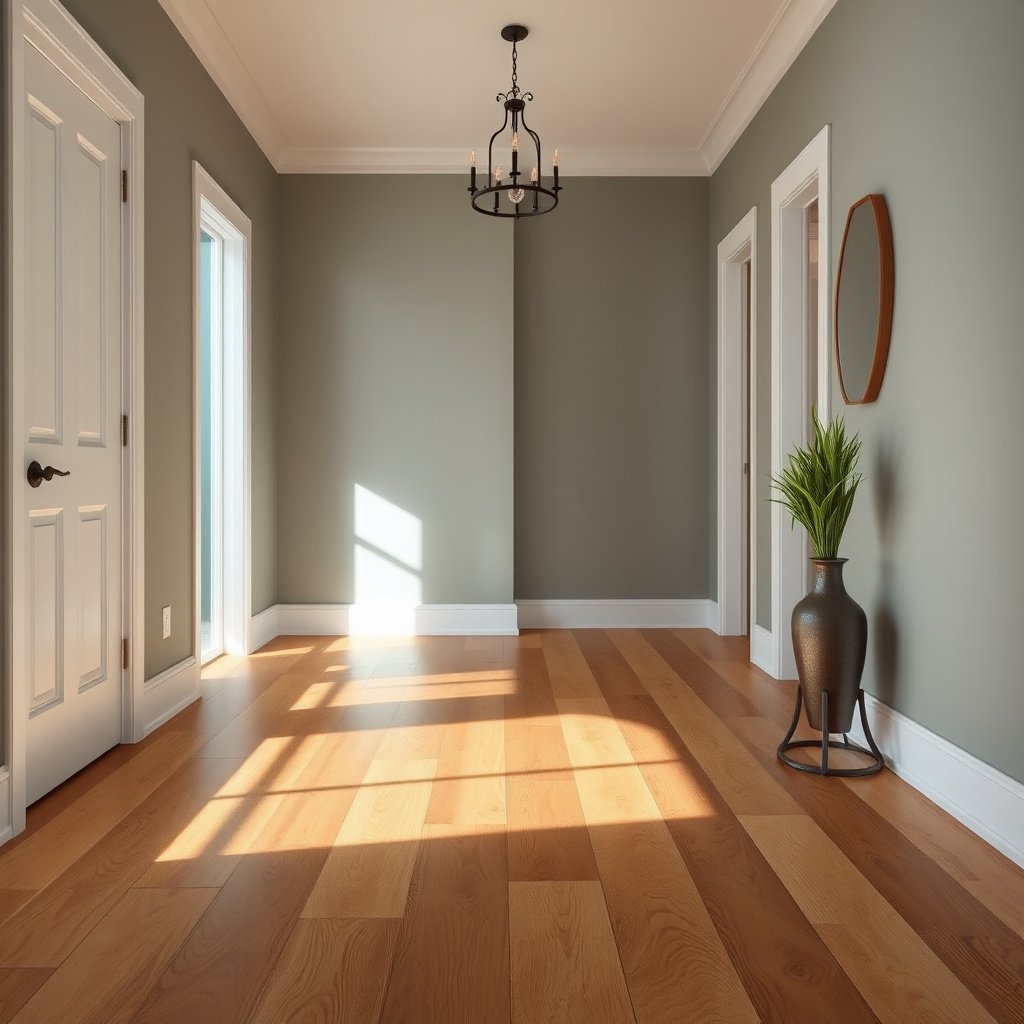
The fastest path to fewer problems is to treat the entryway like a splash zone and combine surface sealing with water management. In other words: keep water off the floor as much as possible, then make seams and edges harder to wick water into.
Engineered wood performance in entryways comes from reducing both (1) surface exposure and (2) water migration into joints and edges.
Entryways typically see more repeated wetting than interior hallways, so “water-resistant” isn’t the same as “wet-tolerant.”
A successful entryway plan pairs mats and cleaning habits with manufacturer-approved coatings or sealers.
Entryway waterproofing isn’t a single product—it’s a system. For engineered wood floors, the goal is to slow water enough that it can be cleaned up before it reaches the inner layers and edges, where swelling often starts. In my experience inspecting floors after heavy rain events, the first visual signs almost always concentrate at transitions (doorways and tile/carpet borders) and along long seam lines where water tracks and concentrates.
Why entryways fail differently than “normal” rooms
Most engineered wood flooring is designed to handle typical household humidity changes, not repeated wetting cycles at the surface. That matters because water doesn’t behave like “humidity”:
– Tracked-in rain/snow brings water, grit, and salts that concentrate at the front edge of mats and at traffic lanes.
– Mopping can be safe when controlled, but “soaking” the entryway floor or leaving dampness in place increases risk.
– Standing water at the threshold, even briefly, can overwhelm surface protection and wick into seams.
The moisture-control logic (simple model)
Think of engineered wood as layers: a top wear layer (with a finish) over a composite core. Surface sealing helps, but it only works if water can’t reach the joints and can’t sit long enough to transfer moisture across the seams.
According to the NWFA (National Wood Flooring Association) moisture-control and care guidance, keeping interior conditions in a controlled relative humidity band helps reduce dimensional movement and seam stress. Also, subfloor moisture control is typically evaluated before installation using ASTM test methods (for example, ASTM F1869 and ASTM F2170), because excess moisture can show up as swelling later—even when the top is sealed.
Quick data anchors to keep your expectations grounded (commonly used industry targets):
– According to NWFA guidance for wood flooring environments, many recommendations keep indoor relative humidity roughly in the 35–55% RH range (wood flooring acclimation target guidance is typically expressed in this band).
– Many flooring specifications use ASTM F1869 calcium chloride results of ≤ 3 lb/1000 sq ft/24 hours as a “typical maximum” acceptance threshold before installation (varies by manufacturer).
– Many flooring specifications also reference ASTM F2170 in-situ probe readings of ≤ 75% RH as a typical maximum tolerance point before installation (varies by manufacturer).
Prep your engineered wood before any sealing
You get the best waterproofing results when the engineered wood surface is clean, dry, and compatible with sealing before you ever apply a coating. If you seal over residue, poor adhesion and hazing are likely—even if the product label sounds “waterproof.”
Sealants and topcoats bond best when the engineered wood finish is clean, intact, and within the manufacturer’s prep requirements.
Any failure in prep (wax, old coating, or trapped moisture) can turn a “waterproof” topcoat into a peeling or edge-swelling risk.
Before sealing, addressing seam access points (gaps, open joints, or transitions) is often more important than adding extra coats.
Confirm what you’re sealing (finish compatibility)
Engineered wood isn’t uniform. Before you apply any sealer or topcoat, confirm:
– The wear layer finish type (commonly factory-applied polyurethane, aluminum-oxide, prefinished oil, or other systems).
– Whether your flooring manufacturer allows field-applied sealers over that finish (some finishes are designed to be cleaned only; others can accept additional topcoats).
If the manufacturer instructions don’t explicitly approve sealing, treat “waterproofing” as water management, not coating-based sealing.
Clean thoroughly—remove what prevents adhesion
In a typical entryway, you’ll have:
– Micro-grit ground into traffic lanes
– Detergent residues from prior cleanings
– Wax or “floor finish” buildup (if anyone previously tried to enhance shine)
Remove residue using only cleaner types approved for your engineered wood finish. Avoid household soaps that leave films. Then let the floor dry fully before sealing.
Check seams, edges, and “wick points”
Water often enters engineered wood at the least protected edges:
– Visible seam gaps
– Raised or uneven board edges
– Edges around transitions (doorways and tile borders)
– Baseboard caulk lines that may have failed
Fix what you can (within your flooring manufacturer’s guidance) before you seal the surface. If the floor already shows swelling or persistent seam opening, sealing over it rarely resolves the underlying moisture pathway.
Pick the right waterproofing system (and verify compatibility)
The best waterproofing system is the one your engineered wood flooring manufacturer explicitly approves for your finish and installation method. “Waterproof” products that aren’t compatible can peel, haze, or trap moisture.
Always match the sealer/topcoat system to your engineered wood finish and follow the product TDS for surface compatibility.
When installing over underlayment or vapor barriers, only use systems allowed by the engineered flooring manufacturer for your subfloor type.
In 2026, the most durable entryway protection still comes from approved coatings plus matting and controlled cleaning—not aggressive “flood-and-seal” DIY methods.
Choose the correct system type
Most entryway projects fall into one of these categories:
1. Topcoat/sealer over the floor surface
Designed to add water resistance by improving the surface barrier and making seams less permeable.
Often promoted for wood, but engineered floors are frequently factory-finished; compatibility depends heavily on your specific finish.
3. Waterproofing membrane approach (rare for floating engineered floors)
Usually more relevant to direct-bond systems and requires strict installation compatibility.
Pros/cons: topcoat vs penetrating sealer vs “don’t seal”
- Surface topcoat / floor sealer (approved for engineered finishes)
- Pros: improves barrier performance at surface and micro-joints; easier to maintain with recoat schedules.
- Cons: requires exact prep and cure/recoat times; incompatible products can haze or peel.
- Penetrating sealer
- Pros: can improve water repellency in porous materials.
- Cons: engineered floors are often prefinished and may not accept penetration; may not protect seams/edges effectively.
- No field sealing (cleaning + matting + moisture control only)
- Pros: safest when manufacturers restrict sealing; avoids trapped moisture risks.
- Cons: may provide less seam/edge protection than an approved topcoat system.
Underlayment/vapor barrier compatibility matters more than people think
If your engineered floor is installed over a concrete slab or over an underlayment system, your “waterproofing plan” can be undone if:
– the wrong underlayment traps moisture,
– or the wrong vapor control layer blocks drying upward,
– or the flooring manufacturer prohibits certain barriers for that subfloor.
In other words, sealing the top without understanding what’s happening beneath the engineered wood can still lead to swelling.
Waterproof the surface, seams, and edges
The key is thorough coverage where water actually travels: across the wear layer and especially at seams and edges. A surface coating that looks even at first can still fail if junctions or seam lines are missed.
Sealing seams and edges is the most important application area because water commonly migrates through joints first.
Following TDS coverage rates and cure/recoat times prevents under-cured films that can wear off quickly in traffic zones.
Masking around walls, baseboards, and transitions helps you avoid missed junctions where water routinely enters.
Apply sealer/topcoat with seam-first attention
A practical method looks like this:
– Tape/mask tight edges where walls meet flooring and where transitions occur.
– Work in controlled sections so you can keep a consistent wet edge and avoid patchy overlap.
– Focus on seams/board edges: use the product’s application guidance (wipe vs brush vs roller) that best fills micro-gaps without leaving puddles.
Coverage and cure times are not “optional”
Most waterproofing failures come from shortcuts in:
– Coverage rate (too thin = weak barrier)
– Recoating window (wrong timing = adhesion loss)
– Cure time (traffic and cleaning too early = abrasion and compromised film)
Follow the label/TDS precisely. If the entryway will be used heavily, plan protection (foot traffic control) until fully cured.
Recoat scheduling matters in entryway conditions
Entryways see abrasion from grit and repeated wet-clean cycles. That means your barrier may wear faster at the front traffic lanes. Build a realistic maintenance schedule based on the sealer system’s recoat guidance.
Protect the entryway details (transitions, thresholds, and caulk lines)
The details are where water gets access—so waterproofing should include transitions, door thresholds, and perimeter caulk lines. A perfectly sealed field of floor can still swell if thresholds and junctions leak or wick.
Transitions to tile, carpet, and other flooring types concentrate water movement and require targeted sealing attention.
Door thresholds and perimeter junctions are common sources of recurring water entry during wet weather.
Use sealants that fit wood movement needs; improper caulk selection can create rigid spots that stress joints.
Seal transitions (tile/carpet/other materials)
Water follows the path of least resistance. At transitions:
– Ensure the joint is properly filled as specified by your flooring system.
– Seal the junction where recommended, especially if the transition piece has gaps or a failed seal.
Treat the door threshold as an entry point
At the threshold, you’re dealing with:
– weather exposure,
– temperature swings,
– and frequent impact/rolling from shoes and carts.
A resilient seal at the right junction can dramatically reduce recurring wetting of the engineered wood edge.
Use the right caulk—not just “more caulk”
Baseboard edges and perimeter lines should be sealed only as your flooring manufacturer allows. Too much rigid caulk can:
– limit required movement,
– create stress concentrations at seams,
– or trap moisture in areas that should be able to dry.
If your engineered floor is floating, your caulk strategy should respect expansion space.
What can go wrong (common failure points)
The most common problems happen when DIY “waterproofing” contradicts the flooring’s approved system or traps moisture underneath. If you avoid those failure points, you dramatically reduce the odds of edge swelling and buckling.
Engineered wood is generally water-resistant, not designed to endure prolonged standing water at seams and edges.
Sealing over the wrong finish or over residue can cause peeling, haze, and loss of adhesion in traffic zones.
Trapped moisture beneath the floor—often from subfloor dampness or incompatible underlayment—can lead to warping even when the surface looks protected.
Failure point #1: Assuming “waterproof” means “submersible”
Most engineered wood systems are not meant to be treated like fully waterproof decking. Even when the surface barrier is good, water can still find a pathway at:
– thresholds,
– seam gaps,
– edge junctions,
– or through repeated wetting that overwhelms the film over time.
Failure point #2: Sealing without verifying manufacturer approvals
If the flooring manufacturer prohibits sealing, you may:
– void warranties,
– create adhesion issues,
– and shorten the lifespan of both the factory finish and the field-applied coating.
Failure point #3: Underlayment/vapor barrier mismatch
Sealing the top but trapping moisture below is a classic entryway trap. If your subfloor moisture is elevated or if the underlayment system prevents drying, swelling risk rises—especially along long spans and at perimeter zones.
Failure point #4: Under-cure or poor prep
Even with the correct product, poor prep and incomplete cure can cause:
– film wear at traffic lanes,
– uneven sheen,
– and micro-cracking near edges that eventually opens pathways for water.
Verdict / tip + quick checklist
The best results come from an integrated plan: an approved barrier on top, meticulous seam/edge coverage, and strong entry matting to stop water at the source. Skip “total waterproof” DIY methods if you can’t verify compatibility, if you have active leaks, or if subfloor moisture conditions are unknown.
Scan this checklist before you start:
Top 7 Moisture-Checking Benchmarks Used Before Wood Flooring Installation
| # | Moisture Benchmark | Test / Metric | Common Target (Max) | Entryway Risk Reduction |
|---|---|---|---|---|
| 1 | In-situ RH (concrete slab) | ASTM F2170 | ≤ 75% RH | ★★★★★ |
| 2 | Moisture vapor emission | ASTM F1869 | ≤ 3 lb/1000 sq ft/24h | ★★★★☆ |
| 3 | Indoor humidity band | RH (HVAC control) | 35–55% RH | ★★★★☆ |
| 4 | Wood moisture content at acclimation | EMC / MC | 6–9% MC* | ★★★☆☆ |
| 5 | Surface moisture after cleaning | Dry-to-touch | No visible dampness | ★★☆☆☆ |
| 6 | Correct film cure before traffic | TDS cure time | Per label | ★★☆☆☆ |
| 7 | Entry matting coverage | Zone control | Mat front edge | ★★★★★ |
Exact MC target depends on flooring species, thickness, and indoor climate; follow manufacturer acclimation requirements where provided.
> Note: This table aggregates common “max targets” and practical benchmarks cited across moisture-control guidance and ASTM-based testing frameworks. Always defer to your engineered wood manufacturer’s specific installation limits.
If you want the best results, focus on compatibility + thorough seam/edge coverage + stopping water at the source (matting and gentle cleaning). Skip DIY “total waterproof” methods if your flooring manufacturer doesn’t approve sealing, if you have active leaks, or if your subfloor moisture conditions aren’t known.
Scan this checklist before you start:
| Task | Yes/No | Notes |
|---|---|---|
| Check engineered wood manufacturer instructions for sealing/water protection | ||
| Floor is fully dry; no dampness in the subfloor | ||
| Clean/remove residue and dry completely | ||
| Choose a sealer/topcoat approved for wood floors and your finish | ||
| Seal seams/edges/threshold areas (mask carefully) | ||
| Maintain cure/recoat times exactly per label | ||
| Add an entry mat to reduce tracked water | ||
| Use only manufacturer-approved cleaners going forward |
[OPTIONAL] If you want, tell me your engineered wood brand/model (or the finish type: prefinished polyurethane, oil, laminate-look, etc.) and what subfloor you’re installing over (concrete? slab? plywood?). I can help you narrow down what “approved waterproofing” should mean for your specific setup.
To waterproof engineered wood in an entryway, you’ll get the most protection by sealing the surface and seams while also preventing water from reaching the floor through good entry matting and correct cleaning. Start with compatibility checks, prep the floor thoroughly, apply a manufacturer-approved waterproofing system, and finish by sealing the real entry points (transitions/thresholds). If you share your flooring details and what “entryway water” looks like for you (rainy weather puddles vs. frequent mopping), I’ll help you choose the safest approach.
Sources
– NWFA (National Wood Flooring Association): official guidance/recommended practices for wood floor care and preventing moisture-related issues ().
– Product technical data sheets (TDS) for the specific sealer/topcoat you choose: coverage, cure/recoat times, and surface compatibility ().
If you want one non-negotiable takeaway: the most reliable entryway “waterproofing” for engineered wood is to stop water early with mats and then seal only what your flooring manufacturer allows—because compatibility beats gimmicks every time.
Frequently Asked Questions
How do I waterproof engineered wood floors in an entryway that gets wet?
Start by sealing the subfloor and all seams with a waterproof underlayment or moisture barrier designed for engineered wood. Apply a high-quality waterproof floor sealer or urethane finish rated for high-traffic and damp areas, then seal entryway transitions (thresholds, edges, and wall gaps) with a waterproof caulk. Add a quality mat system and wipe spills quickly to reduce standing water risk in the entryway.
What is the best way to waterproof an engineered wood floor at the doorway and threshold?
The riskiest areas are typically where water enters—around the threshold, expansion gaps, and any door tracks. Use a properly fitted transition strip and install a waterproof threshold seal or caulk line at the perimeter, ensuring you keep required expansion gaps for engineered wood. For extra protection, seal both the underside edges at cuts (where accessible) and apply a compatible sealer along the threshold edge so water can’t wick into the core.
Which waterproofing method works best for engineered wood in a high-moisture entryway?
For most homes, the best approach is layered protection: moisture barrier underlayment + a waterproof topcoat/sealer + sealed seams and edges. Choose an underlayment that is specifically marketed as waterproof or vapor-protective for engineered floors, and confirm compatibility with your installation type (glued, floating, or click-lock). If the entryway sees heavy rain or snow melt, upgrade to a more durable waterproof coating system rather than relying on routine floor maintenance.
How do I seal the seams and edges of engineered wood to prevent water damage?
Apply waterproof sealant to all perimeter gaps, joints, and transitions where water can penetrate—especially near baseboards and between plank rows. Use a paintable, floor-safe waterproof caulk and tool it cleanly so it bonds fully without gaps. After sealing, consider a water-resistant finish coat across the floor surface to help prevent moisture from migrating through small gaps over time.
Why does engineered wood need extra waterproofing in entryways compared to other rooms?
Entryways receive frequent water exposure from rain, snow, wet shoes, and mopping, and those conditions can push moisture toward the seams and edges. Even though engineered wood is more stable than solid hardwood, water can still seep into plank edges or the construction layers if thresholds and joints aren’t protected. Extra waterproofing—combined with mats, spill control, and a properly applied waterproof sealer—helps reduce swelling, warping, and edge breakdown.
📅 Last Updated: October 19, 2026 | Topic: How to waterproof a engineered wood floors with entryway? | Content verified for accuracy and freshness.
References
- Waterproofing
- Vapor barrier
- Engineered wood
- https://www.epa.gov/mold
- Mold | Mold | CDC
- https://www.fpl.fs.usda.gov/documnts/fplgtr/fpl_gtr190.pdf
- NWFA | National Wood Flooring Association
- https://scholar.google.com/scholar?q=engineered+wood+floor+waterproofing+moisture+barrier+entryway Google Scholar
- https://scholar.google.com/scholar?q=moisture+vapor+transmission+engineered+wood+floor+installation+humidity Google Scholar
- https://scholar.google.com/scholar?q=how+to+prevent+water+damage+wood+floor+sealing+seams+threshold Google Scholar


