
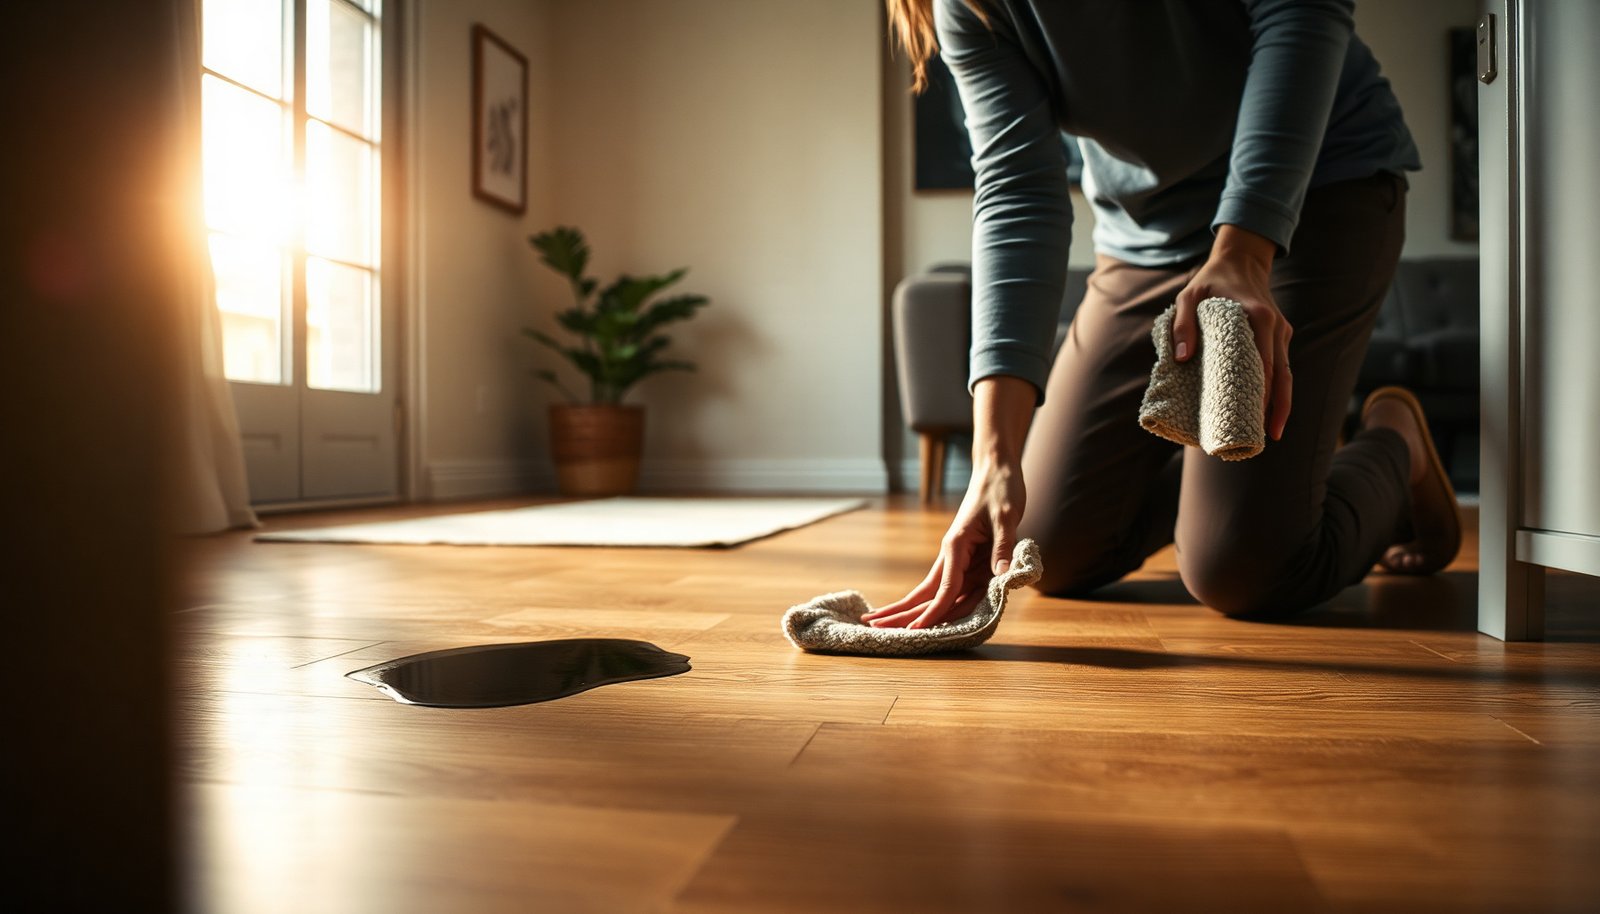

Oil from a leaking vehicle or kitchen spill can soak into the top layer of engineered wood floors and leave a stubborn, dull spot. The common mistake is scrubbing with harsh solvents or soaking the surface, which can damage the finish and affect the wood. Use the right absorbent materials and a pH-neutral cleaner with careful, minimal moisture, and you can often remove fresh oil stains in about 20–40 minutes.




Blot oil immediately and clean it using a wood-floor-safe degreaser applied to a microfiber cloth—never soak seams. This approach lifts grease without dulling the finish or driving oil deeper into engineered wood’s top layer and edges.
If you spilled oil, blot it immediately, then clean with a wood-floor-safe degreaser or a mild cleaner labeled safe for engineered wood. Avoid soaking the seams or using harsh solvents that can dull the finish or push oil deeper into the surface. This guide walks you through a safer order of steps to lift oil without damaging your floor.
Who this is for / when it applies:
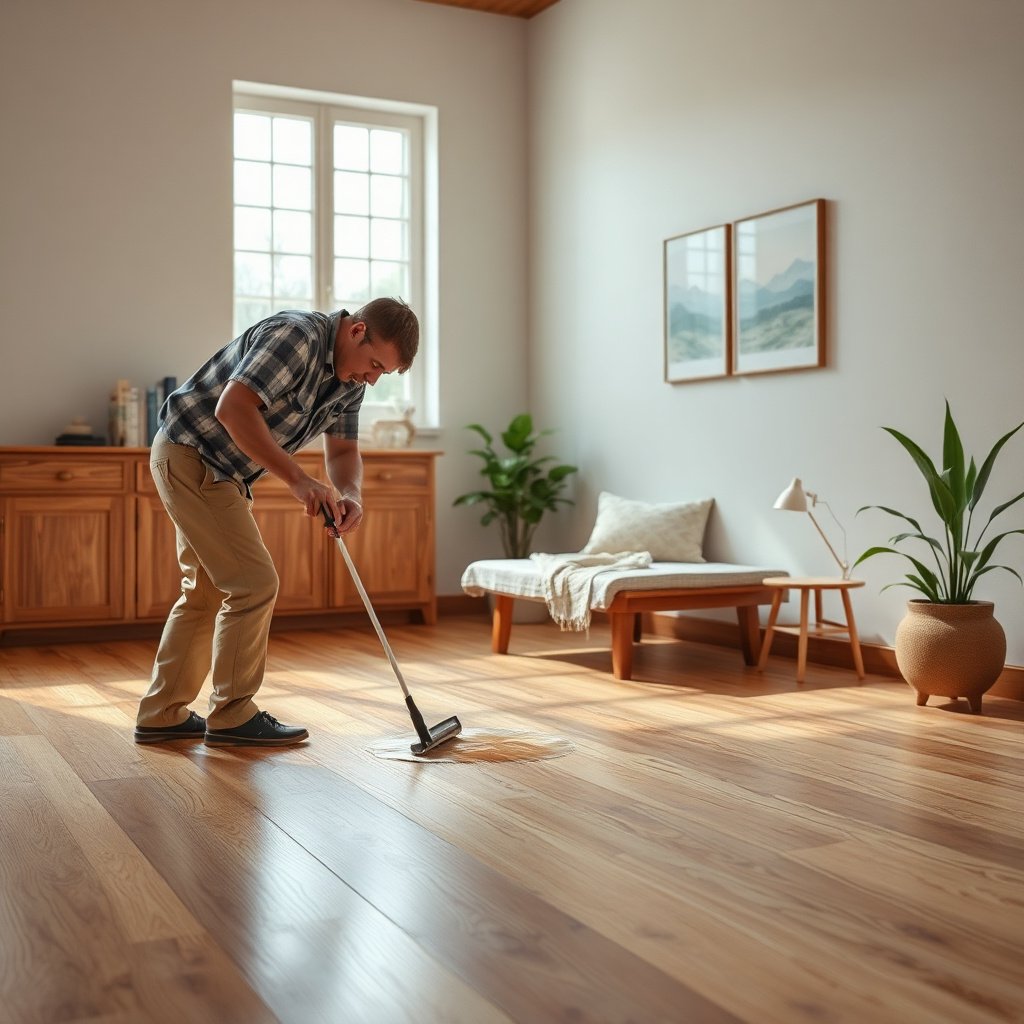
This is for homeowners and renters dealing with oil stains on engineered wood floors (including kitchen drips, cooking messes, or tracked-in grease). It’s especially relevant if your floor has a sealed surface (common on engineered wood), but you’re not sure what cleaners are “too strong.”
Engineered wood typically has a wear layer on top and a wood core beneath. That wear layer is what you protect—oil can cling to the finish and then spread across the surface if you wipe too aggressively, especially before the oil starts to emulsify or tack up. As of 2026, most manufacturer care guides still emphasize controlled moisture (damp cleaning only) and product compatibility (use cleaners made for finished/engineered wood).
What to do right away (first 10–15 minutes)
Act fast—but do it gently. Your goal in the first 10–15 minutes is to remove free oil without spreading it or forcing it into seams.
– Blot—not wipe—using paper towels or a clean cloth to lift as much oil as possible.
– Keep the area dry: don’t pour cleaner directly onto the floor, and avoid scrubbing yet.
– If oil has been sitting awhile, expect more work—don’t skip the “lift first, then clean” approach.
Why blotting matters: Wiping can smear oil, turning a localized drip into a wider “halo.” Oil also behaves differently on sealed surfaces than on unsealed/oiled wood—on sealed engineered wood, the finish is a barrier, so controlled contact usually works better than soaking.
Quick handling tips that reduce risk
– Use fresh towel sections as the oil transfers; don’t grind it in.
– Keep pets and foot traffic away until you’re done blotting (oil plus motion can create slip and secondary spread).
– If the spill is small, treat it like a spot repair—focus on the damaged area instead of “cleaning the whole room.”
Choose the right cleaning products (and what to avoid)
Use products that are labeled safe for engineered wood (ideally for “sealed” or “finished” wood floors) and apply them to a cloth, not the floor. Avoid solvents and abrasive tools, because they can strip, haze, or soften the finish and make stains harder to reverse.
– Use a degreaser or cleaner specifically labeled safe for “sealed wood floors” or “engineered wood.”
– Avoid gasoline, paint thinner/mineral spirits, acetone, and abrasive pads—these can damage the finish and make stains spread.
– If you’re unsure, do a small spot test in an inconspicuous area and wait for the finish to dry before judging.
What “safe for sealed engineered wood” usually means
Look for cleaners marketed for finished wood, not bare wood. In practice, these products are formulated to break down oils without aggressively attacking film finishes (urethane/polyurethane) or changing sheen. If the label gives you a clear “sealed wood floor” use case, follow it.
Why harsh solvents are risky (even if they degrease fast)
Solvents can dissolve components of certain finishes, leaving a dull patch or changed texture. And once the finish is altered, the surface can hold oil more readily.
Here are a few common “DIY” liquids people reach for—this table explains what they are and why they’re often a poor match for engineered wood finishes.
Common “Grease” Liquids People Consider for Floors (Typical Strength)
| # | Household liquid | Typical active concentration | Why it can be problematic on sealed wood | Finish risk (vs safe wood cleaner) |
|---|---|---|---|---|
| 1 | White distilled vinegar | ~4%–7% acetic acid | Acid may dull or haze some finishes | ★★★☆☆ |
| 2 | Acetone | ~95%–100% acetone (common) | Can dissolve/soften film finishes quickly | ★★★★★ |
| 3 | Mineral spirits | Hydrocarbon blend (varies by product) | May strip or reduce finish sheen | ★★★★☆ |
| 4 | Household bleach | ~5%–6% sodium hypochlorite (common) | Can discolor and degrade some coatings | ★★★★☆ |
| 5 | Household ammonia | ~5%–10% ammonia (common) | Alkalinity can dull and damage coatings | ★★★☆☆ |
| 6 | Isopropyl alcohol | 70% (common) | Can soften or haze finishes; may spread oil | ★★★☆☆ |
| 7 | Wood-floor-safe degreaser (labeled) | Formulated for finished wood (label varies) | Designed to lift oils without stripping sheen | ★☆☆☆☆ |
Note: Concentrations vary by brand, but these examples reflect typical household formulations. The safest path remains the label: use a degreaser or cleaner that explicitly lists engineered/finished wood as safe.
(For vinegar specifically, U.S. FDA regulation defines vinegar as containing about 4%–7% acetic acid. U.S. FDA, 21 CFR §169.175 (2024))
Step-by-step: safely remove oil without soaking
Remove oil safely by using a “cloth-first” method: apply cleaner to the cloth, wipe gently, then do a well-controlled water wipe only if the label allows. This keeps moisture and solvent exposure away from seams and edges while still lifting grease.
– Mix/prepare your cleaner according to the label, then apply to a microfiber cloth (not directly to the floor).
– Wipe with the grain using light pressure, then follow with a damp (water-only) pass using a well-wrung cloth.
– Dry thoroughly with a clean towel or dry microfiber—standing moisture is what often causes longer-lasting problems.
Why you should keep liquid off the floor
Even sealed floors aren’t meant for puddles. Moisture can creep into grout lines, micro-gaps, or edges. Wood swelling is well documented: wood can expand significantly as moisture content changes, with USDA guidance noting large dimensional increases when moving from very dry conditions toward fiber saturation (on the order of several percent, depending on direction). USDA Forest Service, Wood Handbook (2010)
That matters for engineered wood because oil spills often come with wiping attempts—and wiping can turn into surface soaking.
A practical wipe sequence that protects the finish
1. Blot residue again (if needed): If you still see oily sheen, lightly blot with a clean, dry towel.
2. Apply degreaser to cloth: Saturate the microfiber only enough to dampen it; you want contact, not runoff.
3. Wipe with the grain: Short strokes reduce spreading and prevent grinding oil deeper.
4. Dampen pass (water-only): If your cleaner instructions recommend it, use a well-wrung cloth to remove remaining degreaser.
5. Dry immediately: Buff dry with a towel or dry microfiber until no moisture remains.
If your engineered wood is installed with click-lock edges or has bevels, treat the perimeter as extra sensitive. Oil often tracks toward edges, and extra moisture there can be the difference between a quick fix and a lingering mark.
How to handle stubborn oil stains
Stubborn oil usually needs repeat cycles, not harsher chemicals. If the stain persists, go slower: degrease in short rounds, wipe damp only as allowed, and dry completely each time.
– Repeat the cloth-cleaning process in short cycles (clean → wipe damp → dry) rather than one aggressive session.
– For lingering marks, use a purpose-made wood degreaser/spot remover labeled safe for finished floors, still applying to the cloth.
– If you used an unapproved solvent earlier and the sheen changed, stop and consult the floor manufacturer’s care guidance or a flooring pro.
What’s happening when the stain won’t lift
Oil stains often change form as they sit—part of the oil evaporates slowly or oxidizes (especially with cooking oils). That can leave behind a residue that looks like a darker patch or a dull halo even after free oil is gone.
Motor oil and other petroleum-based lubricants can be especially persistent; viscosity also affects how far it spreads before you catch it. SAE viscosity grades define behavior across temperatures—for example, SAE “30” grade limits at 100°C are defined in the SAE J300 viscosity framework, which helps explain why motor oil can feel “slippery but stubborn” on finishes. SAE J300 (revision referenced by SAE for automotive engine oils) (2023)(If you know your oil type—cooking oil vs motor oil—your choice of degreaser can be more targeted.)
Short-cycle method that’s usually safer
– Clean (cloth + labeled degreaser): 30–60 seconds of gentle wiping.
– Damp wipe (only if label allows): 1 pass with a well-wrung cloth.
– Dry: 30–90 seconds with a fresh towel.
Repeat this loop until the sheen and color match the surrounding area. Stop if the finish looks altered (cloudiness, tackiness, rainbow sheen, or a visible texture change).
What can go wrong (common mistakes and edge cases)
Common problems happen when people use the right idea (degrease) with the wrong method (scrub, soak, or solvent). Engineered wood is forgiving compared with many natural hardwoods, but the finish still has limits.
– Scrubbing with a dry brush: can grind oil deeper and increase surface dulling.
– Using too much liquid: engineered wood can tolerate cleaning, but soaking can work moisture into joints or edges.
– Cleaning the wrong way for your finish: oil can react differently with oiled/unfinished-looking surfaces versus sealed finishes.
– Ignoring manufacturer limits: some engineered floors specify particular cleaners or prohibit degreasers.
Quick comparison: what to do vs what to avoid
Below is a practical “decision filter” you can use mid-clean.
| Approach | Pros | Cons / Failure points |
|---|---|---|
| Cloth-applied, labeled degreaser + damp wipe + dry | Controls spread; targets grease; protects seams by avoiding puddles | Requires patience (often multiple short cycles) |
| Wipe/scrub first, then try cleaner | May seem faster for small spots | Can smear oil into a wider halo; dulling can look worse than the original drip |
| Solvents (acetone, mineral spirits) on the floor | Can cut grease quickly | May remove or soften finish; can permanently change sheen and color |
Finish-related edge cases to watch
– Unsealed-looking areas: If part of the floor appears more porous or matte than the rest, assume you have a different finish section and treat it conservatively. Always spot test first.
– Recent wax/sealer additions: If someone previously added floor wax, the “oil stain” may actually be oil mixed into that coating layer.
– Large spills: For spills that soaked through to sublayers, DIY may not fix the odor or residue; consider professional assessment.
Verdict / tip (what’s worth doing—and who should skip this)
For most sealed engineered wood floors, the safest path is: blot fast, use a wood-floor-safe degreaser applied to a cloth, wipe damp only after, then dry completely. Skip DIY and stop early if you see finish damage (cloudiness, tacky areas, color change) or if you suspect the floor is not sealed—then it’s better to follow your manufacturer’s care instructions or get a pro assessment.
The downside to this careful method: it can take multiple cycles. If you rush with heavy liquid or aggressive scrubbing, the stain can spread and the finish can look uneven—even if the oil is technically “gone.”
Who should skip this approach
– If the manufacturer explicitly bans degreasers/solvents for your finish, follow their documented care plan.
– If the oil penetrated beyond the surface (e.g., persistent odor, visible edge darkening), consult a flooring pro rather than repeated re-wetting.
– If the floor is in a high-moisture environment (active leaks, standing water history), address the moisture source first—cleaning won’t solve the underlying problem.
Scan-friendly checklist (save this)
– ☐ Blot oil immediately (no spreading)
– ☐ Apply cleaner to cloth, not the floor
– ☐ Wipe with the grain using light pressure
– ☐ Follow with a damp, well-wrung water wipe (if label allows)
– ☐ Dry thoroughly
– ☐ Spot test first if you’re unsure about product safety
– ☐ Avoid solvents, soaking, and abrasive pads
Frequently Asked Questions
What’s the safest way to remove fresh oil from engineered wood floors?
Blot the oil immediately with a clean, dry microfiber cloth—don’t wipe, which can spread the stain into the finish and seams. If any oil remains, apply a small amount of a wood-safe degreaser or a mixture of warm water and a few drops of pH-neutral dish soap to a damp cloth (not soaking the floor) and blot again. Rinse by wiping with a lightly damp cloth, then dry thoroughly with a clean towel to protect the engineered wood core.
How can I clean old, set-in oil stains on engineered wood without damaging the finish?
Start by gently scraping any residue with a plastic scraper, then work with an oil-specific, wood-safe cleaner designed for finished floors. Apply the cleaner to a cloth rather than directly to the floor, and let it sit briefly according to the product directions to lift oil from the top layer. After removal, wipe with a damp cloth to remove cleaner residue and dry completely; for stubborn marks, you may need to repeat or consult the floor manufacturer’s recommended spot-cleaning method.
Which household products should I avoid when cleaning oil on engineered wood?
Avoid harsh solvents like acetone, paint thinner, gasoline, and strong degreasers because they can strip the finish and soften adhesives in engineered wood. Do not use abrasive pads or scouring powders, which can dull or scratch the surface and increase stain absorption. Also avoid steam cleaners and excessive water, since moisture can seep at seams or edges and cause cupping or swelling.
How do I prevent oil from spreading while cleaning engineered wood floors?
Contain the spill first by placing a ring of absorbent material around the stain (like dry paper towels or a clean oil-absorbent cloth) before you touch the center. Use blotting motions inward-to-outward, changing to clean sections of your cloth frequently. Keep the cloth only damp—never wet—and dry promptly to stop oil from migrating through the finish and into the engineered wood layers.
Why is using a pH-neutral, wood-safe cleaner important for engineered wood oil cleanup?
Engineered wood floors are finished with protective top coats that can be damaged by acidic or alkaline cleaners, leading to discoloration or a cloudy surface. A pH-neutral, wood-safe cleaner helps lift grease and oil without weakening the finish, reducing the risk of long-term staining. Using the right cleaner also helps maintain the floor’s protective layer, making future oil spills easier to clean safely.
📅 Last Updated: November 14, 2026 | Topic: How to safely clean oil from engineered wood floors? | Content verified for accuracy and freshness.
References
- Wood flooring
- Wood finishing
- Detergent
- Surfactant
- White spirit
- Grease
- Stain
- https://scholar.google.com/scholar?q=how+to+remove+oil+from+hardwood+floors Google Scholar
- https://scholar.google.com/scholar?q=engineered+wood+floor+cleaning+oil+stain+finish+care Google Scholar
- https://scholar.google.com/scholar?q=wood+finish+resistance+detergents+solvents+study Google Scholar

[…] The good news is you can lift and lighten the mark with a careful, low-moisture method using a microfiber cloth, mild dish soap, white vinegar or hydrogen-peroxide solution (only if appropriate for your finish), […]