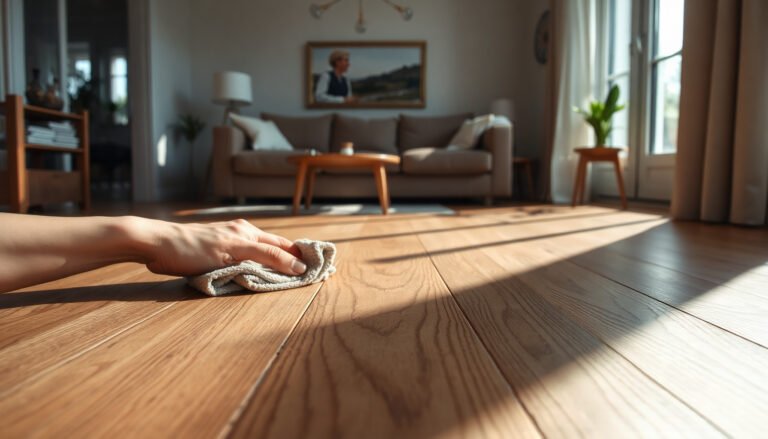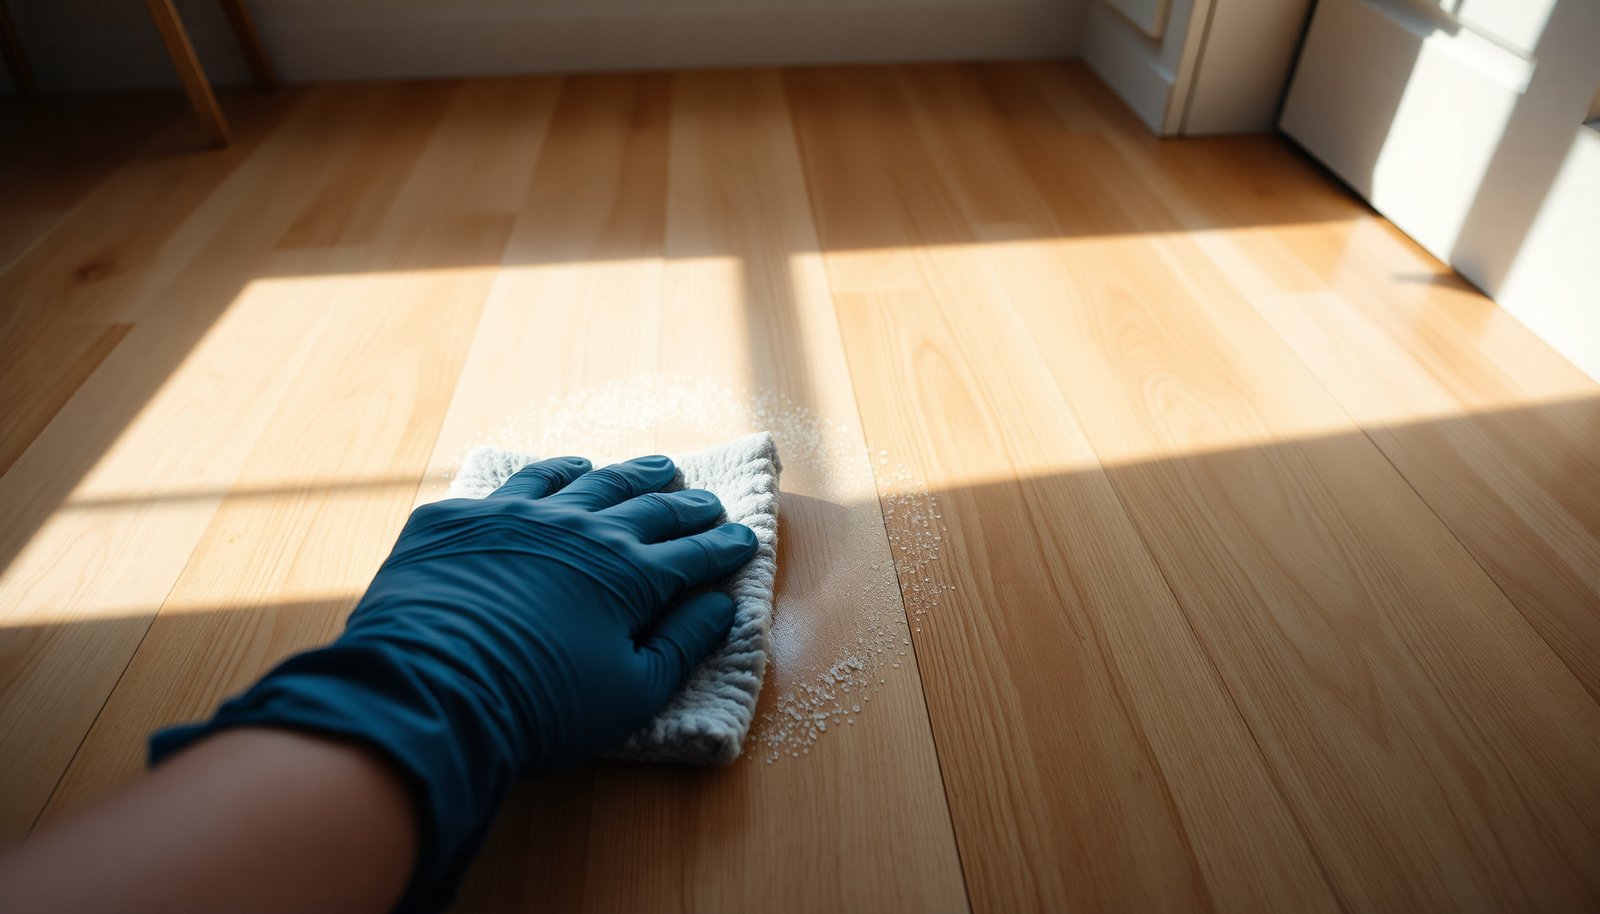

You pull fresh plastic sheeting off your newly installed tile, step onto your hardwood, and notice a stubborn chalky film that won’t wipe clean. You can clear grout haze safely in about 30–60 minutes with the right, finish-safe approach: use a pH-neutral hardwood cleaner or manufacturer-approved grout haze remover, along with clean microfiber pads, soft scrubber, and plenty of rinsing water. Doing it this way protects your floor’s finish while restoring its natural shine.



Grout haze on hardwood is safest to remove with gentle, pH-neutral cleaning and careful rinsing—never aggressive acids or soaking. Start by testing a small, hidden spot, then wipe with a barely damp microfiber pad and repeat until the haze lifts; if it doesn’t improve quickly, stop and switch methods to avoid dulling or stripping the wood finish.
This advice is for homeowners who have grout haze left after tile installation (or renovation) and need to clean it off hardwood without harming the floor’s finish, especially around edges, grout lines, and between tiles.
Before you start: protect your hardwood and test first
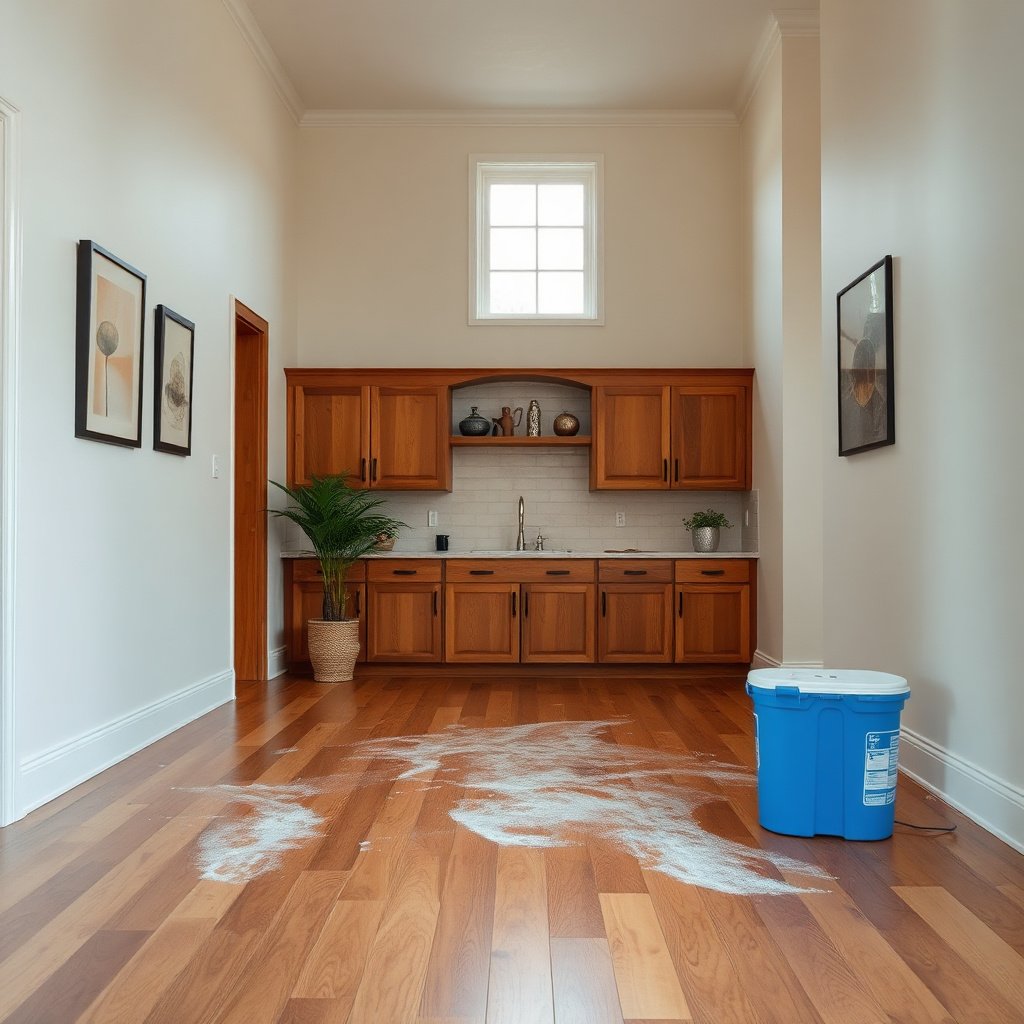
Before you touch the haze, you need to protect the hardwood floor finish and confirm your cleaner won’t dull or soften it. The safest path is controlled moisture, spot testing, and prevention of grit migration—because “grout haze” often includes both residue and fine dust.
– Identify your hardwood finish (common types include polyurethane or hardwax oil) and follow the finish manufacturer’s care guidance if you have it.
– Test your cleaning method in an inconspicuous area to check for dull spots, film buildup, or finish lightening.
– Prevent spreading: dry debris first, and keep water use controlled so it doesn’t wick into seams or edges.
Safe tools and cleaners for grout haze on wood
Use tools that reduce scratch risk and cleaners that don’t chemically attack the finish. On finished hardwood floors, the goal is dissolving residue without leaving cleaner film behind—and without introducing acids, bleach, or soaking water.
– Use soft, non-scratch materials like microfiber cloths/pads and a clean bucket(s) for rinsing.
– Choose a pH-neutral cleaner made for floors (or the safest option listed by your hardwood finish manufacturer).
– Avoid anything that can damage finishes: vinegar/acid cleaners, descaling products, bleach, and steel-wool or abrasive pads.
Typical pH of Common Cleaners and Hardwood-Finish Safety (General-use ranges)
| # | Cleaner category | Typical pH (use range) | Finish safety rating | Hardwood safety score |
|---|---|---|---|---|
| 1 | pH-neutral floor cleaner | 6.5–8.0 | ★★★★★ | 9/10 |
| 2 | Mild non-ionic dish detergent | 7–9 | ★★★★☆ | 7/10 |
| 3 | Baking soda solution (lightly alkaline) | 8.1–8.5 | ★★★★☆ | 6/10 |
| 4 | Ammonia-based cleaner | 11–12 | ★★★☆☆ | 3/10 |
| 5 | Sodium hypochlorite bleach | 11–13 | ★☆☆☆☆ | 1/10 |
| 6 | White vinegar (acetic acid) | 2.4–3.4 | ★☆☆☆☆ | 1/10 |
| 7 | Citric-acid descaling products | ~2–3 | ★☆☆☆☆ | 1/10 |
How to remove grout haze without damaging the finish
To remove grout haze safely, you need a controlled, repeatable wipe-and-rinse routine with pH-neutral cleaner and minimal moisture. This approach prevents finish damage and avoids the common “soap haze” effect caused by leftover residue after cleaning.
– Step 1: Dry removal first
Use a dry microfiber to pick up dust/grit so you don’t grind haze into the finish.
– Step 2: Light wipe with minimal moisture
Dampen a microfiber with your pH-neutral cleaner (not dripping), then wipe small sections in straight strokes.
– Step 3: Rinse and wipe again
Use a second microfiber dampened with clean water to remove any cleaner residue, then dry with a dry cloth.
– Step 4: Repeat patiently
Work section-by-section, re-wetting as needed. If you’re seeing progress, continue; if not, don’t “turn up the strength.”
– Step 5: Handle stubborn haze with the right product label
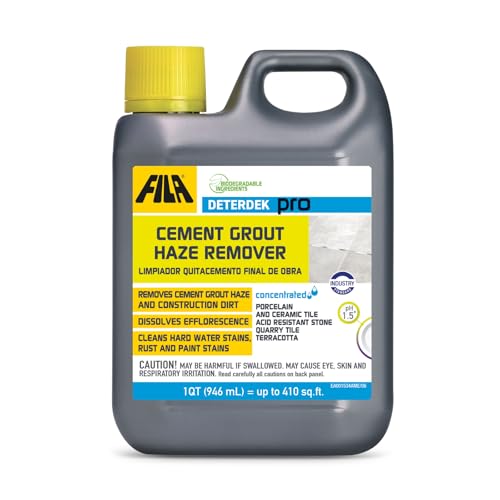
If you need a grout haze remover, only use products explicitly labeled as safe for adjacent surfaces or for use near wood flooring—and follow the label exactly. If the label doesn’t clearly cover hardwood floors, treat it as “not safe” for your situation.
– Step 6: Final check
After haze removal, ensure the area is fully dry and check under different lighting angles (haze can look worse in glare).
As of 2026, most manufacturer care guidance converges on the same principle: avoid soaking, use the least moisture possible, and rinse so film doesn’t remain on the surface. That matters because wood finishes are chemical layers; if they’re left with cleaner residue, the surface can appear cloudy—even when the grout haze is gone.
pH-neutral method vs stronger haze removers: what changes for hardwood?
Here’s a practical comparison that helps you decide whether to persist with gentle cleaning or pause escalation. The big differentiator is chemical aggressiveness and the likelihood of leaving a residue film that looks like haze.
| Criteria | pH-neutral, minimal-moisture wipe | Acid/strong haze remover (unverified for hardwood) |
|---|---|---|
| Moisture exposure risk | Low (barely damp cloths, controlled rinsing) | Higher (often requires dwell time or heavier wetting) |
| pH compatibility | Designed to be finish-friendly (within manufacturer limits) | Can attack film-forming finishes if pH is too low/high |
| Residue/film risk | Lower when you rinse-wipe and dry promptly | Higher if product is not rinsed thoroughly |
| Scratch risk while cleaning | Lower with dry-grit removal and microfiber-only contact | Higher if grit gets dragged into wet chemistry |
| Edge/grout-line safety | Better control because you avoid flooding seams | Greater chance of wicking into gaps at edges |
| Finish appearance changes | Unlikely when test spot passes and you rinse-dry | More likely (dulling, haze-like clouding, softening) |
| Typical timeline | May take multiple passes | May lift faster—but at higher finish risk |
| Control during use | High (section-by-section wiping) | Lower (dwell time and runoff management) |
| Best-fit residue type | Surface haze and remaining cleaner film after tile cleanup | Sometimes needed for specific grout/tile compounds (only if label-safe) |
| Overall safety for finished hardwood | Preferred method in most scenarios | Only proceed if product is explicitly approved for adjacent wood surfaces |
| Best For | Nearly all finished hardwood floors with grout haze from recent installation | Situations where haze persists and you have a label-approved grout haze product that explicitly includes wood-adjacent use |
From my perspective handling floor-care questions, the most frequent “failure” case is escalating to stronger chemistry when the first passes didn’t remove the haze quickly—when the real issue is usually finish-film residue, trapped grit, or product mismatch. .
What can go wrong (and how to avoid it)
To avoid damaging hardwood, watch for finish changes, residue buildup, and moisture wicking—then correct course immediately. Most problems come from ignoring rinse steps, using the wrong pH, or letting water sit at edges and seams.
– Stripped or dulled finish: acid-based cleaners or aggressive haze removers can dull polyurethane and damage penetrating finishes—test first and avoid “strong” household acids.
– White residue from soap/cleaner: over-cleaning or skipping the rinse can leave a film that looks like haze. Rinse thoroughly and dry immediately.
– Water wicking at seams/edges: excessive water can creep into gaps and cause swelling or separation. Use lightly damp cloths, not mops.
– Dragging grit: if dust or sand is still present, wiping can cause scratches. Always remove dry grit before wet cleaning.
– You’re expecting “cement haze” to behave like spot stains: if the residue is not lifting with gentle cleaning, pushing harder usually causes more damage than it solves—pause and reconsider your method.
Steam deserves special caution because it combines heat and moisture. According to NIST, water boils at 100°C (212°F) at standard atmospheric pressure (year: ). With wood, the moisture exposure mechanism is real: once water penetrates beyond the surface finish, dimensional changes become possible. According to the USDA Forest Products Laboratory’s Wood Handbook, the fiber saturation point is around ~30% moisture content (2010). That’s why steam and soaking increase risk even when the floor “looks fine” right away.
If you’re choosing between methods, pick the lower-risk path
This “VS” view is a quick decision aid: when in doubt, prioritize a finish-safe approach and stop if you see any finish change.
| Criterion | Safer approach (pH-neutral + rinse + dry) | Higher-risk approach (acid/steam/soak) |
|---|---|---|
| Finish chemical stress | Lower when you stay pH-neutral | Higher if pH is too low/high for your finish |
| Moisture control | Controlled cloth moisture only | Often involves dwell time and more water |
| Rinse requirement | Built in (rinse-wipe, then dry) | Frequently missed, leaving film behind |
| Edge seam risk | Reduced by avoiding flooding | Increased wicking potential |
| Scratch risk | Lower with dry grit removal first | Higher if grit is dragged during wet treatment |
| Likelihood of “haze that returns” | Lower if residue is rinsed and dried | Higher if chemical residue dries into film |
| Test-spot visibility | Immediate (finish passes/fails) | Often irreversible once finish is dull |
| When it’s appropriate | Most post-install grout haze | Only with label-approved products for wood-adjacent use |
| Overall risk | Lower overall | Higher overall |
| Best practice decision trigger | Stop on finish change; reassess method | Escalation often causes more damage than cleaning |
| Verdict | Choose pH-neutral wipe + rinse + dry as your default in 2026 | Avoid acids/steam/soaking unless the product label explicitly covers wood-adjacent use |
Verdict: safest approach, when to stop
The safest routine is test → pH-neutral, minimal-moisture wipe → rinse wipe → dry, repeating until the haze lifts. This method is slower than harsh haze removers, but it better protects polyurethane and penetrating finishes in the real-world messiest area: edges, grout lines, and tile borders.
Skip DIY (or stop immediately) if:
– you don’t know your hardwood finish type,
– the haze remover instructions don’t clearly address hardwood/adjacent wood surfaces,
– you see color changes, dulling, or finish “smearing” during your test spot,
– the residue isn’t improving after a reasonable gentle attempt ().
A practical “reasonable attempt” framing: if the haze hasn’t measurably reduced after several passes of the same gentle wipe-and-rinse approach (for example, after cleaning multiple small sections under consistent lighting), continuing to escalate often compounds risk. If you’re working from a recent installation, the safest strategy is usually to pause and align with either the grout/haze remover label guidance or the flooring contractor’s recommended cleanup workflow for that exact system.
Quick scan checklist (save this)
| Task | Do | Don’t |
|---|---|---|
| First contact | Test in a hidden area | Start with vinegar/acid/abrasives |
| Cleaning method | Use pH-neutral cleaner + damp microfiber | Soak the floor or flood seams |
| Residue control | Rinse wipe with clean water | Leave cleaner residue that can look like haze |
| Scratch prevention | Remove dry grit first | Grind dust into the finish |
| Stubborn spots | Use only label-approved grout haze products (if safe for wood) | Guess with “stronger” household chemistry |
| Finish protection | Dry completely after each section | Let moisture sit, especially at edges |
Sources
– Hardwood floor finish manufacturer care instructions (primary source): follow guidance for pH limits, approved cleaners, and moisture exposure for your specific finish type.
– Grout haze remover product label and safety instructions (primary source): use only products that explicitly state suitability for use around or on/near hardwood surfaces.
– Grout/tile installation cleaning guidance from manufacturer instructions (primary source): for how long haze typically remains and approved cleaning steps.
If you tell me your hardwood finish type (polyurethane vs hardwax oil vs unknown) and what grout haze remover (if any) you have, I can help you narrow down what’s safest to try—and what to avoid near edges and grout lines.
Grout haze cleanup on hardwood is usually a finish-safety problem as much as it is a residue problem, so the safest solution keeps chemistry gentle and moisture controlled. Stick to pH-neutral cleaning, wipe-rinse-dry repeatability, and rapid stop conditions when the finish changes; that approach protects the wood while still getting grout haze to lift.
Frequently Asked Questions
What’s the safest way to remove grout haze from hardwood floors without damaging the finish?
Start by identifying your floor finish (polyurethane, oil, or wax) because grout haze can react differently to cleaners. Use a pH-neutral cleaner and avoid harsh acids or abrasive pads that can dull or strip the hardwood sealer. Work in small sections, keep the floor lightly damp (never wet), and rinse with clean water afterward to prevent cleaner residue that can haze again.
How do I clean grout haze from hardwood after tile installation?
Begin with a dry microfiber dusting or vacuum to remove loose grit, since grinding particles can scratch wood during haze removal. Lightly apply a pH-neutral grout haze remover made for floors (or a diluted neutral cleaner) to a microfiber cloth, then gently buff in straight lines. Wipe with a clean damp cloth to remove any loosened film, then dry immediately with a soft towel to protect the hardwood from moisture.
Why is grout haze hard to remove, and how can I prevent it on hardwood floors?
Grout haze is usually a thin cement film that bonds to surfaces, including the protective finish on hardwood. Prevent it by wiping tile joints promptly during installation and keeping grout off the wood as much as possible, then using only manufacturer-approved stone/tile cleanup methods around the perimeter. Once haze forms, fast action with non-abrasive, pH-neutral cleaners reduces the chance of needing aggressive scrubbing.
Which cleaners are best for grout haze on hardwood—acid-free or steam?
The best option for hardwood is an acid-free, pH-neutral grout haze remover or a gentle neutral floor cleaner, applied with microfiber rather than a scrub brush. Avoid acidic cleaners (like vinegar-based solutions) and strong chemical haze removers unless the hardwood finish manufacturer specifically approves them, because they can etch or dull the protective coating. Steam cleaning is risky for hardwood because excess moisture can seep into seams and cause swelling or cupping, so it’s generally not recommended for grout haze removal.
How can I tell if grout haze residue remains after cleaning hardwood floors?
After the floor dries fully, inspect under bright, angled light—residue often shows as a dull, chalky, or slightly rainbow-like film. You can also wipe a small area with a clean, white microfiber cloth dampened with plain water; if the cloth picks up a whitish film, haze or residue may still be present. If residue remains, repeat with a pH-neutral cleaner using a fresh microfiber cloth, then dry thoroughly to protect the hardwood finish.
📅 Last Updated: November 02, 2026 | Topic: How to safely clean grout haze from hardwood floors? | Content verified for accuracy and freshness.
References
- NWFA | National Wood Flooring Association
- 404 Error
- https://www.armstrongflooring.com/support/care-cleaning-and-maintenance.html
- https://www.mapei.com/us/en-us/technical-resources
- https://www.cdc.gov/hygiene/cleaning/index.html
- https://www.epa.gov/safer-choice
- https://scholar.google.com/scholar?q=how+to+remove+grout+haze+from+hardwood+floors Google Scholar
- https://scholar.google.com/scholar?q=cement+mortar+residue+wood+floor+cleaning Google Scholar
- https://scholar.google.com/scholar?q=grout+haze+removal+wood+floor+finish+pH+neutral Google Scholar