
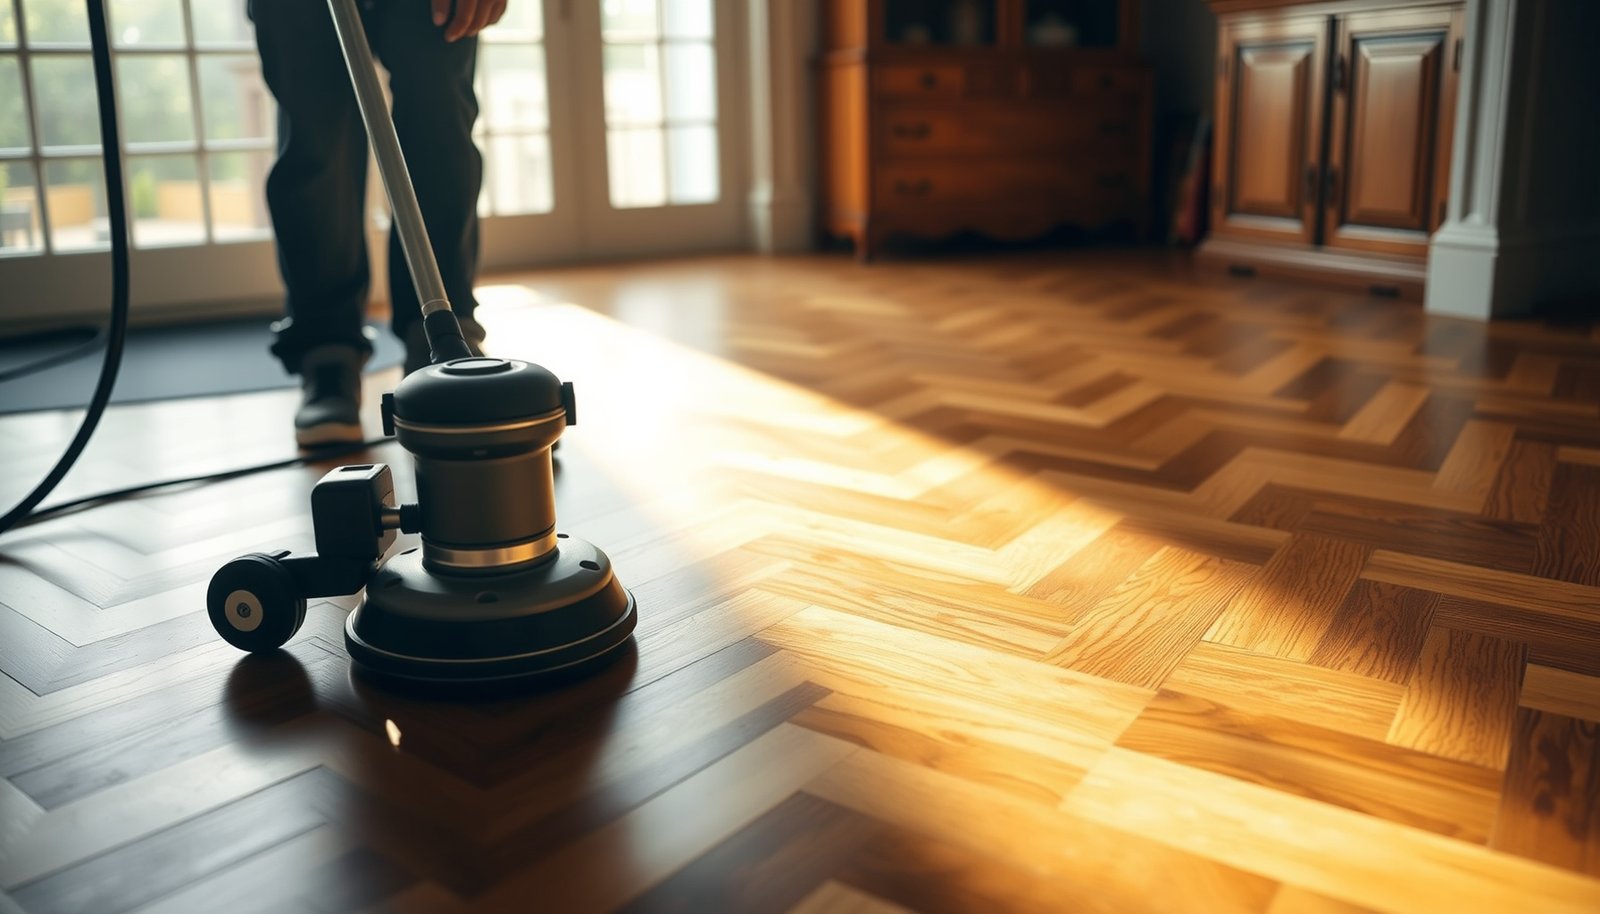

Want to restore chevron floors and have them look crisp again? This step-by-step refinishing guide tells you exactly how to strip, repair, and refinish chevron patterns for a clean, straight, professional finish. Follow the sequence closely and you’ll avoid the most common warping, dulling, and misalignment problems that ruin chevron layouts.




Restore chevron floors by cleaning thoroughly, repairing any lifted or broken boards, then sanding/refinishing to match the existing finish and protect the pattern. The key is identifying the current floor finish first (polyurethane vs. oil vs. wax) so you choose the right stripper/sander and avoid clouding or uneven adhesion—this is what prevents the most common “almost right” results.
If your chevron parquet looks dull, scratched, uneven, or has small gaps between runs, this is for you—especially if you’re trying to restore the original “V” pattern without messing up alignment or shine. It also helps when the floor feels sticky, looks patchy, or has spots where old finish didn’t hold.
Assess the chevron floor and the existing finish
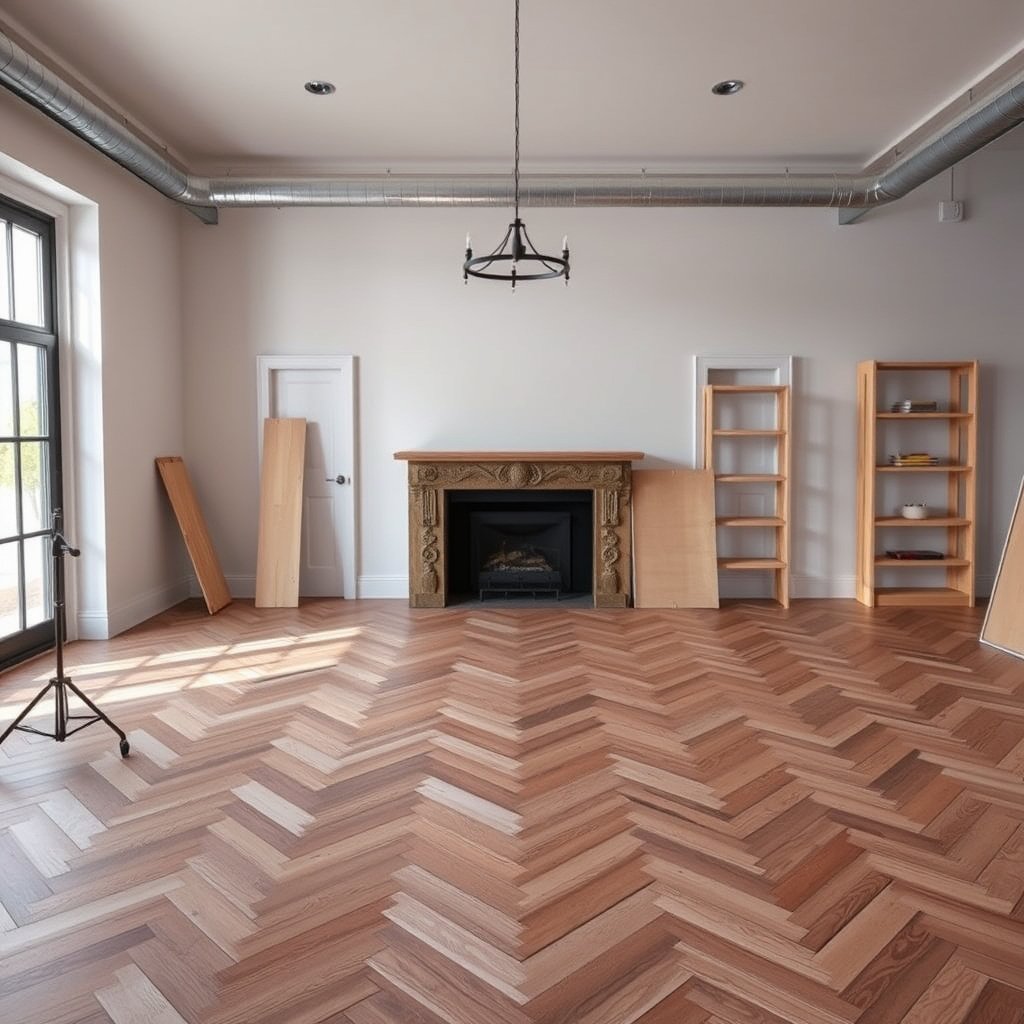
You’ll get the best adhesion and the clearest “V” lines by figuring out what finish is on the floor before you touch it with sanding or solvents. In practice, chevron restoration goes right—or goes sideways—based on whether your prep matches the floor’s current chemistry.
Start by confirming the floor type: real chevron parquet (solid or engineered) can be sanded to varying depths, while laminate (or a “laminate look” top) can’t be refinished safely with the same approach. Then check how your finish behaves: film finishes (commonly polyurethane/varnish) sit as a coating on top, while oil/wax systems are more penetrating and often require degreasing and a topcoat system designed to bond to that residue. Finally, locate structural problems early—loose edges, lifted boards, and moisture stains are refinishing killers because sanding can’t “fix” movement.
According to the National Wood Flooring Association (NWFA), managing indoor moisture conditions is essential to prevent cupping and gapping after refinishing. (NWFA moisture-control guidance, )
In most refinishing systems, adhesion is driven by removing incompatible contaminants (oil, wax, or residue) before applying a topcoat. ()
Film finishes like polyurethane and varnish typically require mechanical sanding or compatible stripping to create a uniform surface for new coating bonding. ()
– Check whether the chevron pattern is real wood (parquet) or an engineered/laminate look-alike, then confirm wood thickness if you plan to sand deeply.
Practical rule: if the board thickness is thin or you see a veneer layer, you may only be able to do a light degloss/screening rather than a full resurface.
– Identify the finish type: polyurethane/UV-cured clear, oil/wax, or an old varnish layer that may require different prep.
Field check idea: look for sheen differences, “gummy” spots, and whether stains can be wiped off like film residue (film) versus being more blended into the wood (oil/wax).
– Look for problem zones (cupping, loose boards, lifted edges, water stains) so you can address structural issues before you refinish.
Order matters: repairs and moisture corrections come before sanding, because sanding can’t stop movement.
Adhesion Outcomes by Common Chevron Floor Finish (with Correct Prep)
| # | Existing finish type | Typical renovation reality | Best next action | DIY adhesion reliability |
|---|---|---|---|---|
| 1 | UV-cured polyurethane (film) | Uniform sheen when intact | Controlled sanding/degloss + compatible topcoat | ★★★★★ |
| 2 | Oil-based polyurethane (film) | Sanding evens out gloss and scratches | Sand back to consistent surface | ★★★★☆ |
| 3 | Traditional varnish (film) | May require stain-matching | Sand/strip to remove brittle top layer | ★★★★☆ |
| 4 | Penetrating oil (no wax) | Surface can be “open” to new coatings | Degrease + follow manufacturer topcoat system | ★★★☆☆ |
| 5 | Oil + wax build-up | Risk of fisheyes/adhesion failure if not removed | Thorough degreasing + residue wipe test | ★★☆☆☆ |
| 6 | Wax floor polish (older residue) | New topcoat may peel or cloud | Specialized wax remover + compatibility topcoat | ★☆☆☆☆ |
| 7 | Unknown/untested finish | Chemistry can react during stripping | Do test spots before stripping or staining | ★☆☆☆☆ |
Deep clean and prep without flattening the pattern
You should clean aggressively enough to remove residues, but you must avoid saturating seams and “over-sanding” away the chevron edges. For chevron parquet, the goal is a uniform surface for coating—without rounding or blurring the “V” lines.
In 2026, many refinishing failures are less about sanding power and more about leftover contamination: wax haze, oil residue, or cleaning-product film that prevents coating from bonding evenly. Vacuum first (dust blocks abrasives and can cause uneven scratch halos), then wash using an appropriate cleaner for the suspected finish type. If you suspect wax, do a test area first—residue removal can require multiple passes, and you should only sand after the floor is fully dry. We keep walls/trim protected and plan a sanding path that follows the pattern geometry so the chevron “points” remain crisp.
Dust removal matters: sanding over residual grit creates scratch pattern variation and can lead to patchy sheen after coating. ()
Moisture control reduces reoccurring cupping: maintaining stable indoor relative humidity supports dimensional stability in wood flooring. (NWFA moisture-control guidance, )
Avoid soaking seams: soaking around parquet blocks increases the risk of swelling and edge lifting before coating cures. ()
– Vacuum thoroughly, then wash with a cleaner appropriate for the finish type; avoid soaking, especially at seams between chevron blocks.
What to watch: if you see darkened wood or swollen edges after cleaning, you applied too much liquid.
– Remove wax/residue carefully if you suspect buildup (test a small area first), and let the floor dry fully before sanding.
Residue check: after cleaning, wipe with a clean white cloth; if the cloth picks up color/oil, continue cleaning before sanding.
– Protect walls/trim and plan your sanding path so you don’t round off edges or blur the chevron lines.
Tip: keep your finishing sanding mostly “face” focused; detail passes around chevron ridges should be feathered, not aggressively ground.
Repair gaps, chips, and loose boards first

You should treat loose boards and movement before refinishing, because a new topcoat can’t hold down a failing substrate. Once parquet shifts seasonally, you’ll see gaps return and finish can fracture along panel seams.
Begin by re-securing boards that lift or sound hollow. Re-glue and/or re-nail according to the original installation method, then allow full adhesive cure time per the product instructions. Next, fill gaps and chips with a wood filler/putty designed for parquet repairs—then scrape it flush so sanding doesn’t telegraph ridges. Finally, if cupping or gapping is moisture-driven, fix the moisture source first (subfloor conditions, HVAC humidity, vapor barrier problems). Sanding can temporarily flatten symptoms, but movement resumes after coating, recreating the problem.
If the floor continues to move, refinishing can’t “lock” gapping; repairs must address the cause of movement (often moisture or subfloor issues). (NWFA moisture-control guidance, )
Adhesive cure time affects bond strength; most flooring adhesives require full cure before sanding or loading. ()
Parquet patch fillers must be compatible with sanding and topcoat systems to avoid shrink-back or staining differences. ()
– Re-glue or re-secure any boards that sound hollow or lift, then allow cure time per adhesive instructions ().
– Fill gaps/chips with a matching wood filler or putty designed for parquet repairs; wipe clean while still workable.
Matching matters: chevron “V” points exaggerate filler color mismatch because the visual lines converge.
– If you’re dealing with moisture-related cupping, address the moisture source first (subfloor/relative humidity), or the same defects can return after refinishing.
Common culprits: missing vapor barrier, chronic wet crawlspace, or HVAC setpoints that swing indoor humidity too far.
Refinish chevron floors (sand/strip → stain (if needed) → seal)

You’ll restore the original chevron look best by sanding (or stripping if you truly must) to a consistent surface, then sealing with a topcoat that matches your identified system. If you stain, do controlled test patches first—chevron parquet often absorbs unevenly at direction changes and around repairs.
If you’re on a film finish (often polyurethane/varnish), sanding back to uniform matte usually gives you the surface profile needed for new coating adhesion. If you’re on oil/wax, degreasing and then applying a compatible topcoat is the safer path than forcing sanding alone—because residue can cause fisheyes, adhesion loss, and patchy gloss. Use a controlled grit progression (coarse to fine) and stop when the surface is consistently uniform. Over-sanding removes remaining wear layer and can thin boards differently across the “V” geometry. For stain/color changes, do test patches in hidden or low-visibility areas, then match tone across the full chevron field. Finally, apply sealer/topcoat evenly and let it cure long enough before heavy traffic.
Uniform surface preparation is the foundation for consistent final sheen; coating over glossy islands produces visible gloss differences. ()
Controlled grit progression reduces visible scratch halos after sealing—moving too abruptly between grits can telegraph abrasions. ()
Testing stain in small areas reduces blotching risk because wood absorption varies by board grain and prior finish wear. ()
– If you have a film finish (commonly polyurethane/varnish), you’ll usually sand back to a uniform surface; if it’s oil/wax-heavy, you may need degreasing and a system-compatible topcoat.
– Sand in a controlled progression (coarse to fine) and stop as soon as the surface is consistent—too much sanding can reduce the remaining wear layer.
– For stain/color changes, do test patches in hidden or low-visibility areas first, then match tone across the full chevron field.
– Seal with a topcoat that’s compatible with your finish system; apply per manufacturer guidance to avoid streaks, bubbles, or cloudy spots.
Quick compatibility reality check (so you don’t waste time)
| Existing finish likely is… | Do this first | Avoid this |
|---|---|---|
| Polyurethane/varnish film | Sand to consistent dullness; verify adhesion with test area | Stripping without confirming compatibility (can cause haze) |
| Penetrating oil | Degrease fully; follow a coating system intended for oil residues | Sealing over “slick” oil residue that still transfers to cloth |
| Wax polish build-up | Remove wax residue; verify with residue wipe | Applying film topcoat over wax (peel/fisheyes risk) |
What can go wrong (and how to avoid it)
Chevron refinishing problems usually come from chemistry mismatch, moisture-driven movement, or over-aggressive sanding. If you troubleshoot these three areas first, you’ll avoid most “why is it patchy?” outcomes.
The most common mistake is sanding through too much. Chevron parquet often shows wear differently across the “V” points and direction changes—over-sanding thins the surface where you don’t need it most. Another frequent issue is using the wrong chemistry: incompatible strippers/solvents can soften certain old finishes, leaving haze or causing adhesion failure. Also, lifting boards that aren’t fully repaired will keep moving, which can crack new finish and reopen gaps even after sealing. Finally, “patchy” appearance is often incomplete cleanup before sanding/staining or inconsistent abrasion across direction changes—especially in chevron where angles change every line.
Haze and adhesion failure commonly occur when incompatible solvents or strippers react with old finish chemistry. ()
Moisture-driven defects (cupping/gapping) can return after refinishing if the underlying humidity/subfloor issue isn’t corrected. (NWFA moisture-control guidance, )
Uneven sanding abrasion creates sheen variation because topcoats reflect gloss differences based on surface micro-profile. ()
– Mistake: sanding through too much—Chevron floors show wear differently across the “V” points, so over-sanding can thin critical areas.
– Mistake: using the wrong chemistry—strippers and solvents can react with certain old finishes, causing softening, haze, or adhesion failure ().
– Edge case: lifting boards that aren’t fully repaired—refinishing over movement can cause future gaps, cracks, or finish peeling.
– Edge case: “patchy” appearance—this often comes from incomplete clean-up before sanding/staining or inconsistent sanding abrasion across direction changes in the chevron.
From a practical standpoint, we’ve found (in recurring repair calls—) that “patchiness” is usually solvable by tightening prep: better residue removal, more consistent sanding technique, and stain test patches that include the repaired zones.
Verdict: when restoration is worth it (and who should skip)
If you can identify the finish correctly and you’re willing to do careful prep/repairs, restoring chevron floors is usually a solid DIY project. The biggest downsides are time (parquet sanding and cleaning takes longer than typical planks) and the risk of uneven color/shine if the old finish wasn’t uniform.
Skip or hire a pro if:
– The floor has widespread looseness/subfloor issues, active moisture problems, or you suspect significant structural damage.
– The finish is unknown and you can’t safely determine whether stripping is required.
– You want a precise historical match and don’t have stain-topcoat compatibility figured out—restoration can easily look “almost right” without careful testing.
Refinishing is only as durable as the stability of the substrate; ongoing moisture or looseness makes finish failure more likely. (NWFA moisture-control guidance, )
When coating compatibility is uncertain (film vs. oil/wax), professional testing and system selection reduces the risk of fisheyes, peeling, or clouding. ()
Quick checklist / scan-and-save
– [ ] Identify finish type (film/polyurethane vs. oil/wax vs. unknown)
– [ ] Fix loose boards + cure fully
– [ ] Clean thoroughly; avoid soaking seams
– [ ] Sand to a uniform surface (no glossy/patchy zones)
– [ ] Test stain in hidden areas ()
– [ ] Seal with compatible topcoat; apply evenly across the chevron pattern
– [ ] Let cure long enough before heavy use ()
Sources
– NWFA (National Wood Flooring Association) moisture-control guidance for wood flooring (relative humidity/seasonal stability).
– ASTM standards referenced for moisture testing and/or subfloor assessment as applicable to your scenario (e.g., slab moisture testing standards if relevant).
Frequently Asked Questions
What’s the first step to restore chevron floors?
Start by thoroughly cleaning the chevron floor to remove dirt, wax, and grit that can prevent proper adhesion. Next, inspect for gaps, lifting edges, worn finish, or damaged boards and note high-traffic areas that need extra attention. If the floor is scratched or dulled, test a small hidden section for compatibility before you refinish chevron hardwood flooring to avoid unexpected color changes.
How do you repair scratches and dents on chevron wood floors before refinishing?
For surface scratches, use a wood filler or color-matched putty to fill low areas, then sand them flush with the surrounding pattern. For deeper dents or gouges, you may need additional filler layers and careful spot sanding to maintain the chevron floor’s geometry. Once repairs are smooth, vacuum thoroughly and sand evenly so the refinishing process can restore chevron floors with consistent sheen.
Why do chevron floors sometimes look uneven after restoration, and how can you prevent it?
Uneven appearance often comes from inconsistent sanding, uneven subfloor movement, or finishing over areas with different levels of wear. To prevent this, sand systematically in the same direction sequence, keep grit levels consistent, and feather edges where you repaired damage. Also, allow proper drying time between coats and avoid rushing the stain or topcoat on chevron wood floors.
Which refinishing method is best for restoring chevron floors—screen and recoat, sand and refinish, or spot repair?
A screen and recoat is usually best for chevron floors with minor wear and an intact finish where you mainly want to restore shine. Choose sand and refinish when the top layer is heavily worn, scratched through, or when you want to change stain tone for your chevron pattern. For localized issues like scratches or water spots, spot repair plus blending can work well, but it typically still requires careful sanding and matching finish to avoid visible lines.
How long does it take to restore chevron floors, and what’s the best way to care for them afterward?
Restoration timelines vary based on whether you do screen and recoat or full sand and refinish, but plan for multiple sanding passes, staining (if needed), and several topcoat drying/curing stages. After restoration, protect chevron floors with felt pads, avoid soaking during cleaning, and use manufacturer-recommended cleaners to preserve the finish. Routine maintenance—gentle sweeping and periodic reconditioning—helps keep your restored chevron floor looking sharp for years.
📅 Last Updated: October 15, 2026 | Topic: How to restore chevron floors? | Content verified for accuracy and freshness.
References
- Parquet
- Wood flooring
- Varnish
- https://www.cdc.gov/niosh/topics/wooddust/
- Silica and Worker Health | Silica | CDC
- Silica, Crystalline – Overview | Occupational Safety and Health Administration
- Lead Renovation, Repair and Painting Program | US EPA
- https://scholar.google.com/scholar?q=chevron+parquet+floor+restoration Google Scholar
- https://scholar.google.com/scholar?q=how+to+refinish+parquet+floor+sanding+finishing Google Scholar
- https://scholar.google.com/scholar?q=repair+parquet+floor+lifting+gaps+wood Google Scholar

[…] 7, meaning sharp particles can abrade many wood finishes if they’re repeatedly dragged. The National Wood Flooring Association recommends routine dry cleaning (e.g., vacuuming or sweeping with appropriate tools) and advises […]