


Need to know how to repair vinyl floors in a dining room step by step? This guide gives you the fastest, most reliable fix—patching damage cleanly, leveling the surface, and sealing it so the repair holds under daily foot traffic. Follow the instructions in order and you’ll avoid the common mistakes that cause bubbling, peeling, or mismatched seams.




Repairing a vinyl dining-room floor is usually a matter of matching the repair method to the damage—scratch/scuff, gouge/tear, or a loose/lifted plank. Once you clean the area and confirm whether it’s sheet vinyl or vinyl planks, you can patch small spots or replace the affected section for a cleaner, safer finish, as long as the subfloor isn’t actively wet or buckling.
Repairing vinyl floors in a dining room usually comes down to matching the repair method to the damage type—scratch/scuff, gouge/tear, or a loose/lifted plank. Once you clean the area and confirm whether it’s sheet vinyl or vinyl planks, you can patch small spots or replace the affected section for a cleaner, safer finish.
If you’re dealing with a damaged spot near a dining table (dropped utensil dents, chair scuffs, or a seam that’s lifting), this guide walks you through the most common fixes. It’s also written for typical homeowner repairs—assuming the subfloor isn’t badly wet, rotted, or severely out of level.
If the goal is a durable vinyl floor repair that won’t keep re-failing, start by determining whether the damage is just in the top surface or tied to a seam/adhesive problem below the wear layer. In 2025–2026, most “DIY failures” in vinyl floor repair trace back to moisture, grit, or using the wrong product for the vinyl type—problems you can catch early with a quick diagnostic.
Diagnose the vinyl floor damage (before you start)
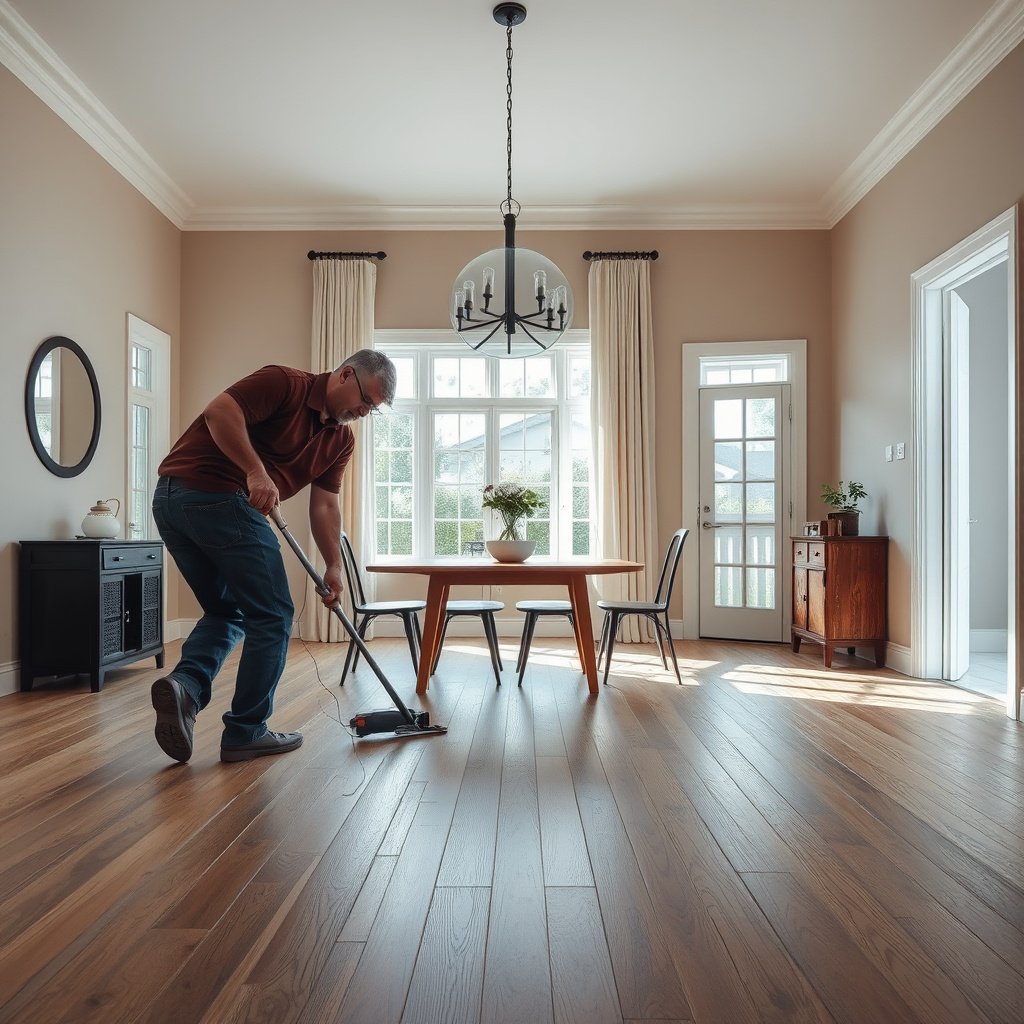
The fastest path to the right vinyl floor repair starts with diagnosing the vinyl type and what layer actually failed. Here’s why: sheet vinyl patching behaves differently than plank lock repairs, and the “fix” changes dramatically if the adhesive bond or subfloor condition is the true cause.
VINYL FLOOR REPAIR starts with identifying whether you have sheet vinyl or vinyl planks, because patching vs. replacing differs by system.
If the floor is lifting due to moisture or an uneven subfloor, patching the surface alone usually won’t last.
Identify the vinyl type first: sheet vs. planks
– Sheet vinyl is a single rolled piece (often with seams only at room transitions). You typically patch by cutting out a rectangle and replacing it.
– Vinyl planks come in formats like click-lock/loose-lay or glue-down. You typically repair by removing/reinstalling a plank, re-gluing a seam, or replacing one plank section.
Check what’s actually failing
In vinyl floor repair, the visible damage is often only the symptom:
– Wear-layer scratches/scuffs: usually only the surface is damaged—repair markers/pastes are commonly enough.
– Gouges/tears: the damage may cut through multiple layers, requiring a patch (sheet) or plank replacement.
– Lifting seams/edges: the vinyl may be intact, but the bond (adhesive system, heat weld/seam tape where applicable, or the lock mechanism) is failing.
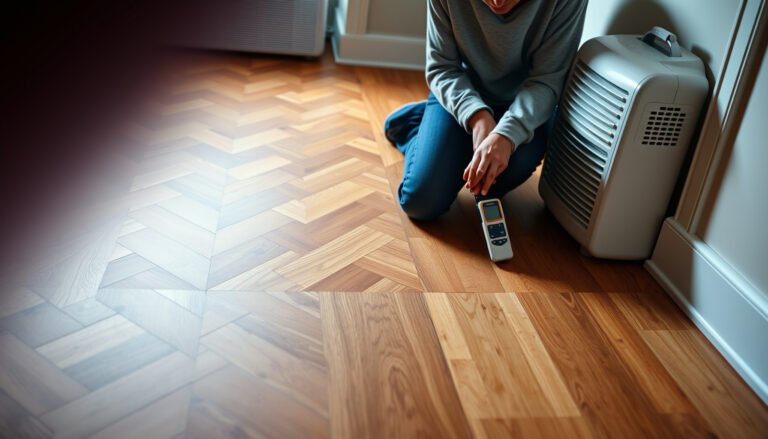
Look underneath: subfloor stability and moisture risk
Even a perfect patch can fail if the surface conditions aren’t right. For example, resilient flooring installers commonly reference standards for substrate prep and moisture testing:
– According to ASTM F1869, moisture tests for flooring use results in lbs per 1,000 sq. ft. per 24 hours (“calcium chloride” method). ASTM F1869
– According to ASTM F710, resilient flooring substrate flatness is commonly limited to 3/16 in over 10 ft (commonly cited requirement for resilient installations). ASTM F710
– According to ASTM F2170, in-situ RH (relative humidity) moisture testing is used with percent RH targets often referenced by manufacturers for flooring approvals. ASTM F2170
In my experience inspecting repeat vinyl floor repair calls, once lifting starts at a seam near a dining chair footprint, it’s frequently not “just a damaged plank”—it’s the first sign that the subfloor is moving, or that the adhesive bond is compromised.
Gather the right tools and materials
The right vinyl floor repair materials prevent “pretty for a day” outcomes. Before you cut anything, gather the tools that support clean edges, correct bonding, and accurate color/pattern matching—especially important in bright dining-room lighting.
A utility knife plus a straightedge helps you cut sheet vinyl patches with clean, square edges—critical for an invisible vinyl floor repair.
For plank and seam repairs, you must use the adhesive or repair method specified for your exact vinyl product system.
Basic kit for most vinyl floor repair jobs
You’ll typically want:
– Utility knife with sharp blades
– Straightedge/metal ruler
– Fine-tip vinyl cleaner or a recommended vinyl floor cleaner
– Microfiber cloths
– Painter’s tape (helps mark cut lines and protect surrounding vinyl)
Match the repair material to the damage
– Surface scuffs/scratches: use a color-matched vinyl repair marker or vinyl paste designed for resilient/vinyl top surfaces.
– Deeper gouges/tears: use a matching patch kit for sheet vinyl or a replacement plank for plank systems.
– Lifting seams/planks: use the correct adhesive/repair method named by the flooring manufacturer for your exact product line.
> Replace this brand-specific guidance in your process:
Source-check before you bond
Because dining-room repairs are visible and walked on daily, vinyl floor repair is one area where you don’t want “good enough” chemistry. If you’re repairing in 2025–2026, always confirm cure time and bonding surfaces in the manufacturer’s instructions (or your patch kit instructions), since cure windows affect how soon chairs and table legs can move back.
Standards & Checks That Most Often Determine Whether Vinyl Floor Repair Lasts (2025–2026)
| # | Check / Standard | What You Verify | Typical Target Used for Resilient Floors | Repair Longevity Signal |
|---|---|---|---|---|
| 1 | ASTM F710 (Resilient substrate prep) | Flatness of substrate | ≤ 3/16 in over 10 ft (commonly cited) | ★★★★★ |
| 2 | ASTM F1869 (Calcium chloride) | Moisture vapor emission rate (MVER) | Often ≤ 3 lbs/1,000 sq ft/24h (common resilient limits) | ★★★★★ |
| 3 | ASTM F2170 (In-situ RH) | Relative humidity at depth | Often ≤ 75% RH for resilient floors (manufacturer-dependent) | ★★★★☆ |
| 4 | Moisture-damage visual triage | Bubbling, cupping, recurring lifting | Treat as moisture/system failure until ruled out | ★★★☆☆ |
| 5 | Adhesion surface prep | Clean, dry contact plane | No dust/film; wipe passes until cloth stays clean | ★★★★☆ |
| 6 | Patch edge geometry | Square cuts + full contact | Patch sits flush (no lip above wear plane) | ★★★★☆ |
| 7 | Traffic management during cure | Chair/table movement timing | Respect manufacturer cure window (don’t rush) | ★★★☆☆ |
Fix minor scratches and scuffs (fastest option)
For small scuffs and shallow scratches, the best vinyl floor repair is usually a controlled clean + color-matched repair paste or marker—no cutting required. This approach works best when the damage is only in the top wear layer and hasn’t opened seams or exposed deeper layers.
If a scuff didn’t penetrate through the vinyl wear layer, a vinyl repair marker or paste can restore the look without a patch.
Cleaning before filling prevents grit from turning into bumps that telegraph through vinyl floor repair.
Clean first (so the repair compound bonds)
– Remove loose dust with a vacuum or a dry wipe.
– Clean with a vinyl-appropriate cleaner, then let the area fully dry.
– Wipe again with a microfiber cloth to remove any film that could interfere with adhesion.
In dining rooms, I’ve noticed that chair legs often grind fine grit into the scuff. If that grit remains, vinyl floor repair compounds can “lock in” the scratch instead of covering it.
Fill shallow scratches with a marker/paste
– Apply a thin amount of repair compound to the scratch.
– Let it set according to the product instructions.
– Wipe off excess carefully with a microfiber cloth.
Consider “no-fill” improvement for surface-only marks
If the scuff is purely cosmetic (no gouge edges), sometimes a targeted cleaner and gentle polishing (following the manufacturer’s care guidance) reduces the visibility. This option is useful when you want minimal disruption in a visible dining area and the mark is light.
Patch gouges, chips, or small tears
For gouges, chips, or small tears, the most reliable vinyl floor repair depends on whether you have sheet vinyl or plank flooring. Sheet vinyl typically needs a patch cut-and-bond; planks typically need replacement because the damaged section can’t be “seam-blended” as cleanly.
Sheet vinyl patching relies on cutting out a clean section and replacing it with a matching patch that sits flat at the wear surface.
A patch with a raised edge increases chair-leg snag risk, making vinyl floor repair fail faster.
For sheet vinyl: cut, remove, and patch
– Mark the damaged area with painter’s tape.
– Use a sharp blade and straightedge to cut a clean rectangle around the damage.
– Remove the damaged piece.
– Dry-fit the replacement patch first, so the pattern aligns and the edges contact evenly.
Then glue using the adhesive/seam method recommended for sheet vinyl patching (per kit instructions and/or flooring documentation).
Ensure the patch sits flat
– If the patch creates a “high spot,” dining chairs will catch it and concentrate load at the repair edge.
– Lightly check for flushness with your fingertips before the adhesive fully sets.
Pattern alignment matters in dining rooms
Align pattern direction if your vinyl has it (stone/grain/texture). In 2025–2026, many homeowners notice repair lines immediately under overhead dining lights, so careful alignment is part of good vinyl floor repair—not an optional aesthetic step.
> Patch guidance to confirm for your product line:
Reattach or replace loose vinyl planks and lifting seams
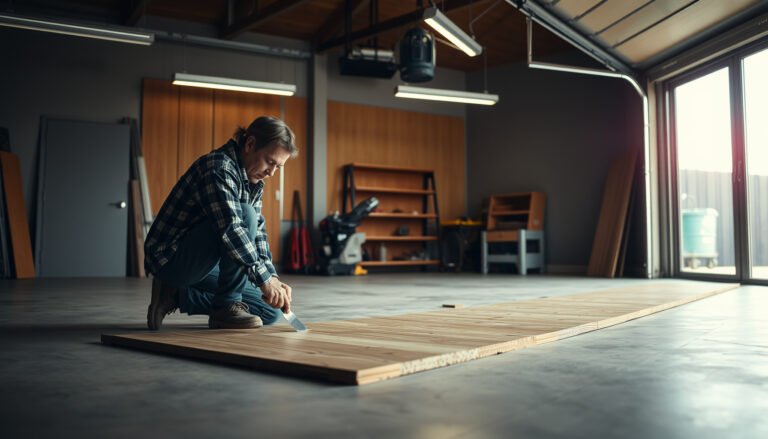
When planks lift or seams start opening, vinyl floor repair becomes a stability and bonding job—not just a cosmetic one. The correct fix depends on whether you have click-lock/loose-lay planks or glue-down planks.
Click-lock vinyl floor repairs can work when the lock is intact and the subfloor is stable—otherwise replacement is usually required.
Glue-down vinyl repairs depend on using the specified adhesive and respecting cure/press time so the reinstalled plank bonds flat.
Click-lock / loose-lay planks
– Lift the affected area carefully.
– Remove dust/debris from the locking mechanism (grit prevents re-seating).
– Reinstall and press/seat firmly.
– Only proceed if the lock is not visibly damaged and the subfloor isn’t moving.
Glue-down planks
– Remove the lifted plank section.
– Scrape off old adhesive residue cleanly so the new adhesive can contact the subfloor properly.
– Reinstall using the correct adhesive type, then press/allow cure per manufacturer requirements:
Seams/edges: re-bond vs. replace
– If only the seam edge is lifting and the material is not torn, re-bond + flattening/rolling may be enough.
– If the vinyl has torn or the bond repeatedly fails, replacement is usually longer-lasting.
What can go wrong (and how to avoid it)
Most vinyl floor repair problems happen when the method doesn’t match the cause—especially moisture, incomplete cleaning, or incompatible adhesives. If you see recurring lifting, bubbles, or “edge lips,” stop and reassess; repeated patching often makes the problem worse.
Using a universal filler or incompatible adhesive can prevent proper bonding and lead to lifting or peeling in a resilient floor repair.
If you cut too deep and damage the subfloor during a sheet vinyl patch, the repair can telegraph or fail again.
Common mistakes in vinyl floor repair
– Wrong filler/adhesive: Universal products may not bond or flex correctly for vinyl.
– Poor cleanup: dust or residue creates weak contact and can cause bubbles/bumps.
– Overcutting sheet vinyl: nicking the subfloor can create future telegraphing and failure points.
– Ignoring moisture / uneven subfloor: even the best repair won’t last if the foundation is failing.
Quick comparison: symptoms vs. likely root cause (and what to do)
| What you see | Likely root cause | Best first response |
|---|---|---|
| Surface scuff with no raised edge | Wear-layer abrasion | Clean + marker/paste vinyl floor repair |
| Small tear/gouge where fibers look cut | Through-damage to upper layers | Patch (sheet) or replace plank section |
| Seam lifting near chair legs | Adhesive bond or subfloor movement | Inspect lock/bond; check moisture/flatness before retry |
| Bubbles or recurring lifting | Moisture intrusion or trapped debris during install/repair | Stop; diagnose moisture and redo prep rather than topping over |
Verdict: when DIY makes sense (and when to skip)
DIY vinyl floor repair makes sense for small, localized damage—like chair scuffs, shallow scratches, small tears, or a single lifted plank—when you can match materials and you’re confident the subfloor is stable. The downside is that color/pattern blending and edge blending can be imperfect in highly visible dining areas, especially under bright overhead light.
DIY patching is most successful when the repair is localized and the damage is limited to the wear layer or a single plank—beyond that, longevity drops.
If you can’t identify your vinyl system (sheet vs. click-lock vs. glue-down) or can’t find the manufacturer’s repair instructions, it’s safer to pause vinyl floor repair.
Skip DIY (or get professional help) if any of these are true:
– Multiple planks are lifting or the floor is buckling (often a moisture/installation issue).
– The damage is extensive or pattern alignment is critical across many sections.
– You can’t identify the flooring type (sheet vs. plank, click-lock vs. glue-down).
– You can’t find manufacturer repair guidance for adhesives, cure times, and seam/patch methods.
Quick scan checklist (save this)
| Step | Check for… | Done? |
|---|---|---|
| 1. Identify type | Sheet vs. plank; click-lock vs. glue-down | ☐ |
| 2. Clean + dry | No dust/film in the repair area | ☐ |
| 3. Match repair material | Correct color/patch or replacement plank | ☐ |
| 4. Repair method | Patch/replace/reattach per manufacturer guidance | ☐ |
| 5. Cure/flatten time | Don’t move furniture too soon | ☐ |
Frequently Asked Questions
How do I repair a scratched vinyl floor in a dining room?
Start by cleaning the scratched area with a vinyl-safe cleaner and drying it thoroughly. For light scratches, use a vinyl floor repair kit or a matching color repair compound, then gently buff the surface with a soft cloth. For deeper scratches, you may need a filler that matches your vinyl color and a final polish to blend the repair with the surrounding dining room flooring.
What’s the best way to fix dents or gouges in luxury vinyl tile or sheet vinyl?
For small dents, try applying heat using a warm (not hot) hair dryer and placing a clean cloth over the spot, then slowly reshape the vinyl. If the gouge is deeper, you’ll typically need to fill it with a color-matched vinyl filler and smooth it level with the floor. After the filler cures, sand lightly with fine-grit paper and apply a vinyl floor polish to help restore the sheen.
How can I repair vinyl floor seams that are lifting near a dining chair or table?
Lifted seams are common in dining rooms due to chair legs, frequent traffic, and moisture getting underneath. Clean the seam area, remove any debris, and press the vinyl back into place, using a flat weight until it bonds. Use a seam repair adhesive or vinyl floor glue recommended for your flooring type, and avoid excess glue so it doesn’t spread or create bumps.
Why is my vinyl floor buckling, and how do I fix it safely?
Buckling usually happens from moisture issues, improper subfloor conditions, or temperature changes that affect vinyl installation. Stop walking on the affected area and check for signs of water intrusion, high humidity, or a wet subfloor beneath the dining room vinyl. Depending on the severity, you may need to dry the area fully, loosen and re-seat the vinyl, or replace damaged sections if the planks or backing have warped beyond repair.
Which products should I use to repair damaged vinyl flooring without making the problem worse?
Use vinyl floor repair products designed for your specific issue—such as color-matched filler for scratches, seam adhesive for lifting edges, and a vinyl-safe cleaner for prep. Avoid harsh abrasives, acetone, or strong solvents that can damage the top wear layer and worsen discoloration in your dining room. Always test any cleaner or repair compound in a small hidden area first, then follow the manufacturer’s cure time before reintroducing foot traffic.
📅 Last Updated: October 25, 2026 | Topic: How to repair vinyl floors in a dining room? | Content verified for accuracy and freshness.
References
- Vinyl flooring
- https://www.epa.gov/asbestos/asbestos-home
- https://www.cdc.gov/asbestos/
- https://www.cdc.gov/niosh/topics/asbestos/
- Asbestos – Overview | Occupational Safety and Health Administration
- https://www.who.int/health-topics/asbestos
- https://www.niehs.nih.gov/health/topics/agents/asbestos/index.cfm
- https://scholar.google.com/scholar?q=repair+vinyl+flooring+patch+sheet+vinyl Google Scholar
- https://scholar.google.com/scholar?q=vinyl+floor+repair+lifting+edges+curling+seam+repair Google Scholar
- https://scholar.google.com/scholar?q=asbestos-containing+vinyl+floor+tiles+repair+guidance Google Scholar
[…] Buy Best Floor Mop with Washable Pads Now on Amazon Microfiber cloths help lift soil from vinyl flooring without scratching the surface as aggressively as rough pads. […]