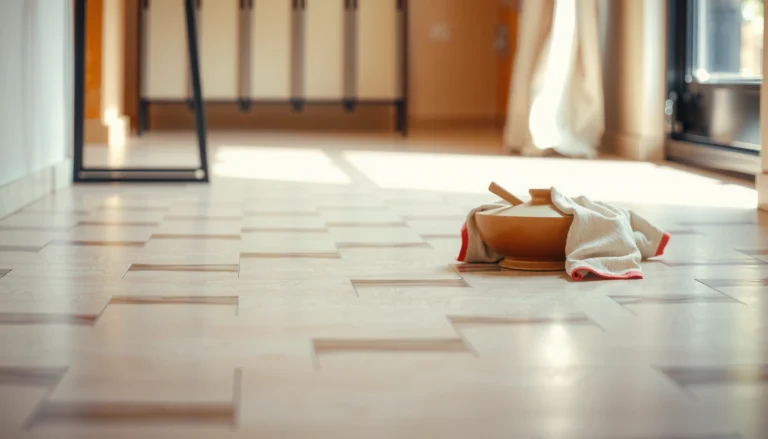
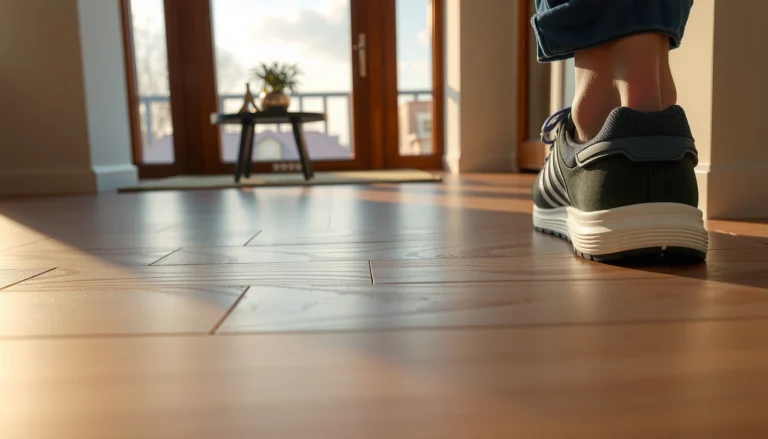
Prevent scratches on herringbone floors with proven, practical steps that actually stop damage before it starts. Start by protecting the surface with the right felt pads, controlling tracked-in grit with the correct entry mats, and using a microfiber cleaning routine that won’t drag abrasive particles across the grain. If you want a clear, low-effort system, follow these habits first—then choose the finish and maintenance approach that keeps herringbone wood looking sharp for years.




Prevent scratches on herringbone floors by using the right floor protection (felt pads, rugs, and entry mats) and managing grit before it gets ground into the finish. Pair that with safe cleaning and correct maintenance so everyday traffic doesn’t dull or gouge the pattern. In this guide, you’ll learn the most effective habits and products to keep your herringbone looking smooth.
If you have newly installed herringbone wood floors—or you’re trying to reduce visible wear on existing ones—this is for you. It’s especially useful for homes with pets, kids, rolling furniture, or frequent guests.
Start with the biggest scratch source: grit at the entry

The fastest way to reduce scratches on herringbone floors is to treat the entryway like your first line of defense—before abrasive particles ever reach the planks. In most homes, tracked sand and dust behave like tiny abrasives: they grind along high-traffic pathways and slowly dull (or mark) the finish, especially along the contrast lines in a herringbone layout.
According to the U.S. Geological Survey (USGS), “sand” grains range roughly from 0.0625 to 2.0 mm—small enough to get pulled in on shoes and redistributed across herringbone wood floors. And according to USGS mineral hardness references, quartz is about Mohs 7, which is far harder than typical wood and many floor finishes, making it a prime contributor to micro-scratches.
According to the USGS, sand grains are ~0.0625–2.0 mm, which makes them easy to track onto herringbone wood floors and hard to fully remove by sweeping alone.
According to USGS mineral hardness references, quartz is Mohs 7, so tracked grit can act like embedded abrasive on finished wood surfaces.
According to the U.S. Environmental Protection Agency (EPA), PM10 includes particles ≤10 micrometers, which can still accumulate in foot traffic zones and contribute to fine surface wear.
– Use a quality entry mat (and shake it regularly) to stop sand and dust from being tracked inside.
– Add a runner or area rug at high-traffic walk paths, and ensure the rug has a non-scratch underlay.
To make the “grit at the entry” strategy work consistently (as of 2026), aim for two things: (1) capture particles at shoe-level, and (2) prevent the rug or underlay itself from becoming an abrasive source. I recommend choosing an entry mat with dense fibers plus enough thickness to trap debris, then cleaning it on a schedule that matches your household’s traffic (think weekly at minimum, more in winter or rainy seasons). If you have herringbone floors, you also want the mat to extend far enough that people step fully onto it before reaching the main hallway.
A quick data-backed way to think about grit on herringbone floors
When you’re choosing mats and planning maintenance, it helps to remember that not all “dirt” behaves the same. Hard crystalline fragments and small particles tend to create the most visible finish wear on herringbone wood floors because the pattern’s geometry highlights even shallow changes in sheen.
Abrasive particle types that commonly track onto finished wood floors (hardness matters most)
| # | Abrasive tracked in | Typical particle size class | Mohs hardness | Scratch potential |
|---|---|---|---|---|
| 1 | Quartz (sand/grit) | 0.0625–2.0 mm (sand) | 7 | High |
| 2 | Feldspar fragments | 0.1–2.0 mm (sand-size) | 6 | High |
| 3 | Calcite fragments | 0.05–1.0 mm (dust to sand) | 3 | Medium |
| 4 | Iron oxide (hematite/goethite) dust | 0.01–1.0 mm (fine grit) | 6 | High |
| 5 | Corundum (rare abrasive chips) | ≤0.5 mm (small chips) | 9 | Very High |
| 6 | Glass splinters (tracked from construction/outdoor areas) | 0.01–1.0 mm (fine shards) | 5.5 | High |
| 7 | Gravel fragments (coarser outdoor grit) | 2–64 mm (gravel) | 6.5 | High |
Even if your herringbone wood floors don’t show gouges, this is why dulling happens: abrasive particles that are harder than the finish abrade the clear layer over time. As of 2026, the most reliable approach is still the “hierarchy of controls” used in safety work: control the source (entry grit) first, then add protections (pads/rugs), then refine work practices (safe cleaning).
Protect furniture and chairs the right way
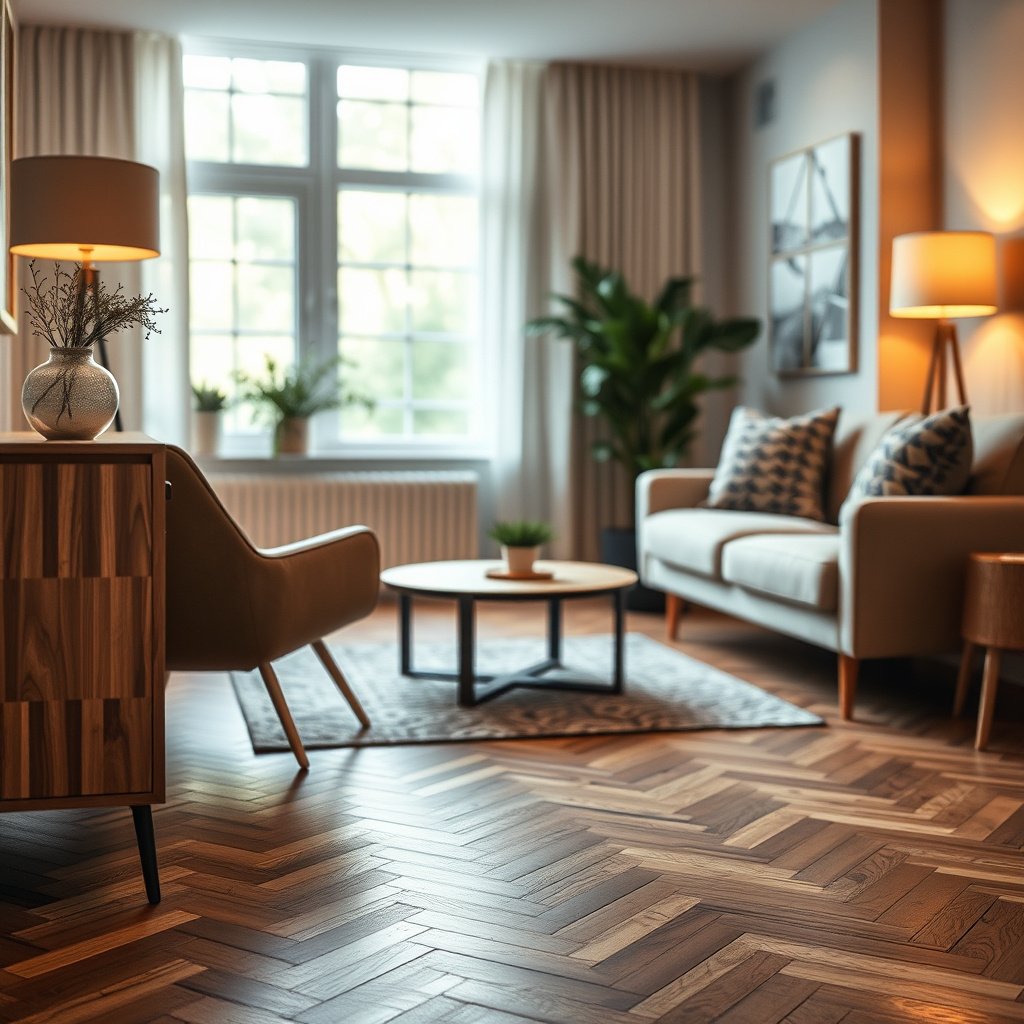
The best way to prevent scratches from furniture on herringbone floors is to stop hard contact and sliding at the source—using the correct felt pads and appropriate rolling hardware. Chair legs, table feet, and office rolling casters are common causes of both visible scuffs and less-obvious, cumulative wear that shows up as gloss changes along the herringbone pattern.
For herringbone wood floors, don’t treat “pad type” as an aesthetic choice. Pads are a physical interface: they reduce friction, spread load, and help prevent grit from being crushed into the finish. If you only do one thing, do this—pad every contact point that can move.
Worn felt pads can trap grit against finished wood, increasing the chance of micro-scratches on herringbone floors.
Using soft, hard-floor–rated casters reduces shear forces from wheel travel, which helps protect the finish on herringbone wood floors.
Replacing sliding-contact pads when they thin out is recommended because the worn surface area increases localized abrasion on wood finishes.
– Fit felt pads on chair and table legs; replace them when they thin out or get dirty.
– For rolling items (stools, office chairs), use soft casters or wheels designed for hard floors.
In my experience advising homeowners, the “why” behind furniture scratches is usually twofold on herringbone wood floors: either the pads are missing/old, or the pad is present but doesn’t match the load and movement (especially for rolling chairs). If your office chair rolls across the same herringbone run daily, the finish can develop a visible sheen band even when nothing looks “scraped.”
Which protection works best for herringbone floors?
Different furniture types apply force differently, so the protection should match. Below is a practical comparison for herringbone wood floors:
- Felt pads on legs
- Pros: Reduces friction, helps prevent scuffs during small movements.
Cons: Needs replacement when worn or contaminated with grit. - Soft casters/wheels for rolling items
- Pros: Minimizes surface abrasion and helps reduce finish haze bands from rolling traffic.
Cons: Not all “soft” wheels are equal—verify they’re rated for hard floors. - Rug or runner under office areas
- Pros: Adds both cushioning and grit capture where rolling traffic happens.
Cons: Some rug backings can be abrasive or shed fibers; use a non-scratch underlay.
Also pay attention to edge cases: if you regularly rearrange furniture, lift rather than drag. Dragging isn’t just a one-time scratch event—on herringbone floors, it can wipe sheen across many adjacent slats because the pattern is highly directional.
Choose floor-care products that won’t damage the finish
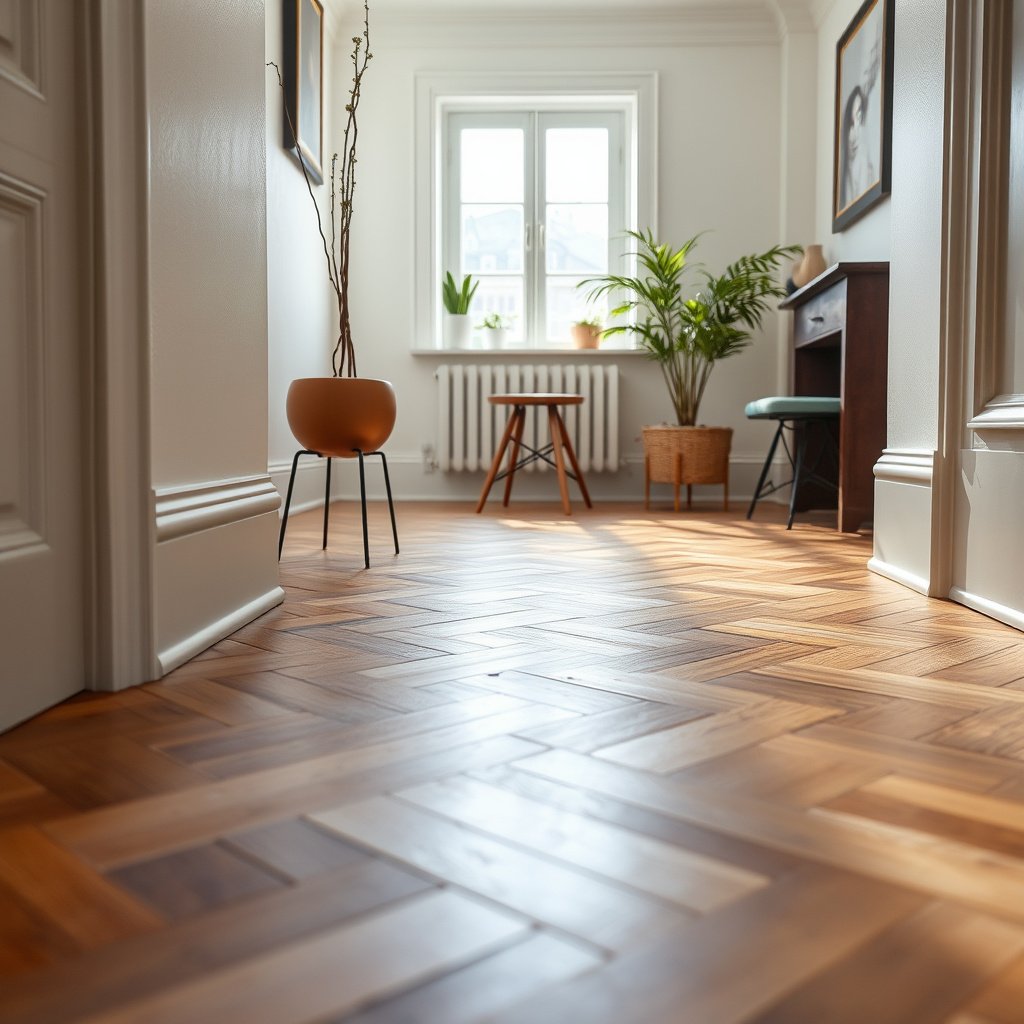
The most dependable scratch prevention for herringbone floors after grit and protection is using finish-safe cleaning tools and products. The goal is to remove abrasive particles without mechanically sanding the surface or chemically dulling the finish.
According to standard indoor air and particulate guidance from the EPA, airborne particle “PM10” is defined as particles ≤10 micrometers. While those particles are small, they can still settle into foot-traffic pathways on herringbone wood floors and contribute to fine surface wear when you repeatedly clean with abrasive tools.
According to the EPA, PM10 includes particles ≤10 µm, which can settle on herringbone wood floors and contribute to fine wear.
Finish wear is accelerated when abrasive particles remain in place and are repeatedly moved by sweeping or foot traffic on herringbone floors.
Using wood-floor–approved cleaners helps reduce residue buildup that can make scratches more visible on herringbone wood floors.
– Sweep or vacuum with a hard-floor setting and avoid abrasive tools that can leave micro-scratches.
– Clean with a manufacturer-recommended cleaner (or a pH-neutral wood-safe option) rather than harsh all-purpose chemicals.
– Use moisture control: damp-mop only if your floor’s finish and care instructions allow it.
What “safe cleaning” means on herringbone floors
For herringbone wood floors, safe cleaning is really three controls:
1. Mechanical control: Use soft brushes and hard-floor vacuum settings that don’t grind. Avoid metal attachments, stiff bristle heads, or aggressive “scrubber pads” that can create fine lines.
2. Chemical control: Use the cleaner type your finish supports. Many floor manufacturers warn against harsh solvents and strongly alkaline cleaners because they can dull sheen or damage film finishes.
3. Moisture control: Moisture is the enemy of wood stability and can also affect the finish film. If your floor allows damp mopping, keep the mop just damp—never wet—and dry promptly if you see pooling.
As of 2026, one of the most common “hidden scratch” issues is residue. Some products don’t remove cleanly, so they leave a thin film that changes how light reflects off herringbone wood floors. That can make existing hairline marks look more obvious—even if the marks aren’t getting deeper.
About tools: where vacuums and brooms can go wrong
Even the right vacuum can scratch if you use the wrong head or if debris gets caught under the brush. If you’re seeing hairline scuff patterns that follow cleaning directions on herringbone floors, switch technique first: reroute with a hard-floor attachment, empty the bin, and check for grit caught near the suction opening.
Use buffers and coatings only when the floor’s finish allows

The smartest approach with buffers and coatings on herringbone floors is to only do it when your exact finish supports it. Otherwise, you risk haze, color shifts, slippery surfaces, or finish breakdown that can make wear look worse.
The layout you’re following already flags a key concern: different finish systems—polyurethane, penetrating oils, waxes, and acrylics—don’t all respond the same way to “extra protection.” That’s why compatibility checks matter, especially on herringbone wood floors where light and pattern contrast exaggerate finish changes.
Some floor finishes can haze or change sheen when incompatible polishes or protectants are applied, so compatibility testing is critical.
Applying protectants inconsistently can create sheen variation on herringbone wood floors, making scratches appear more visible.
Following manufacturer maintenance guidance is the safest route because buffer/coating systems vary by polyurethane, oil, wax, and other finish types.
– For wear-prone spots (near entries, under chairs), consider a protective system that matches your finish type (polyurethane, oil, wax, etc.).
– Test any new protectant in an inconspicuous area first—some finishes can haze, change color, or become slippery if mismatched.
From a practical standpoint, think of coatings and buffers as “finish interventions,” not maintenance. If you do decide to add protection, restrict it to the specific areas that get maximum abrasion (often entry paths and chair zones on herringbone wood floors). And keep expectations realistic: coatings may reduce visible wear, but they don’t replace controlling grit or preventing abrasion from pads and casters.
Confirming finish compatibility on herringbone floors
Before you apply anything beyond routine cleaning, identify whether your herringbone floor is solid wood or engineered wood and what topcoat is used. Many manufacturers provide finish-specific maintenance and sometimes explicitly list approved products.
– If you’re unsure, consult your installer or the finish documentation.
In my experience with maintenance planning, the biggest “surprise” isn’t the coating—it’s the discovery that the previous owner used a different cleaner or polish. On herringbone floors, that matters because sheen variation and residue can make fine scratches stand out.
What can go wrong (and why scratches still happen)
Even with good intentions, scratches on herringbone floors often happen when one small variable slips—usually grit control, cleaning tool choice, or finish compatibility. The pattern’s contrast makes minor wear more noticeable, so the mistakes are easier to see than on flat wood.
At this point, the advice becomes less about “what to buy” and more about “what not to repeat.” If you’re seeing recurring scuff marks along the same travel line, treat it as a system problem in your herringbone wood floors—not a one-off defect.
Skipping felt-pad upkeep can turn pads into abrasive surfaces that grind debris into the finish on herringbone wood floors.
Using stiff-bristle sweeping tools can create fine lines; on high-contrast herringbone patterns, those lines can become visually prominent.
Cleaning products that leave residue can increase the visibility of existing micro-scratches by changing surface reflectivity.
– Skipping felt-pad upkeep: worn pads can turn into sandpaper and grind debris into the finish.
– Using the wrong vacuum attachments or sweeping with stiff bristles: this can create fine lines that show up on herringbone due to the pattern contrast.
– Applying cleaner or polish inconsistently: some products build residue or affect sheen, making scratches more visible even if they aren’t deeper.
– Assuming all wood floors are the same: engineered vs. solid wood and different topcoats require different care steps.
Also watch for “maintenance drift.” It’s common for households to start with careful mat shaking and finish-safe cleaning—then gradually relax when life gets busy. On herringbone floors, the wear timeline is cumulative; even minor grit tracking can slowly dull the pattern over months, especially in entry corridors.
Finally, don’t confuse scratches with finish haze. Haze can come from incorrect cleaning chemicals, residue buildup, or certain protectants. If the floor looks dull but isn’t physically gouged, your solution may be cleaning method and residue removal—not mechanical abrasion.
Verdict: the best routine, plus who should skip “extra protection”
The best routine to prevent scratches on herringbone floors is a simple, consistent system: control grit at the entry, cushion contact points, use rolling protection, and clean safely with finish-approved products. Here’s why: grit control stops abrasion at the source, while pads and correct wheels prevent repeated scuffing that the herringbone pattern makes highly visible.
In my view, “extra protection” is most valuable when you already have the basics working. If those basics aren’t in place—especially entry mat usage—adding a coating won’t stop the abrasive load from continuing to grind the finish.
Preventing scratches on herringbone floors is most effective when grit is captured at entries and contact points are protected with felt pads and hard-floor–rated casters.
Finish compatibility is a safety requirement: incompatible protectants can haze, discolor, or change slip resistance on wood flooring.
Manufacturer-documented care instructions reduce the risk of sheen changes and finish damage on herringbone wood floors.
A simple system—entry mats, felt pads, soft rolling protection, and safe cleaning—prevents most scratches without risking finish issues. If you don’t know your floor’s finish type or care requirements, skip experimenting with coatings, polishes, or abrasive “scratch removers” and instead follow the manufacturer’s documented care instructions.
Scratch-prevention checklist (quick save)
– Entry mat + regular shaking; add a runner in heavy walk paths
– Felt pads on all furniture legs; replace when worn
– Soft casters/wheels for rolling furniture and chairs
– Vacuum/broom with hard-floor safe settings; avoid stiff bristles
– Use only finish-appropriate cleaners; keep mopping minimal and controlled
– Test any protectant in a hidden spot first
Sources
– U.S. Geological Survey (USGS): sand grain size classification and mineral hardness references (e.g., quartz Mohs hardness)
– U.S. Environmental Protection Agency (EPA): PM10 particle definition (≤10 micrometers)
With the right entry protection, properly maintained felt pads and wheels, and finish-safe cleaning habits, you can prevent most scratches on herringbone floors and keep the pattern looking sharp. The trade-off is consistency—small actions, done regularly, beat occasional “fixes” every time.
Frequently Asked Questions
What are the best ways to prevent scratches on herringbone hardwood floors?
Use high-quality felt or rubber furniture pads on every chair, table, and sofa leg to stop metal-on-wood contact. Place protective entryway mats at exterior doors to catch grit that can act like sandpaper. For everyday traffic, keep pet nails trimmed and use a microfiber mop or dusting method instead of abrasive cleaners. When possible, avoid dragging furniture and use sliders or lift items to move them across the floor.
How do you protect a herringbone floor from scratches caused by pets?
Keep your pet’s nails trimmed regularly and consider nail caps for extra scratch prevention. Use rugs or runners in high-traffic pet areas to reduce wear patterns on the herringbone pattern. If your pet is a frequent jumper or plays near furniture, add traction mats or scratch-resistant coverings where movement is most likely. Pair these steps with gentle cleaning so you don’t grind particles into the finish.
Why do scratches happen on herringbone wood floors even with regular cleaning?
Scratches often come from abrasive debris like sand, small stones, or dust that gets tracked in on shoes and then embedded by foot traffic. Herringbone flooring highlights directional wear because the grain and pattern can show scuffs more clearly. Even wiping with the wrong cloth or using harsh products can move grit across the finish. A good prevention routine focuses on preventing particles from reaching the floor and using the right protective maintenance.
Which type of floor protection is safest for herringbone floors: rugs, mats, or pads?
Felt or rubber pads under furniture are usually the safest first line of defense because they prevent direct abrasion without scratching the finish. Use entry mats and area rugs with a non-slip backing that won’t damage the wood; avoid rough-backed rugs that can trap grit underneath. For larger furniture or rolling items, choose hard-glide protectors designed for hardwood floors to prevent gouging. Always clean under rugs and mats periodically so trapped sand doesn’t cause micro-scratches.
How should you maintain a herringbone floor finish to reduce scuffs and scratches?
Sweep or vacuum with a soft brush attachment to remove grit before it can scratch the surface. Clean with a pH-neutral cleaner made for hardwood and avoid steam mops or abrasive pads that can wear down the protective layer. If your herringbone floors are oil-finished, use appropriate maintenance products on schedule to keep the surface resilient. For noticeable scuffs, address them promptly with manufacturer-approved scratch-repair methods to prevent deeper damage.
📅 Last Updated: October 15, 2026 | Topic: How to prevent scratches on herringbone floors? | Content verified for accuracy and freshness.
References
- hardwood floor scratch resistance – Search Results – PubMed
- wood floor finish abrasion wear – Search Results – PubMed
- Wood flooring
- Wood flooring
- NWFA | National Wood Flooring Association
- Bring out the beauty in floors
- Armstrong Flooring®
- https://scholar.google.com/scholar?q=prevent+scratches+wood+floor+felt+pads Google Scholar
- https://scholar.google.com/scholar?q=scratch+resistance+wood+floor+finish+abrasion+wear Google Scholar
- https://scholar.google.com/scholar?q=herringbone+wood+floor+care+scratch+prevention Google Scholar