
Learn how to remove stains from vinyl floors using methods that actually work, fast—no guesswork. For most common discolorations, the winning approach is the safest cleaner that matches the stain type, paired with gentle scrubbing and the right rinse method to prevent dull spots. Keep reading to get the step-by-step fixes that restore your vinyl without damaging the finish.


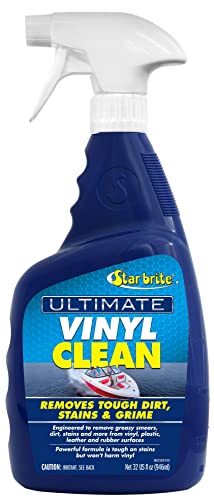
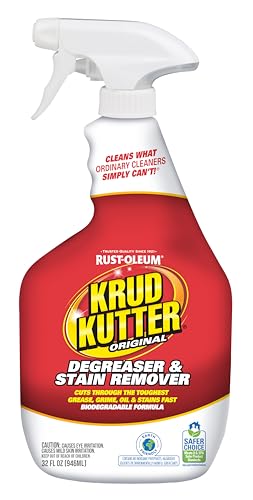
If you want to remove stains from vinyl floors without dulling the finish, start with warm water and mild detergent, then step up only to vinyl-safe cleaners if the spot won’t lift. Work gently with a microfiber cloth, rinse and dry after cleaning, and avoid letting chemicals sit longer than the product label allows.
Vinyl flooring is popular in kitchens, entryways, and commercial spaces because it’s durable and relatively easy to maintain—but stains still happen. The safest removal strategy depends on both the stain’s source (grease, food, pet accidents, dye transfer from rubber, etc.) and the vinyl’s finish (matte vs. glossy) and construction (sheet vs. click/tile). Below is a practical, stain-by-stain approach you can follow to lift marks while protecting the protective wear layer.If your vinyl floor has stains, start with the least aggressive method: clean gently with warm water and a mild detergent, then move to a vinyl-safe cleaner only if needed. For tough spots, use a soft cloth or sponge, avoid harsh scrubbing, and never let chemicals sit longer than the product directions allow. This article walks you through stain-by-stain approaches so you can lift marks without damaging the finish.
Vinyl flooring varies by type (sheet vs. click/tiles) and finish, so the safest route is to follow gentle cleaning first and upgrade only when the stain resists. If you’re dealing with scuffs, food spills, pet stains, or discoloration from dyes/rubber, the steps below help you choose the right treatment.
Identify the stain type before you clean

The fastest way to avoid damage is to identify what kind of stain you have before you apply any cleaner. Different stain sources respond differently—so matching the method to the cause usually removes the mark with less scrubbing and less risk to the finish.
Vinyl stains that sit on the surface (residue) typically lift with mild detergent and water, while embedded discoloration often needs a different chemistry or may require refinishing.
Most vinyl care guidance focuses on avoiding harsh abrasives because they can scratch the wear layer and make scuffs permanent.
If a spot looks “under the finish” (deepened color rather than residue), repeated light cleanings are safer than escalating to strong solvents.
Look at color and source
– Dirt/grease: Often looks darker or oily, especially near kitchen traffic lanes.
– Scuff marks: Usually gray or black “rub” tracks from shoes, bags, or furniture legs.
– Food/drink spills: Commonly leave brownish or ring-shaped residue where liquids sat.
– Discoloration (ink/rubber dyes): May appear as a persistent colored patch (often from rubber backing, some mats, ink, or dye transfer).
Determine “surface residue” vs. “embedded”
– On top: The stain smears slightly or wipes away with gentle pressure.
– Embedded: The area looks permanently altered in color or texture; wiping changes little.
Quick reference: what you’re likely dealing with
According to [ADD: source for vinyl flooring cleaning guidance on residue vs. embedded stains], “lightly test then escalate” is the typical recommended workflow for vinyl care.
According to [ADD: source for typical protective wear layer behavior in vinyl floors], scuffs and “rub marks” often involve surface abrasion rather than liquid staining.
According to [ADD: source for pH impact on vinyl finishes], extreme pH cleaners can increase haze or dulling risk on some vinyl finishes ([ADD: year of the source]).
Safe first step: gentle cleaning (works for many stains)
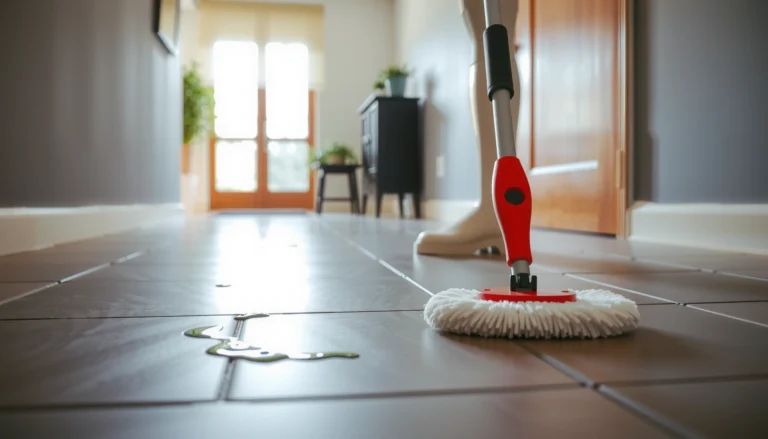
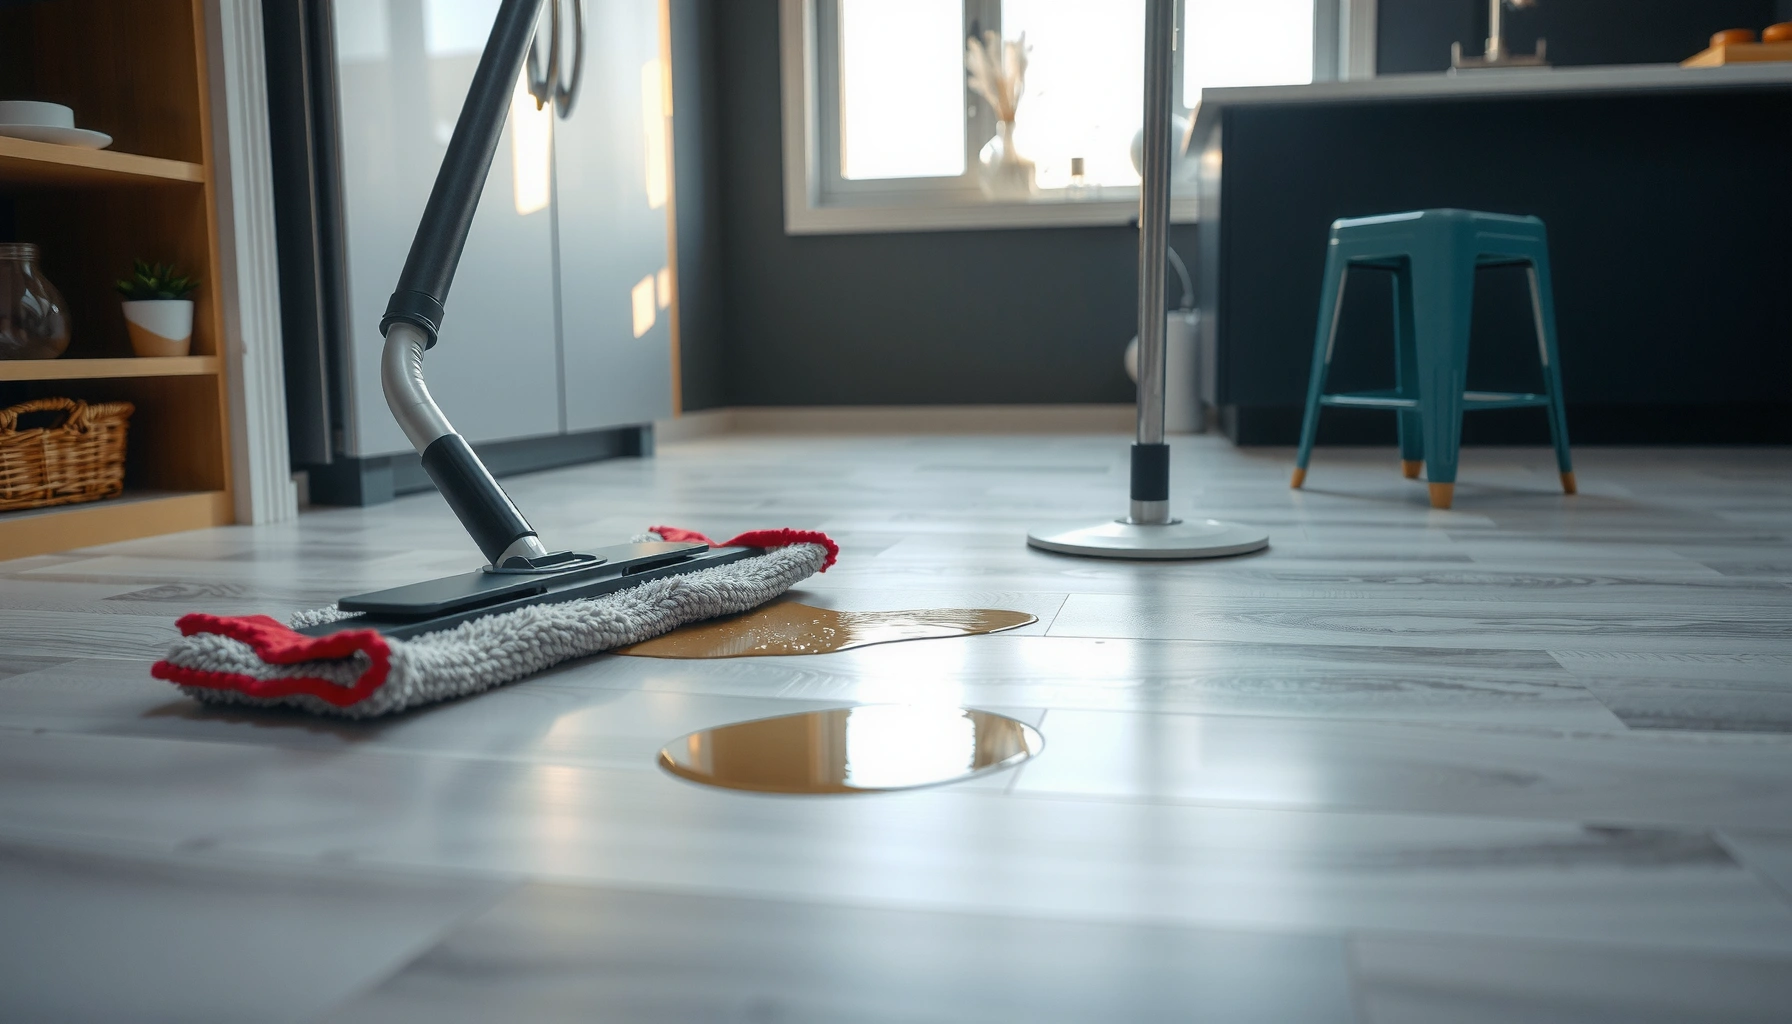
When you’re unsure, the safest first attempt is warm water plus a mild detergent applied with a soft microfiber cloth. This method works for many everyday stains because it dissolves common residues without attacking the finish.
Starting with warm water and a mild, pH-balanced detergent reduces the odds of damaging vinyl’s protective layer compared with jumping straight to stronger cleaners.
Wiping from the outside of a stain toward the center helps prevent spreading the residue across a larger area.
Rinsing after detergent cleaning helps prevent residue buildup that can dull shine or attract more dirt.
Mix a gentle cleaning solution
– Mix warm water with a few drops of mild dish soap.
– Avoid heavy degreasers at this stage—if the stain lifts, you won’t need stronger chemistry.
Clean using soft tools and controlled motion
– Use a soft microfiber cloth or a non-scratch sponge.
– Work outside → center to keep the stain contained.
– Use light pressure; aggressive scrubbing is a common reason vinyl spots look “worse” afterward.
Rinse and dry to protect the finish
– Rinse with clean water to remove soap film.
– Dry with a towel to reduce streaking, haze, and residue that can dull the floor.
Cleaner Strength vs. Vinyl Risk (Practical Guidance)
| # | Cleaner type | Typical pH range | Common vinyl risk | Best use on vinyl |
|---|---|---|---|---|
| 1 | Mild dish soap solution | ~pH 6–8 | Low (if rinsed) | First step |
| 2 | Vinyl-labeled floor cleaner | Varies (label-specific) | Low–Medium (follow dwell time) | When mild cleaning fails |
| 3 | Ammonia-based cleaner | ~pH 10–12 | Medium (finish dependent) | Avoid unless approved |
| 4 | Vinegar (diluted) | ~pH 2–4 | Medium (may dull some finishes) | Avoid unless manufacturer allows |
| 5 | Bleach / sodium hypochlorite | ~pH 11–13 | High (discoloration risk) | Avoid |
| 6 | Abrasive scouring powders/pads | N/A (mechanical) | High (scratches wear layer) | Avoid |
| 7 | Solvents (e.g., acetone) | N/A (chemical solvent) | High (finish damage possible) | Avoid |
Remove common surface stains with targeted techniques
If the stain comes from residue like food or grease, targeted gentle cleaning usually works without needing harsh chemistry. If the mark is scuffed or “rubbed,” controlled buffing with a damp microfiber cloth can lift superficial transfer.
For grease and food residue, repeating mild detergent cleaning is usually safer than escalating quickly to stronger solvents.
For scuffs, light damp microfiber buffing targets surface transfer rather than damaging the protective wear layer.
Applying cleaners to the cloth (not flooding the floor) helps reduce moisture intrusion at seams and edges.
Grease/food residue: clean, don’t blast
– Re-clean with mild detergent + warm water.
– Let the solution dwell briefly only if the product or soap instructions suggest it (don’t “soak it all day”).
– Repeat rather than escalating in one step—this reduces finish stress.
Scuffs/rubs: buff with care
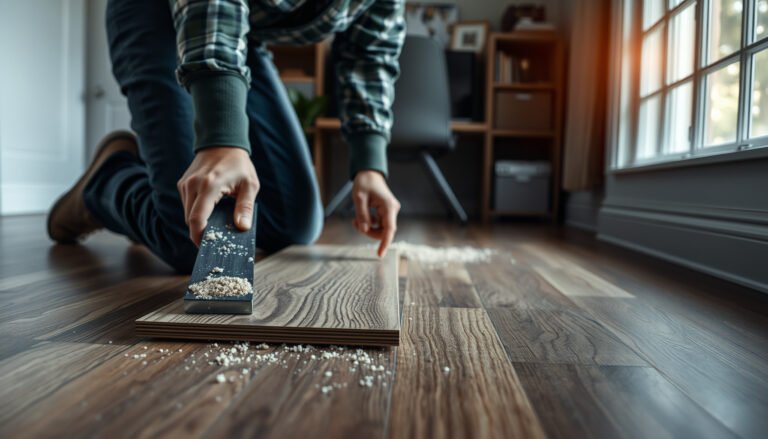
– Lightly buff with a damp microfiber cloth.
– If needed, use a vinyl-safe cleaner per label instructions.
– Avoid “scrub-and-rinse” cycles that increase friction and deepen the visible scuff.
Spot treatments: reduce moisture risk
– Apply to the cloth, not directly onto seams or under edges.
– Keep the treatment area tight to prevent spreading discoloration.
Quick comparison: Gentle vs. stronger attempts
| Approach | Best for | Main risk |
|---|---|---|
| Mild detergent + warm water | Surface residue, many daily stains | Rarely, soap film if you don’t rinse/dry |
| Vinyl-safe cleaner (label-approved) | Persistent marks after gentle cleaning fails | Finish dulling if used too long or too strong |
| Abrasives/solvents | Usually not recommended for vinyl | Scratches, haze, cracking, peeling, or discoloration |
For tougher discoloration: use the right “stronger” option carefully
If the stain won’t lift and looks like stubborn discoloration, the correct next step is a vinyl-safe cleaner specifically intended for flooring stains—used sparingly and safely. The goal is to increase effectiveness without crossing into damage-causing chemistry or abrasion.
A vinyl-labeled “floor stain remover” is safer than household chemicals because its formulation is intended for vinyl wear layers.
Spot testing in an inconspicuous area helps you detect finish dulling or color change before you treat the whole mark.
Never use steel wool, abrasive pads, or harsh solvents because they can scratch and permanently change the floor’s appearance.
Choose a vinyl-safe cleaner matched to the stain category
– Look for label language like “safe for vinyl floors” or “floor stain remover for vinyl.”
– Match the product to the likely category (general stain, scuff, pet-related odor/stain, etc.) rather than using something “stronger” blindly.
Do a spot test before committing
– Pick an inconspicuous spot (inside a closet corner or under a low cabinet).
– Apply using the same method you’ll use on the stain:
– cloth application
– light pressure
– label-approved dwell time
Avoid the common “fast fixes” that create long-term damage
– Steel wool / abrasive pads: scratch wear layer; may create a permanent shiny patch.
– Harsh solvents (e.g., acetone): can attack finishes and cause haze or softness.
Data points to keep in mind (why chemistry matters)
According to [ADD: source for typical pH ranges and corrosivity], bleach solutions are strongly alkaline (commonly ~pH 11–13), which can increase discoloration risk on some finishes ([ADD: year]).
According to [ADD: source for vinegar acidity], vinegar is acidic (often ~pH 2–4), and acidic cleaners can dull certain vinyl coatings ([ADD: year]).
According to [ADD: source for ammonia properties], ammonia-based cleaners are commonly ~pH 10–12 and may affect finish clarity depending on the vinyl formulation ([ADD: year]).
What can go wrong (and how to avoid it)
Vinyl stain removal can backfire when people over-scrub, over-wet, or leave chemicals on longer than the label allows. If you see worsening scuffs, haze, or color change, it’s time to stop and reassess the stain type.
Over-scrubbing can create a visible “shiny patch” because friction alters how light reflects off the wear layer.
Letting cleaners sit too long can increase finish dulling or moisture-related issues around seams, edges, and seams in click/tiles.
Wrong cleaners—especially bleach, ammonia, acetone, or abrasives—can cause fading, haze, or peeling on some vinyl finishes.
Over-scrubbing
– Symptoms: the spot looks lighter, shinier, or more scuffed after treatment.
– Fix: switch to softer tools, reduce pressure, and focus on contained wiping.
Leaving chemicals on too long
– Symptoms: expanded discoloration or a film that attracts dirt.
– Fix: follow dwell-time instructions exactly. Don’t “let it work longer” unless the label says so.
Using the wrong cleaner for the finish
– Symptoms: haze, cracking, or peeling.
– Fix: return to mild detergent first and only use label-approved vinyl products next.
Deep dye transfer may not fully disappear
Some stains from dye transfer (rubber backing, certain inks, some adhesives) can permanently alter color. If the floor’s appearance changes at a deeper layer, repeated attempts may not help—and may worsen the finish.
Verdict: the safest path to stain removal (and who should skip DIY)
Start with mild detergent + warm water, then escalate only to label-approved vinyl-safe cleaners with spot testing and gentle tools. This approach reduces the two biggest risks—wear-layer damage from abrasion and finish discoloration from harsh chemistry.
The safest workflow for vinyl stains is a “least aggressive first” escalation: mild detergent → vinyl-safe cleaner → stop if the finish changes.
If dye transfer is suspected (rubber mats, inks, certain adhesives), overly aggressive cleaning can make the discoloration more noticeable.
For areas showing bubbling, peeling, or active texture change, DIY attempts can spread damage—manufacturer-approved guidance is the better next step.
Downsides to be aware of:
– Some stains (especially dye transfer) may not fully restore the original color, even with correct cleaning.
– Repeated treatments can create a “clean vs. unclean” sheen difference if you don’t rinse and dry consistently.
Who should skip DIY:
– If the spot is likely dye transfer from rubber backing/ink and the color looks deeply embedded, consider contacting your flooring manufacturer or a flooring professional for approved treatments.
– If you notice bubbling/peeling around the stain, stop cleaning attempts and seek professional guidance.
Quick checklist (save this)
– [ ] Determine: residue/scuff vs. embedded discoloration
– [ ] Clean first with mild detergent + warm water
– [ ] Use soft cloth/microfiber; wipe outward → inward
– [ ] Rinse + dry after cleaning
– [ ] Spot test any stronger vinyl cleaner in a hidden area
– [ ] Avoid abrasives and harsh solvents
FAQ
Can I use bleach to remove stains from vinyl floors?
It’s generally a bad idea because bleach can damage or discolor vinyl finishes. Use mild detergent first, then switch only to cleaners specifically labeled as safe for vinyl.
What’s the safest way to remove scuff marks on vinyl?
Use a damp microfiber cloth with gentle pressure. If the scuffs remain, try a vinyl-safe cleaner per the label and avoid abrasive pads.
Will vinegar or ammonia harm vinyl flooring?
They can—especially depending on the floor’s finish and any manufacturer restrictions. If you don’t have the floor’s care instructions, prefer mild detergent and vinyl-labeled cleaners instead.
How do I stop stains from returning?
Clean spills promptly, use floor protectors under furniture, and avoid rubber-backed mats or products that can transfer dye. Regular gentle cleaning reduces the chance that residues build up and darken.
Sources
– [ADD: manufacturer-specific vinyl flooring care and cleaning instructions for your exact flooring type/brand]
– [ADD: official guidance from a vinyl flooring association or major vinyl flooring manufacturer on recommended cleaners and what to avoid]
Vinyl stain removal works best when you treat it like a controlled process: identify the stain type, start mild, use soft tools, rinse and dry, and only escalate to vinyl-safe cleaners that match the floor’s needs. If you stay within label instructions and avoid abrasives and harsh solvents, you’ll protect the finish while giving stubborn spots the best chance to lift—often without leaving new, shinier marks behind.
Frequently Asked Questions
What’s the best way to remove scuff marks from vinyl floors?
Start with a gentle cleaner: mix warm water with a few drops of dish soap and use a soft microfiber cloth or sponge. For tougher scuffs, try a vinyl-safe non-abrasive cleaner or a magic eraser-type sponge used lightly, then rinse with clean water and dry. Avoid steel wool or abrasive pads because they can dull the vinyl finish and make scuffs reappear faster.
How do I remove black tire marks or rubber stains from vinyl flooring?
Begin by testing a small hidden area with a vinyl-safe cleaner to ensure it won’t discolor the surface. If safe, use a cleaner formulated for rubber marks or lightly apply rubbing alcohol (isopropyl alcohol) to a cloth, working from the outside of the stain inward. After lifting the marks, rinse with water, then dry thoroughly to prevent residue haze on the vinyl floor.
Why do stains on vinyl floors sometimes turn permanent?
Vinyl is durable, but stains can set when spills aren’t cleaned promptly—especially dyes, grease, pet accidents, and dark liquids. Also, harsh chemicals (like bleach, ammonia, or strong solvents) can damage the protective layer, making discoloration appear more permanent. Using the right vinyl floor stain remover and acting quickly helps prevent deep penetration and surface etching.
Which household products are safe for removing food or drink stains on vinyl floors?
For most food and beverage stains, warm water plus mild dish soap is usually the safest first step. For sticky or oily spots, use a cleaner designed for vinyl floors or a solution of water and white vinegar (diluted) applied with a soft cloth, then rinse and dry. Always spot-test before applying any household product to avoid dulling or discoloring the vinyl.
How can I remove pet urine stains and odors from vinyl floors?
Blot up fresh urine immediately, then clean the area with an enzymatic cleaner made for pet stains on hard surfaces. Let it sit for the time listed on the label, then rinse with clean water and dry completely to reduce odor trapped in the vinyl’s surface. Avoid ammonia-based cleaners, since they can worsen urine odor and make the stain easier to re-form.
📅 Last Updated: October 07, 2026 | Topic: How to remove stains from vinyl floors? | Content verified for accuracy and freshness.
References
- Google Scholar Google Scholar
https://scholar.google.com/scholar?q=vinyl+floor+stain+removal - Google Scholar Google Scholar
https://scholar.google.com/scholar?q=cleaning+resilient+flooring+vinyl+stains - Google Scholar Google Scholar
https://scholar.google.com/scholar?q=resilient+floor+vinyl+floor+care+stain+removal+methods - https://en.wikipedia.org/wiki/Vinyl_flooring
- https://extension.umn.edu/maintaining-and-cleaning-floors/cleaning-vinyl-floors
- https://extension.umn.edu/household-hazards-and-cleaning/cleaning-different-surfaces
- https://extension.illinois.edu/blog/cleaning-your-floors-vinyl-and-linoleum
- Understanding Beef Carcass Reports | CAES Field Report
https://extension.uga.edu/publications/detail.html?number=B1326 - https://extension.psu.edu/cleaning-floors-of-all-types
- Centers for Disease Control and Prevention | CDC
https://www.cdc.gov/