


Stains on engineered wood floors in a dining room don’t have to be permanent—most common marks lift with the right cleaner and the correct technique. You’ll get a clear, step-by-step removal plan for water spots, dark rings, and scuffs that protects the floor’s finish. Follow these moves and the damaged look usually fades fast, without warping the boards or stripping the coating.




Blot the stain, clean with a pH-neutral cleaner using a barely damp microfiber cloth (never soak), then dry immediately. In most dining-room cases, this “gentle first” routine lifts surface-level water rings, food spills, and light discoloration without harming the engineered wood’s top finish or core layers.
This guide is for homeowners dealing with everyday dining-room stains like water rings, food spills, or mild discoloration on engineered wood—especially when you’re not sure whether the stain is only on the surface finish or has started to penetrate it. This approach is designed to be safe for common engineered wood constructions used in dining rooms, where spills happen frequently and furniture traffic can slow drying.
1) Identify the stain type first (so you don’t make it worse)
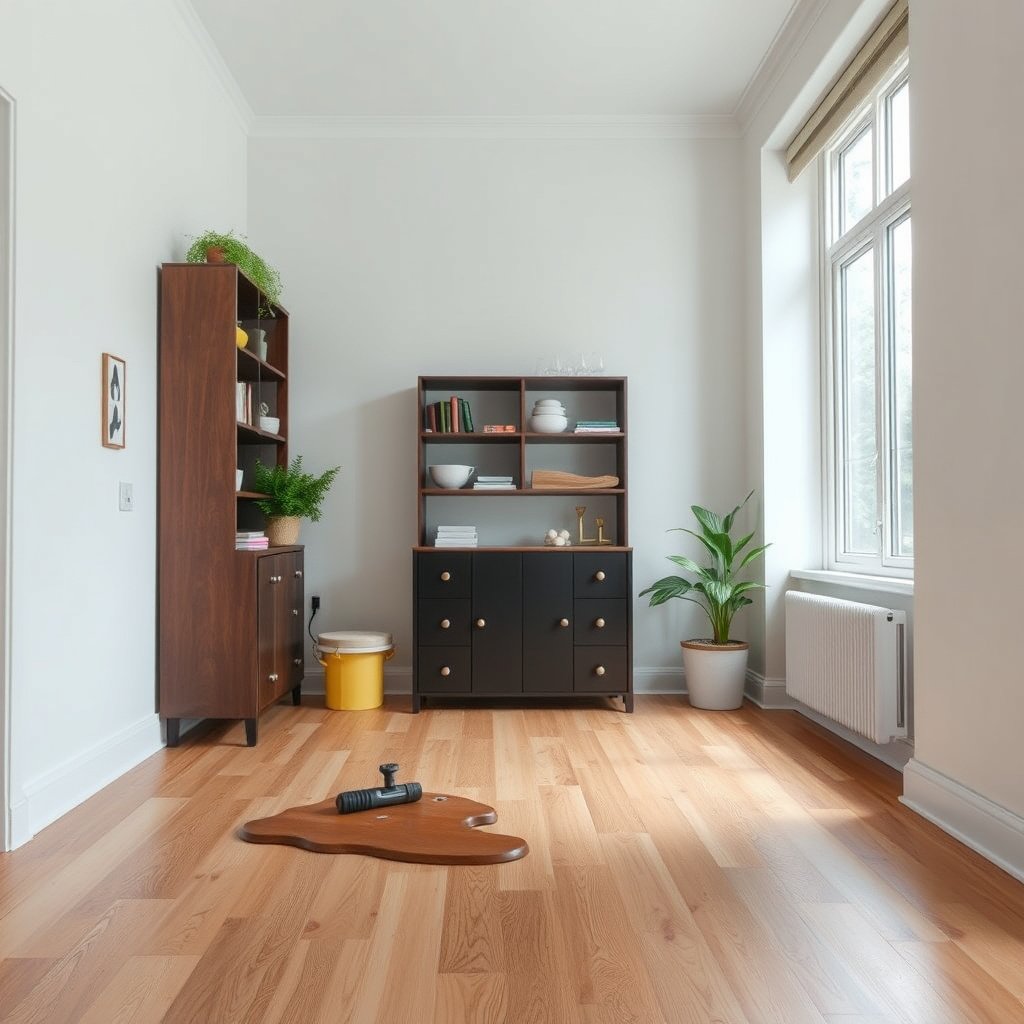
You’ll remove the stain faster—and with fewer risks to the finish—when you identify whether the mark is moisture-related, oily/greasy, or from dark pigments like ink or coffee. The key is matching cleaning chemistry and moisture exposure to the stain mechanism, because engineered wood fails from the wrong treatment just as often as from spills.
First, look for clues:
– Water rings and dull spots usually correlate with surface finish disturbance where moisture sat long enough to haze or slightly swell the top coating.
– Grease and food residues often leave an oily film that smears when wiped (and can attract dirt later), requiring gentle degreasing rather than “more scrubbing.”
– Ink-like marks and dark smears behave differently than moisture discoloration because pigments can bond to the finish surface. That means you treat conservatively and test first.
– If the floor shows swelling, bubbling, edge lift, or loose planks, stop cleaning and treat this as a moisture-damage event, not a “stain-only” problem—cleaning won’t reverse warping.
A water ring on wood flooring typically comes from moisture sitting on the finish long enough to cause haze or minor finish change, not from the floor core “getting wet” instantly.
Oily spots often smear because residue is not removed by plain wiping; they require a compatible cleaner and minimal water to avoid spreading.
If you see bubbling, cupping, or edge lift, treat it as moisture intrusion; continued cleaning can worsen delamination or warping.
A quick “spot check” you can do in 30 seconds
I recommend using a clean white paper towel as a diagnostic:
1. Lightly press—if color transfers (dark pigment), think ink/coffee/wine.
2. Smear lightly—if it smears or feels slick, think grease/residue.
3. Look for a haze ring with a slightly lighter/duller tone—think water-induced finish haze.
As of 2026, many manufacturers emphasize this same decision logic in their “care and cleaning” documents: start with the least aggressive option that addresses the cause, then escalate only if the brand explicitly allows it.
After you identify the stain family (water, food, grease, pigment), you can choose a safer cleaning pathway in the next steps.
Typical pH of Common Dining Spills (Used to Estimate Finish-Compatibility Risk)
| # | Spill item | Typical pH | Stain tendency | Finish risk (pH-based) |
|---|---|---|---|---|
| 1 | White distilled vinegar (5%) | 2.4 | Acid can haze or dull some finishes | High |
| 2 | Lemon juice | 2.0 | Very acidic; finish-sensitive | High |
| 3 | Ketchup | 3.5 | Acidic + pigments can darken marks | High |
| 4 | Red wine | 3.4 | Tannins + color pigments stain finishes | High |
| 5 | Brewed black coffee | 5.0 | Tannins can darken; speed matters | Medium |
| 6 | Black tea (brewed) | 4.9 | Tannins create light-to-dark tea marks | Medium |
| 7 | Whole milk | 6.6 | Protein/fat residue; less acidic than sauces | Lower |
> Note: “Typical pH” varies by brand, brew strength, and dilution. Use this table only as a risk indicator—not as a substitute for your floor’s manufacturer care guide.
2) Prep the area and protect engineered wood
You get better stain removal with less damage risk when you prepare the spot for fast, controlled cleaning. Before you apply any cleaner, you want fewer contaminants, minimal water exposure, and quick drying to prevent moisture from migrating at seams.
This step is also where many DIY attempts succeed or fail:
– Use a soft microfiber cloth/pad. Avoid scouring pads, steel wool, and abrasive “magic erasers” unless your floor’s care instructions explicitly allow them.
– Work with barely damp cloths—never pour cleaner or water directly onto engineered wood.
– Improve safety and results by clearing the dining area so you don’t track debris back onto the stain.
– Run fans or open airflow so the spot dries fast. Engineered wood performs better when surface moisture doesn’t linger.
Wood flooring guidance consistently emphasizes minimizing free-standing liquid to reduce moisture intrusion at seams and edges.
Microfiber is preferred because it lifts soil with less abrasion, which helps preserve the top finish’s sheen.
Fast drying reduces the time moisture has to haze or react with the finish layer.
Why drying speed matters (even for “surface” stains)
A dining-room spill can look small but still sit under a coaster, chair leg, or placemat long enough to change the surface finish. As of 2026, many flooring care guides treat “dry promptly” as a primary rule for engineered wood cleaning—not a suggestion—because the finish can be compromised if moisture sits at edges.
If you’re unsure about pH sensitivity, remember that “pH-neutral” generally means close to pH 7 on the 0–14 scale. That’s why pH-neutral cleaners are usually the first choice.
3) Safe baseline cleaning for most engineered wood stains
For most dining-room stains, the safest first move is a controlled cycle: blot → pH-neutral clean with minimal moisture → (if approved) light rinse → dry thoroughly. This method lifts many surface-level marks without pushing colorants deeper into the finish.
Do this baseline clean:
– Blot first: remove fresh spill residue with a dry cloth.
– Light wipe with pH-neutral cleaner: use a cloth dampened with cleaner—do not soak.
– Optional minimal rinse: wipe again with a second cloth dampened with clean water only if your manufacturer recommends rinsing.
– Dry immediately: follow with a dry microfiber cloth and let airflow continue until fully dry.
If the stain fades but doesn’t disappear, repeat gently rather than escalating. That “repeat, don’t rush” approach reduces the risk of finish dulling or spreading.
A pH-neutral cleaner is typically the lowest-risk chemistry for engineered wood finishes because it avoids strong acids or alkalis.
Using a barely damp microfiber cloth prevents excess water migration into seams where engineered wood can be vulnerable.
Repeating gentle cleaning often removes residual pigments without the finish damage that can come from harsh chemicals or heavy scrubbing.
A practical technique I use for control (no soaking)
In my own maintenance routines for engineered wood, I keep two microfiber pads: one for cleaner and one for “rinse/wipe-down,” and I wring them until they’re damp—not wet. That simple workflow helps prevent over-wetting and makes drying faster because you’re not leaving excess liquid behind.
4) How to handle common dining room stains (match the treatment)
The fastest path to a clean floor is to treat based on the stain’s cause: water haze needs drying and finish-safe methods; spills need pigment-safe cleaning; grease needs controlled degreasing. Matching the treatment prevents you from “solving” water damage with oil cleaners—or making grease worse by over-wetting.
Here’s how to adjust after baseline cleaning:
– Water rings / light discoloration: after the baseline clean, focus on drying completely; lingering rings may require steps specifically approved by your floor manufacturer.
– Food spills (sauce, coffee, wine): remove solids first, then use the pH-neutral approach; for persistent marks, use only cleaners listed in the manufacturer’s care guide.
– Grease/oily marks (butter, oils, gravy): use a mild, pH-neutral degreasing cleaner per instructions, wipe with minimal moisture, then dry fully—avoid strong solvents unless your finish-care guide permits them.
Water-mark haze is usually a finish issue, so over-wetting can enlarge the affected area even if it “looks like it’s cleaning.”
Food pigments (coffee, wine, sauces) often require pigment-compatible cleaners and repeated gentle wipe cycles, not abrasive scrubbing.
Grease stains respond best to mild degreasers used with minimal water because excess liquid can spread residue and wick into seams.
Comparison: which method is safest for engineered wood?
The safest option depends on the stain family. Below is a practical comparison you can use as a decision filter.
| Feature | Blot + pH-neutral cloth method | Steam/soaked mops | Bleach/oxidizers/strong solvents |
|---|---|---|---|
| Primary risk to engineered wood | Low (minimal moisture + gentle chemistry) | High (moisture intrusion at seams/edges) | High (finish discoloration or degradation) |
| Effect on finish sheen | Usually preserves sheen when you avoid abrasives | Can haze or lift top coatings over time | Can permanently dull or lighten patches |
| Best for water rings | Often helpful (with thorough drying; follow brand guidance) | Not recommended | Not recommended |
| Best for oily marks | Helpful if followed by mild degreasing per care guide | Often spreads residue | May damage finish if not explicitly approved |
| Water usage control | High (cloth is barely damp) | Low (steam/soaked pads wet surfaces) | Varies; chemical soak increases dwell time risk |
| Compatibility with manufacturer IFU | Typically aligned with care instructions | Frequently not allowed for many finishes | Often voids warranty/finish coverage unless specified |
| Scrub/abrasion needs | Minimal | Often increases with brushes/pads | May require agitation, raising finish wear |
| Likelihood of spreading stain | Low when you blot and use clean cloth segments | High | Medium to high (chemistry + wipe movement) |
| How quickly you can return to normal use | Usually fast with fans and immediate drying | Slower due to extra moisture | Slower/uncertain due to chemical dwell and ventilation needs |
| Overall recommendation | Go-to first line | Avoid | Avoid unless explicitly approved |
| Best For | Most dining-room stains (water rings, food marks, light grease) | None—use only if the manufacturer explicitly permits it | None—unless the manufacturer provides an approved product + method |
5) What can go wrong (and the common mistakes)
If you don’t see results quickly, it’s tempting to intensify cleaning—but that’s also where engineered wood gets damaged. The most common failures are excess moisture, incompatible chemicals, and over-scrubbing that transfers haze deeper into the finish.
Avoid these pitfalls:
– Soaking the area: engineered wood can be vulnerable to moisture intrusion at seams/edges, leading to cupping or long-lasting discoloration.
– Using the wrong chemical: bleach, strong oxidizers, and harsh solvents can damage the finish or change color—especially with darker stains.
– Over-scrubbing: friction can dull the sheen and spread the stain deeper into the finish instead of lifting it.
– Skipping the dry step: if you clean with barely damp cloths but don’t dry fully, you can create the same “ring” again as moisture disperses.
Moisture intrusion at seams is one of the most preventable causes of engineered wood warping after spot cleaning.
Strong oxidizers and bleach are finish-disrupting for many floor coatings, which can create permanent light patches or uneven sheen.
Over-scrubbing can mechanically dull the finish, making the stain look worse even when residue is reduced.
Environmental factors matter in 2026 (more than people expect)
Engineered wood is still wood. That means humidity control affects how fast residual moisture evaporates and whether haze returns. Many flooring care guides align with indoor humidity targets in the 35%–55% relative humidity range to reduce expansion/contraction stress. If your dining room swings outside those ranges, stains may appear to “come back” after cleaning because finish haze reappears as moisture balance changes.
6) Verdict / tip (what we recommend, and who should skip this)
Use the gentle “blot → pH-neutral clean → minimal rinse (only if recommended) → dry fast” routine first—it’s the safest path for most dining-room stains. If the stain remains after careful repeats—or if you suspect moisture penetration—don’t keep escalating cleaners; follow your floor manufacturer’s guidance or consult a qualified flooring professional.
My practical tip: treat this like a compatibility-first process. Engineered wood care instructions are essentially a “do-not-damage” contract—starting with pH-neutral cleaner on minimal moisture best matches how many manufacturers design their finish coatings to tolerate everyday cleaning.
Who should skip DIY escalation:
– Skip DIY escalation if the floor shows buckling, edge lift, bubbling, or a musty odor—those are moisture red flags.
– If the stain seems to “bleed” beyond the original spill area after each attempt, stop and reassess the likely cause (finish haze vs. residue vs. moisture).
When a spot cleaning approach repeatedly fails, further chemical escalation increases the odds of finish dulling even if residue is reduced.
Bubbling, musty odor, and plank movement are indicators of moisture intrusion; these need moisture management rather than stronger cleaners.
Following the manufacturer’s IFU (instructions for use) is the safest way to keep warranty and avoid irreversible finish changes.
Downsides of the “gentle first” approach
This method can take multiple gentle cycles, especially for coffee/wine pigments or older grease haze. If you need a quick, permanent cosmetic change for a deep stain, the finish may require professional refinishing or a manufacturer-approved restoration product.
Frequently Asked Questions
What’s the safest way to remove water stains from engineered wood floors in a dining room?
Start by blotting the area with a clean, dry microfiber cloth—don’t rub, since engineered wood can be damaged by abrasion. If the stain remains, dampen a cloth with distilled water, gently wipe, then dry immediately with a separate towel. For stubborn marks, use a manufacturer-recommended wood floor cleaner or a diluted, pH-neutral cleaner designed for engineered hardwood; avoid soaking the planks.
How can I remove food or drink stains from engineered wood flooring without damaging the finish?
Scrape off any dried residue with a plastic scraper, then clean the spot with a slightly damp microfiber cloth using a pH-neutral cleaner. If the stain is oily (like wine, grease, or sauces), apply a small amount of cleaner to the cloth rather than pouring it directly on the floor, and work gradually outward from the center. Rinse by wiping with a lightly damp cloth (water-only), then buff dry to prevent leftover residue from dulling the finish.
Why do some stains on engineered wood floors look “lighter” or “shadowy,” and how do I fix them?
Shadowing or light patches often happen when the surface coating is partially affected or when moisture penetrates the finish differently than surrounding areas. First, ensure the area is fully dry, then try a gentle cleaner appropriate for engineered wood to even out the surface. If the discoloration remains, you may need a floor finish restorer or—depending on wear—professional refinishing of the top layer to truly match the surrounding tone.
What’s the best method for removing dark scuff marks or heel stains from engineered wood in dining areas?
Use a soft microfiber cloth and a wood-floor-safe cleaner to gently lift surface marks—rubbing with a rough pad can scratch the top layer. For light scuffs, try a specialty hardwood floor spot remover or a cleaner made for finished floors, following the label directions. Avoid “miracle” abrasives and strong solvents; engineered wood has a wear layer that can be worn through if you use harsh methods.
Which cleaning products should I avoid when trying to remove stains from engineered wood floors?
Avoid steam mops, excessive water, bleach, ammonia, and strong degreasers, since they can seep into seams or damage the protective finish and cause staining or warping. Don’t use abrasive pads, steel wool, or melamine “magic erasers” unless the manufacturer specifically approves them for your finish type, because they can dull or scratch. Stick to pH-neutral, engineered-wood-safe cleaners and always use minimal moisture, then dry thoroughly.
📅 Last Updated: October 19, 2026 | Topic: How to remove stains from engineered wood floors in a dining room? | Content verified for accuracy and freshness.
References
- Home | National Wood Flooring Association | NWFA
- 404 Error
- https://www.armstrongflooring.com/support/floor-care-and-maintenance.html
- https://www.bruce.com/support/floor-care-and-maintenance.html
- Engineered wood
- https://scholar.google.com/scholar?q=engineered+wood+floor+stain+removal Google Scholar
- https://scholar.google.com/scholar?q=water+stain+removal+hardwood+floor+finish Google Scholar
- https://scholar.google.com/scholar?q=wood+floor+cleaning+stain+removal+maintenance+engineered+wood Google Scholar


