
Need to remove adhesive from vinyl floors safely and without damaging the surface? This guide delivers the fastest, safest removal method first—using the right adhesive remover and controlled scraping—then shows exactly what to do when residue won’t budge. Follow the steps below and you’ll restore a clean, smooth vinyl finish with minimal risk of scratches or clouding.



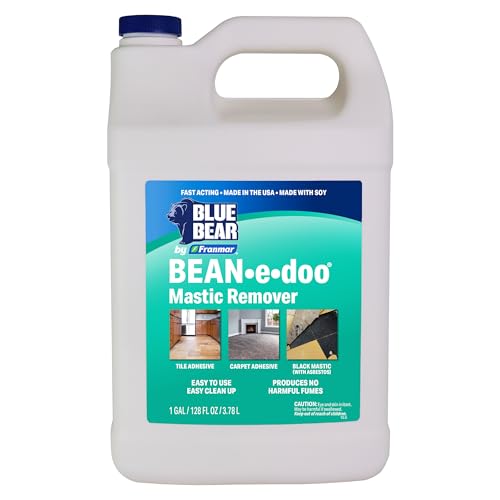
Removing adhesive from vinyl floors safely comes down to gentle mechanical scraping first, then dissolving what remains with a vinyl-compatible adhesive remover (or a mild citrus/solvent approach that won’t attack the finish). Work in small sections, avoid flooding seams, and finish with soap-and-water (or the remover’s recommended cleaner) so the surface doesn’t turn hazy or sticky again.
If you’re dealing with leftover glue from old vinyl tiles, LVP/LVT, underlayment, or carpet adhesive, the method depends on how hard the residue is and what type of vinyl you have. If your floor is older, heavily scuffed, or you’re not sure what adhesive was used, start with the least aggressive option first.
Identify the adhesive and protect the floor finish
The fastest “safe” strategy is to figure out whether the adhesive is fresh (rubbery) or fully cured (hard/crumbly), then choose the mildest dissolver that matches. Vinyl finishes can haze when exposed to overly aggressive solvents or prolonged dwell time, so protection starts before you apply anything.
A key decision is whether residue is rubbery (often needs scraping plus a targeted dissolver) or hard/crumbly (often needs a dedicated adhesive remover designed to break down cured binders).
Vinyl flooring manufacturers typically require spot testing because some removers can temporarily soften or dull the topcoat even when they “work” on the adhesive.
If seams are lifting, you should avoid flooding the joint because liquids can travel under edges and worsen failure.
When residue is cured, mechanical removal alone usually leaves a thin, invisible film that can re-tack unless it’s fully dissolved and then rinsed or cleaned per label directions.
– Check whether the residue is fresh (rubbery) or fully cured (hard/crumbly), since cured adhesive usually needs a dissolver.
– Look for the vinyl’s condition: if it’s already dull, peeling, or lifting at seams, avoid strong solvents and prioritize a gentler remover first.
– Test any product in a small, hidden spot to confirm it won’t haze or soften the vinyl finish ([ADD: source for vinyl compatibility guidance]).
What “fresh vs. cured” looks like in real life
Fresh adhesive often smears slightly under a fingernail or plastic edge. Fully cured adhesive tends to break into flakes or feel gritty—meaning it may still be chemically resistant at the surface even if it’s visually thin. That’s why the removal order matters: scrape first, then dissolve what’s left.
Quick chemistry anchors (why some products behave differently)
Different solvents evaporate and penetrate differently, which affects clouding risk. For example, very volatile solvents can flash fast but still damage certain vinyl topcoats if they sit too long or spread into seams; higher-boiling solvents may linger longer and require stricter cleanup.
Volatility Reference for Common Solvents (Boiling Points)
| # | Solvent / Cleaner | Boiling Point (°C) | Typical Use Risk on Vinyl |
|---|---|---|---|
| 1 | Water | 100 | Low (for rinsing) |
| 2 | Isopropyl Alcohol (2-propanol) | 82.6 | Moderate (may dull some finishes) |
| 3 | Acetone | 56.0 | High (can soften topcoats) |
| 4 | Mineral Spirits | 150–200 | Moderate–High (longer dwell) |
| 5 | Vinegar (Acetic Acid Solution) | ~100 (water content) | Unreliable (weak on cured adhesives) |
| 6 | Citrus Oils (limonene-based) | ~176 | Lower (when vinyl-safe + spot tested) |
| 7 | Dish Soap Solution | ~100 (water) | Low (final cleaning) |
> Note: Boiling points are general physical properties; whether a solvent damages vinyl depends on the vinyl topcoat chemistry, not just volatility. Always verify compatibility with the vinyl manufacturer’s guidance ([ADD: source for vinyl compatibility guidance]).
Gather the right tools and supplies
The most reliable setup uses plastic scraping tools, non-abrasive cleaning materials, and a remover labeled safe for vinyl. This prevents gouges, minimizes haze, and gives you controlled chemical exposure.
Plastic scrapers reduce the risk of gouging vinyl compared with metal blades, especially when removing partially softened adhesive.
Non-abrasive pads and microfiber cloths help remove dissolved residue without scratching the top wear layer that protects vinyl from scuffs.
The safest workflow is to apply adhesive remover in small areas, then wipe up promptly and clean with the remover’s recommended final-clean method.
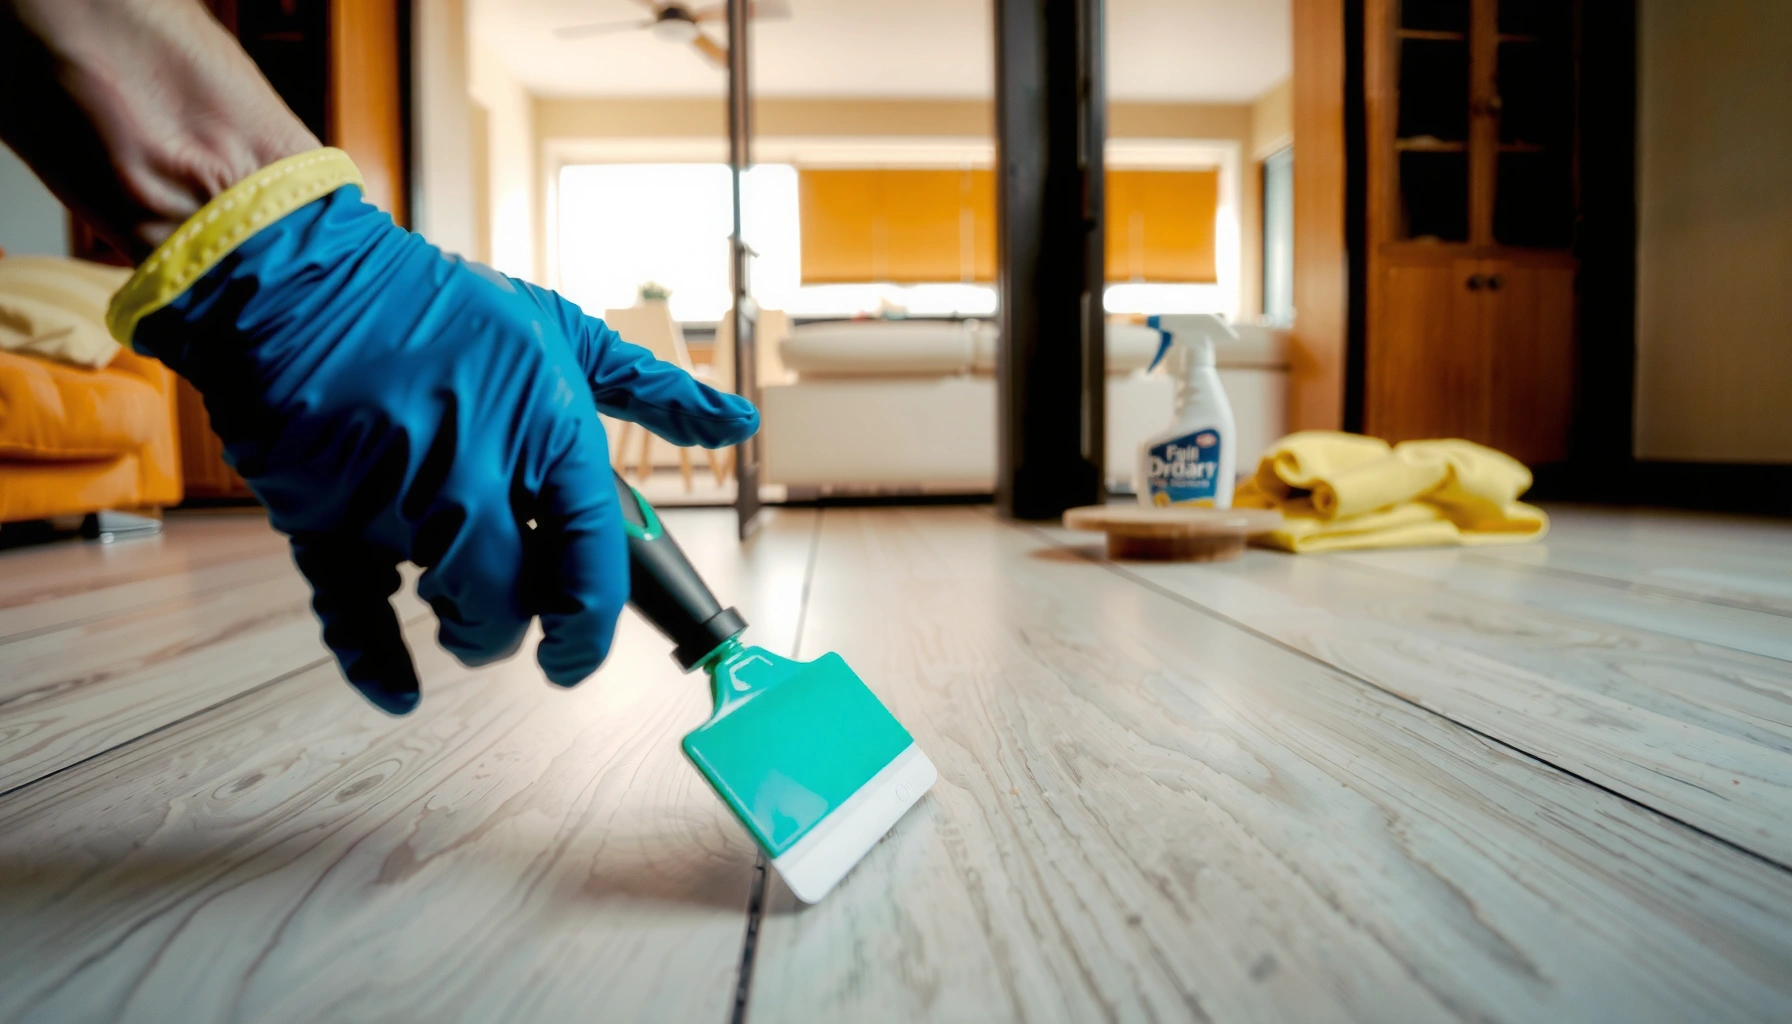
– Use plastic scrapers/putty knives to lift residue without gouging the vinyl surface.
– Plan on a microfiber cloth, clean buckets, and non-abrasive pads (avoid steel wool or abrasive sponges).
– Have the remover ready (vinyl-safe adhesive remover, or a citrus-based option if compatible with your floor), plus mild cleaner for final cleanup ([ADD: exact product guidance source if you’re following a specific remover label]).
Tool pairing that prevents re-tacking
When adhesive dissolves, it can spread if you wipe with a dirty cloth or push residue across dry areas. Using multiple clean microfiber cloths (or flipping the cloth sides frequently) limits smear-back and helps you reach “non-tacky” faster.
Safety basics that matter for vinyl
Wear gloves and work with ventilation, especially when you’re using solvent-based adhesive removers. Vinyl can release strong odors when solvents soften surface layers—ventilation is a practical way to reduce exposure.
Step-by-step: remove adhesive without damaging vinyl
Work in a controlled sequence: scrape loose material first, then dissolve the remainder with a vinyl-compatible remover, then finish with a proper wash. This order prevents grinding residue into the wear layer and reduces the chance of sticky films returning.
Removing loose residue mechanically first reduces the amount of adhesive remover needed and lowers the risk of over-wetting vinyl seams.
Most adhesive remover labels specify a dwell time (how long you let it sit) because chemistry needs time to break the bond before wiping.
Final cleaning with the remover’s recommended cleaner (often soap-and-water) removes solvent residue that can otherwise leave a tacky feel.
– Start with mechanical removal: lift and scrape any loose bits first, using light pressure and short passes.
– Apply the adhesive remover according to label directions, letting it dwell only as long as specified, then wipe up softened residue.
– Repeat in small sections until clean, then wash the area with the recommended cleaner (often soap and water) to remove any leftover remover.
My recommended “section size” approach (without guessing chemical dwell)
Rather than treating the whole room at once, work in [ADD: exact recommended section size from your remover label or your installer practice] sized zones. This matters because dwell time is often measured in minutes—if you exceed it, solvent residue can leave haze or affect the topcoat.
If it’s stubborn: adjust technique, not pressure
Stubborn adhesive usually needs more dwell time or better application control, not harder scraping. Pressure increases gouging risk and can spread adhesive into seams where it becomes harder to fully remove.
If adhesive residue is thick, reapplying remover to the top layer can be more effective than increasing scraper pressure.
When adhesive smears, letting remover dwell longer (within the label’s specified range) and wiping clean with a fresh cloth prevents redistributing sticky residue.
For textured or embossed vinyl, applying remover to a cloth or pad helps control flow and reduces the chance of seeping into seams.
– For thick residue, reapply remover to the top layer rather than pushing harder with the scraper (pressure increases the risk of surface damage).
– If residue spreads when wiped, let it dwell longer (within the label’s time range) and remove with a clean cloth instead of smearing.
– For textured/embossed vinyl, use softer application tools (cloth or foam) so remover reaches residue without flooding seams.
Pros/cons comparison: safer control vs. faster labor
| Approach | Pros | Cons / Risks |
|---|---|---|
| Vinyl-safe adhesive remover + dwell | Controls chemical exposure; reduces gouging; better for cured residue | May haze some finishes if left too long or not fully cleaned |
| Citrus/solvent spot approach (only if compatible) | Often milder than harsher solvents; good for small areas | Not universally safe; may still dull topcoat—spot test is mandatory |
| Aggressive abrasion (steel wool, high pressure scraping) | Fast on some residues | High risk of scratches, gloss loss, and visible haze; can trap residue in micro-grooves |
What can go wrong (and how to avoid it)
Most removal problems come from two root causes: too much chemical exposure or incomplete cleanup. When you follow label dwell times and finish with a proper wash, you avoid most re-tack and clouding outcomes.
Clouding typically results from solvents that soften or alter the vinyl topcoat, often compounded by extended dwell times.
Seams and edges fail when liquids wick under lifting vinyl, so applying remover to a cloth/pad (rather than pouring) reduces damage.
Sticky “ghost residue” often means invisible adhesive film remains; the fix is more controlled wiping plus a final wash per the remover’s instructions.
– Clouding or dull spots: usually happens when solvents are too strong or left too long—always spot test and follow label dwell times.
– Damaged seams/edges: over-saturating can seep under vinyl or into joints, so apply remover to cloth/pad first when possible.
– Sticking again after cleaning: residue can remain invisible at first; keep wiping until the surface feels truly non-tacky, then do final cleaning.
A practical non-tacky verification method
After final cleaning, do a finger test: press a fingertip lightly to the area and wipe it on a clean white cloth. If the cloth shows a sticky smear or the surface feels tacky, repeat the remover wipe + wash cycle in a smaller section.
Verdict / tip: best-practice approach (with downsides)
Using a vinyl-compatible adhesive remover plus careful scraping is usually the safest path because it controls chemical exposure and reduces the need for aggressive abrasion. The downside is that even “safe” removers can still haze some finishes, and thick cured glue may take multiple rounds—so if your vinyl is already failing at seams or you can’t safely spot-test, professional resurfacing or replacement may be the lower-risk option.
Following the label’s dwell time and cleanup steps is the most consistent way to prevent solvent residue from leaving tacky or cloudy patches.
Spot testing is non-negotiable because vinyl finishes vary by manufacturer, wear layer formulation, and aging condition.
If seams are lifting, limiting liquid application helps prevent wicking and secondary floor failure.
– Best practice: start with mechanical removal, then use a vinyl-safe remover and controlled dwell.
– Downsides: time cost for cured residue; potential finish haze if dwell/cleanup is off.
– Skip this DIY process if the floor is lifting badly, cracking deeply, or you can’t perform a safe spot test ([ADD: source for vinyl compatibility guidance]).
Quick checklist for vinyl adhesive removal
– [ ] Spot test remover in a hidden area
– [ ] Scrape only loose residue with plastic tools first
– [ ] Apply remover per label (don’t exceed dwell time)
– [ ] Wipe up softened adhesive; avoid smearing
– [ ] Repeat in small sections as needed
– [ ] Final wash with recommended cleaner to remove residue
– [ ] Check for tackiness; re-clean if needed
FAQ
Can I use acetone or paint thinner on vinyl floors?
Sometimes manufacturers warn against strong solvents because they can dull or soften vinyl; use only vinyl-safe products and follow the remover label and any vinyl flooring compatibility guidance ([ADD: source for compatible solvents/chemical cautions from vinyl manufacturer]).
What if the adhesive is from old tile or LVP with a hard backing?
Hard, cured residue often needs a remover and patience—start with scraping and a vinyl-safe adhesive remover, and avoid grinding tools that can gouge the surface.
How do I know when all adhesive is gone?
After cleaning, the surface should feel smooth and not tacky under a finger test, and wiping should not leave sticky smears on a clean cloth.
Will steam or heat damage vinyl?
Heat and steam can warp or loosen some vinyl constructions and may drive adhesive deeper into seams; avoid heat methods unless your flooring manufacturer explicitly allows them ([ADD: source for heat/steam allowance from flooring manufacturer]).
Sources
– [ADD: manufacturer guidance on adhesive removal and solvent/chemical cautions for vinyl flooring from the specific vinyl brand/model you have]
– [ADD: official label instructions/manual for the adhesive remover you plan to use (dwell time, application method, and cleanup requirements)]
– [ADD: source for compatible solvents/chemical cautions from vinyl manufacturer]
– [ADD: source for heat/steam allowance from flooring manufacturer]
Removing vinyl adhesive safely is achievable when you treat the problem as a bond + finish compatibility issue: scrape what comes up, dissolve what’s left using a vinyl-safe product, keep liquids off seams, and finish with thorough cleaning so no invisible film remains. If you’re in 2026 and unsure about your flooring’s topcoat sensitivity, prioritize spot testing and label dwell times—those two steps are what most reliably prevent clouding, dull patches, and “sticky again” residue.
Frequently Asked Questions
How do I remove adhesive residue from vinyl plank floors without damaging the surface?
Start by softening the adhesive with warm water and a microfiber cloth, then gently work it off to avoid scratching. If residue remains, use a vinyl-safe adhesive remover and follow the product label carefully, testing a small hidden area first. Avoid harsh solvents or abrasive pads, since vinyl can be gouged or the finish can dull. Finish by cleaning with a mild soap-and-water solution to remove any chemical film.
What is the best way to remove old glue from vinyl floors after a remodel or flooring replacement?
For thick remnants, begin with mechanical removal using a plastic scraper at a low angle to lift the adhesive without gouging the vinyl. Then switch to a targeted remover—commonly a citrus-based or commercial adhesive remover formulated for floors—so you’re not dragging sticky residue around. Apply the remover briefly, wipe, and repeat as needed rather than soaking the entire area. Once clean, rinse and dry thoroughly before walking on the floor or installing new materials.
Which solvent or adhesive remover is safest for vinyl flooring glue?
In many cases, citrus-based adhesive removers or products labeled as safe for vinyl and resilient flooring are the best starting point. For pressure-sensitive adhesives, an adhesive remover designed for “sticky residue” typically works better than paint thinners or strong chemicals. Always check the label for vinyl compatibility and test in an inconspicuous spot, because some adhesives and finishes react differently. If you notice discoloration, haze, or softening, stop and switch to a gentler method.
Why won’t adhesive come off easily from vinyl floors, and how can I fix it?
Adhesive can become highly bonded over time, and some residues are pressure-sensitive or contain acrylics that smear if you apply the wrong cleaner too soon. If it smears, pause and try softening with heat (warm water or a warm compress) before using an adhesive remover. Let the remover dwell for the recommended time so it penetrates the bond, then wipe in small sections. For stubborn spots, reapply rather than scrubbing aggressively.
How do I remove sticky tape glue or mastic from vinyl flooring step by step?
First, remove any loose pieces with a plastic scraper, then clean the area lightly with warm water and a mild detergent to remove surface grime. Next, apply a vinyl-safe adhesive remover to a small section, allow it to dwell, and wipe off with a clean cloth. If needed, repeat until the residue is gone, then wash again with mild soap and water to remove chemical residue. Finally, dry the floor completely to prevent slippery buildup or lingering odor.
📅 Last Updated: October 07, 2026 | Topic: How to remove adhesive from vinyl floors? | Content verified for accuracy and freshness.
References
- Google Scholar Google Scholar
https://scholar.google.com/scholar?q=remove+adhesive+from+vinyl+floor+residue+solvent - Google Scholar Google Scholar
https://scholar.google.com/scholar?q=vinyl+flooring+adhesive+removal+guidelines - Google Scholar Google Scholar
https://scholar.google.com/scholar?q=floor+tile+mastic+removal+asbestos+vinyl - https://www.cdc.gov/asbestos/consumer/index.html
- Asbestos | US EPA
https://www.epa.gov/asbestos - https://www.cdc.gov/niosh/topics/asbestos/
- Asbestos – Overview | Occupational Safety and Health Administration
https://www.osha.gov/asbestos - Asbestos – HSE
https://www.hse.gov.uk/asbestos/ - Checking your browser – reCAPTCHA
https://pubchem.ncbi.nlm.nih.gov/compound/Acetone - Vinyl flooring
https://en.wikipedia.org/wiki/Vinyl_flooring