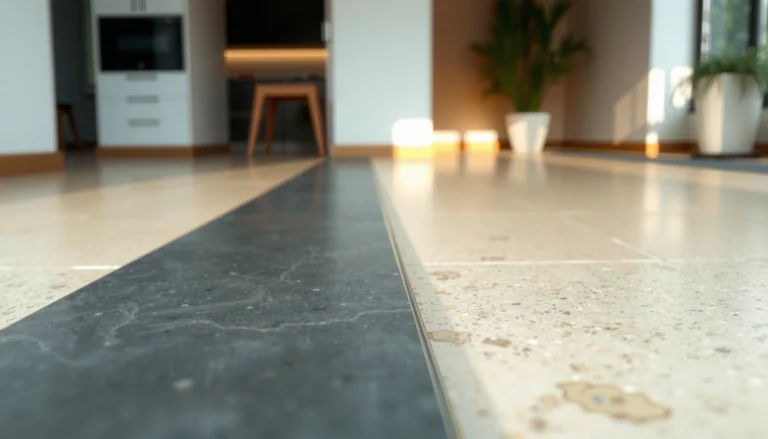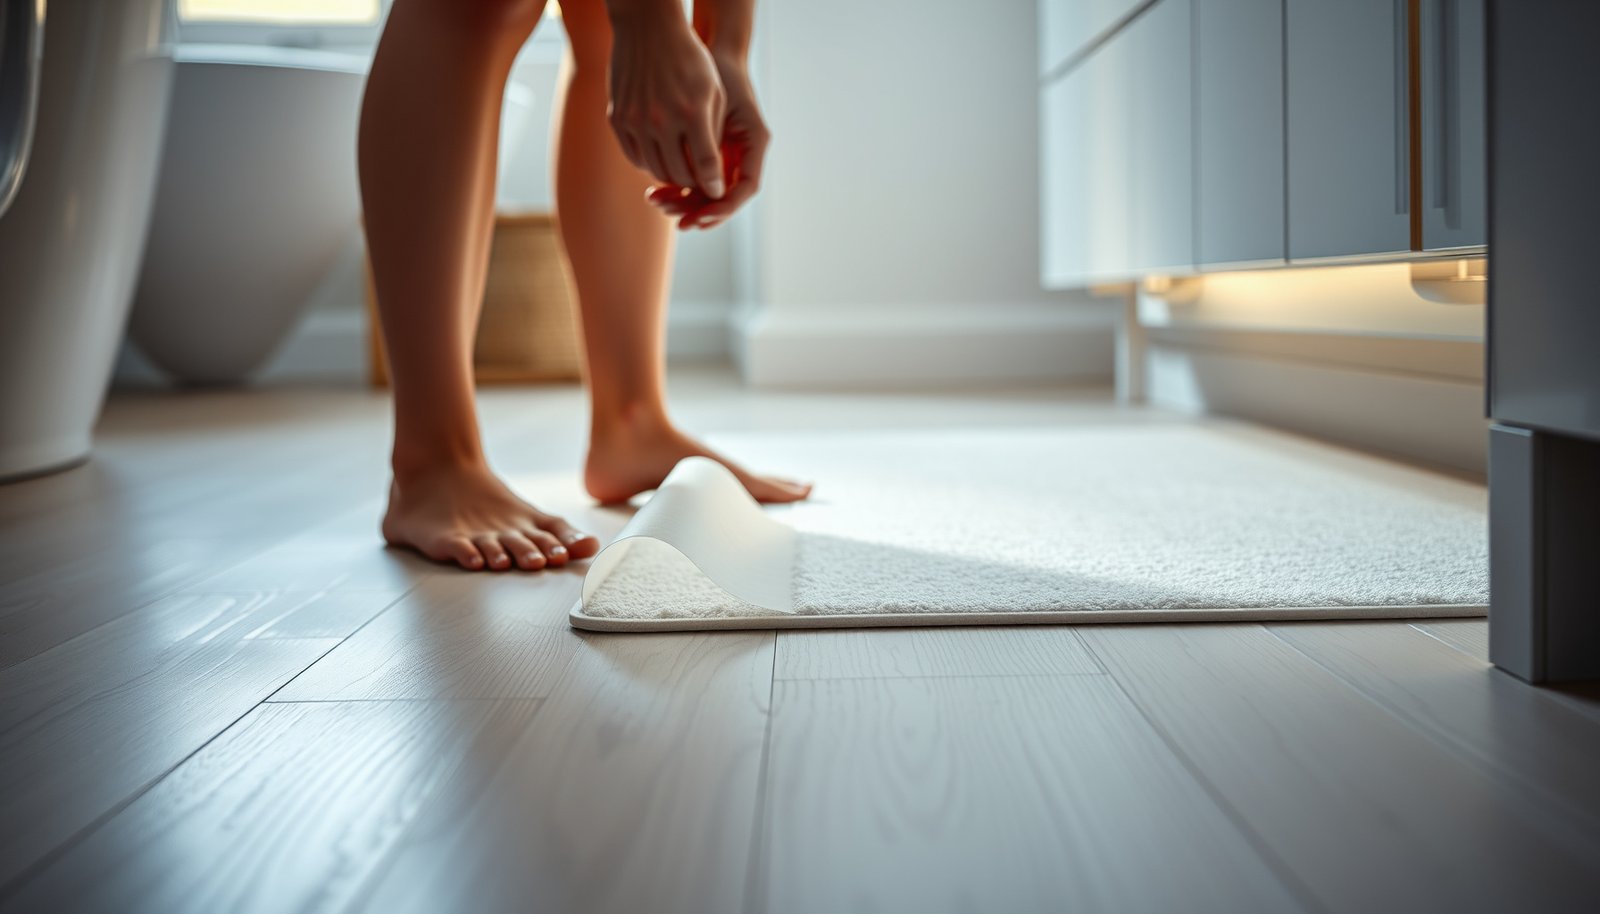

Preventing scratches on vinyl floors in a bathroom comes down to one decisive strategy: stop abrasive grit from grinding into the surface. Use floor mats at every entry, keep cleaning tools soft and non-sand, and add felt pads under furniture so everyday traffic and movement can’t cause gouges. Follow these steps and you’ll keep your vinyl looking smooth and unmarred even in a high-moisture, high-traffic room.




Prevent scratches on vinyl floors in a bathroom by blocking grit before it reaches the floor and protecting common contact points (chairs, stools, toilet areas) with soft, non-abrasive materials. The biggest wins are using the right mats, using felt/soft pads under anything that moves, and cleaning without dragging abrasive tools—especially around wet areas where sand-like debris collects.
If you have vinyl plank (LVP) or vinyl sheet flooring and notice dull scuffs from foot traffic, pet paws, or small debris near wet areas, this guide will help you reduce the everyday “sandpaper effect.” We’ll focus on practical steps you can do right now without needing special equipment.
Bathrooms are one of the harshest rooms for vinyl floors because they combine foot traffic, wet footwear/socks, and fine grit that acts like abrasive sand. This advice is for homeowners and property managers trying to minimize visible scuffs and micro-scratches while still keeping the space sanitary—especially where shoes come in from outside and items get moved frequently.
Start With Scratch-Resistant Protection (Surface Contact Points)
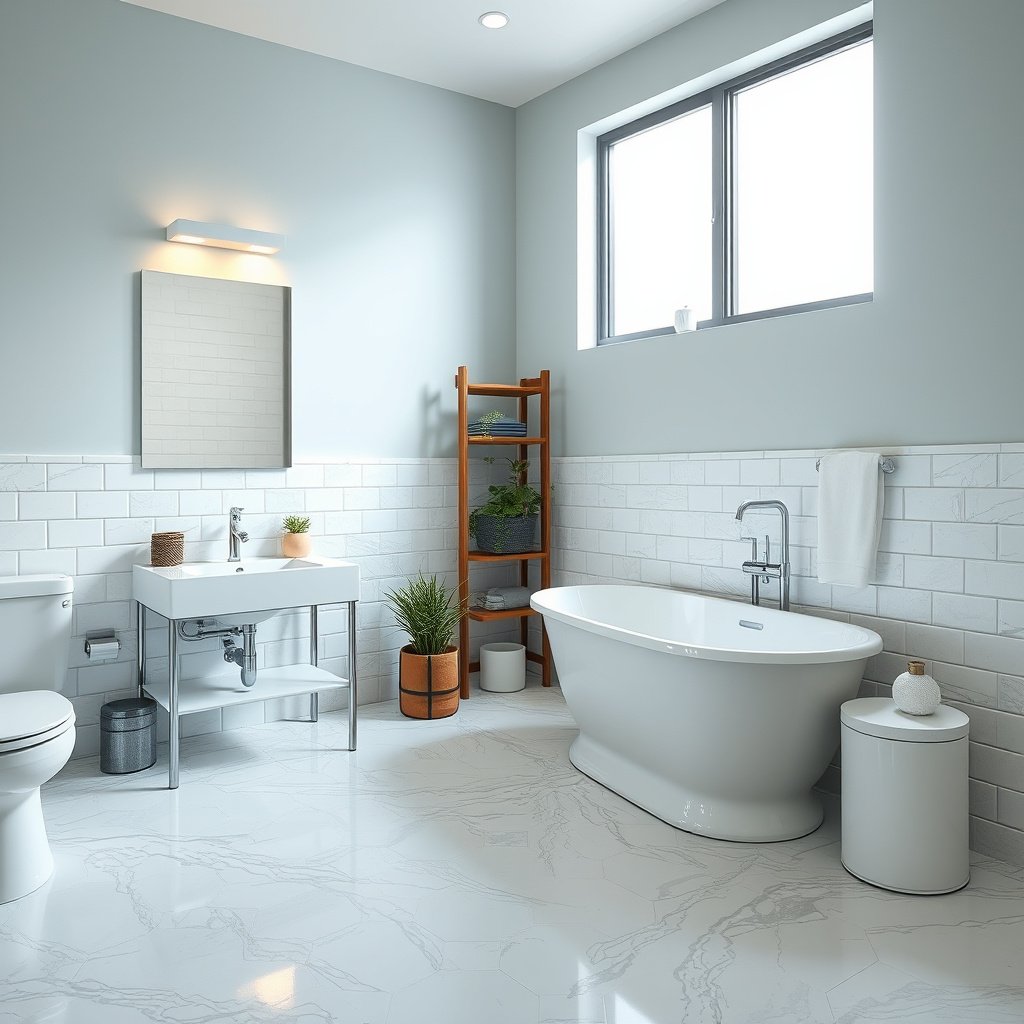
The fastest way to stop new scratches is to prevent direct friction at the places that move, roll, or get bumped most often. Protect the floor where the contact is hard (plastic/metal legs) or where grit can concentrate underneath (rugs and mats).
Quartz (a common component of sand tracked into bathrooms) has a Mohs hardness of 7, which is hard enough to abrade many resilient flooring wear layers.
Sand grains are commonly categorized in soil science as being about 0.075–2.0 mm in diameter—fine enough to slip under rug edges and into mat fibers.
Aluminum oxide (a common abrasive used in many cleaning/finishing products) reaches Mohs 9, so even “light” scrubbing with abrasive materials can accelerate scuffing on vinyl.
From my experience troubleshooting wear patterns on resilient floors, the scratch map usually mirrors movement routes—doorway-to-shower and sink-to-toilet—so your goal is to interrupt the friction chain at those specific points.
Protect furniture and movable bathroom items
– Add felt pads or soft glides under bathroom furniture (stool, laundry hamper base, rolling carts). Replace when they wear down.
– Use non-slip rugs/mats with a vinyl-floor-friendly backing so the mat holds position without grinding the surface.
– Avoid direct contact from hard plastic or metal legs; if you must use them, use a compliant soft layer between the leg and the floor.
Why this matters: vinyl can resist stains well, but micro-scratches come from abrasive particles acting like tiny cutters under pressure. Felt pads reduce both (1) shear force (sliding abrasion) and (2) “grit pumping” (moving trapped debris across the surface each time something is nudged).
Fit matters as much as material
A pad that’s the right material but the wrong size can still concentrate load at a sharp edge. Aim for full-foot coverage where possible, and periodically check that pads haven’t curled or torn—especially around the toilet and shower where floor texture and splashes can shorten pad life.
Control Dirt and Grit Near the Door (Biggest Scratch Driver)
The biggest scratch driver is grit brought in on shoes and carried by foot traffic from the bathroom doorway inward. If you block it early and clean the grit up by lifting (not rubbing), you remove the “sandpaper effect” at the source.
Sand (including silica-rich sand) is typically 0.075–2.0 mm in diameter in soil texture classifications, which allows grains to migrate into small gaps and under many mat edges.
Mohs hardness for quartz is 7, meaning quartz-containing grit can remain abrasive even when it looks like “just dirt.”
If your dull scuffs show up most near entry points or wet zones, it’s usually because grit mixes with moisture and becomes more mobile. In practice, that means your most important interventions are the entry mats and cleaning technique—not aggressive scrubbing.
Use mats that actually trap grit
– Place a quality entry mat (at least just outside and inside the bathroom entry, if you can) to catch sand and dust before it gets tracked in.
– Sweep or vacuum frequently, especially where people enter after coming in from outside or where bath items sit and get moved.
– Don’t “spot clean” by rubbing grit across the floor—lift particles first, then clean the remaining film.
What to look for in bathroom mats
A vinyl-friendly mat does two things at once:
1) It traps debris in the pile instead of pushing it outward, and
2) Its backing stays gentle so the mat doesn’t become a grinding surface.
If you’re using a rug, shake it regularly and check the underside for grit buildup. Even a soft-looking rug can scratch if the backing collects abrasive dust.
Quick decision table: common grit sources vs. where scratches show up
Abrasive Contaminants Commonly Tracked Into Bathrooms (Typical Hardness & Size)
| # | Contaminant (example source) | Typical particle size (mm) | Mohs hardness | Why it scratches LVP/vinyl |
|---|---|---|---|---|
| 1 | Silica/quartz sand (shoe outsole grit) | 0.075–2.0 | 7 | Hard mineral grains abrade the wear layer during foot traffic. |
| 2 | Feldspar dust (grit from concrete/stone) | ~0.002–2.0 | 6 | Fine stone dust slips under mats and becomes mobile abrasives. |
| 3 | Iron/steel particles (rubbing on metal hardware) | ~0.05–1.0 | 4–5.5 | Even lower hardness particles can scratch when pressed with grit. |
| 4 | Aluminum oxide abrasion dust (from abrasive products) | ~0.001–0.5 | 9 | Extremely hard abrasive accelerates micro-scoring on vinyl. |
| 5 | Ceramic/tile dust (from demolition or grout/cleaning) | ~0.005–0.3 | ~7 | Hard particulate acts like embedded grit, especially around wet work. |
| 6 | Calcite dust (mineral powder tracked in) | ~0.001–0.5 | 3 | Softer than quartz, but still scuffs when debris is trapped and repeatedly moved. |
| 7 | Dirt-clay agglomerates (tracked mud/soil) | <0.002 | ~1–2 | Fine particles spread into a “grit paste,” increasing abrasion frequency at the floor surface. |
(If you want these numbers tied to your floor type, the best authority is your vinyl manufacturer’s care guide/spec sheet. .)
Clean Without Abrasion (How to Maintain Without Scuffing)
To prevent scuffs, you clean to remove soil—not to grind it. Use soft tools and microfiber, and treat residue as something you soften and lift rather than scrub.
Microfiber cloths trap particulates more effectively than abrasive pads because their fine fibers increase contact area without using hard cutting edges.
Melamine sponges are abrasive and can dull or haze some smooth floor finishes, so vinyl care instructions should be followed before use.
Cleaning technique matters because vinyl damage usually shows up as haze first: that’s the wear layer being micro-scored by tiny particles. When you drag a stiff brush across a surface that already has sand on it, you turn “dirt removal” into “abrasive grinding.”
Choose the safest cleaning workflow
– Use a soft broom or a vacuum with a floor-safe/soft brush attachment; skip anything with a hard beater bar unless your manufacturer explicitly allows it.
– Clean with a microfiber mop/cloth and a non-abrasive, pH-neutral cleaner that’s approved for vinyl flooring.
– For stuck-on residue, try damp-softening first; then gently remove with a microfiber pad rather than scrub brushes or harsh pads.
A simple pros/cons comparison you can apply
| Option | Pros (scratch prevention) | Cons (when it fails) |
|---|---|---|
| Microfiber + vinyl-approved pH-neutral cleaner | Lifts grit and residue; minimizes micro-scoring from hard tools. | May take longer for heavy soap scum if not softened first. |
| Soft brush/vac + microfiber follow-up | Good for daily sand removal near doorways and shower areas. | If you don’t pre-lift particles, you can still create faint haze. |
| Abrasive pad / stiff scrub brush | Fast for some stains on other surfaces. | High risk of dulling, haze, and permanent micro-scratches on vinyl wear layers. |
Manage wetness to avoid edge wear
Avoid leaving pooled cleaner or water on seams and edges. Over-saturation can create conditions where the surface wears more quickly—and once the wear layer is compromised, scratches show up sooner under normal foot traffic.
Protect High-Traffic Areas and Common Bathroom Moves
Protecting only “the whole floor” isn’t enough—scratches concentrate where water and debris meet movement. Target the shower/tub approach, sink zone, and the items that get moved weekly.
Vinyl wear layers are designed for everyday cleaning, but abrasive particulates and repeated friction are the most common causes of visible scuffs (manufacturer care guidance typically emphasizes soft tools and lifting debris).
Pets can track fine particulates into bathrooms via paws, creating a repeated abrasive loading cycle on the same traffic lanes.
A reliable pattern: scuffs near the shower entrance often come from wet footwear plus tracked grit. Scuffs near the toilet and hamper usually come from furniture contact and repeated small shifts.
Protect contact points that move (even “lightly”)
– Put a mat in front of the shower/tub and near sinks where water droplets and sand tracked from shoes accumulate.
– Keep frequently moved items (step stools, small trash bins, hampers) on soft pads; don’t drag them to “save time.”
– If you have pets, trim nails regularly and keep litter/grit off the floor—pet activity is a fast way to create fine scratches.
Prevent mat-driven scratches
If a mat has trapped grit under it, the mat can become the abrasive source. Shake and clean mats on a schedule, and replace worn mat/backing material before it turns gritty or stiff.
Manage Water and Flooring Movement (Indirect Scratch Prevention)
Stop scratches before they start by managing water quickly and preventing floor-edge wear. Moisture and standing water don’t directly “scratch” vinyl like sand does, but they can accelerate conditions that make scuffs more visible and easier to form.
Excess moisture can contribute to premature wear and edge issues in many resilient flooring systems, which is why manufacturer care instructions typically emphasize prompt cleanup and avoiding standing water.
In 2026, the most reliable approach still matches older flooring guidance: keep cleaning controlled, dry edges, and follow your vinyl product’s chemistry limits. As of recent manufacturer guidance updates, many vinyl floors also require approved cleaners and limits on wet mopping.
Use water wisely during cleaning
– Fix standing water quickly and dry the area; moisture issues can contribute to seams lifting or surface wear that makes scratches easier.
– Use the bathroom properly: avoid flooding during cleaning, and wring mops well so you’re not saturating edges and seams.
– Follow your flooring manufacturer’s guidance on cleaning frequency and products—some vinyl floors can react poorly to certain chemicals or aggressive tools.
Steam and aggressive equipment are where people get burned
Many people assume steam is “sanitary,” but some vinyl products can be sensitive to heat or excessive moisture exposure, depending on the installation type and wear layer construction.
– Steam cleaning or strongly wet mopping can be a problem if your specific vinyl product doesn’t allow it.
What Can Go Wrong (Common Mistakes to Avoid)
Even good intentions can increase scratches if the method is abrasive, too wet, or inconsistent with the flooring’s care instructions. The goal is to reduce abrasive contact—so skip shortcuts that grind debris into the surface.
Using abrasive cleaning pads can create visible haze because fine wear-layer removal makes the surface look dull and less reflective.
If scratches are already deep, routine cleaning won’t restore the wear layer; prevention mainly reduces new damage rather than reversing micro-scoring.
High-risk mistakes to avoid
– Using abrasive cleaning pads (even “scrub” sponges) can create visible haze or permanent micro-scoring on vinyl.
– Steam cleaning or strongly wet mopping can be a problem if your specific vinyl product doesn’t allow it.
– Some adhesives on self-stick chair pads, mat coatings, or rug backing can leave residue or affect traction—test in a hidden area first.
– If scratches are already deep, wiping harder won’t help; you may only be able to reduce new damage.
Edge cases where you’ll need a different plan
– Loose seams or lifting edges: focus first on addressing the installation issue before “perfect cleaning” can help.
– Mat backing that’s hardening: replace it; hardened rubber/rigid backings can behave like an abrasive scraper.
Verdict: Do This First (and Skip When It Doesn’t Fit)
Start with mats + soft pads + gentle cleaning—those three usually prevent the majority of scratches on bathroom vinyl floors. The downside is maintenance: mats may need periodic repositioning/cleaning, felt pads wear out and must be replaced, and you’ll need to clean more carefully (lifting debris instead of scrubbing).
Most vinyl care guidance prioritizes soft cleaning tools, lifting dirt before mopping, and avoiding abrasive pads—because repeated friction with grit is the primary mechanism behind scuffs.
Promptly removing standing water aligns with resilient flooring care principles that aim to prevent edge and wear issues that make scratches appear sooner.
Skip or modify these steps if your vinyl manufacturer says not to use a certain cleaner, steam, specific vacuum attachments, or certain rug backings—always check your floor’s care instructions first.
Quick Checklist (Save/Print)
| Do | Avoid |
|---|---|
| Use soft, felt-backed pads under moving items | Drag furniture, even “just for a second” |
| Put a mat where dirt gets tracked in | No mat at all in high-sand entry spots |
| Sweep/vacuum with a soft attachment | Hard-bristle brushes / beater bars (unless approved) |
| Clean with microfiber + vinyl-approved cleaner | Abrasive pads, steel wool, harsh scouring |
| Wipe spills quickly and keep edges dry | Over-saturating seams and edges |
| Trim pet nails; keep grit controlled | Let sand/gravel sit and grind underfoot |
Frequently Asked Questions
What are the best ways to prevent scratches on vinyl floors in a bathroom?
Start by placing felt pads or furniture glides under any items that sit on the floor, including bathroom cabinets, stools, and hampers. Use a non-slip bath mat with a smooth backing to catch water and grit without abrasive edges. Sweep or vacuum with a soft brush attachment regularly to remove sand and small particles that cause micro-scratches.
How do you stop sand and grit from scratching vinyl bathroom flooring?
Keep a washable doormat or area rug at the bathroom entrance and inside near the shower or tub to trap debris before it reaches the vinyl plank or sheet. Sweep daily (or as needed) and avoid dragging items across the surface. When cleaning, choose a microfiber mop and gentle, vinyl-safe cleaner so you don’t grind dirt into the wear layer.
Which floor protectors and mats work best on vinyl in bathrooms?
Look for soft, flat protectors—like felt, rubber with felt backing, or manufacturer-recommended glides—that won’t shed and have smooth contact surfaces. For mats, select those labeled safe for vinyl flooring and that use a non-abrasive backing to prevent scratching. Avoid rough rubber backing, gritty mats, or products that can trap grit against the floor.
Why do vinyl floors get scratched in bathrooms even with careful cleaning?
Bathroom scratches often come from abrasive grit like sand tracked in from shoes, bath products, or dust that gets ground into the surface. Sharp items—such as the bottoms of bath stools, rolling carts, or cleaning tools—can also leave visible marks. Even small particles under rugs or bath mats can act like sandpaper when you walk over them.
How should you clean vinyl bathroom floors to avoid scratches during maintenance?
Use a soft-bristle broom or a vacuum with a hard-floor/suction-only setting and a brush roll that won’t scuff; then mop with a microfiber pad. Avoid steam cleaners, harsh scrubbing pads, and abrasive cleaners that can dull the protective wear layer over time. For spot cleaning, use a damp cloth and vinyl-safe solution, then rinse lightly if the product requires it.
📅 Last Updated: October 25, 2026 | Topic: How to prevent scratches on vinyl floors in a bathroom? | Content verified for accuracy and freshness.
References
- Vinyl flooring
- Flooring
- MohawkFlooring
- Home – Tarkett Commercial
- https://scholar.google.com/scholar?q=prevent+scratches+vinyl+flooring+bathroom Google Scholar
- https://scholar.google.com/scholar?q=resilient+flooring+scratch+resistance+care+maintenance Google Scholar
- https://scholar.google.com/scholar?q=vinyl+flooring+maintenance+felt+pads+doormats+abrasion+study Google Scholar