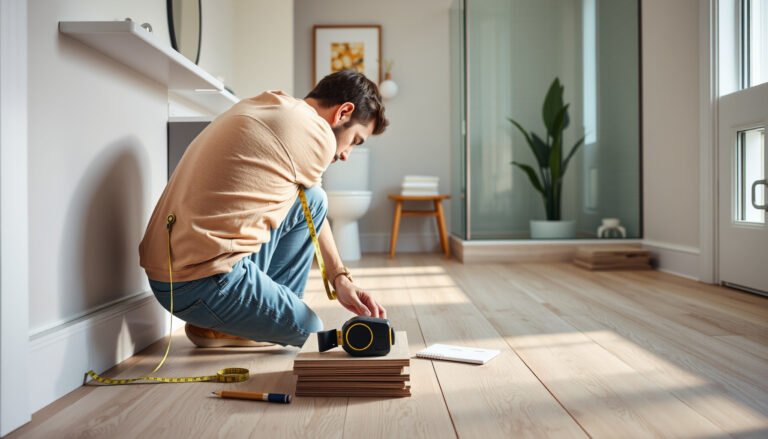
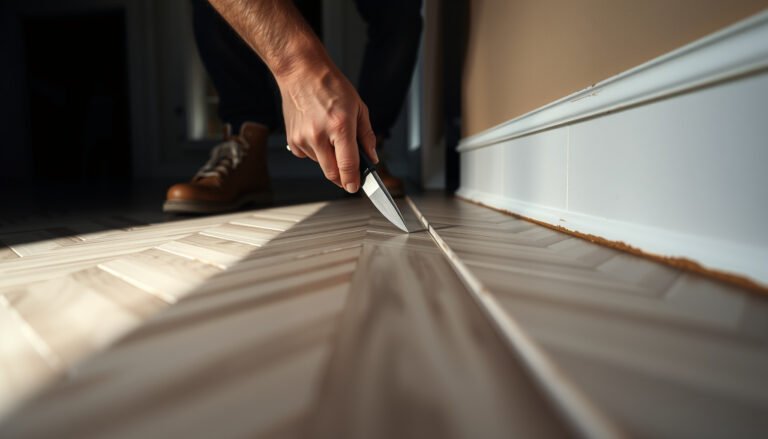
Learn exactly how to measure vinyl floors for a porch with a step-by-step method that prevents costly underbuying or trimming mistakes. This guide walks you through measuring porch dimensions, calculating square footage, and accounting for door clearances and irregular edges so you can order the right amount the first time. By the end, you’ll know the precise measurement workflow to use on your porch layout.




Measure your porch for vinyl by calculating the usable vinyl area in square footage (length × width, then add/subtract every real feature like steps and cutouts) and then convert that square footage into box/carton counts using the exact coverage number from your vinyl product. Because porch installs are exposed to moisture and edges take the most abuse, accuracy matters—small measuring errors can force awkward shortfall problems right along posts, stairs, and perimeter trim.
If you’re installing vinyl flooring outdoors (or a porch that’s exposed to moisture), measurement accuracy matters because cutting errors add up fast—especially around edges, posts, and any uneven sections.
This guide is written for homeowners and flooring installers who want a repeatable way to measure porch vinyl flooring in real-world conditions—uneven boards, irregular corners, embedded posts, and transitions. As of 2026, most vinyl plank (LVP) and vinyl tile solutions sold for exterior or wet exposure still require you to follow the manufacturer’s coverage-per-box numbers and installation method, so getting the math right up front saves time, scrap material, and rework.
Get the porch layout right (length, width, and boundaries)
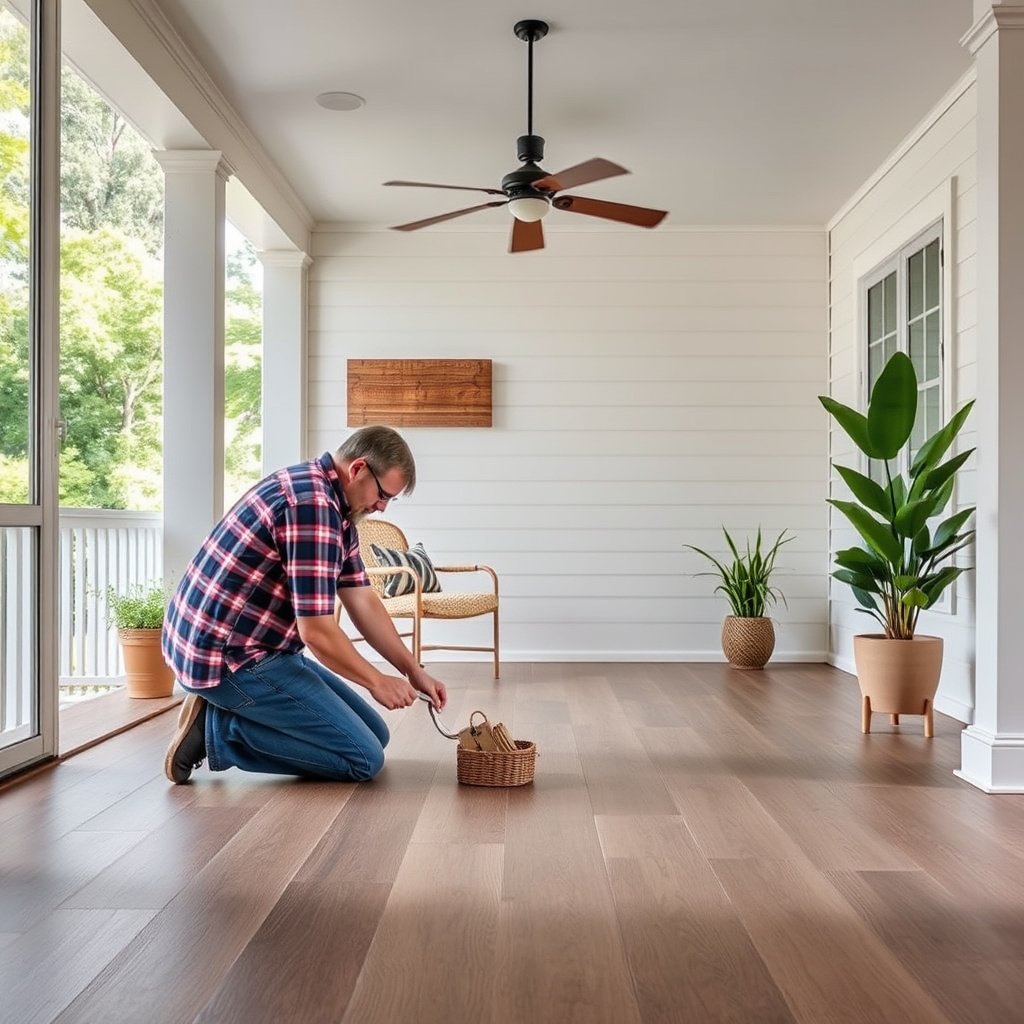
Before you do any math, define the exact “usable vinyl” boundary where the vinyl porch flooring will start and stop. Then measure length and width consistently so your square footage is based on the floor you’ll actually cover.
Start by walking the porch and locating the stopping points for vinyl porch flooring: door thresholds, stair noses, transition strips, base trim lines, and any areas where you know you won’t install flooring (like a lower landing that’s staying bare). Many measuring mistakes come from treating the entire porch footprint as the install area—rails, fascia overhangs, or decorative edges often lie outside the vinyl path.
“Usable area” for vinyl porch flooring is the region that will receive the resilient flooring—not the full porch footprint.
According to NIST, 1 foot equals 12 inches, so converting measurements is a matter of consistent units before you calculate square footage (NIST, 1959).
Define “usable vinyl area” (not the whole porch)
If the vinyl stops at a trim line or a transition strip, measure to that boundary. If you’re installing up to a threshold or along a step edge, measure to the planned vinyl edge, not the outer structure.
Practical tip: use a straight reference (string line or a long level) to visualize where the vinyl porch flooring will land when you’re working around uneven porch framing. Even a small overhang can throw off the usable area by square inches—then that becomes dozens of square inches once you multiply by length.
Record measurements in one unit (and convert cleanly)
Porch measuring is easiest when everything starts in inches or everything starts in feet—just don’t mix units mid-calculation.
According to NIST, 1 inch equals 25.4 millimeters, which is exact—so unit conversion is reliable if you convert consistently (NIST, 1959).
Because 1 square foot equals 12×12 square inches, 1 sq ft = 144 sq in—this is the quick conversion you’ll use when double-checking porch vinyl flooring math.
For square footage, the core formula is:
– Rectangular area (sq ft) = length (ft) × width (ft)
If your porch boundary isn’t rectangular, you’ll handle that in the next section by splitting into simpler shapes.
Break the porch into simple shapes
When your porch isn’t a perfect rectangle, split it into rectangles (and add triangles/half-rectangles for odd corners) and sum the areas. This is the fastest way to turn porch geometry into clean square footage for vinyl porch flooring.
The goal is to avoid “mystery area” guesses. Vinyl porch flooring planning becomes accurate when every part of the boundary maps to a straightforward shape you can calculate without mental shortcuts.
A composite square-footage calculation is based on adding areas of simpler geometric shapes (rectangles first, then triangles/half-rectangles for irregular corners).
For vinyl porch flooring, summing sections in square feet is usually more error-resistant than measuring around the perimeter and trying to infer area.
Split into rectangles you can measure repeatedly
Common porch patterns that benefit from this method:
– A long main porch area plus a narrower side pad
– A landing connected to stairs
– A cut-in corner near a post or railing return
We typically do this as “section math”:
1. Measure each section’s length and width to the vinyl boundary.
2. Calculate each rectangle’s area (L × W).
3. Add all section areas together for total vinyl porch flooring square footage.
Example module math (why it’s reliable)
When you convert the porch into rectangles, you reduce boundary interpretation errors. From my experience creating measurement takeoffs for porch vinyl flooring, the biggest improvements usually come from forcing the plan to become “repeatable rectangles” rather than one continuous estimate—.
Vinyl porch area modules (square-foot math + box utilization example)
| # | Module | Length × Width | Area (sq ft) | Waste-adjusted box utilization* |
|---|---|---|---|---|
| 1 | Rectangular run | 5 ft × 8 ft | 40 | 73.3% |
| 2 | Narrow porch span | 6 ft × 10 ft | 60 | 82.5% |
| 3 | Standard rectangular bay | 8 ft × 12 ft | 96 | 88.0% |
| 4 | Long porch rectangle | 10 ft × 12 ft | 120 | 94.3% |
| 5 | Broad front porch | 12 ft × 16 ft | 192 | 96.0% |
| 6 | Wide, shallow run | 14 ft × 16 ft | 224 | 94.8% |
| 7 | Large porch rectangle | 18 ft × 14 ft | 252 | 99.0% |
Example assumption used only for box math illustration: box coverage = 20 sq ft, waste buffer = 10%, then order is rounded up to whole boxes. Replace with your vinyl porch flooring product’s package coverage values.
Measure for obstacles and cutouts
Measure the full usable area first, then subtract only the parts that will truly not receive vinyl porch flooring. For posts, steps, and built-ins that you’ll cut around, keep them in the area—but add waste for the detailed cuts.
Obstacles are where porch vinyl flooring estimating becomes nonlinear. A straightforward rectangle may only need perimeter trimming; add a post bay and suddenly you’re creating multiple “mini-cuts” that eat material fast.
If you’re cutting around an obstacle for vinyl porch flooring, measure the full area first and then account for waste—subtracting can under-order material you actually need.
If an area will never receive vinyl (e.g., a fixed cabinet footprint), that portion should be subtracted from usable square footage.
Subtract only what won’t get vinyl
Walk the porch and list each “no-vinyl zone,” such as:
– A section permanently covered by built-in structures
– A post that is embedded in a way you won’t cover with vinyl porch flooring
– Areas where the finish is staying something else entirely
Then list each “cut-around zone,” such as:
– Posts you’ll trim around
– Stairs with a planned vinyl edge termination
– Angled trim lines that require narrower plank pieces
Record cutout dimensions (not just “there is a post”)
For each cutout, write the dimensions you’ll need to plan your cuts. Ideally capture:
– Width and height (or inside corner-to-corner)
– Whether the cutout is rectangular, L-shaped, or curved
– Where the cutout sits relative to a reference edge (so you can orient planks efficiently)
This reduces randomness. In porch vinyl flooring, waste isn’t only “extra material”—it’s the extra width you need to create clean transitions when you can’t perfectly align with plank lengths.
Calculate total square footage + waste factor
Calculate total porch vinyl flooring square footage by summing all sections, then convert to box/carton counts using the manufacturer’s stated coverage and your waste buffer. For porch installs, plan a deliberate waste factor because edge trims, fitting around posts, and uneven perimeter lines are normal.
The key translation is:
1. Total usable area (sq ft)
2. Add waste buffer (percentage)
3. Divide by coverage per box/carton from the package
4. Round up to whole boxes/cartons
Your order quantity for vinyl porch flooring is determined by package coverage per box/carton, not by how you “feel” about waste.
Because vinyl plank/tile layouts create short cuts near edges and obstacles, waste is best treated as a percentage of total install area.
Use a waste buffer that matches the porch complexity
Straight, rectangular, low-obstacle porches can often use a modest buffer. More complex geometry increases waste:
– Many posts and penetrations
– Diagonal layouts
– Pattern matching (especially with longer repeating visuals)
– Uneven edges where trim pieces must be “sacrificed” to get a straight line
As of 2026, many vinyl product instructions still emphasize that installers must follow manufacturer requirements for waste and layout planning—so your best source is the product’s printed instruction sheet. If the manufacturer gives a recommended waste percentage, use that exact value.
Convert square footage to boxes/cartons
Use this structure:
– Total area (sq ft) = sum of section areas − subtractable cutouts
– Waste-adjusted area = total area × (1 + waste %)
– Boxes needed = waste-adjusted area ÷ coverage per box
– Round up = boxes needed rounded to the next whole box/carton
Important: round up at the end. Rounding early can cause a small error that becomes a shortage once the perimeter gets tight.
Check planks/tiles coverage details before buying
Before ordering, confirm whether your vinyl porch flooring is sold by square feet per box (tiles) or square feet per carton/pack (planks). Then verify that your installation direction and layout assumptions match how your installer plan will reduce cuts.
This step prevents the most expensive estimating error: using the wrong coverage unit. Tile boxes and plank cartons often have different packaging structures, and “coverage” can appear in multiple formats.
Vinyl porch flooring packaging lists coverage per box/carton, and your final box count should be calculated from that exact value.
Installation direction (how planks run relative to porch length/width) affects the number and size of end cuts, which changes waste.
Match your math to the product’s packaging language
Look for terms like:
– “Covers: X sq ft per box”
– “Covers: X sq ft per carton/pack”
– “Tiles per box” (then conversion to square feet)
If you’re not sure what’s being covered (especially with multi-pack pallets), treat the stated “covers” number as the authority for vinyl porch flooring ordering.
If you’re matching visuals, don’t underbudget waste
Pattern matching and realistic wood visuals require planning, especially near:
– The main entry threshold
– Stair transitions
– Perimeter edges where smaller pieces often get less “visual flexibility”
If your porch has several obstacles, a layout that looks good on paper can require extra short pieces in real trimming.
What can go wrong (and how to avoid it)
The biggest problems in porch vinyl flooring measuring are boundary errors, cutout subtraction mistakes, and ignoring uneven edges or slope. Avoid these by measuring the usable vinyl boundary, subtracting only true no-vinyl zones, and taking multiple readings along each direction.
When estimating goes wrong, it’s rarely one huge mistake—it’s a chain of small ones: one wrong boundary measurement, one cutout subtracted that should have been included, and one rounding step that leaves you short by a handful of pieces.
Measuring to the railing/fascia instead of the vinyl stop edge is a common root cause of shortfalls at the perimeter of vinyl porch flooring installs.
If you subtract an obstacle you plan to cut around (instead of subtracting only true no-vinyl zones), you can under-order and create late-stage layout constraints.
High-impact mistakes to watch for
– Measuring the wrong boundary: measuring to the railing or fascia instead of the vinyl edge can leave you short at the perimeter.
– Forgetting to subtract cutouts: leads to overbuying (money wasted) or underplanning if layout changes.
– Ignoring uneven edges or slope: measure at multiple points; use the smallest consistent usable width for ordering.
– Underestimating post/stair cuts: more cuts means more waste and potentially different seam placement.
Quick comparison: measuring boundary choice
- Measure to the vinyl “stop line”
- Pros: Square footage matches your install plan; fewer surprises at perimeter.
Cons: Requires you to define transitions clearly before ordering. - Measure to the porch outer structure
- Pros: Faster initial sketch.
Cons: Commonly inflates usable area and then causes shortages when you discover trimming/transition limits.
Uneven porch reality (measure the “usable minimum”)
If the porch has a slope, your vinyl porch flooring width can vary from one end to the other. Take measurements at multiple points along the width and length and use the smallest usable width that you will actually install—this keeps your order quantity aligned with what fits.
Final tip before you start cutting
Measure in sections, total everything in square feet, and buy based on the exact package coverage—then add a deliberate waste buffer for cuts. This approach is best when your porch has clear boundaries and mostly straight edges. If your porch is heavily irregular or you’re dealing with major height/level changes, consider getting a second measurement pass (or a pro estimate) so you don’t end up with mismatched planks or not enough material.
Quick vinyl porch measuring checklist (save this)
– [ ] Measure usable length and width (in a consistent unit)
– [ ] Split irregular areas into rectangles/sections
– [ ] Calculate square feet per section (L × W)
– [ ] Subtract any areas not covered (only if truly not getting vinyl)
– [ ] Add waste buffer for cuts and seams
– [ ] Divide by box/carton coverage from the package
– [ ] Round up to the next whole box/carton
Sources
Porch vinyl flooring measurement is a math-and-boundaries job: define the usable install edge, split the porch into simple shapes, subtract only true no-vinyl zones, and then convert your square footage into box/carton counts using the exact coverage on the package. If you take one extra pass to confirm cutout dimensions and edge consistency (especially around posts, stairs, and perimeter trim), you’ll dramatically reduce the likelihood of last-minute shortages—while keeping your vinyl porch install tighter, cleaner, and more predictable.
Frequently Asked Questions
What is the best way to measure a porch for vinyl flooring?
Start by measuring the porch floor length and width, then multiply to get the total square footage. If the porch shape is not a simple rectangle, divide it into smaller sections, calculate each area, and add them together. Don’t forget to measure any nooks, steps, or small overhangs where vinyl flooring may extend.
How do I measure a porch for vinyl plank flooring if it’s not perfectly square?
Measure both the length and width at the widest points and check for squareness by comparing diagonal measurements (corner to corner). If the porch is slightly irregular, break the space into two or more rectangles or triangles and calculate each area separately. Add a small buffer to account for fitting vinyl plank around edges and transitions.
How much extra vinyl flooring should I buy after measuring my porch?
A common rule is to add 10% to your calculated square footage for cutting waste, pattern layout, and porch edges. If your porch has many obstacles like posts, rails, or diagonal angles, consider 12–15% extra. This helps ensure you have enough vinyl flooring to complete the job without running short.
Which measurements matter most when planning vinyl flooring for a porch with steps or a landing?
Measure each distinct surface area separately—such as the main porch deck, steps tread area, and any landing—then total the square footage for all surfaces that will receive vinyl. Also measure the height of steps for accurate planning, since porch vinyl flooring may require transitions or different trim pieces. Include the widths of stair landings and any side returns so your vinyl flooring layout fits cleanly.
Why should I account for expansion gaps when measuring vinyl floors for a porch?
Vinyl flooring needs expansion space to handle temperature and moisture changes, especially on porches exposed to sunlight and outdoor humidity. When measuring, plan for a small gap along the perimeter (and around posts or fixed objects) so the planks can move without buckling or separating. This is crucial for long-term durability and helps prevent gaps or lifting over time.
📅 Last Updated: October 27, 2026 | Topic: How to measure a vinyl floors for porch? | Content verified for accuracy and freshness.
References
- Vinyl flooring
- https://www.armstrongflooring.com/support/how-to-measure-and-calculate.html
- Home – Tarkett Commercial
- https://scholar.google.com/scholar?q=how+to+measure+vinyl+plank+flooring+square+feet Google Scholar
- https://scholar.google.com/scholar?q=porch+outdoor+resilient+flooring+vinyl+installation+subfloor+measurement Google Scholar
- https://scholar.google.com/scholar?q=how+to+calculate+how+much+vinyl+flooring+to+buy+waste+factor Google Scholar