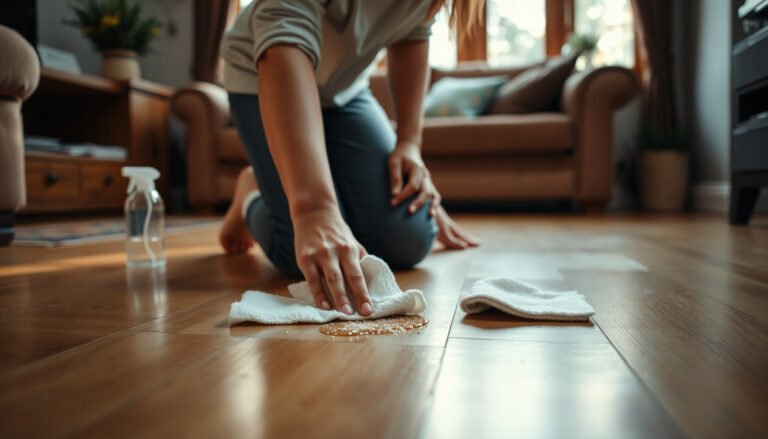
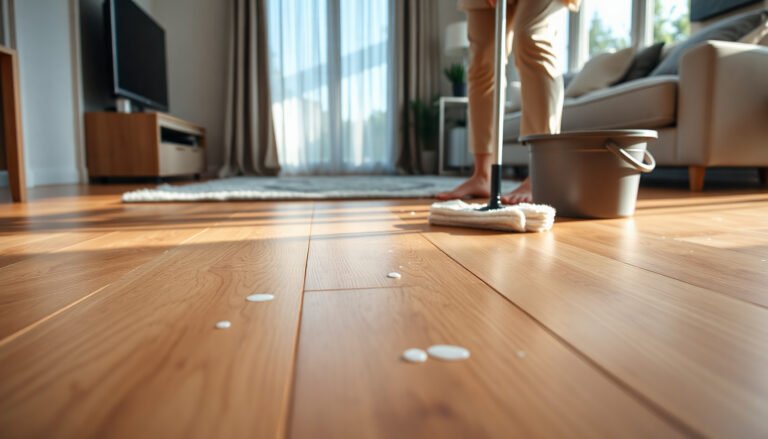
Wondering how to maintain hardwood floors in a basement? Follow the key steps that prevent moisture damage, swelling, and cupping—starting with humidity control and careful drying after any water exposure. You’ll learn the most effective cleaning routine, the right finish protection schedule, and the simple precautions that keep basement hardwood looking solid for years.




If you want hardwood floors in a basement to stay stable, the biggest job is controlling moisture and humidity. Vacuum gently, damp-mop only if your floor’s finish allows it, and protect the boards from standing water and grit—because basements are where wood movement usually starts. This article walks through practical maintenance steps—and what to do when basement conditions begin causing problems.
Basements swing more than other rooms because temperature and humidity change seasonally. This matters because hardwood reacts to moisture by expanding, shrinking, cupping, or gapping.
If your basement is finished (or you’re planning to finish it), this guide is for you—especially if you’ve noticed seasonal movement, musty smells, or condensation around HVAC vents or windows. As of 2026, the most reliable approach is still the same: measure conditions, control humidity, and clean in a way that doesn’t add extra water to already-wet wood.
Control moisture and humidity first
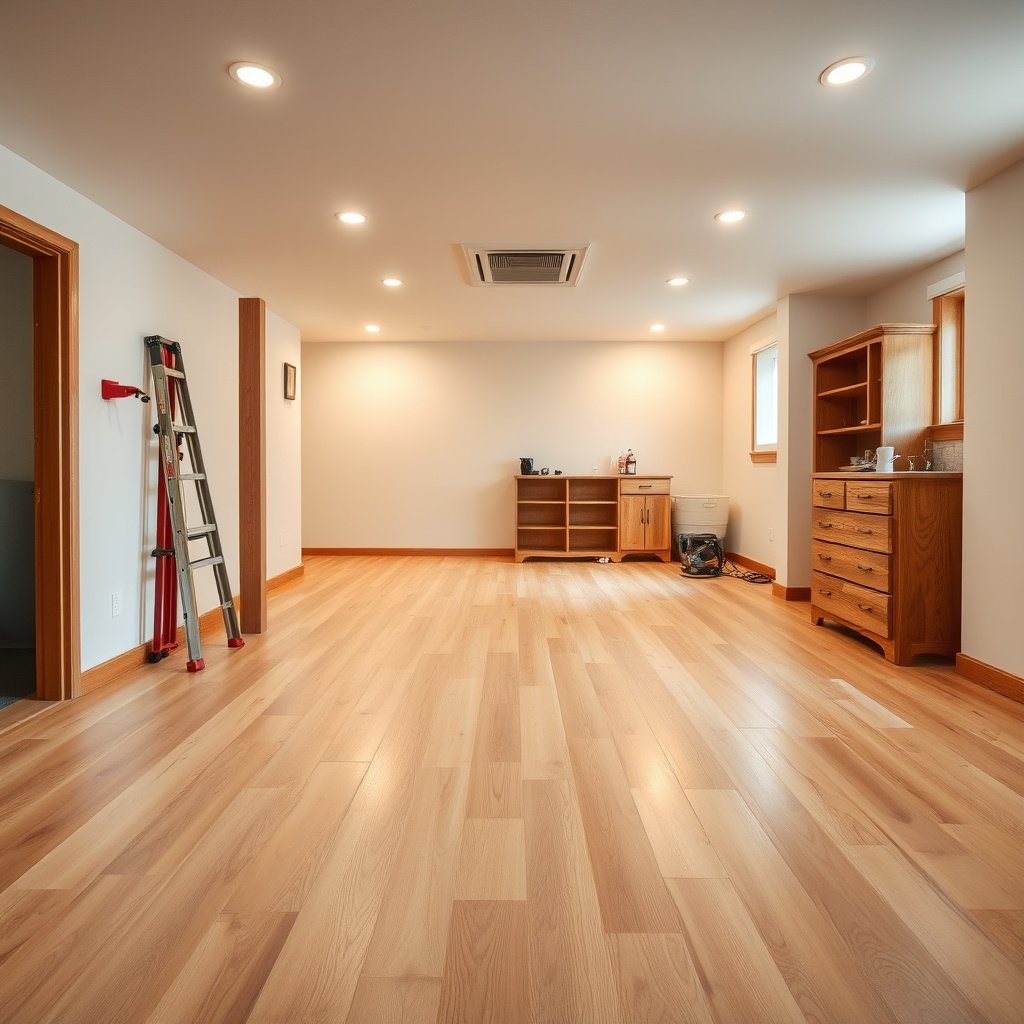
Keeping hardwood floors stable in a basement starts with humidity control, not cleaning rituals. When the basement environment stays within your flooring’s recommended indoor range, the wood is less likely to expand/contract enough to create gaps or cupping.
Wood flooring manufacturers and the National Wood Flooring Association commonly recommend maintaining indoor relative humidity in a controlled band (often around 35%–55%) to reduce seasonal wood movement.
The U.S. EPA notes that mold prevention depends on moisture control—one practical benchmark is keeping indoor humidity below levels that allow mold to grow (commonly cited at under ~60% RH).
– Use a hygrometer (humidity meter) and follow your flooring manufacturer’s recommended indoor humidity range—basements often need active humidity control.
In my experience advising homeowners on basement floors, a $20–$40 hygrometer usually reveals the real problem faster than any “deep clean” ever could. Place it where the wood lives (not right next to a dehumidifier exhaust), and check it regularly during both heating season and summer cooling months.
– Run a dehumidifier (and/or HVAC) as needed, and keep airflow consistent so one side of the room doesn’t stay wetter than the other.
Basements can have microclimates: one corner may be near a cold wall where condensation forms, while another stays drier. If you run a dehumidifier, avoid blocking its intake, and make sure air can circulate across the floor—especially under stairwells or behind furniture.
– Fix water risk early: check for leaks, condensation on ducts/windows, and musty odor signals; don’t treat symptoms with “extra cleaning.”
“Musty” is often a cue that moisture is present somewhere you can’t easily see. Also inspect the areas where hardwood is most vulnerable: plumbing penetrations, the perimeter near exterior foundation walls, and HVAC condensate lines.
To make humidity targets concrete, use the guideline below as a planning reference. (Always prioritize your specific manufacturer’s published range—this table is built around the common 35%–55% RH recommendation.)
How Basement RH Levels Compare to Common Hardwood Guidelines (35%–55%)
| RH | Position vs 35%–55% | Wood Movement Risk | Stability Priority | Fit Rating |
|---|---|---|---|---|
| 25% | ~10 points below lower bound | High shrinkage / tighter-than-ideal | Medium | ★ |
| 30% | ~5 points below lower bound | Moderate shrinkage risk | Medium–High | ★★ |
| 35% | At lower bound (target start) | Low movement risk | High | ★★★★ |
| 40% | Inside guideline band | Very low movement risk | High | ★★★★★ |
| 50% | Inside guideline band | Low movement risk | High | ★★★★★ |
| 55% | At upper bound (target ceiling) | Low movement risk | High | ★★★★ |
| 60% | ~5 points above upper bound | Moderate swelling / higher mold risk | High | ★★ |
Clean the right way (and avoid finish damage)
Staying stable in a basement also means cleaning without adding moisture or grinding grit into the finish. The safest routine is dry cleaning first (vacuuming), then only light damp cleaning if your hardwood finish allows it.
Steam mopping introduces both heat and moisture, which can increase wood swelling and accelerate finish breakdown when a hardwood manufacturer does not explicitly approve it.
Dragging grit across hardwood acts like sandpaper, so dry vacuuming with a soft brush attachment is a standard care step recommended by wood flooring care guidance.
– Vacuum with a soft brush attachment or a floor-suitable broom—grit dragged across hardwood is a common cause of dulling and scratches.
Basements track in exterior dust, soil, and fine grit. In 2026, we still see the same pattern: “look-safe” dust behaves like abrasive media. Aim for consistent, gentle vacuum passes around entry points and along wall edges.
– Damp-clean only using products your finish allows (typically a manufacturer-approved hardwood cleaner or a lightly damp cloth); avoid flooding the floor.
If you use a damp method, wring cloths thoroughly and work in small sections. “Damp” means the floor should never look glossy-wet or sit with visible liquid.
– Skip steam mops unless your floor manufacturer explicitly permits them—heat + moisture can break down finishes and swell wood.
Even if the floor “dries fast,” repeated moisture cycling can still push boards toward larger seasonal movement—especially when basement humidity is already elevated.
Cleaning method: pros/cons (quick decision)
| Method | Best for | Pros | Cons / watch-outs |
|---|---|---|---|
| Vacuum (soft brush) | Weekly maintenance + grit control | Removes abrasive particles without adding water | Avoid spinning brushes; use hardwood-safe attachments |
| Dry microfiber / broom | Quick debris pickup | Low risk to finish if you keep grit moving off the floor | Sweep slowly; don’t “push” sand into seams |
| Manufacturer-approved cleaner (light damp) | Spot cleaning + occasional deeper clean | Targets dirt without saturating boards | Too-wet cloths can still drive moisture under edges |
| Steam mop | Only if explicitly approved | Convenient on some surfaces | Not recommended for many finishes; can swell wood and weaken finish |
Protect your floors from basement hazards
Protection is about reducing abrasion and preventing liquid from staying on the wood long enough to penetrate seams. In a basement, small hazards repeat—tracked-in grit and accidental spills are often what turns “fine” into “problem.”
Preventing standing water is essential because hardwood movement is directly driven by moisture; the longer liquid sits, the more risk you introduce to seams and edges.
Flooring care guidance typically recommends using mats at exterior entrances to reduce grit load, since grit is a leading cause of scratches on hardwood finishes.
– Put a mat at the basement entrance and use felt pads under furniture to reduce abrasion and scuffs.
Choose mats that don’t shed rubber crumbs and that drain/dry. If a mat stays damp, it can become its own moisture source.
– Keep area rugs breathable (don’t trap moisture under non-breathing backings), and lift them periodically to check for discoloration.
In basements, “stays dry” is a common misconception. Lift and inspect under rugs monthly during seasonal humidity swings.
– Use a “spill rule”: wipe liquid immediately, don’t let it sit long enough to penetrate seams.
Blot rather than scrub. If your basement has frequent condensation, treat it like a “spill” too—wipe any water that lands on the floor near HVAC vents.
From my experience working with homeowners, the best-looking basements often have the simplest system: entrance mat + felt pads + a quick-blot habit. That combination reduces both abrasion damage and moisture exposure.
Watch for early signs and handle issues fast
Early detection matters because hardwood problems usually worsen when moisture conditions remain uncorrected. When you see movement, you’re not just looking at finish wear—you’re observing the wood’s response to humidity.
Cupping, crowning, and persistent gapping are classic indicators of moisture imbalance that warrants immediate humidity and water-source checks.
Finish bubbling can indicate moisture under or within the finish layer, so continuing to clean without correcting the underlying moisture source often delays repair.
– If you see cupping, crowning, persistent gaps, or finish bubbling, stop assuming it’s “just wear” and check moisture conditions right away.
Repeat humidity readings over 24–72 hours. If your hygrometer shows spikes (even a few days during storms or seasonal HVAC changes), correct those conditions first.
– Address surface scratches with the right repair method for your finish (e.g., manufacturer guidance for touch-up markers, wood filler, or refinishing spots).
The repair approach depends on whether your floor is polyurethane-finished, prefinished, or oil-finished. Using the wrong filler or coating can make the scratch less noticeable—but create a bigger mismatch later.
– For deeper problems (warping, major separation, or widespread movement), plan for a professional assessment—continued imbalance can worsen damage.
Professionals typically evaluate subfloor moisture, installation conditions, and airflow/dehumidification setup—not just the visible boards. In 2026, that broader approach is often the difference between “spot repair” and “redo the room.”
What can go wrong in basements
Basement hardwood failures usually come from moisture management mistakes, not from normal foot traffic. Cleaning alone cannot reverse ongoing humidity swings, and some “aggressive cleaning” choices make the wood problem progress.
Mold prevention guidance emphasizes that fixing moisture sources and controlling humidity are more effective than cleaning alone when damp conditions persist.
The U.S. EPA states that mold can begin to grow within 24 to 48 hours after water damage if moisture is not addressed promptly.
– Using too much water: even “good” mopping habits can add moisture faster than a basement can release it.
Basements often have slower drying due to cooler surfaces and limited airflow pathways. A “quick mop” can still push water beyond the finish.
– Relying on surface treatments only: sealants and polishes won’t fix underlying humidity swings in the sub-environment.
If relative humidity is above your flooring’s target band, the wood still moves; a topcoat only changes how the surface looks.
– Ignoring hidden moisture sources: plumbing leaks, poor drainage near exterior walls, or HVAC condensation can keep the problem going even when cleaning seems fine.
The fix usually happens upstream: drainage, leak correction, duct insulation, condensate management, and balanced humidity control.
– Steam, harsh chemicals, or abrasive pads: these can strip or etch the finish, making the floor look worse while wood underneath keeps reacting to moisture.
Finish damage reduces the floor’s ability to shed moisture during normal household spills, which increases the chance of staining or swelling later.
Verdict / tip: focus on humidity control, not just cleaning
If you do two things consistently—(1) keep humidity within your hardwood’s recommended range and (2) clean without adding water—you’ll prevent most basement-related floor problems. DIY maintenance works best for regular vacuuming, careful spot cleaning, and quick touch-ups; in 2026, the most effective “maintenance” is still environmental control.
That said, downsides and limits are real: if your basement has active leaks, repeated condensation, or significant cupping/board separation, DIY cleaning won’t solve the root cause. In those cases, pause repairs that rely on aesthetics (like refinishing over active moisture), and get a professional assessment focused on moisture and flooring system performance.
Frequently Asked Questions
What are the best humidity levels to maintain hardwood floors in a basement?
Hardwood floors perform best when indoor humidity is kept relatively stable, typically around 35–55% relative humidity. Basements often run cooler and can experience sudden moisture swings, which may cause cupping, gapping, or buckling. Use a hygrometer to monitor humidity and prevent excess moisture before damage starts. If your basement is frequently humid, consider a dehumidifier sized for the space.
How do I prevent moisture damage to hardwood floors in my basement?
Start by addressing the source: confirm gutters and downspouts direct water away from the foundation and check for leaks around windows, plumbing, or cracks. Use a moisture barrier if the floor installation or subfloor design calls for it, and avoid wet mopping—always use a damp (not soaked) microfiber mop. Promptly wipe up spills and ensure any vapor control measures under/around the hardwood system are intact to protect against basement moisture.
Why does my basement hardwood floor develop gaps or cupping, and how can I fix it?
Gaps, cupping, and warping usually result from humidity imbalance—too much moisture makes wood expand and cup, while overly dry air can shrink it and create gaps. Fixing it usually starts with stabilizing humidity and temperature so the wood can acclimate gradually. For minor seasonal movement, maintaining consistent humidity may resolve the issue over time; for severe cupping or structural damage, you may need professional assessment.
How should I clean hardwood floors in a basement without harming the finish?
Sweep or vacuum with a soft brush attachment to remove grit that can scratch the hardwood, especially since basement dust is often abrasive. For cleaning, use a hardwood floor cleaner recommended for your finish and apply it lightly with a damp microfiber mop—never flood the surface. Avoid steam cleaners and harsh chemicals, and dry-clean any excess moisture immediately to reduce the risk of finish breakdown and moisture intrusion. Regular maintenance helps the hardwood floor’s protective coating last longer.
Which maintenance routine works best for keeping hardwood floors in a basement long-term?
Establish a simple schedule: dust and clean regularly, keep humidity stable, and inspect the floor monthly for early warning signs like squeaks, gaps, or surface dullness. Recoat or refinish only when needed—typically when the finish is worn through or water resistance declines—so you maintain hardwood floor protection against basement conditions. Also consider area rugs in high-traffic zones and use proper felt pads under furniture to prevent dents and scuffs.
📅 Last Updated: October 16, 2026 | Topic: How to maintain hardwood floors in a basement? | Content verified for accuracy and freshness.