
Leveling vinyl floors before installing in a restaurant is easiest when you diagnose the cause first and then flatten with a fast-setting self-leveling underlayment. If your subfloor has dips, humps, or uneven transitions, this is the most reliable way to prevent telegraphing, rocking, and premature wear in heavy-traffic areas. Follow the right prep steps—cleaning, moisture checking, and proper patching—and you’ll get a perfectly flat surface that vinyl installation can’t disappoint on.




Level your vinyl floor subfloor by fixing high spots, filling low areas, and using an appropriate leveling compound (or patch) only after you confirm the moisture and flatness requirements for the specific vinyl product. Plan for a two-step prep: (1) mechanical flattening and patching, then (2) a final skim/self-level where needed so the surface is truly flat before planks or tiles go down. This guide walks through the practical order of operations and what can go wrong in a commercial (restaurant) install.
If this is your restaurant floor and you’re installing LVP/LVT or vinyl sheet, you’re usually fighting two issues: uneven subfloor flatness and moisture variation from foot traffic, cleaning, HVAC swings, or nearby plumbing. The steps below are written to help you get a level surface that holds up under frequent rolling loads and repeated cleaning.
Check subfloor flatness (before you buy compounds)
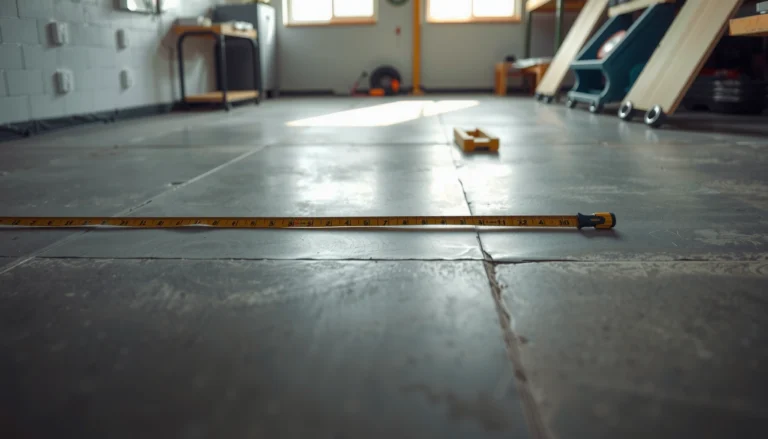
If you want a vinyl floor that doesn’t telegraph ridges or loosen over time, start by measuring flatness—not by assuming the slab is “close.” The best vinyl leveling plan is the one that matches what your straightedge actually reveals on day one.
ASTM F710 is commonly used as the baseline reference for resilient flooring preparation tolerances, including “maximum deviation” flatness targets.
For restaurant vinyl installs, subfloor flatness is measured with a straightedge over representative lengths (not by eyeballing joints, seams, or patchwork).
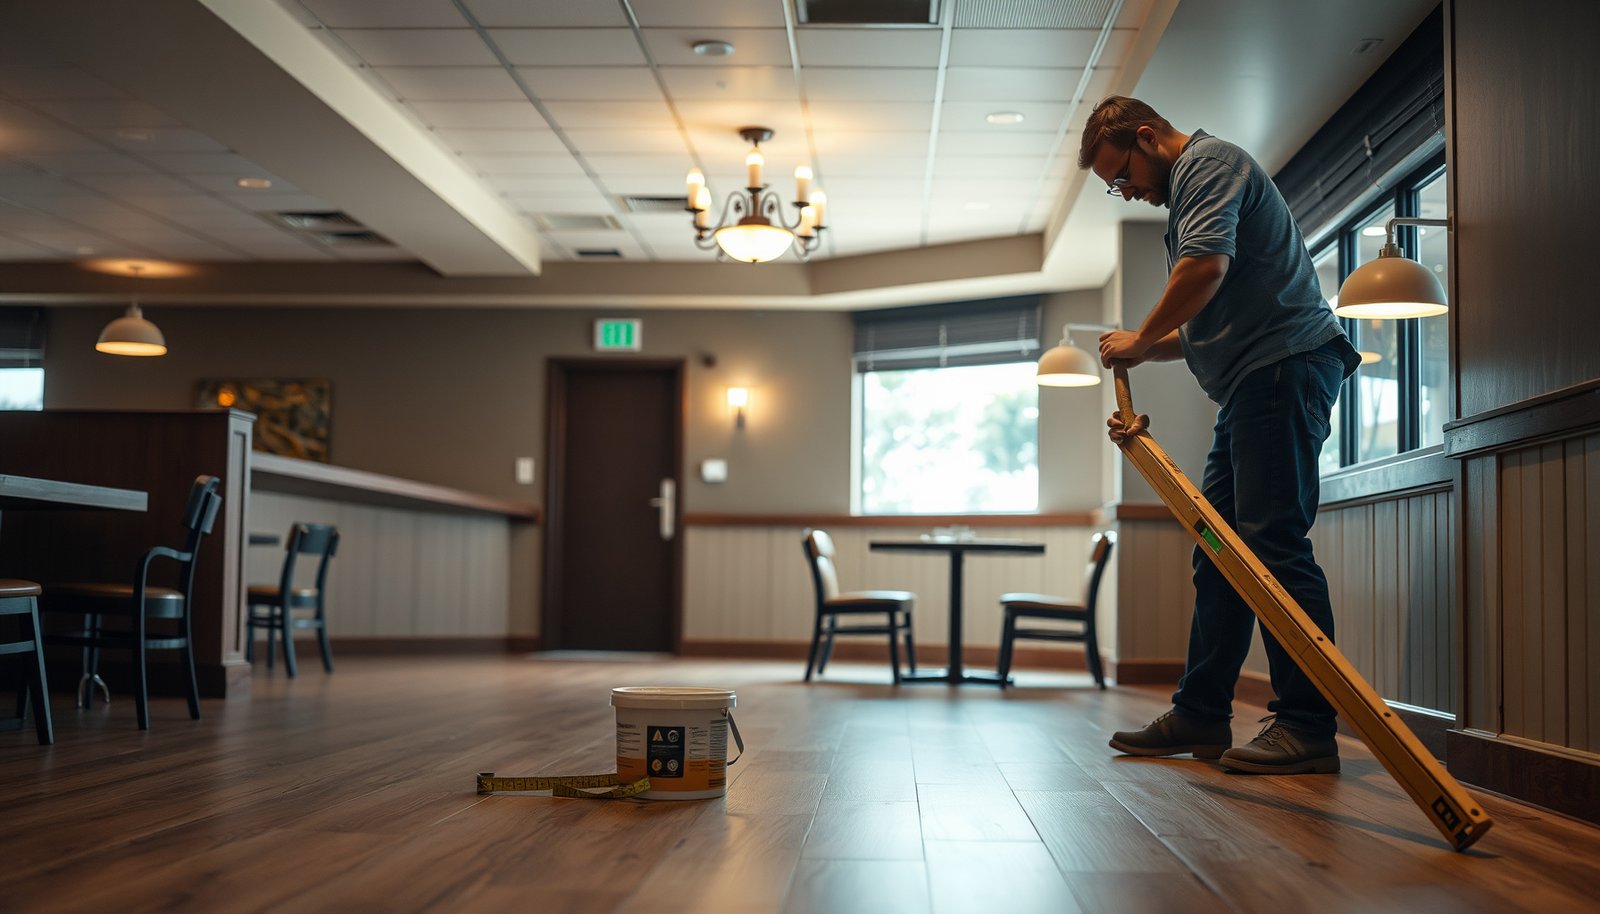
– Verify the current condition with a straightedge/level and mark highs/lows; don’t assume the slab is “close enough.
– Identify the subfloor type (concrete slab, plywood/OSB, old tile/VCT, etc.) because prep products and allowable prep methods vary.
– Confirm your vinyl manufacturer’s flatness and subfloor requirements; use their spec as the deciding rule. Typical resilient-vinyl references use a maximum deviation of _3/16 in over 10 ft_ (and _1/8 in over 6 ft_)—but verify against your exact LVP/LVT or sheet product installation guide. ASTM F710 and your vinyl manufacturer’s written requirements.
What “flatness” means in practice (for vinyl)
Vinyl—especially click-lock LVP/LVT—doesn’t just need a “level” bubble. It needs flatness: the floor plane must not change direction sharply over short distances. In restaurants, carts, chairs, and routine wet cleaning can amplify movement at edges and low spots, which can show up as:
– plank “rocking” (joint gaps slowly opening),
– telegraphing of patch ridges,
– squeaks at transition points,
– accelerated wear around wet-cleaning paths.
Why you can’t skip measurement
In my experience walking through restaurant flooring tear-outs, the most expensive surprises usually start with a missed high ridge. Installers often compensate for lows with thicker leveling compound, but a high spot still creates a lever—so the vinyl surface may look “installed” while the subfloor profile quietly drives failure later.
Visual reference: standards and what they actually provide
Flatness & Moisture Documents Used for Resilient/Vinyl Pre-Install Decisions (U.S. Standards/Guidance)
| # | Document | What it provides | Key output / unit | Used for vinyl prep | Acceptance limits included? |
|---|---|---|---|---|---|
| 1 | ASTM F710 | Concrete prep & flatness guidance for resilient flooring | Flatness deviation expressed over a reference length (in. over 10 ft / 6 ft) | Yes | Yes ★★★★☆ |
| 2 | RFCI/CRI TB-121 (Moisture) | Moisture testing limits often used for resilient flooring acceptance | MVER (lb/1000 sq ft/24 hr) and RH (%) | Yes | Yes ★★★★☆ |
| 3 | ASTM F1869 | Calcium chloride moisture vapor emission test method | MVER in lb/1000 sq ft/24 hr ASTM F1869 | Yes | No ★★☆☆☆ |
| 4 | ASTM F2170 | In-situ RH probe moisture test method | Relative humidity (RH) in % ASTM F2170 | Yes | No ★★☆☆☆ |
| 5 | ASTM E1155 | Profile method for measuring floor flatness/levelness | Flatness profile as deviation values (in. or mm over reference length) | Yes | No ★★☆☆☆ |
| 6 | ASTM D4263 | Plastic sheet moisture test (qualitative) | Pass/fail observation (condensation/darkening) | Screening only | No ★☆☆☆☆ |
| 7 | Manufacturer install guides (LVP/LVT) | The acceptance criteria that govern warranty | Product-specific flatness/moisture/acclimation requirements | Yes | Yes ★★★★★ |
Confirm moisture and let the job “stabilize” first
Moisture testing is the gatekeeper step for vinyl—no leveling compound fixes a slab that’s actively releasing water. In a restaurant, the environment keeps changing, so you also need the site to stabilize (HVAC on, cleaning schedule understood) before you commit to leveling.
ASTM F1869 reports moisture vapor emission as MVER in lb/1000 sq ft/24 hr.
ASTM F2170 measures in-situ relative humidity (RH) as a percentage using drilled-hole probes.
– Test moisture per the vinyl manufacturer’s instructions (commonly using in-situ RH probes for concrete or calcium chloride for slabs).
– Address active moisture sources before leveling—no leveling compound will “solve” a continuing moisture problem.
– Acclimate vinyl as directed by the manufacturer (temperature/humidity requirements differ by product).
Restaurant-specific moisture drivers to account for
In restaurants, moisture variation is not hypothetical—it’s operational:
– Foot traffic + wet cleaning changes surface moisture profiles quickly.
– Kitchen HVAC cycles can shift temperature gradients through the slab.
– Nearby plumbing (supply lines, condensation from refrigeration, or slow leaks) can create localized moisture.
From experience reviewing subfloor failures under resilient flooring, moisture problems usually show up as: adhesive debonding, bubbling, or joint movement. The pattern often traces back to a test that was done too early (before the HVAC schedule stabilized) or to a moisture source that wasn’t fixed first.
Stabilization window (what to do)
Before you pour leveling compound for vinyl, align conditions to how the space will run:
– Turn on HVAC and reach the installation temperature/humidity range the vinyl guide requires.
– Run cleaning routines on schedule if the manufacturer’s process allows it (at minimum, document what you did).
– Retest if conditions changed significantly after initial readings.
As of 2026, most moisture guidance still follows the same principle: measure using the stated method, then comply with the limits your vinyl manufacturer sets for warranty.
Prep the surface correctly (the part many installs skip)
If you skip surface prep, the leveling compound can fail even when it’s mixed perfectly. The most reliable vinyl leveling sequence treats prep as bonding prep, not just “cleaning.”
Leveling compounds and patch products typically require a sound, clean substrate; manufacturer instructions control whether grinding and priming are mandatory.
Cracks, loose patches, and laitance (weak, dusty surface layer) are major root causes of debonding under resilient flooring.
– Remove contaminants: scrape off loose material, grind high spots, and ensure the surface is sound and clean enough for bonding.
– Repair cracks/spalling and check for loose patches; leveling compounds follow what’s underneath.
– Prime/condition only if the leveling product requires it (primer choice and coverage matter).
How to avoid the “pretty but unbonded” floor
I’ve seen patches that look feather-flat but still fail because:
– the slab surface was dusty from grinding,
– primer was skipped where the datasheet required it,
– loose coating/paint wasn’t removed,
– or patch edges were feathered over weak substrate.
For vinyl installs in restaurants, you need the leveled surface to stay stable under sanitation chemicals and rolling load. Prep directly controls that stability.
Flatten low spots with patch/skim or self-leveling compound
For vinyl planks or tiles, choose the leveling system that matches the low spot scale—then apply only within the compound’s allowed thickness. The goal isn’t “cover everything,” it’s to return the subfloor to the required flat plane for vinyl.
Small dips are usually handled with a cementitious patch/skim-feather system designed for resilient flooring prep, not an arbitrary mortar.
Self-leveling underlayment is for broader unevenness, and you must respect the maximum pour thickness and mixing instructions to prevent shrink and debonding.
– For small dips: use a cementitious patch/skim coat or feather-finish product designed for resilient flooring prep.
– For broader unevenness: use a self-leveling underlayment/compound rated for your substrate and intended use (and apply at the thickness the manufacturer allows).
– Work in manageable sections and follow mix ratios exactly; don’t “eye-ball” water.
Patch/skim vs. self-leveling: what to pick
| System | Best for | Key limitations for vinyl |
|---|---|---|
| Patch / skim coat | Localized low spots, transitions, and feather-edge corrections | Can create visible ridges if edges aren’t feathered and substrate wasn’t properly conditioned |
| Self-leveling underlayment | Widespread unevenness where you need a consistent plane | Requires correct primer, controlled thickness, and proper cure time to avoid surface defects under vinyl |
Two-step prep is the “why” behind the flatness you see
Restaurants are ruthless on floors. A practical approach is:
1. Mechanical flattening + patching to remove highs and correct obvious lows.
2. Final skim/self-level only where your straightedge confirms remaining variation.
This sequencing reduces the chance you “chase” the floor profile with compound, only to end up with ridged patch edges under vinyl.
Manage transitions and cleanup for a commercial kitchen layout
You prevent future vinyl movement by planning leveling around doors, transitions, and expansion details—before you pour. In a restaurant, cleanup and cure control are part of the leveling system, because contamination and rushed schedules can damage the final surface.
Leveling compound can telegraph through vinyl if edges cure as ridges, especially at transitions and around high-traffic thresholds.
Worksite dust control during leveling matters because weak surfaces or trapped contaminants can undermine bonding and future performance.
– Plan leveling around door thresholds, transitions to tile/carpet, and expansion gaps (especially near heavy door traffic).
– Use proper edge details so compound doesn’t create hard ridges that telegraph through vinyl.
– Keep the worksite dust-controlled and protect the surface while it cures; accelerated cleanup can trap problems under the floor.
Practical transition details that matter in restaurants
– Door thresholds: Don’t end leveling in the middle of an opening where rolling loads repeatedly cross.
– Expansion gaps: Leave them where vinyl installation requires; don’t let self-leveling “bridge” them.
– Floor drains and wet zones: Maintain required slope and waterproofing boundaries; leveling compound is not a substitute for moisture management systems.
What can go wrong (and how to prevent it)
Most vinyl leveling failures are predictable: wrong product for the substrate, moisture ignored, or flatness not verified after prep. If you address these three failure modes, you drastically improve the chance your vinyl install stays stable under restaurant traffic.
Using a leveling compound outside its approved substrate/thickness range increases risk of debonding and surface defects that vinyl will expose.
Moisture-related failures typically originate from active slab moisture; leveling is not a moisture barrier.
– Leveling the wrong way: using a product that’s not rated for your substrate or thickness range can cause debonding or shrink/peel.
– Moisture surprises: leveling over moisture without testing can lead to curling, gaps, or floor failure.
– Skipping final flatness checks: even after leveling, re-check with a straightedge before installation—high ridges and ridged patch edges are common failures.
– Restaurant-specific risk: rushed curing due to schedule pressure; follow cure times from the compound manufacturer, not “day-of” estimates.
A quick pros/cons reality check (for decision-makers)
- Pros of leveling before vinyl: fewer movement-driven joint issues, less telegraphing, and better long-term cleanability performance in high-traffic paths.
- Cons / tradeoffs: it costs labor and schedule time, and moisture testing + cure windows can require coordination with kitchen operations.
Verdict / tip
If you can test moisture, clean/prep thoroughly, and you follow the leveling compound + vinyl manufacturer instructions for flatness, thickness, and cure time, leveling before a restaurant vinyl install is usually worth the extra labor—because unevenness is one of the main causes of joint separation and movement. Skip (or hire a flooring contractor for) this approach if the subfloor has suspected active moisture, major structural movement, widespread failures in the substrate, or if you can’t accurately follow cure and temperature/humidity conditions during installation.
Quick takeaway: level for flatness, not just “looks.”
Quick checklist (save this)
– [ ] Straightedge check + mark highs/lows
– [ ] Substrate identified (concrete vs. wood vs. tile)
– [ ] Moisture test completed per vinyl instructions
– [ ] Vinyl acclimated to site conditions
– [ ] High spots ground; loose material removed
– [ ] Primer used only if required
– [ ] Patch/skim or self-leveling compound used within thickness limits
– [ ] Cure time followed; final flatness re-checked
– [ ] Installation details planned for thresholds and transitions
Sources
– ASTM F710, *Standard Practice for Preparing Concrete Floors to Receive Resilient Flooring* (primary standard for concrete prep methods).
– ASTM F2170, Standard Test Method for Determining Relative Humidity in Concrete Floor Slabs Using In-Situ Probes (moisture testing method).
– ASTM F1869, Standard Test Method for Measuring Moisture Vapor Emission Rate of Concrete Subfloor Using Anhydrous Calcium Chloride (moisture testing method).
– LVP/LVT installation instructions (flatness requirements, moisture/acclimation requirements, approved underlayments/leveling products).
– product datasheet (primer requirements, mix ratio, thickness limits, cure time).
The takeaway for restaurant owners and project managers is simple: vinyl performs best when the subfloor is measurably flat and moisture-safe. Treat leveling as a compliance process—measurement, prep, correct product selection, and cure—so your floor looks good on day one and stays stable long after the rush-hour foot traffic begins.
Frequently Asked Questions
What’s the best way to level vinyl flooring in a restaurant before installation?
Start by measuring the subfloor flatness with a 6–10 ft straightedge and record the highest and lowest spots. In most cases, sheet vinyl and LVP will expose dips and ridges, so you’ll want to flatten the floor before installing. Use an appropriate self-leveling underlayment or patch system rated for vinyl flooring and follow the manufacturer’s thickness, curing time, and moisture requirements.
How do I check for floor unevenness before leveling a restaurant subfloor?
Use a straightedge or laser level to map the surface and measure floor deviations across the main traffic areas, entrances, and under fixtures. Pay special attention to joints between subfloor panels, old adhesive ridges, and transitions near doorways where restaurants often have settlement. If you suspect moisture, test for moisture vapor emissions and relative humidity because leveling products and vinyl can fail if the subfloor is too wet.
Why is leveling a vinyl floor especially important in commercial restaurant spaces?
Vinyl flooring in restaurants experiences heavy rolling loads, chair movement, and frequent traffic, which can magnify minor subfloor imperfections. If the base isn’t properly leveled, the vinyl may telegraph subfloor bumps, loosen at seams, or develop cracking over time. Proper leveling also helps ensure a uniform installation, smoother rolling for carts, and better durability under daily cleaning and maintenance.
Which leveling compound should I use under luxury vinyl plank (LVP) or sheet vinyl in a restaurant?
Choose a cement-based self-leveler or patch compound specifically labeled for use under resilient flooring and within the required thickness range. For shallow low spots, use a feather-finish patch or underlayment system; for larger areas and multiple dips, use self-leveling underlayment to achieve consistent flatness. Confirm compatibility with your vinyl type, verify set/curing times for your install schedule, and ensure the compound meets commercial requirements for bond strength and wear resistance.
How thick should leveling be and what’s the proper process to level floors before installing vinyl in a restaurant?
The required thickness depends on your flatness measurements, but leveling should stay within the manufacturer’s maximum pour/thickness per lift to avoid shrinkage or cracking. Typically, the process includes cleaning and degreasing the subfloor, repairing cracks and gouges, priming if required, pouring or smoothing the leveling material, and allowing full cure before vinyl installation. After curing, re-check flatness with a straightedge and remove any ridges so your vinyl floors install flat and perform correctly in high-traffic areas.
📅 Last Updated: October 26, 2026 | Topic: How to level a vinyl floors before installing restaurant? | Content verified for accuracy and freshness.
References
- Vinyl flooring
- Floor
- Screed
- F710 Standard Practice for Preparing Concrete Floors to Receive Resilient Flooring
- E1155/E1155M Standard Test Method for Determining FF Floor Flatness and FL Floor Levelness Numbers
- F1869 Standard Test Method for Measuring Moisture Vapor Emission Rate of Concrete Subfloor Using …
- F2170 Standard Test Method for Determining Relative Humidity in Concrete Floor Slabs Using in sit…
- https://scholar.google.com/scholar?q=vinyl+floor+subfloor+preparation+levelness Google Scholar
- https://scholar.google.com/scholar?q=self-leveling+underlayment+resilient+floor+covering+installation Google Scholar
- https://scholar.google.com/scholar?q=ASTM+E1155+floor+flatness+levelness+resilient+flooring Google Scholar